SUNLU FilaDC i10 Tested: Can a Desiccant Cabinet Dry Filament?
SUNLU FilaDC i10 tested: ten spools, twelve days of weighing and dozens of test prints show whether the heat-free desiccant cabinet really dries filament.
Articles · 116 entries
Every video, written up: what we tested, how we tested it, and what the numbers say. No AI articles. Written by humans, from tests we ran ourselves.
SUNLU FilaDC i10 tested: ten spools, twelve days of weighing and dozens of test prints show whether the heat-free desiccant cabinet really dries filament.
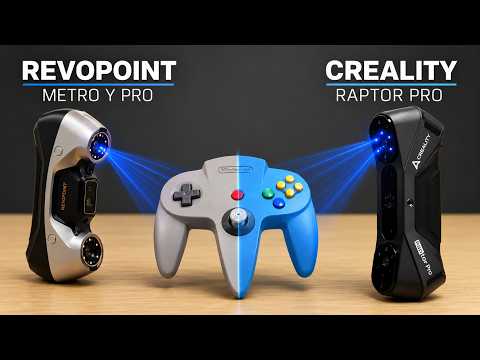
Creality Raptor Pro vs. Revopoint Metro Y Pro: I compared detail, accuracy and usability on real parts, from an N64 controller to a Vespa, and one clearly wins.
Automatic Pressure Advance calibration with a Prusa nozzle load cell: how a bed-leveling sensor can tune K values, find max flow, and monitor prints.
BumpMesh update: mesh checks, remeshing, undo, project saving, 3MF export and a five times faster exporter: three months of community-driven changes.
Can a laser cleanly mark 3D printed parts? I tested UV, MOPA fiber and blue diode lasers on PLA, PETG, ASA, TPU and PC. Pigments matter more than the polymer.
Bambu Lab A2L review after almost 400 hours: build volume, print quality, the cutting module, and whether it really earned the 2 in its name.
Bambu Lab X2D review after 250 hours: dual nozzles from $649, a heated chamber, and why the bowden-fed auxiliary hotend is the real compromise.
BumpMesh is my free, browser-based tool for real displacement textures on STL, OBJ and 3MF files: hide Z-seams, add grip and stiffen vase mode prints.
Our own datasheets recommended hole sizes that make inserts hard to fit. Size the hole so the insert just pre-seats: that's easy installation and full strength.
Z Anti-Aliasing smooths FDM stair-stepping by varying layer height inside a layer. Ra drops from 80 to 25 µm on shallow slopes, measured, plus the limits.
A 3D printing beginner's guide from 10 years of experience: printer setup, filament types, slicing basics, your first print and fixing common problems.
Bambu Lab's H2C swaps six induction-heated nozzles instead of flushing filament. Teardown, print times and waste compared to the Prusa XL and Snapmaker U1.
The Prusa CORE One L doubles the build volume to 300x300x330 mm for €1,699. Print quality, VFAs, noise, chamber heating, and the annoyances they fixed.
Print orientation decides how strong a part is. Tensile tests at 0°, 30°, 45°, 60° and 90° show what angling really buys you, and where it backfires.
Bambu Lab P2S review: quick-swap nozzles, a clever new cooling system, HD camera and touchscreen, and why it makes the X1 Carbon completely obsolete.
TooltraceAI turns a photo of your tools into custom Gridfinity bins for free, no CAD needed. How it works, my settings, and printing them in two colors.
Bambu Lab H2S review: the H2D's big build volume without the dual nozzle, $800 cheaper, 340 x 320 x 340 mm, and what the single-nozzle head costs you.
Carbon fiber PA6 vs PA12 tested: stiffness, strength, impact, creep and heat resistance, and how much moisture and annealing change the results.
I honestly don’t print a ton with resin, yet when I do I’m always impressed with the amount of details this process can achieve.
The Bambu Lab H2D reviewed: dual-nozzle printing, a heated chamber, the new AMS 2 Pro and AMS HT, plus a 10W laser and drag knife in one machine.
Our Insert Extractor pulls heat-set inserts back out. Set the iron about 20 °C above printing temperature, and don't reuse a PLA insert in a PETG part.
10 practical 3D scanning tips from a summer with Creality's CR-Scan Raptor: markers, resolution vs. accuracy, multi-orientation scans and measuring warp.
Slicers stack flat layers, so parts split along them. I re-ordered the print moves into an interlocking brick pattern: PLA got 14% stronger, PETG 10%.
Tuning steps/mm with a calibration cube probably made your printer worse. They're too small to measure well and can't detect skew. Here's what I use instead.
I washed, shredded and extruded used plastic cutlery into filament. It works if you sort and clean properly, and virgin pellets keep it from going brittle.
I tested ABS and PC Blend at different chamber temperatures. Every extra degree helped layer adhesion, and an enclosure alone already gets you most of the way.
Ten projects that stuck with me from the Rocky Mountain RepRap Festival: a chocolate printer, co-extruded carbon fiber filament and a rotary resin caster.
Revo High Flow keeps up with Bondtech's CHT in my tests, and the numbers give a handy rule: budget about half a watt of heater power per mm³/s of flow.
Prusa's MK4 costs $1099 assembled. After 200 hours it's a better MK3 in every way, but slower than a Bambu Lab X1 and it launched without input shaping.
I fitted a CHT nozzle to my Bambu Lab X1 and P1P. With the stock hotend, layer strength peaked near 36 MPa at 12 mm³/s and then slid to 31 MPa as flow went up.
Glow filament eats nozzles: one lost 0.18 mm of tip in a single test, another barely wore at all. Overture Green glowed best, colorFabb glowFill looked nicest.
I measured the pushing force of a dozen extruders, from the basic Ender feeder to the belt-driven ProperExtruder, to see which one grips filament hardest.
3D printing is often called a disruptive technology where anything is possible and engineers have total design freedom. Complexity is free.
Color does change PLA strength, though not by much. The bigger surprise was annealing: silver and white warped 4 to 7%, while natural distorted by 19%.
What stood out at FORMNEXT 2022: a company that recycles your printing waste into filament, a variable-diameter nozzle, and an induction-heated hotend.
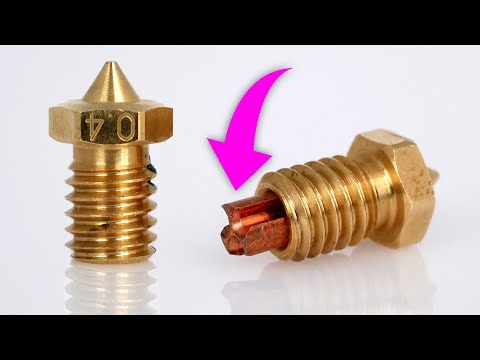
A $2 high-flow nozzle from Aliexpress with a copper insert you can easily fit backwards. Assembled right, it kept up with far pricier nozzles in my tests.
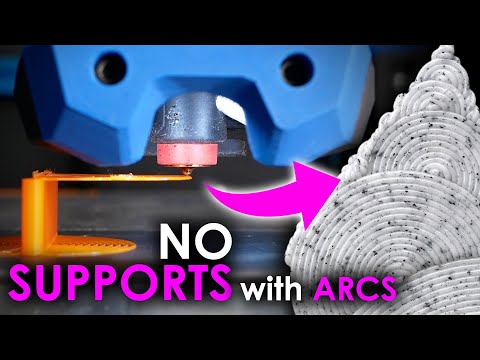
Steven's ArcOverhang script prints overhangs as concentric arcs instead of straight lines, so they hold in mid-air. Still a proof of concept, but it really works.
Conical slicing tilts the layers into cones instead of stacking flat planes, which lets you print steep overhangs without support. The catch is your printhead.
A step-by-step run-through of the ZHAW transformation scripts for conical slicing, including the slow speeds you need: 15 mm/s on perimeters, 25 on infill.
Heat-set inserts work in resin prints too, if you glue them instead of melting them in. Superglued inserts held 52 kg, close to screwing straight into the resin.
“Complexity is free” is a sentence that’s often used for marketing 3D printers and 3D printing technologies.
I built a VORON 2.4 R2 from the LDO kit. Assembly, Klipper setup, and what I'd criticize after living with it: great prints, but a few rough edges in the kit.
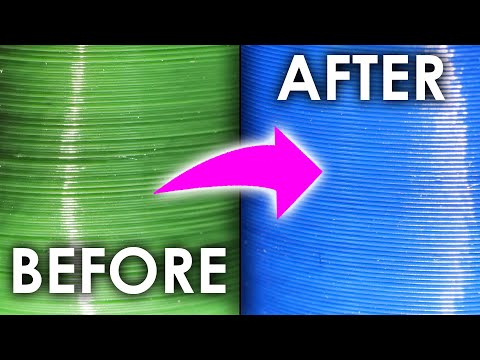
Printing PETG with parameters tuned for transparency gets you almost perfect layer adhesion. The parts look great and they're significantly stronger and tougher.
Filament based-3D printing is a great technology - not only for prototypes but also for real functional parts.
Stacking nuts on a nozzle gets you most of a Volcano. The V6 topped out at 14 mm³/s while both the real Volcano and my nut stack reached 20 mm³/s.
I built my studio benches from wood, then wondered if I should have printed them. A PETG hook at 100% infill held 110 kg, and here's how that compares to timber.
Almost nobody sets extruder tension properly. If it isn't grinding, leave it alone: in 95% of cases the real problem sits after the extruder, not in the gears.
WhamBam's MUTANT lets you swap toolheads by hand. Print quality stayed flawless, but on my Ender-3 it cost about 30 mm of height and a chunk of the bed as well.
Chasing a fast Ender-3 profile in PrusaSlicer, jerk turned out to matter more than acceleration. Going from 8 to 20 mm/s fixed the corners and cut 12 minutes.
Revo swaps nozzles by hand in seconds, and up to 15 mm³/s it matches a V6. But the part cooling fan pulls the temperature down hard, and one core failed on me.
Mekanika's EVO is a belt-driven CNC router that handles wood and plastics well. The belts cost you a few tenths of a mm in accuracy, and z clearance is tight.
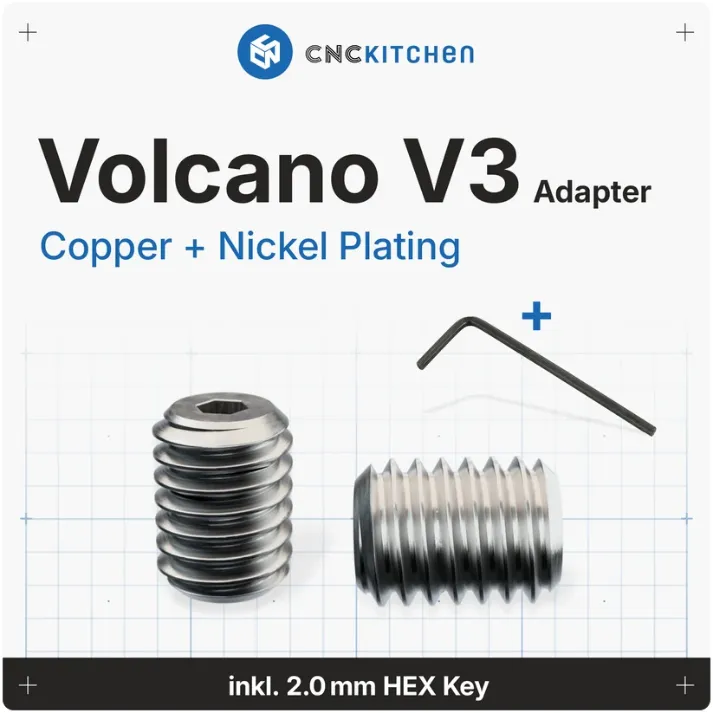
So installierst und entfernst Du unseren Originalen Volcano Adapter, und warum Du ihn nie über 240 °C anziehen darfst: Das Messing verliert an Festigkeit.
How to install and remove our Original Volcano Adapter, and why you must never tighten it above 240 °C: the brass loses strength and the adapter can break.
I bent the G-code after slicing to print non-planar curves on a normal printer. It works, but without a tilting head your printhead clearance sets the limit.
There are a ton of filaments for 3D printing on the market that advertise themselves as being biodegradable or compostable.
Pull-trusion turns a PET bottle into filament with no shredder. It printed at 59 MPa and my hook held 67 kg, though you're working in 20 g pieces at a time.
Dual-color filament keeps its split even through a high-flow nozzle. Polymer melts are hard to disturb, so you can run this stuff on basically any FDM printer.
Our high-flow spacer turns a Volcano into a serious melter, holding up to 40 mm³/s. Bondtech's CHT still edges it out, but by less than I expected.
Tiertime's CETUS had good hardware wrapped in proprietary firmware I never liked. So I swapped the board for a Mellow FLY E3 and put RepRapFirmware on it.
Dual-color filament is made by feeding two melts into one die so the strand stays half and half. Here's how it's made and how it actually prints.
I drilled my own high-flow nozzle to see if I could beat the CHT. Up to 30 mm³/s they're neck and neck, but past 40 mm³/s the CHT pulls ahead of my version.
Kaika sent me a 0.1 mm nozzle. The detail is amazing, but a 3DBenchy takes over a day to print, so this only makes sense for very small parts.
The CHT splits the melt across three bores instead of one. Bondtech advertise 30% more flow and in my tests that's the minimum you can expect. I'm impressed.
My Cetus printed inconsistently for years. It turned out to be the extruder gear, so here's how I tracked it down systematically instead of guessing at settings.
How to set our heat-set inserts properly: soldering iron 10 to 20 °C above printing temperature, melt only 90% of the way, then press the rest flush with a tool.
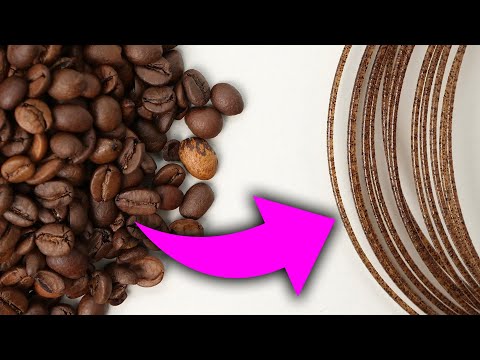
I extruded PLA filled with spent coffee grounds from my morning cappuccino. It costs about 10% strength, 58 MPa down to 53, and my hook went from 69 to 61 kg.
If you are in a foreign country, it's immensely helpful to understand some of the spoken language.
So schmilzt Du unsere Gewindeeinsätze sauber ein: Lötkolben 10 bis 20 °C über Drucktemperatur, nur zu 90% einschmelzen und den Rest mit einem Werkzeug drücken.
A print failed halfway. Keep the bed hot, measure how far it got, then cut the G-code at that layer so the printer picks up where it stopped. Here's the process.
I shredded more than a hundred 3D Benchys back into filament. The recycled material only lost 6 to 12% strength, though diameter consistency is the hard part.
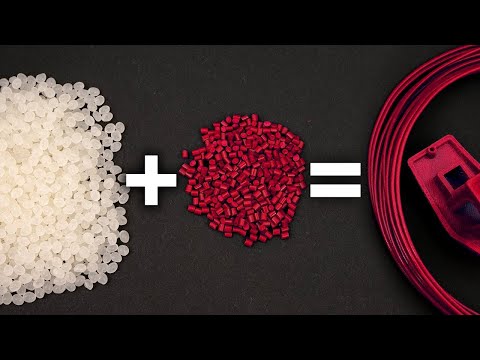
Extruding my own PLA on the 3DEVO Composer 450: pellets, 2% color masterbatch, and a diameter that holds to about ±0.05 mm once the process is dialed in.
Prusament PC Blend, where PC Blend stands for PolyCarbonate compounded with other polymers and additives is Prusa’s engineering grade material.
PCTG isn't polycarbonate. It takes 24 kJ/m² on the notched impact test, way past PETG and up with ABS, but it goes soft at 80 °C and layer strength is modest.
So recently, Albert from 247 printing posted a video on his sub 9 minutes 3DBenchy that he printed on his basically stock but input shaper tuned VORON 0.
The 3D printing slicer IdeaMaker made by Raise3D recently implemented an innovative feature in their latest version 4.1.1 called texturing.
This was the first Prusa I ever bought almost 5 years back, and that has probably done more than 10000 printing hours with hardly any problems during that time.
I usually don’t post write-ups of live streams that I did because it doesn’t happen that often that I’m really impressed by a product right after unboxing it.
Swapping my Prusa's board made the heated bed sing. That sent me down a rabbit hole into PID versus bang-bang bed control, and why PID is almost always better.
The VORON 0 is tiny, beautifully engineered and fast: 120 to 150 mm/s at 4000 mm/s² with Klipper. Then my carbon fiber nylon parts crept and I had to rebuild it.
The bi-metal heat break is the next evolution of the regular heat breaks that we know from our 3D printers.
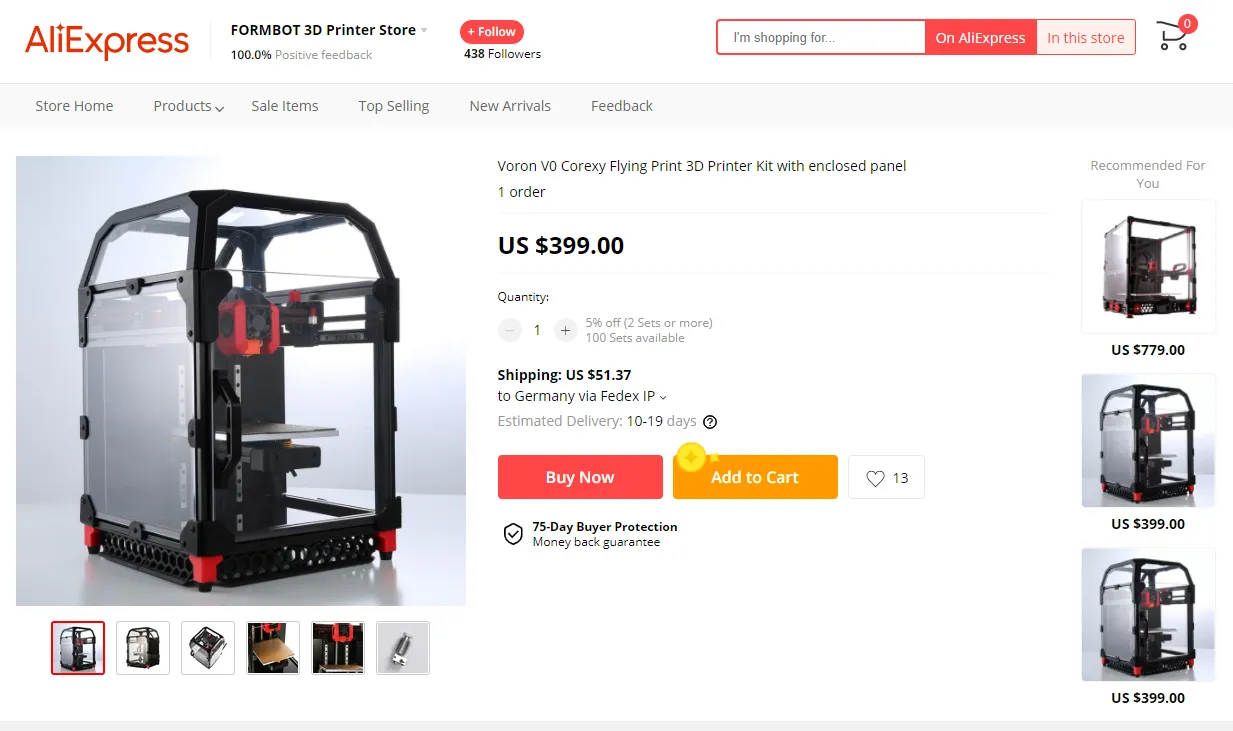
First impressions of the Formbot VORON 0 kit from Aliexpress: what's in the box, what the parts are like, and where the kit made the build harder than it needed.
The Snapmaker 2.0 prints, lasers and routes for $1800. Nothing it does is best in class, but everything is better than okay, and it even cut aluminum for me.
I built a camera that rides along with the nozzle to watch extrusion up close. Here's the build, the footage it gets, and the exposure problem I haven't solved.
We were renovating and the old coat hooks had to go, so I reprinted them in two materials on the E3D Toolchanger. Overengineered, but they look and feel great.
I tested layer adhesion across the whole recommended temperature range. Print at the low end for looks, the high end for strength. Too hot hurts adhesion again.
Previously, we've already been taking a look at another of Colorfabbs foaming filaments, and that was Light Weight PLA.
Trimmer line is cheap nylon on a spool, so I printed it. After a night of drying it prints great and my hook held 30 kg. Ventilate well, the fumes are nasty.
The Beamo is a 30 W CO2 laser that just worked out of the box. At $1500 to $2000 it isn't cheap, and the Beam Air purifier didn't clear the smell in my small room.
Embedding prints in salt and remelting them really does work. ABS layer adhesion jumped 150%, reaching 90% of the solid material's strength with no layer lines.
My first delta printer. The FLSUN Q5 prints nicely for the money, but stock accelerations cap at 1000 mm/s², there's no linear advance, and the board stutters.
Packing prints in plaster lets you remelt them without losing shape. PETG went from 30 to 41 MPa and the layer lines vanished, but PLA turned into a brittle mess.
Of course this is a marketing campaign by Polymaker, though I haven’t been paid for this video and will even participate on my own.
Regular PLA is really easy to print and stronger than some might expect, though if a PLA part actually fails, it shatters quite violently.
A filament with a PC core inside an ABS shell, meant to anneal without warping. ABS hit 35 MPa and the PC nearly double, but heat treating changed almost nothing.
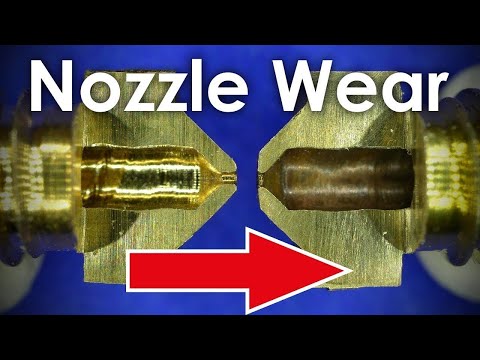
I finally bought a mini lathe, so the first real project was turning a 3D printer nozzle from scratch. Then I cut it open to see how bad the inside really was.
This is the Creality CR-6 SE that was launched for their 6th anniversary on Kickstarter and was a huge success with over $4 Million in pledges.
Considering the view count of my other two videos on threaded inserts, you seem to be really interested in that topic.
I print a lot and this also means that many of my prints run overnight. Unfortunately, our bedroom is right next to my office in which my main printers usually are.
Don’t judge me that I’m a little late to the game, especially with the Ender-3, though I just didn’t have luck with newly released printers in the past.
I compared vacuum, a food dehydrator, the kitchen oven and a silica drybox for drying filament. Vacuum alone disappointed, heat works, and storage matters a lot.
A step-by-step guide to adding modifier geometry in CURA, so you can change wall count, top and bottom layers only where a part actually needs it.
Printing face shields for local hospitals, I worked through what actually cuts the time: layer height, extrusion width and perimeters, without losing strength.
I soaked printed samples from a dozen materials in 70% IPA for 48 hours. Some lost real strength, PA12 went 85 to 74 MPa, but none became brittle or unusable.
I built the Precious Plastic shredder from a laser-cut kit, then added a printed hand crank and stackable sieves to get a consistent particle size for extrusion.
You can measure your hotend's flow limit with nothing but a scale. A stock V6 tapped out around 10 to 15 mm³/s at 215 °C, and temperature moves that a lot.
A couple of months ago Colorfabb released two really interesting new Filaments that are called VarioShore TPU and LW or Lightweight PLA.
Even though you can nowadays get almost any thermoplastic as a 3D printing filament PLA, PETG and ABS are still the most common ones used.
Zits and blobs often come from too many tiny G-code segments. Raising maximum resolution and deviation in CURA cleaned my prints up completely.
My script varies extrusion so infill gets denser toward the walls. It looks great, but on my test hook it didn't beat simply raising the infill percentage.
Almost a year ago I released a very popular video on threaded inserts for 3D prints on which I got a ton of suggestions and comments.
I’m sure you’ve all heard or even experienced it already that using a larger nozzle in you 3D printer seems to result in quite a bit more sturdy parts.
The Sapphire Pro is a project, not a tool. Mine wouldn't print at all until I fixed PID values that overshot by 40 °C, and the power supply fan is always audible.
Nobody touches extrusion width, but it matters. Wider extrusions squish harder into the layer below, and that measurably improved layer adhesion in my tests.
In the past I never really worried much about nozzle wear because I rarely printed abrasive materials and when I did, I switched my nozzle for a hardened steel one.
Thinner layers look better, but are they stronger? I tested a range of layer heights, and the ratio of nozzle diameter to layer height matters more than the number.
Annealing PLA got me 7.5% more tensile strength and 16% on lying hooks. Layer adhesion didn't budge: 42 kg before, 42 kg after. Heat treating won't fuse layers.