
Half a Million Views Later… BumpMesh Is Way Better
BumpMesh update: mesh checks, remeshing, undo, project saving, 3MF export and a five times faster exporter: three months of community-driven changes.
TL;DRthe short version
- BumpMesh is my free, browser-based tool for putting physical textures onto 3D prints. Almost half a million people watched the first video, and everything still runs locally in your browser; nothing is ever uploaded.
- The project is fully open source and AGPL licensed, and a big part of what's new came from you: implementations, bug reports, translations and pull requests.
- The top menu now saves whole projects or only the settings, there's undo and redo, a reset for everything or for a single slider by double-clicking it, and the language list runs from Spanish to Japanese and Korean.
- Every imported mesh now gets a quick mesh check. BumpMesh can't repair it for you, but at least you know before texturing why the result is going to look bad.
- STEP import is coming. Existing importers are tuned for rendering rather than post-processing, so I built my own open-source one instead.
- Remeshing makes all triangles roughly the same size and close to equilateral, which gets rid of the strange surface artifacts that sliver and needle-like triangles used to cause.
- Overhang protection moves the mesh only in X and Y so a 45-degree overhang doesn't turn into tons of tiny islands, and texture baking lets you stack a second texture without exporting and reloading.
- Export is now roughly five times faster than it was in April, there's a resolution recommendation and 3MF export, and the memory optimizations let you work with significantly bigger models.
Three months ago, I introduced a small tool that I made called BumpMesh which is the simplest way to apply physical textures to your 3D prints. Almost half a million people watched the video, tens of thousands tried it out, and hundreds of comments, emails, issues, and pull requests have made it way better than it was when I first showed it.
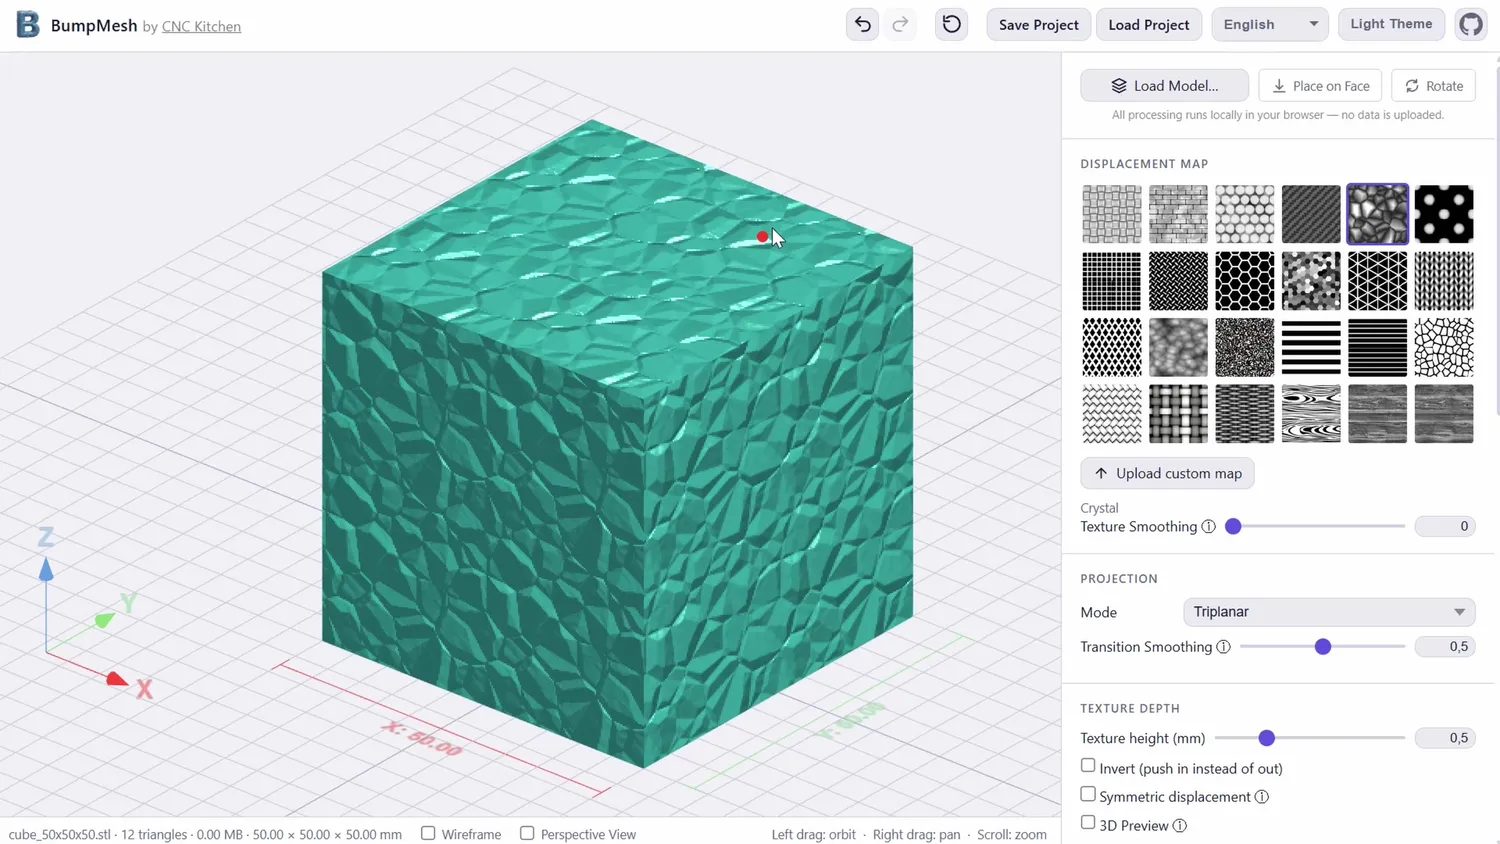
A crystal texture on a plain cube
Over the last few weeks, the community and I have added a whole range of new features and quality-of-life improvements. And just recently, I also made it so much faster and capable!
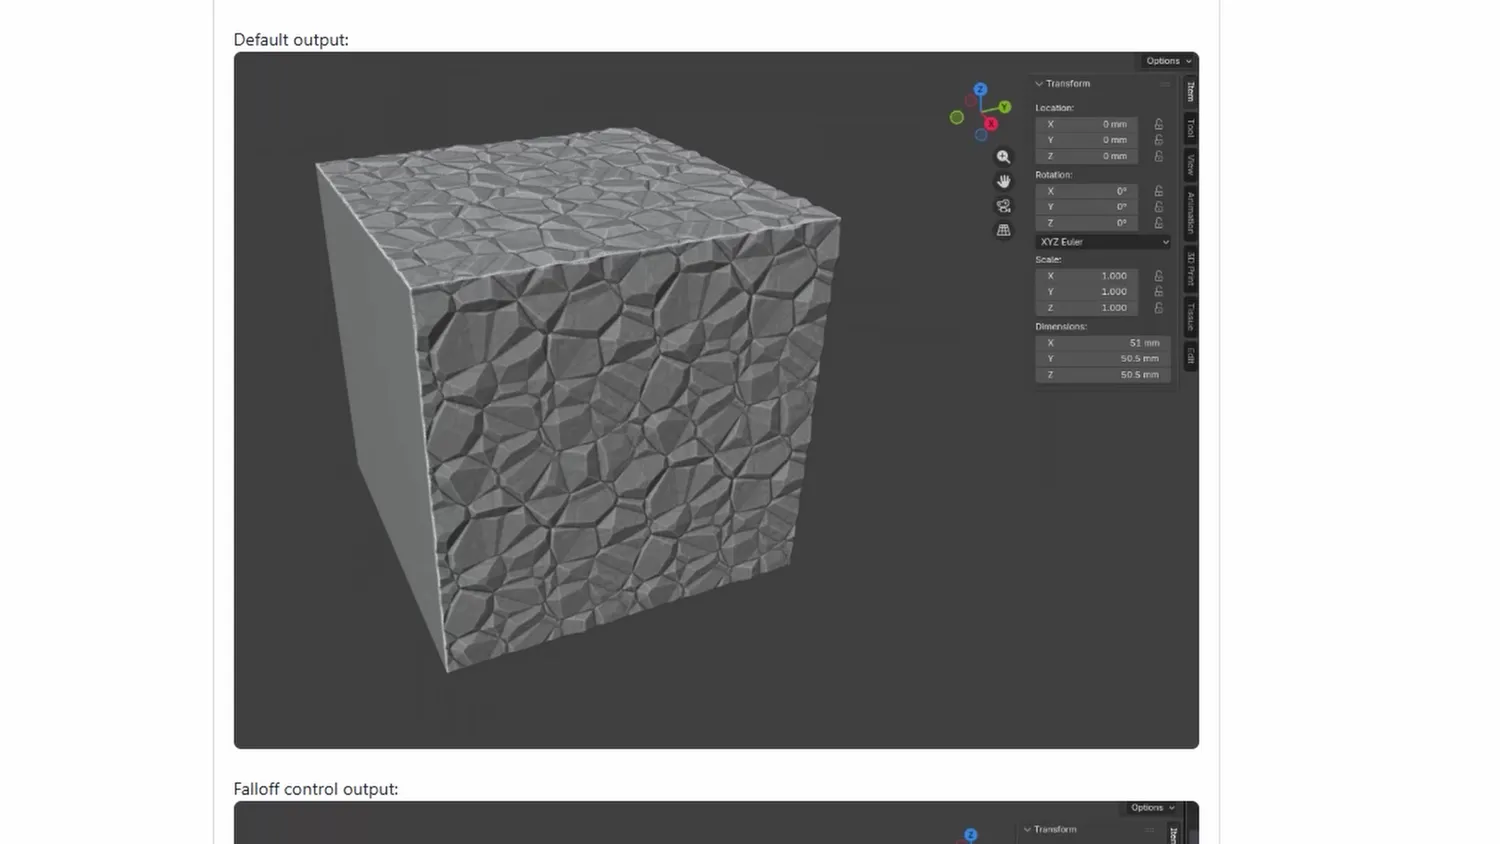
A community pull request, comparing texture falloff
So let’s take a look at what changed and if you haven’t tried it in a while, now is the best time to dive in again!
What BumpMesh is, and where your models go
First of all, if you’ve never heard of BumpMesh before, I’m happy that you’re here. BumpMesh is a simple online tool you can find at bumpmesh.com where you can upload a 3D model and add a physical texture to it in just a few clicks. It’s meant to be an easy way for everyone to improve the look of their 3D prints, or even add functionality, without having to learn Blender or other advanced software.
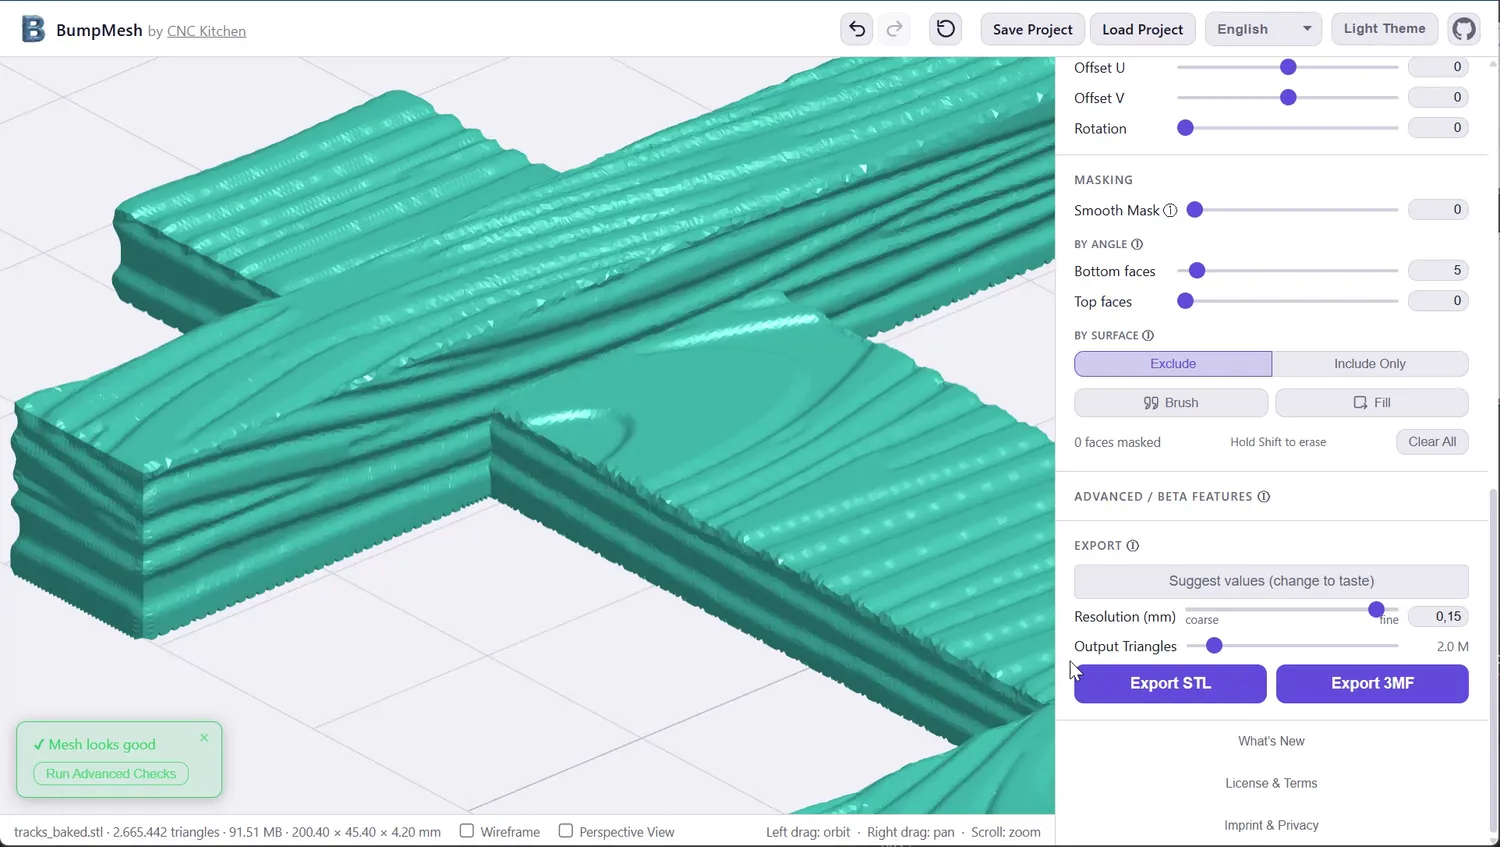
A wood texture wrapped around a printed track
One of the questions I got most often after releasing the first video was what happens to your models when you upload them. And interestingly, that question also came from some larger companies. The answer is really simple: everything is processed locally on your own machine, directly inside your browser, and nothing ever leaves it.
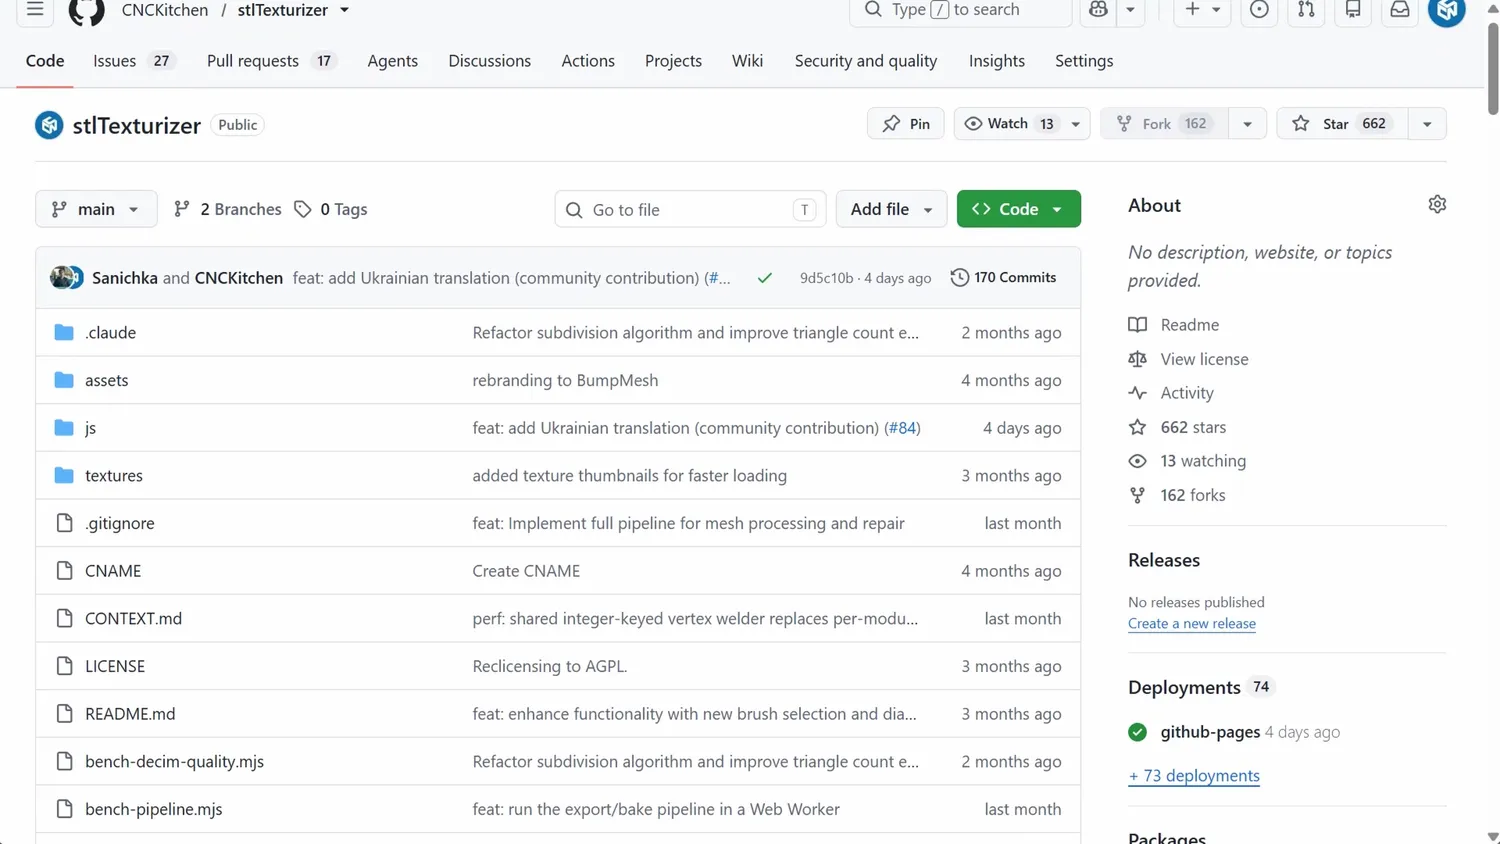
The whole thing is out in the open on GitHub
You can even run the tool completely locally, because BumpMesh is fully open source and AGPL licensed. And that is also one of the reasons why the project improved so much over the last few weeks. Many of you contributed your own implementations of new features, reported bugs, opened issues, or sent ideas.
Some of you support the project directly
This project made my respect for open-source maintainers grow tenfold, because handling all of the issues, discussions, and pull requests is a lot of work. But I tried to implement many of the reasonable suggestions, and I’m really happy to show you what changed.
A fresh look at the interface
At first glance, the old and the new version of BumpMesh don’t look that different. But now, whenever I add something new, you’re greeted by a small update window that shows you what changed.
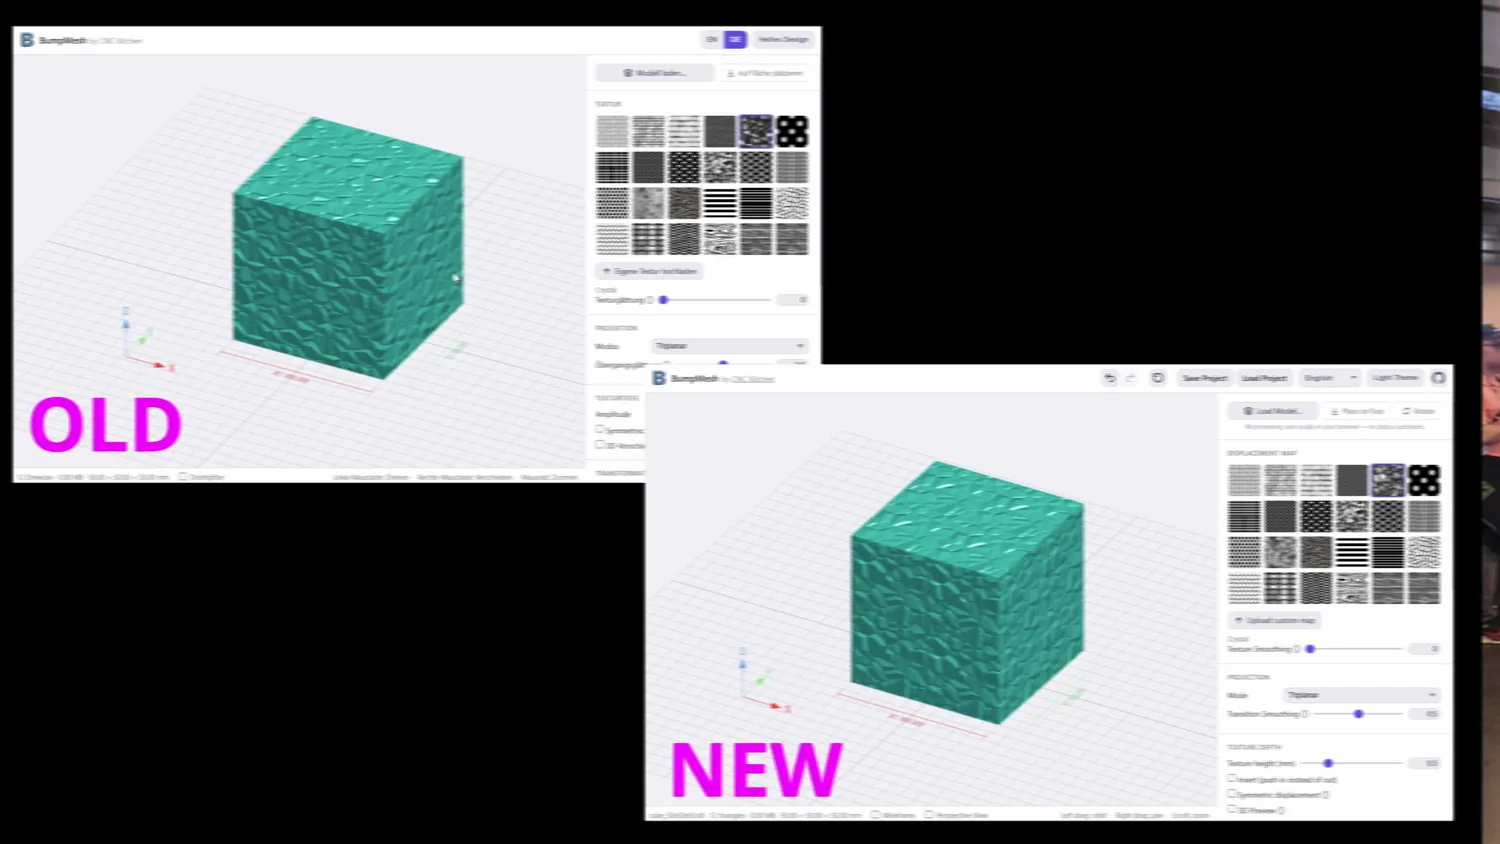
(top left) old version, (bottom right) new version
Some of the biggest changes are already in the top menu. One thing many people asked for was a way to save projects or settings, and that’s now possible. You can either save the whole project, including the model, or only the settings.
The language selection has also been expanded a lot, from Spanish all the way to Japanese and Korean.
Then there is a feature that you find in basically every larger piece of software: undo and redo. So if you mess something up, you can finally reverse it. There is also a button to reset all settings. And by the way, that’s also possible for a single setting if you just double-click the slider.
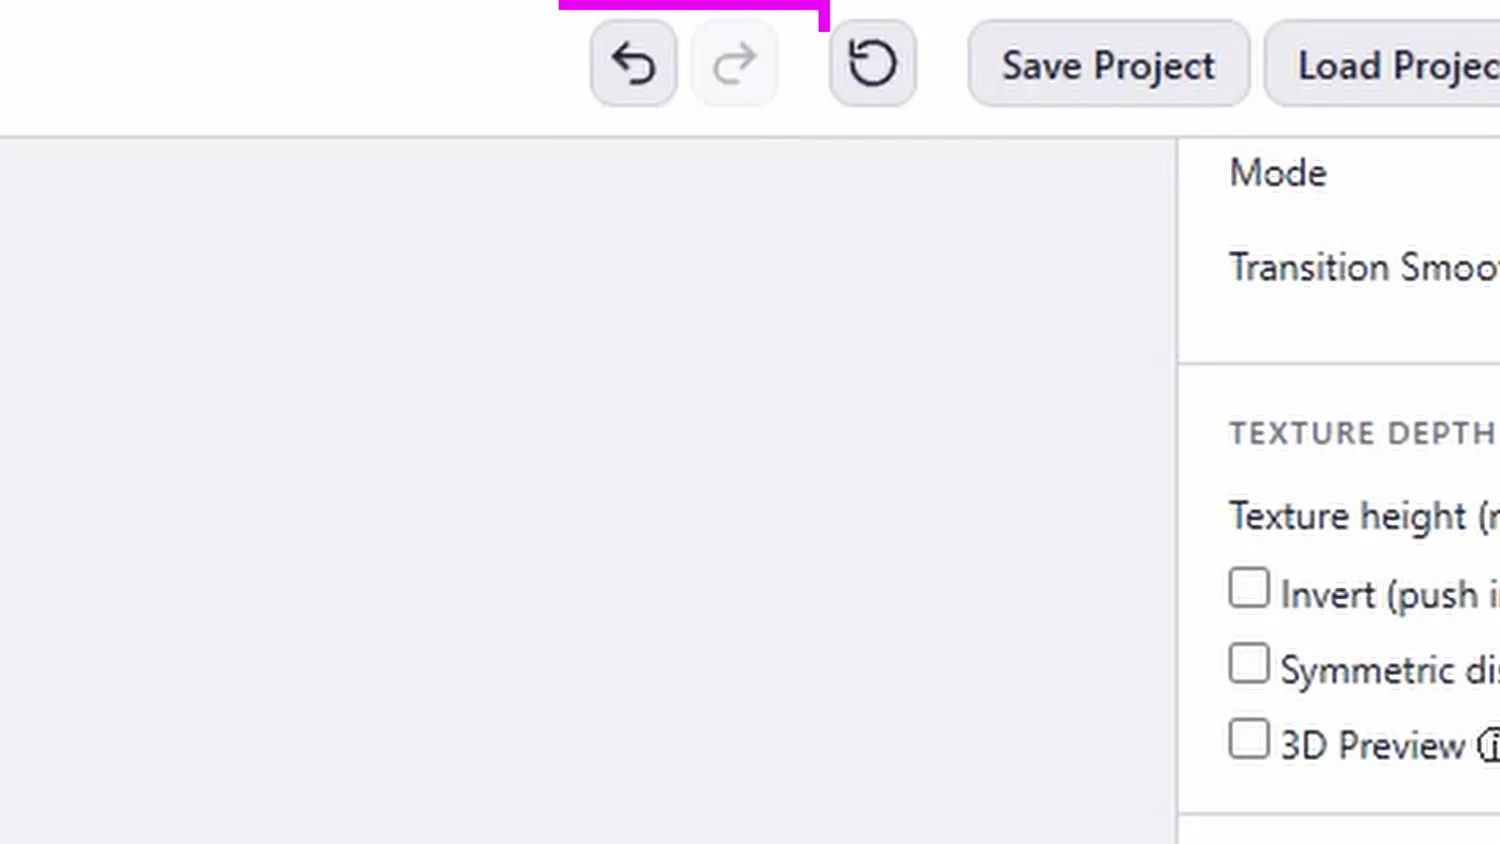
Undo, redo, and reset everything
And since we are already here: you can now also fine-tune values by clicking into the value field and scrolling with the mouse wheel.
Another often-requested feature was perspective view. I’m still personally not a huge fan of it for this kind of tool, but here you go: you can now toggle between perspective and orthographic view.
Mesh checks for models that aren’t clean
It was also interesting to learn about the kind of problems people run into when they are not only working with clean CAD geometry. One reason why some texturing results looked bad was simply that the mesh used for texturing was already problematic. This happens quite often with models from tools like Tinkercad, for example.
So now, every time a mesh is imported, BumpMesh runs a quick mesh check. If something looks odd, you’ll get a warning. BumpMesh currently can’t fix these problems automatically, but you can often repair the model directly in your slicer or with one of the many online mesh repair tools.
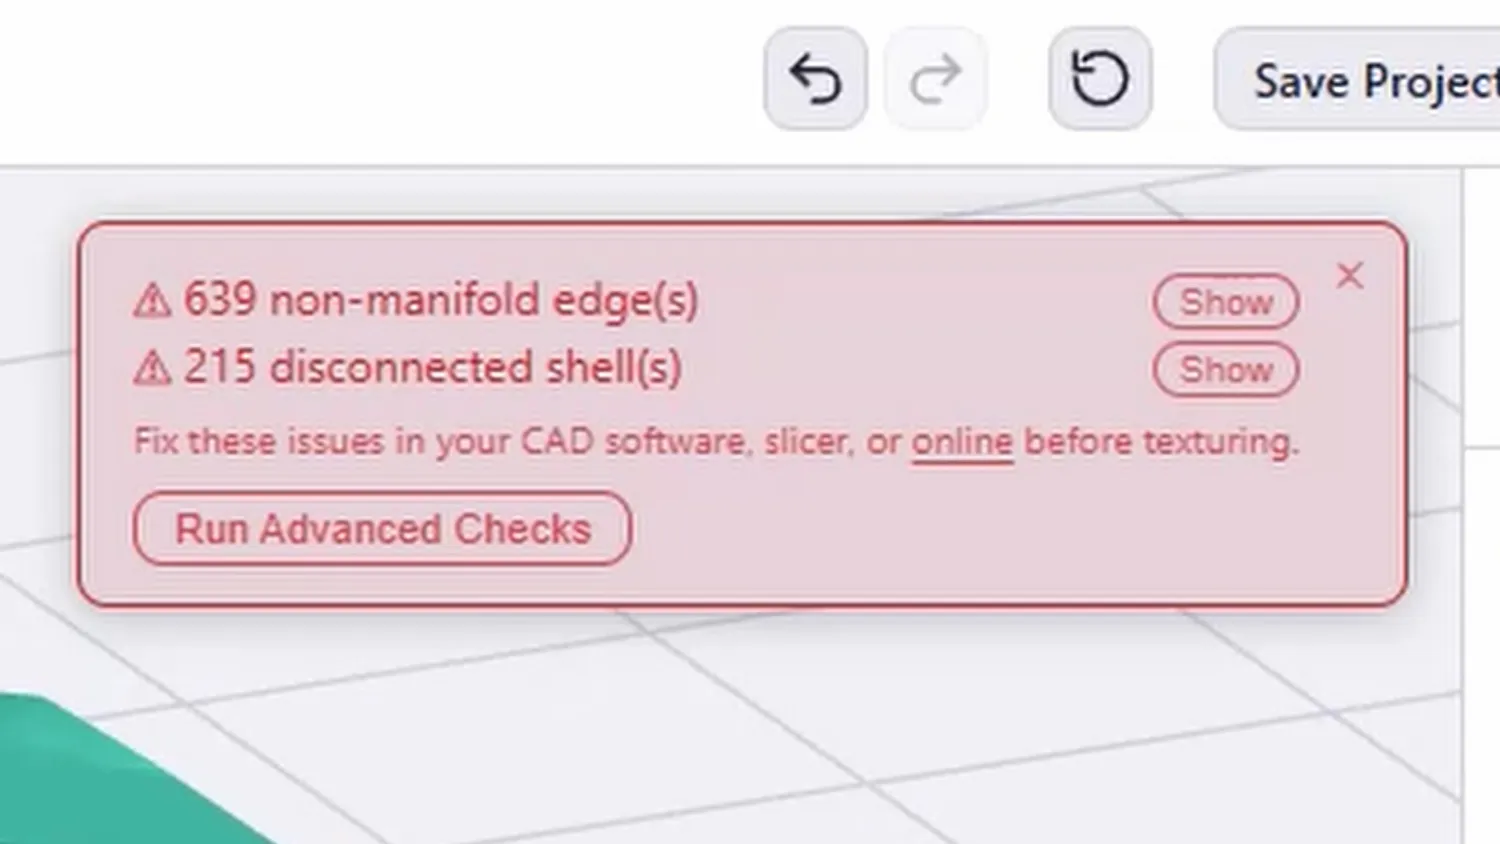
The mesh check tells you before you texture
Once you’ve loaded your part, you can now also orient it in a more sophisticated way.
STEP import, and why I built my own importer
By the way, many of you also asked for STEP file import and I promise it’s coming. But STEP import is harder than you might think and common STEP importers are tuned for visual quality and not necessarily post-processability of the mesh. So I bit the bullet and built one myself that’s specifically made for this use case.
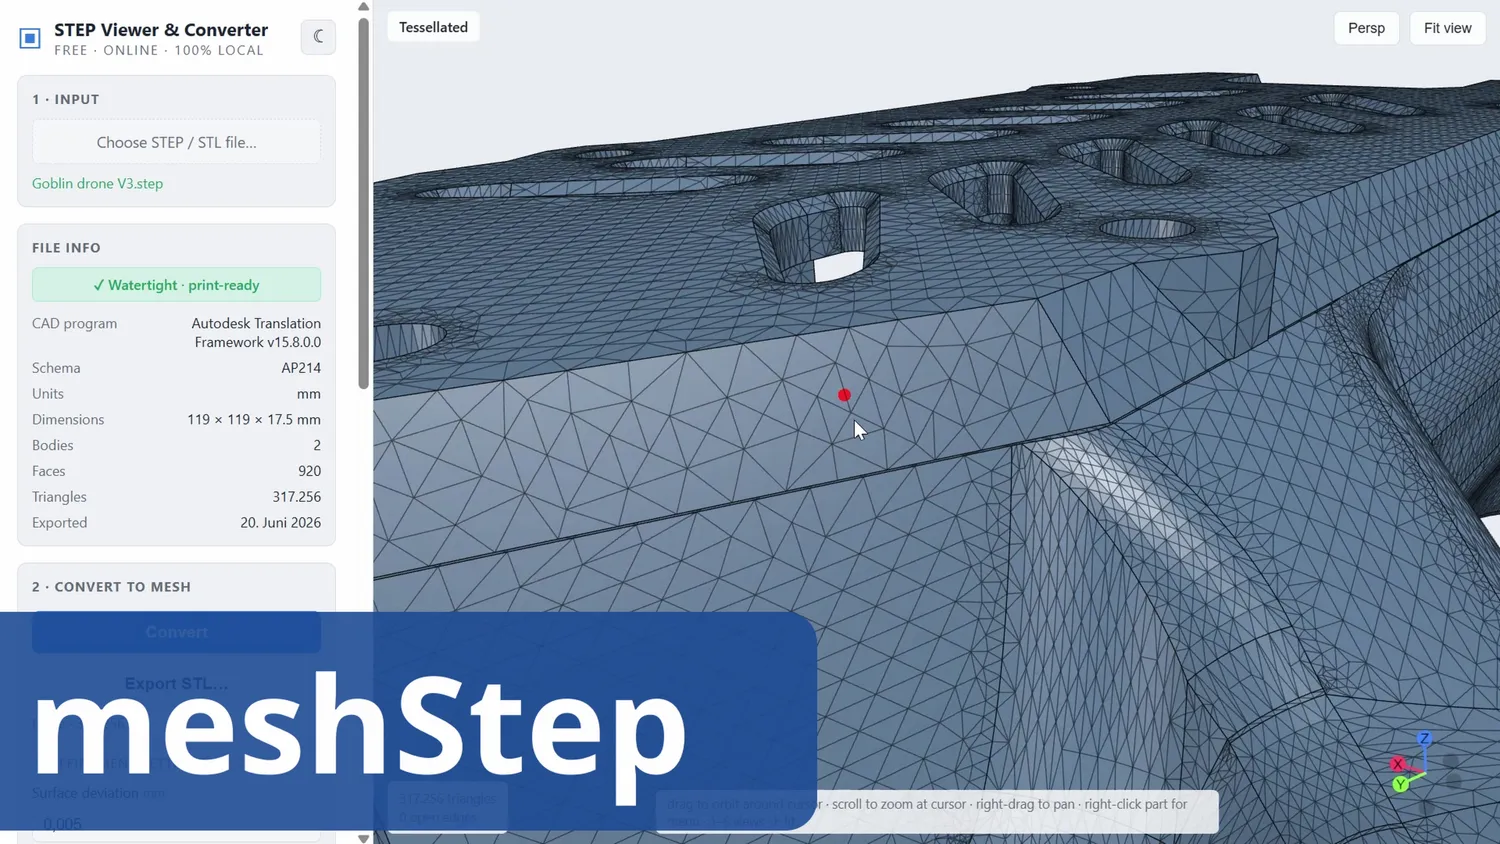
meshStep, my own STEP importer and viewer
Smoother transitions and better cylindrical mapping
One great texturing-quality improvement came from Andrew Sinks, who implemented a smooth transition between the textured area and the rest of the part. That means the new surface now blends much more nicely into the original geometry.
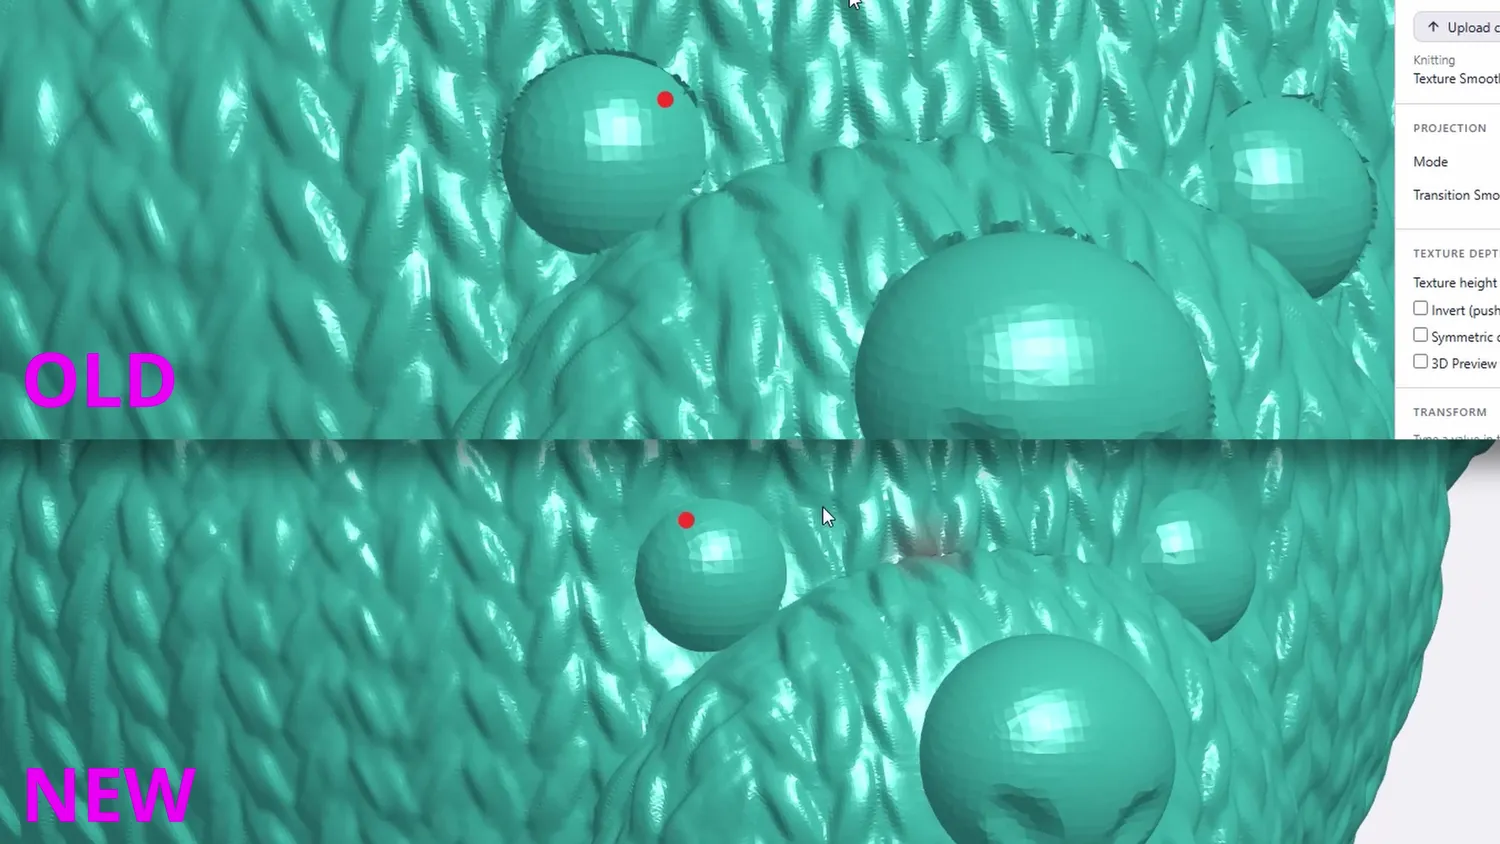
(top) old hard edge, (bottom) the new smooth blend
Something else that can improve your results is better control over how the texture is mapped around your part, especially with cylindrical mapping. The size scaling can now snap to a value where you don’t get a seam, and you can also properly place the projection cylinder.
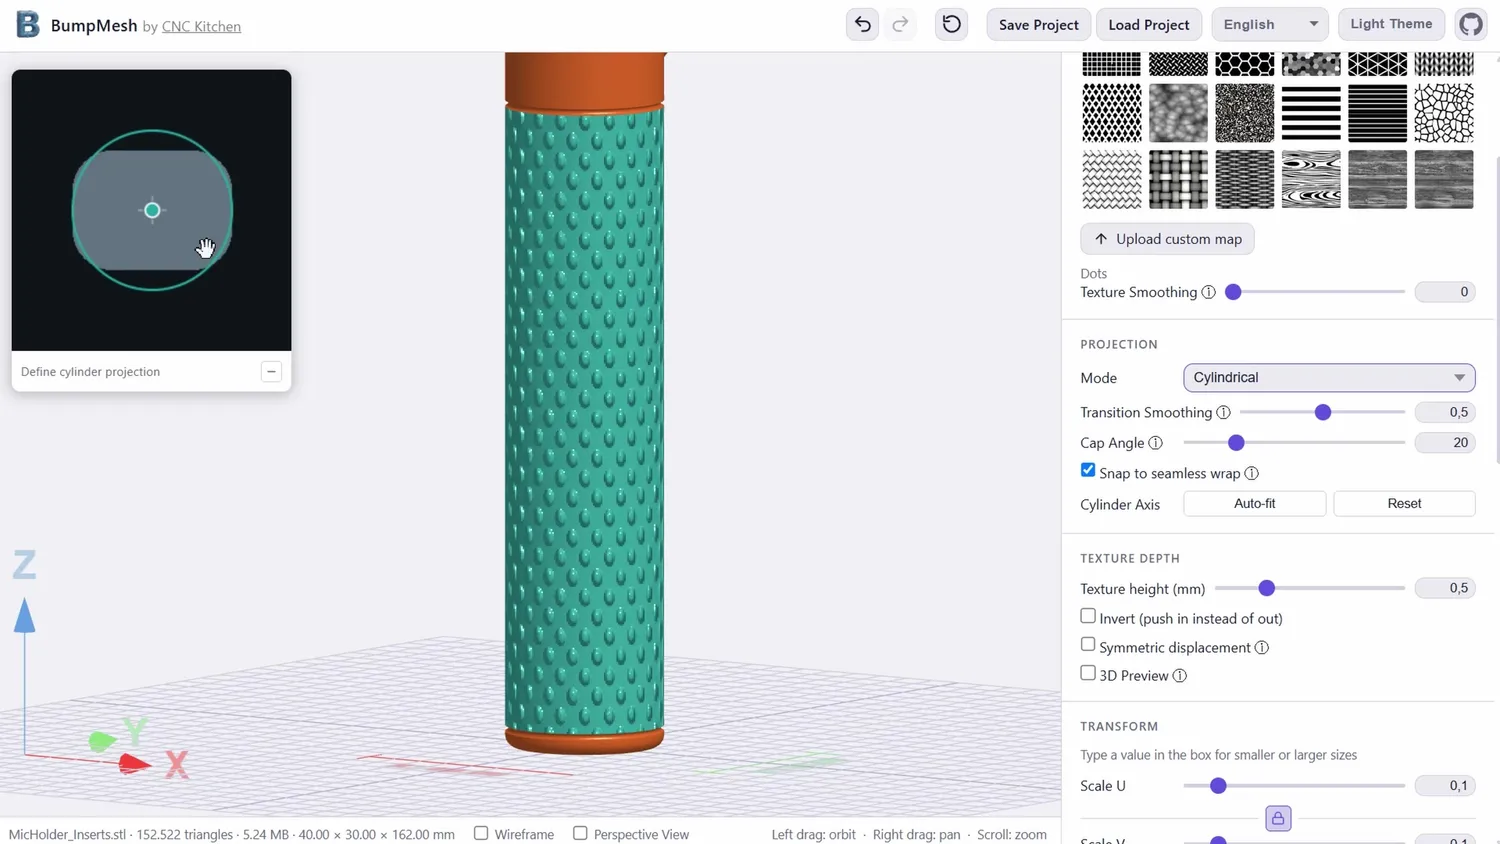
Cylindrical mapping with snap to seamless wrap
Remeshing away sliver triangles
Another big challenge for good-looking surface textures is the underlying mesh that gets deformed. Sliver triangles, needle-like triangles, or generally uneven mesh density can cause enormous problems.
In the past, I simply refined those areas more and more, which helped a little, but it could still create strange surface artifacts. So one feature I spent several days working on is remeshing the part, with the goal of making all triangles roughly the same size and, ideally, close to equilateral.
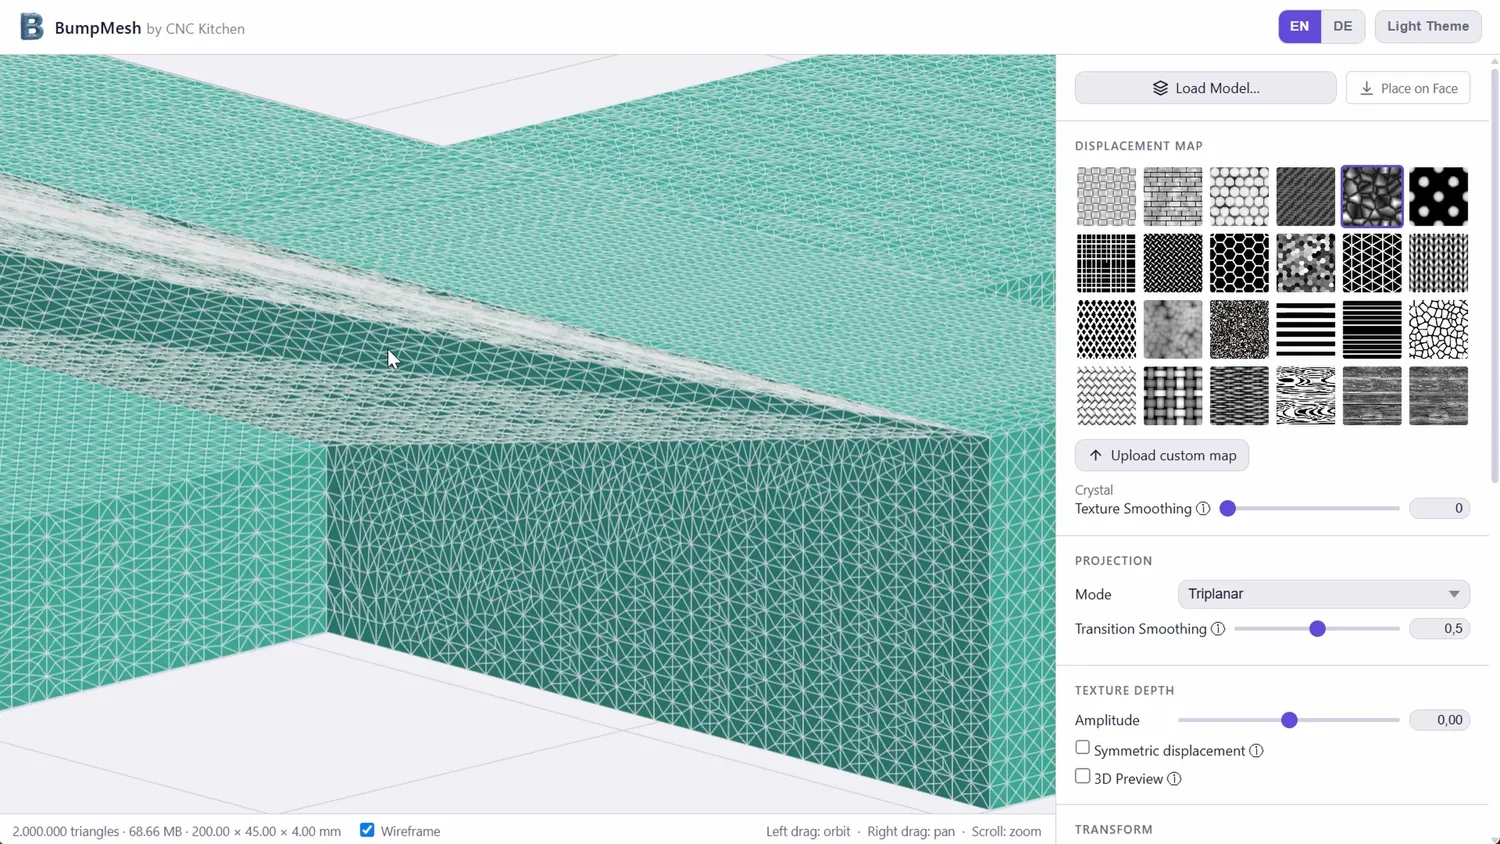
Two million triangles, just to catch the detail
This is not necessarily something you’ll notice directly when using the tool, but if you had parts where the textured mesh simply looked strange in certain areas, the result should now be much better.
Even though this feature is on by default it is still under “Beta Features”, but I should probably just get rid of the selection.
There are a few other interesting things in there as well. For example, you can now prevent texture displacement downwards. Imagine a 45-degree overhang: if I extrude the texture perpendicularly outwards from the surface, it can create tons of tiny islands that are hard to print. This option only moves the mesh in X and Y, which gets rid of that problem.
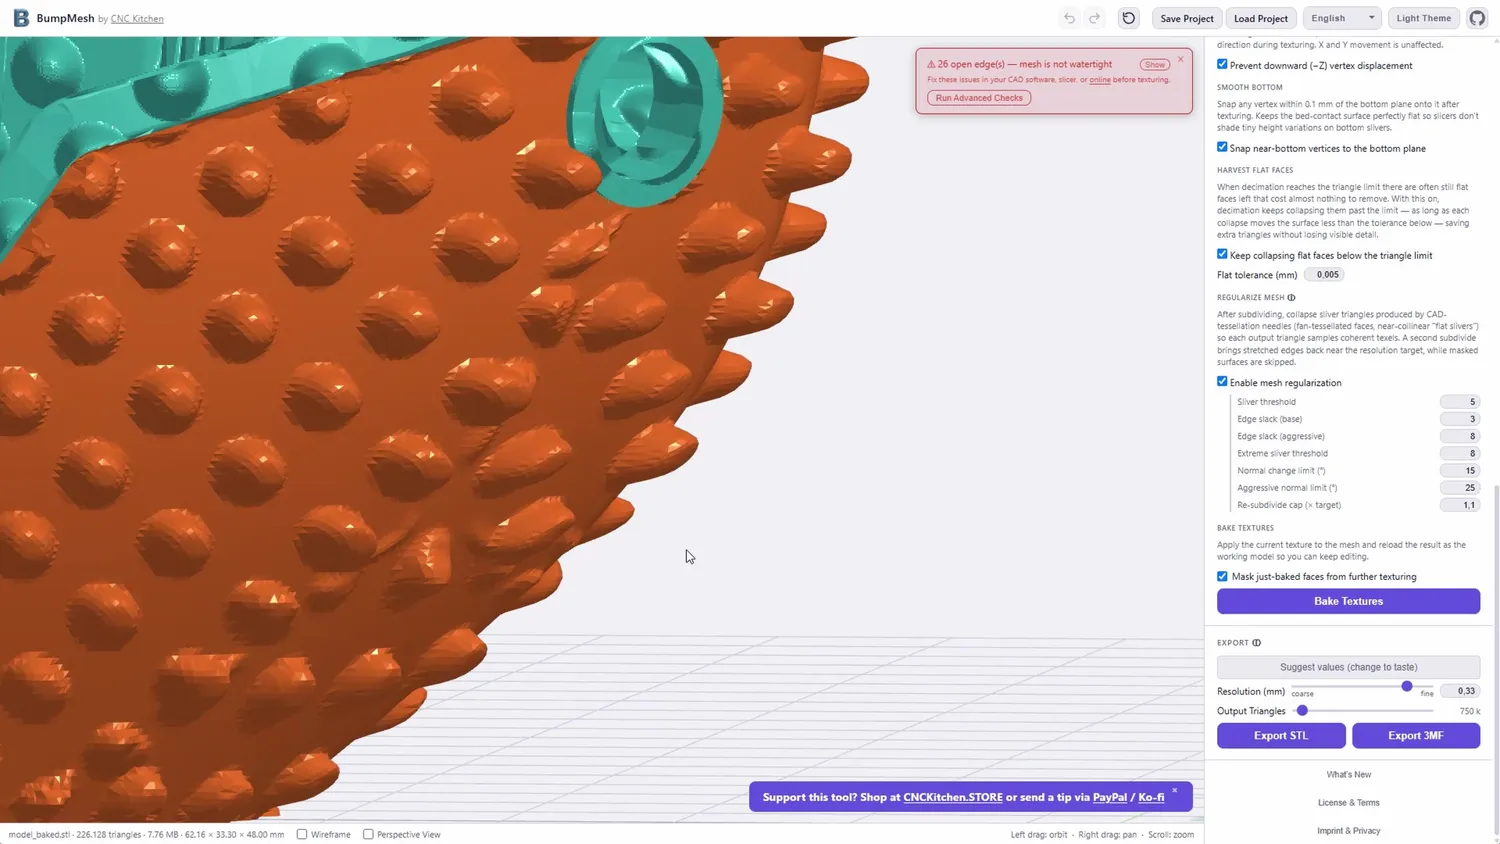
Overhang protection keeps the islands away
Another neat feature, especially if you want to apply multiple textures, is texture baking. By clicking this button, the current texture is applied to your part, and you can directly continue adding the next one without having to export and reload the model.
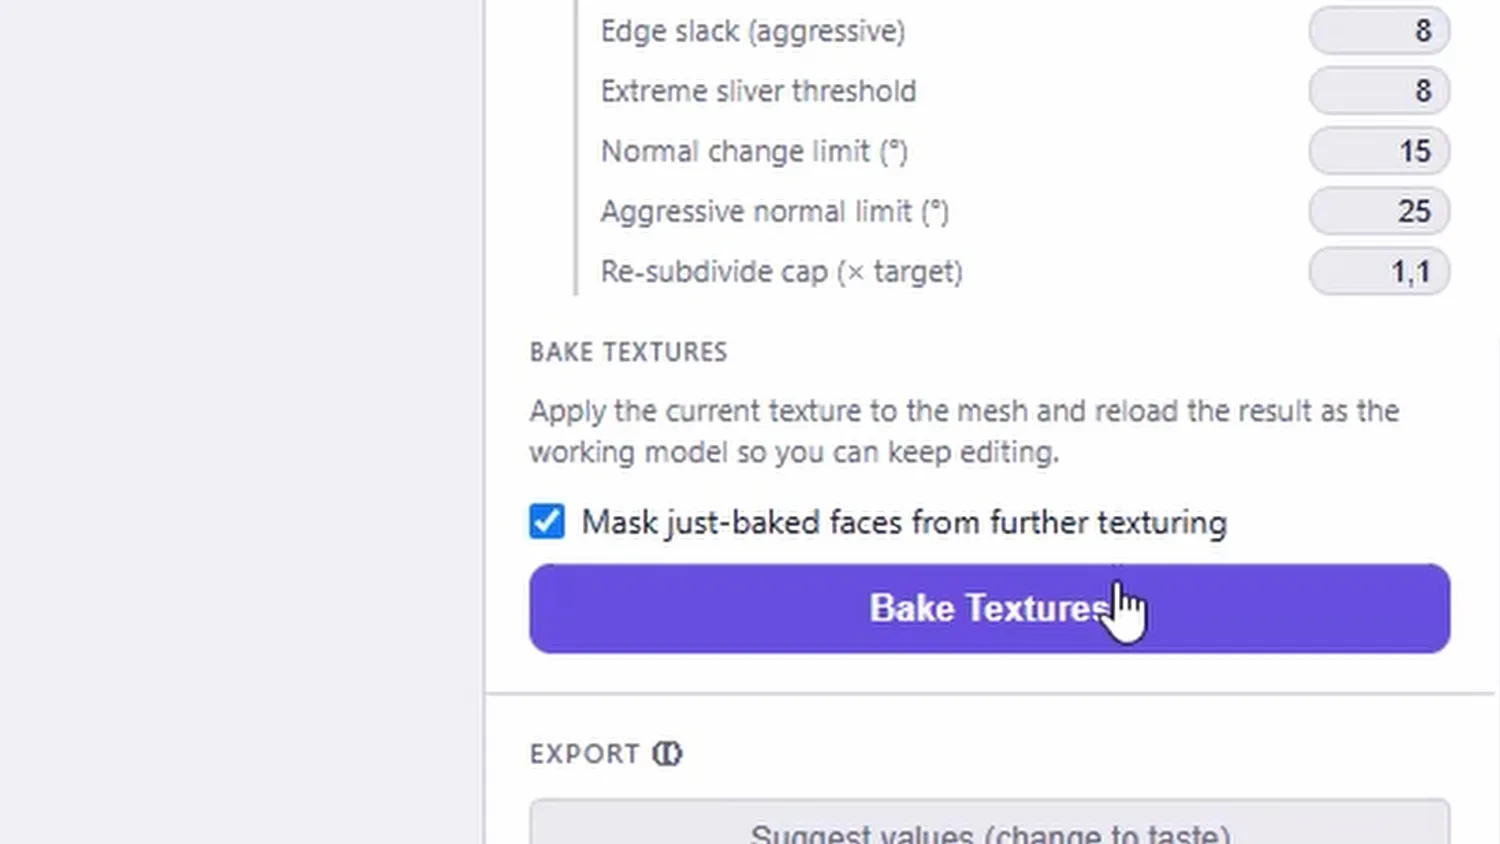
Baking applies the texture and reloads the model
Export: resolution, 3MF and five times faster
One big reason for bad texture quality was the export settings. First of all, the resolution slider was confusing. In the old version, moving it to the left gave you more triangles, because the maximum triangle size got smaller. That confused many people, and I totally understand why. So now, it’s reversed.
It was also always a lot of guesswork and trial and error to find the right resolution for your part and your texture. To remove at least some of that guesswork, I implemented a small recommendation system that suggests a good export resolution and triangle number. It’s not perfect, but it should get you close and make the whole process easier.
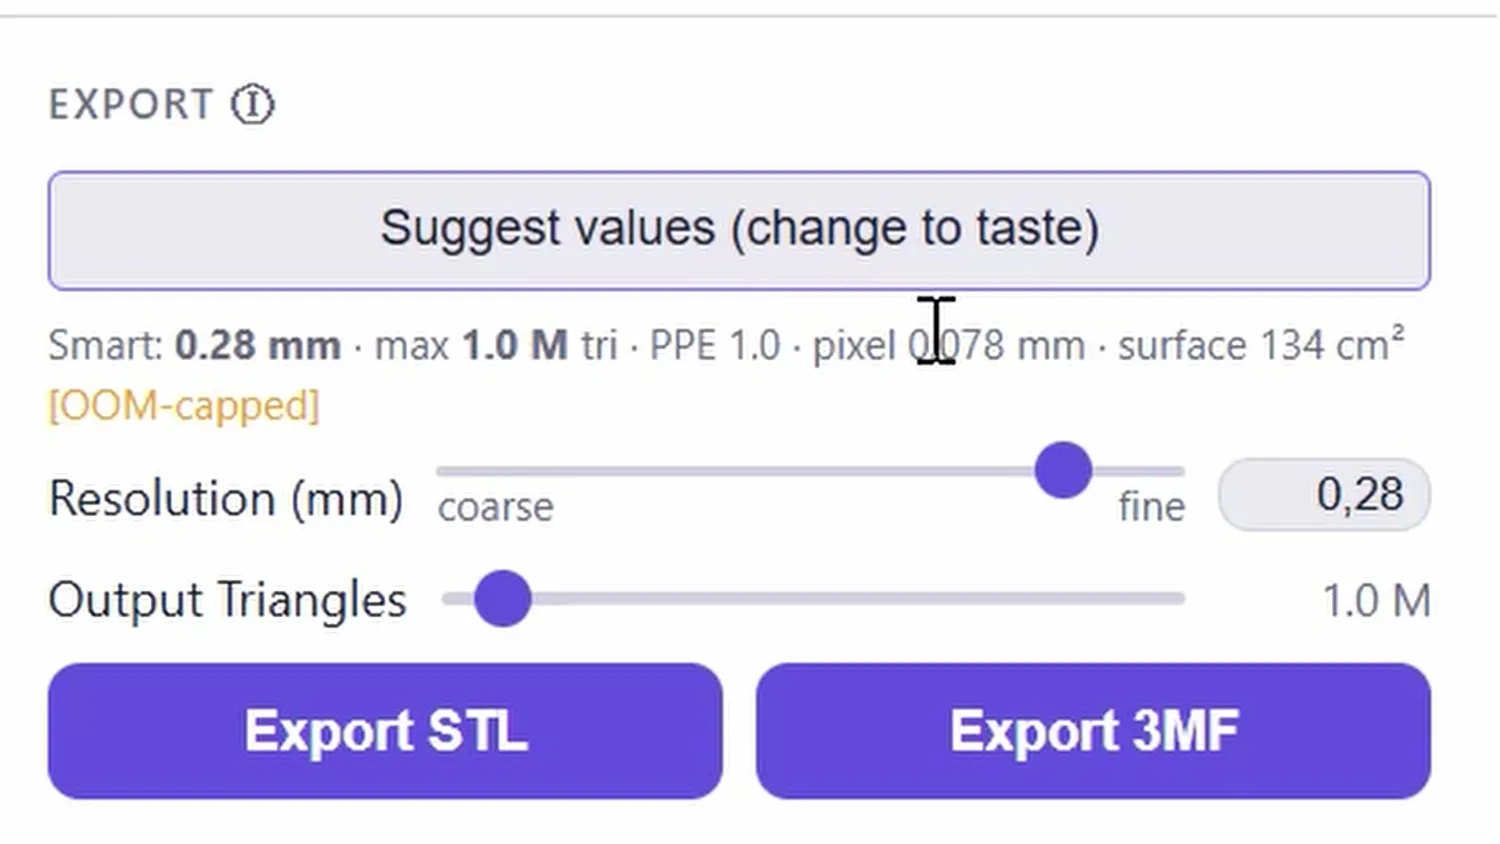
The suggestion gets you close to sensible settings
I also added 3MF export. I’m not a huge fan of 3MF either, because the format can be a bit of a mess and everyone seems to handle it slightly differently. But here it makes sense for one simple reason: file size. A 3MF file is basically a compressed archive, so the resulting files are significantly smaller than STL files and much easier to handle.
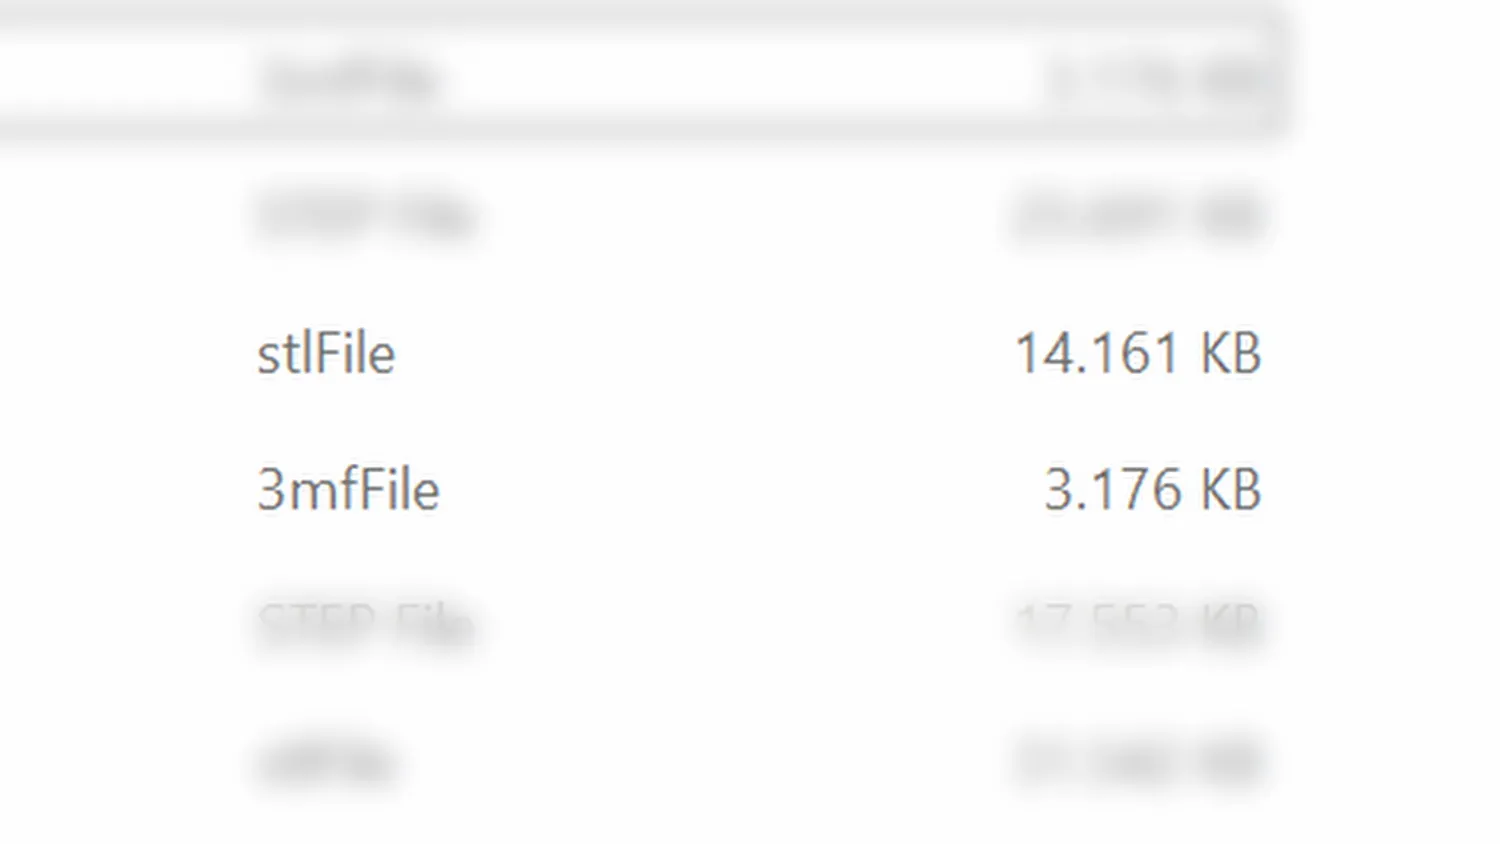
The same part: 14,161 KB as STL, 3,176 KB as 3MF
One of the biggest differences you might notice is when exporting a file. Export is now roughly five times faster than it was in April. And because of the memory optimizations, you can now work with significantly bigger models and finer details. That might be one of the best improvements overall.
What’s next for BumpMesh
There are still many things that I want to implement, like applying multiple textures in one go, multi-color textures like Eric recently added, and a lot more.
I appreciate all of the support I’m getting with this project. Whether it’s tips, code contributions, feature ideas, bug reports, or simply nice emails, it really means a lot.
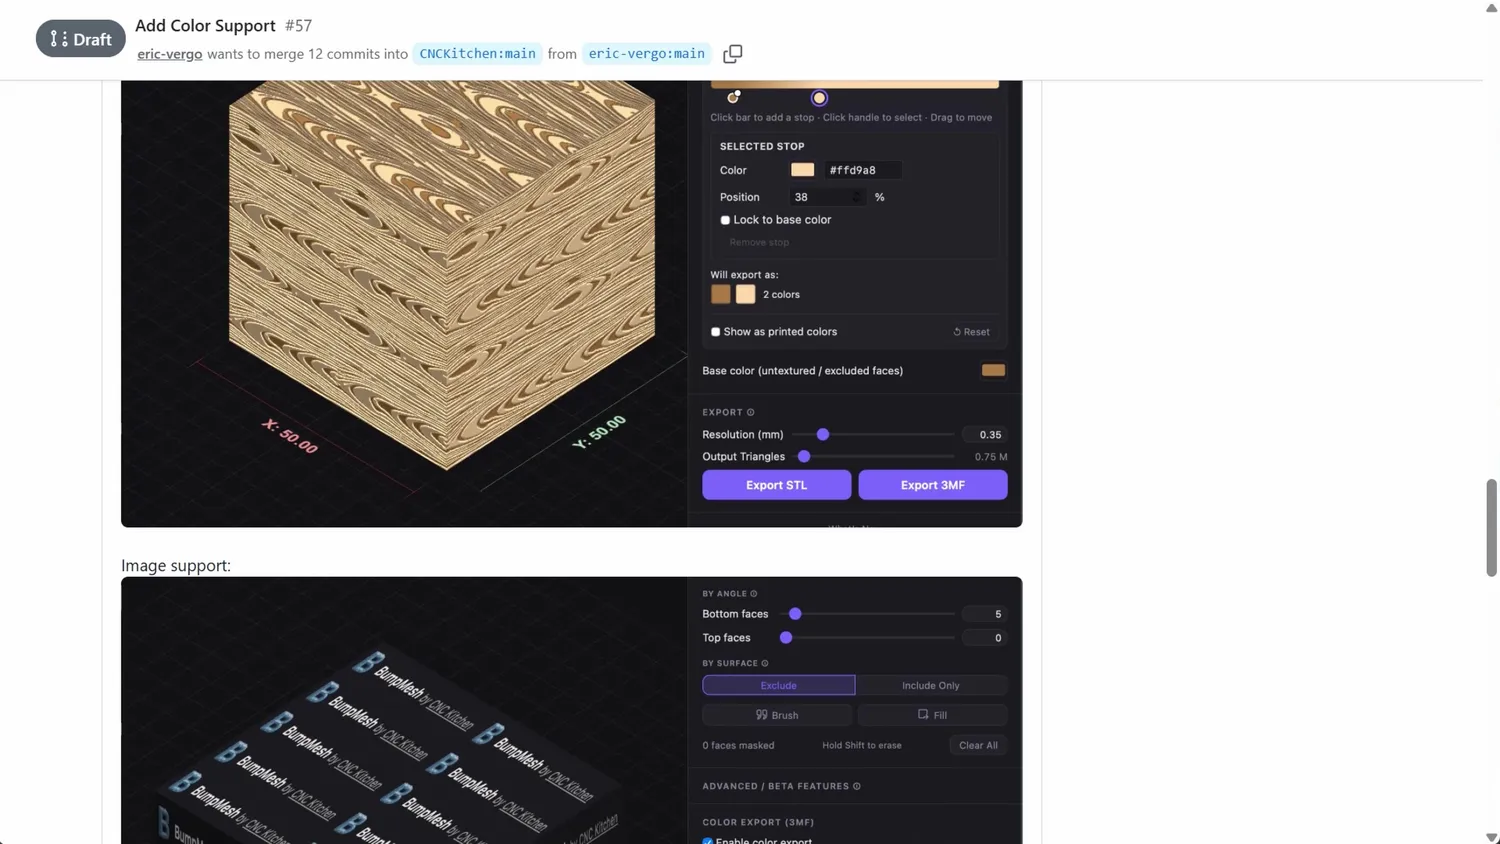
Eric’s color support, still a draft pull request
This project has shown me the power of open source much more directly than before. Until now, I was mostly a user of open-source software. But now I have my own project that keeps growing, thanks to you and also for you.
So I can only sincerely say thank you. And as a little spoiler: there is more to come soon.
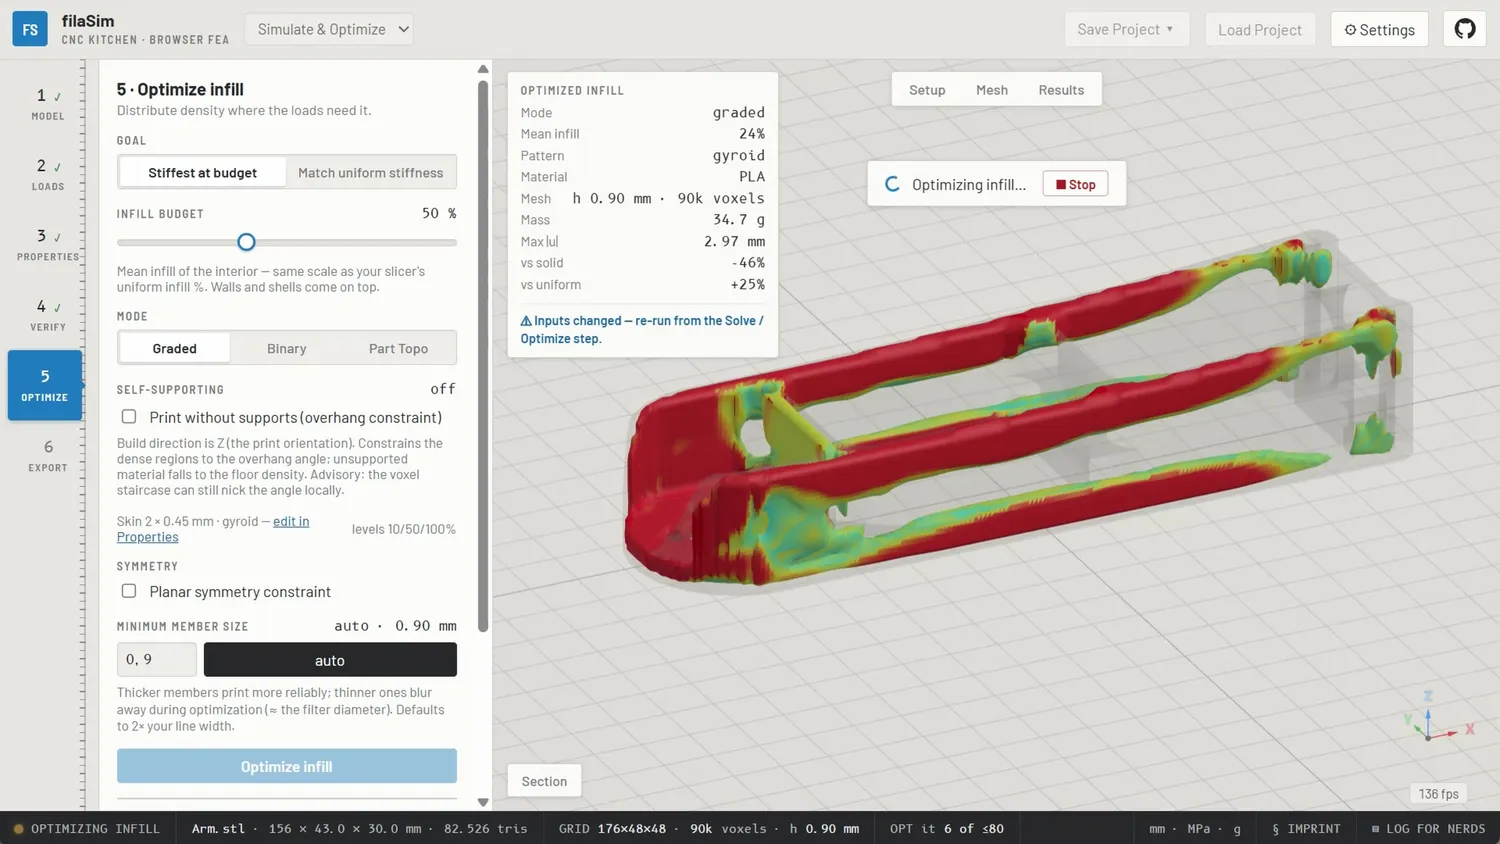
A little spoiler of what’s next