
Stop Using Fuzzy Skin - I made something better!
BumpMesh is my free, browser-based tool for real displacement textures on STL, OBJ and 3MF files: hide Z-seams, add grip and stiffen vase mode prints.
TL;DRthe short version
- Fuzzy skin was as far as I could get with textures in the slicer, and it doesn't even work on top surfaces. The dedicated tools either cost thousands, like Materialise 3-matic, or lock you into one printer, like Formlabs.
- So I built BumpMesh, a browser-based displacement texturing tool that's free and open source, needs no account, and runs completely locally on your STL, OBJ or 3MF files.
- Triplanar projection is the default and wraps most shapes seamlessly; there's also cylindrical and planar for knobs, bottles and flat faces. Choosing the right mode matters more than you might think.
- Angle masking keeps the texture off your bottom face and shallow overhangs, and surface masking lets you paint, click or bucket-fill exactly the region you want, or invert it into include-only mode.
- On export, BumpMesh subdivides the mesh into often millions of triangles and then decimates back down; one million triangles is the default, which slicers can typically still work with.
- A texture completely hides the Z-seam and layer start points on round parts, even a fairly subtle one.
- Circumferential stripes made a vase mode cylinder almost an order of magnitude stiffer, and rotating the pattern by 90 degrees can significantly reduce warping.
- It's not perfect: no multiple textures in one pass, seam artifacts on complex geometry, and on FDM I wouldn't go below 0.3 mm amplitude for anything you actually want to see. But it took me a week and $20 of Copilot, and it's free at BumpMesh.com.
Applying textures to your 3D prints can not only totally enhance the look of your parts but also hide seam lines, add functionality like a grippy surface, and even add strength. But adding them to your parts so far either was very limited with the fuzzy skin option in your slicer, or required special and sometimes expensive software. And in terms of free options, there is Blender but I simply was too lazy to learn Blender for proper texturing, so I made my own tool, which is in my opinion the best web-based tool available today. And I want to share it with you, it’s super easy to use, free and it’s open source, doesn’t require an account, and runs completely locally in your browser.
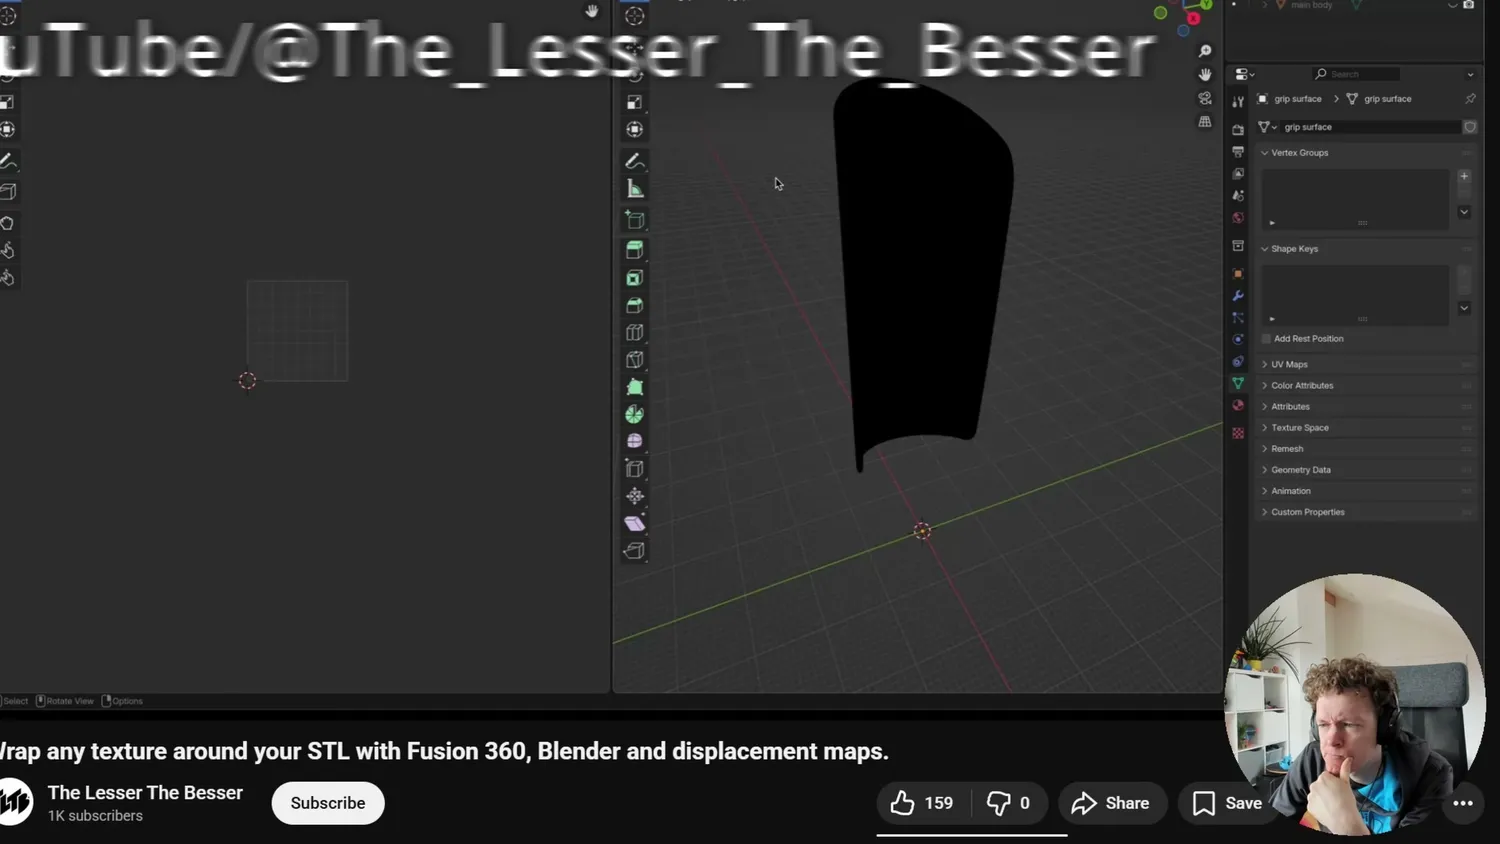
The Blender route (YouTube/The Lesser The Besser)
Why texturing 3D prints was such a pain
I’m a mechanical engineer, so when I design a part in CAD it’s typically a combination of simple shapes fused together by fillets and chamfers. Improving the looks or the function of a part with surface patterns is possible, but CAD is typically not made for that if it’s more than a knurling or some ribs. So in the past, if I wanted a textured surface, I simply activated fuzzy skin in my slicer, which adds a kind of random noise pattern onto the surface of a print and can already help add grip or hide imperfections. But you can’t do much more than that and also doesn’t work on top surfaces.
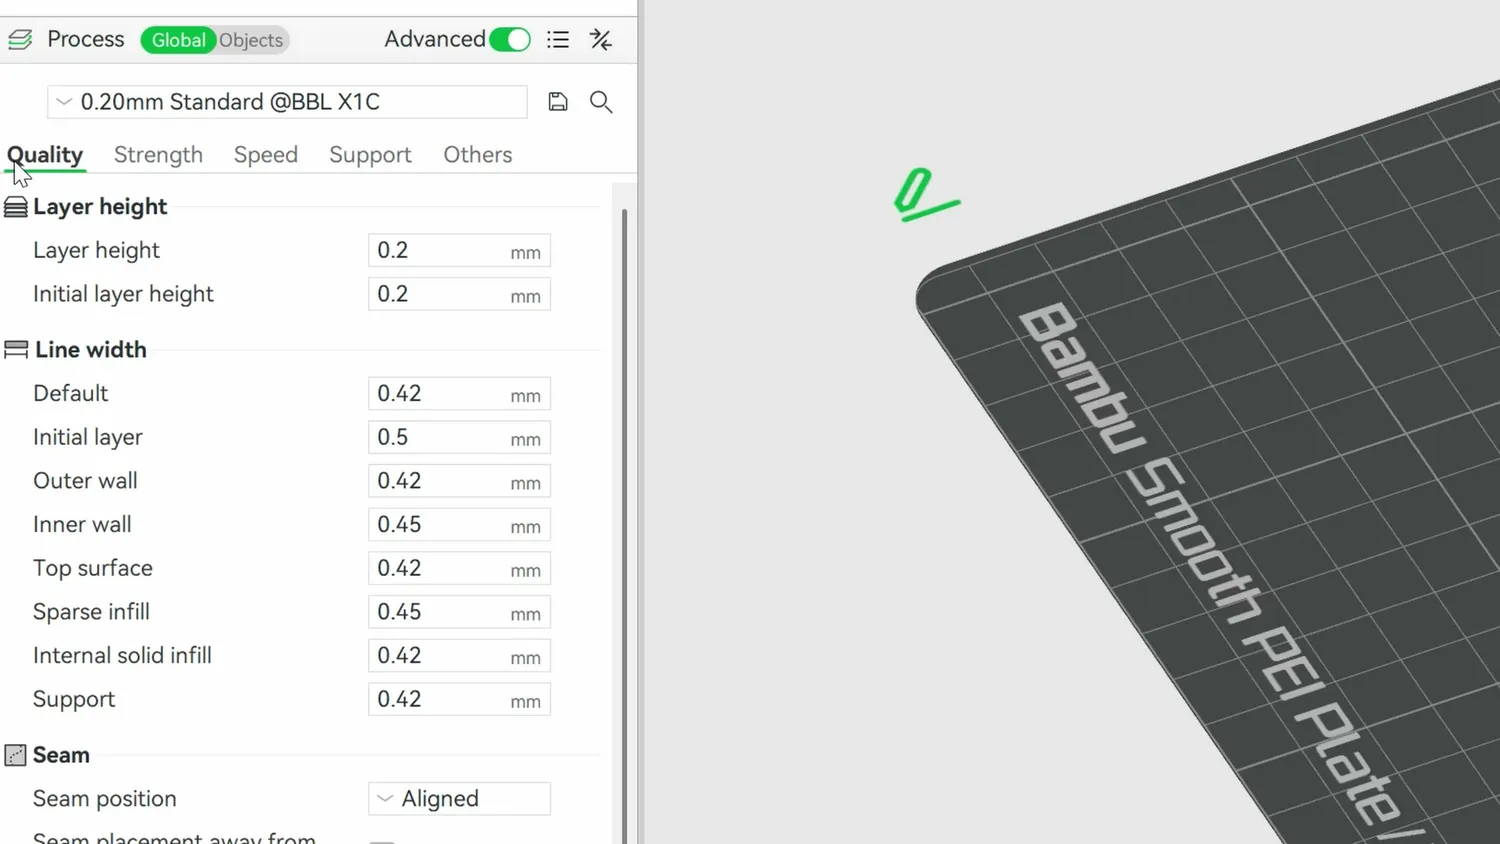
Fuzzy skin lives in your slicer’s print profile
A few years ago I already made a video about a tool within the IdeaMaker slicer that allowed you to add real displacement textures onto your parts for some really nice effects. But these days barely anyone uses that slicer anymore, no other slicer has implemented something similar, and the capabilities were also pretty limited.
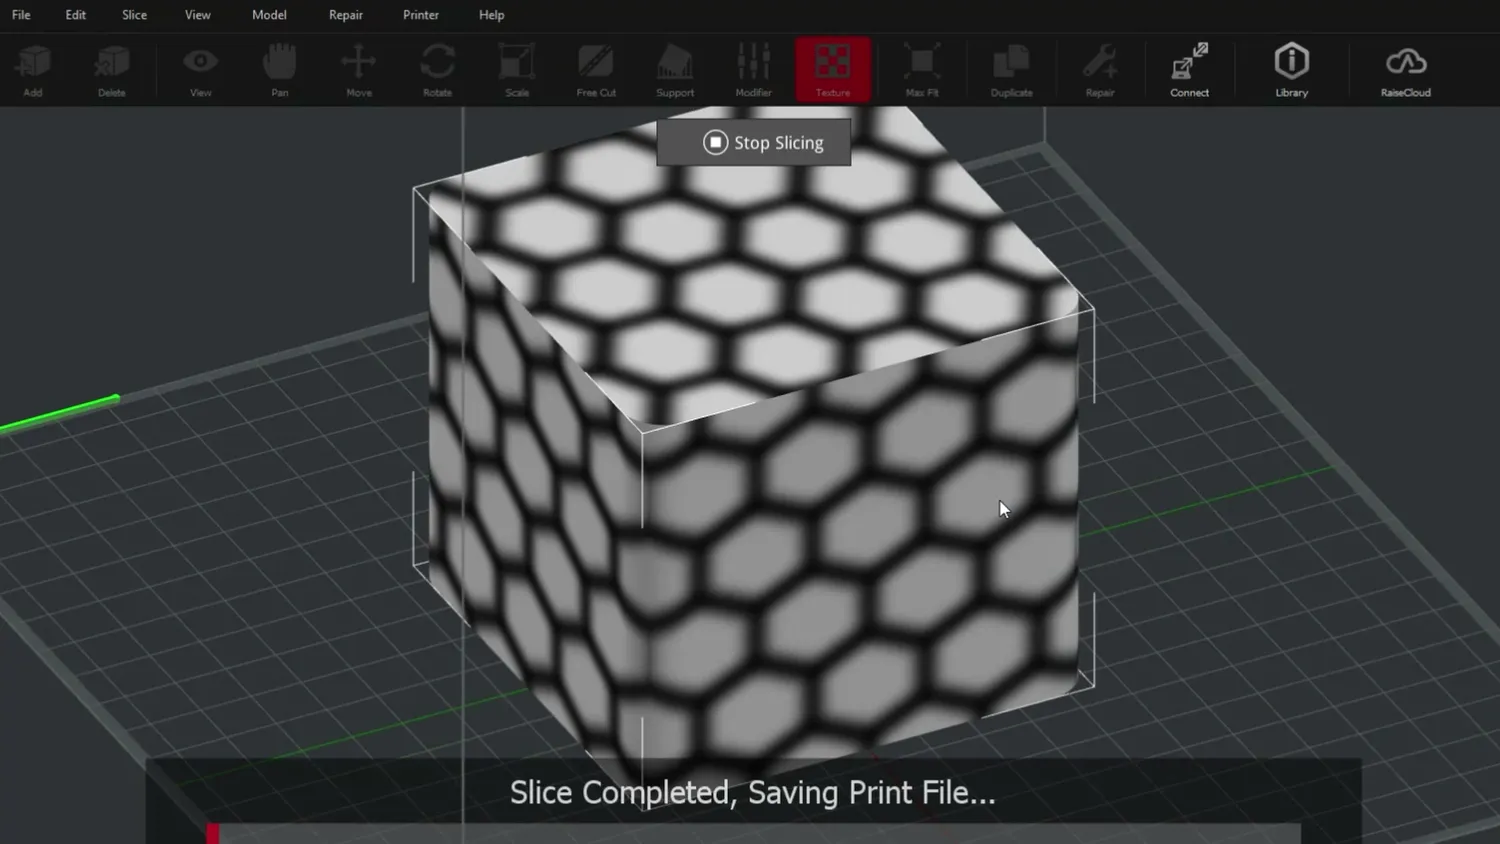
Displacement texturing in IdeaMaker, a few years ago
But instead of applying the texture within the slicer, there are also ways to add it onto the mesh in dedicated tools. One such tool is for example 3-matic from Materialise, but that costs thousands of dollars. Then there is Formlabs, who also implemented a really nice tool in their PreForm slicer a while ago, but you can’t export textured STLs from it anymore, so you can only use it if you’re printing on a Formlabs machine. They also have a web-based Texture Engine, but you need a Formlabs account to access it and even then it’s pretty limited.
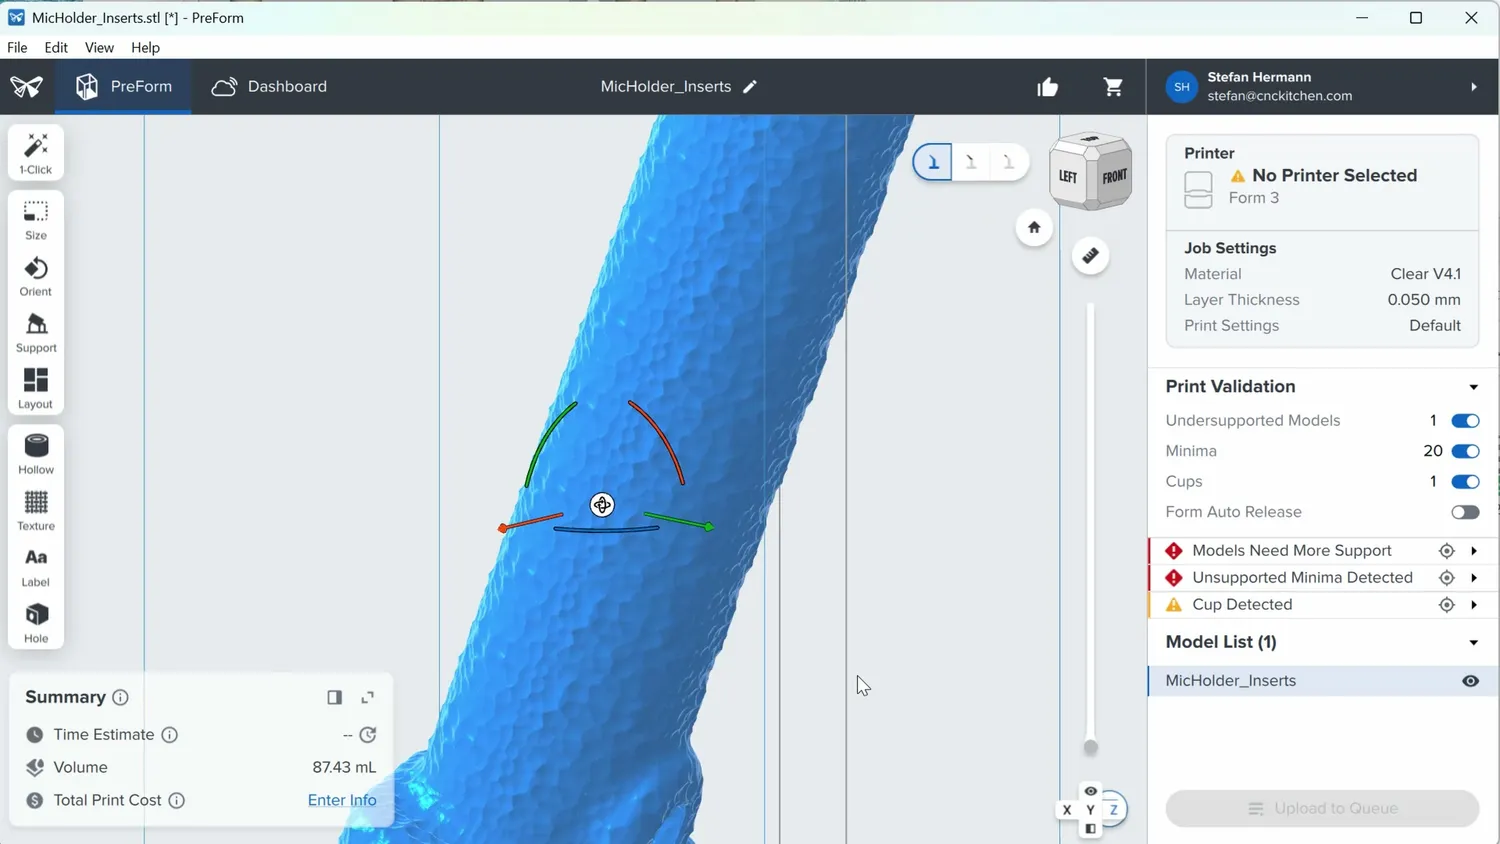
A textured model in Formlabs PreForm
And then there’s Blender. Which is obviously great at editing meshes and adding textures, but my mind, trained on parametric CAD, finds it really hard to get into. I opened it, watched half a UV unwrapping tutorial, got completely lost, and closed it again. So I did what anyone does these days who dips their toes into agentic coding: I decided I’d just build the mesh texturing tool I always wanted.
So I built BumpMesh
Say hello to BumpMesh, an easy-to-use browser-based texturing engine to apply any texture you can imagine to your 3D prints. There is no tracking, no cloud, no account required. Everything runs in your browser, it’s open source, and you can use it even for commercial prints, completely free. There are also no annoying ads, and the only promo you’ll ever see is me occasionally mentioning CNCKitchen.STORE if you want to support the channel.
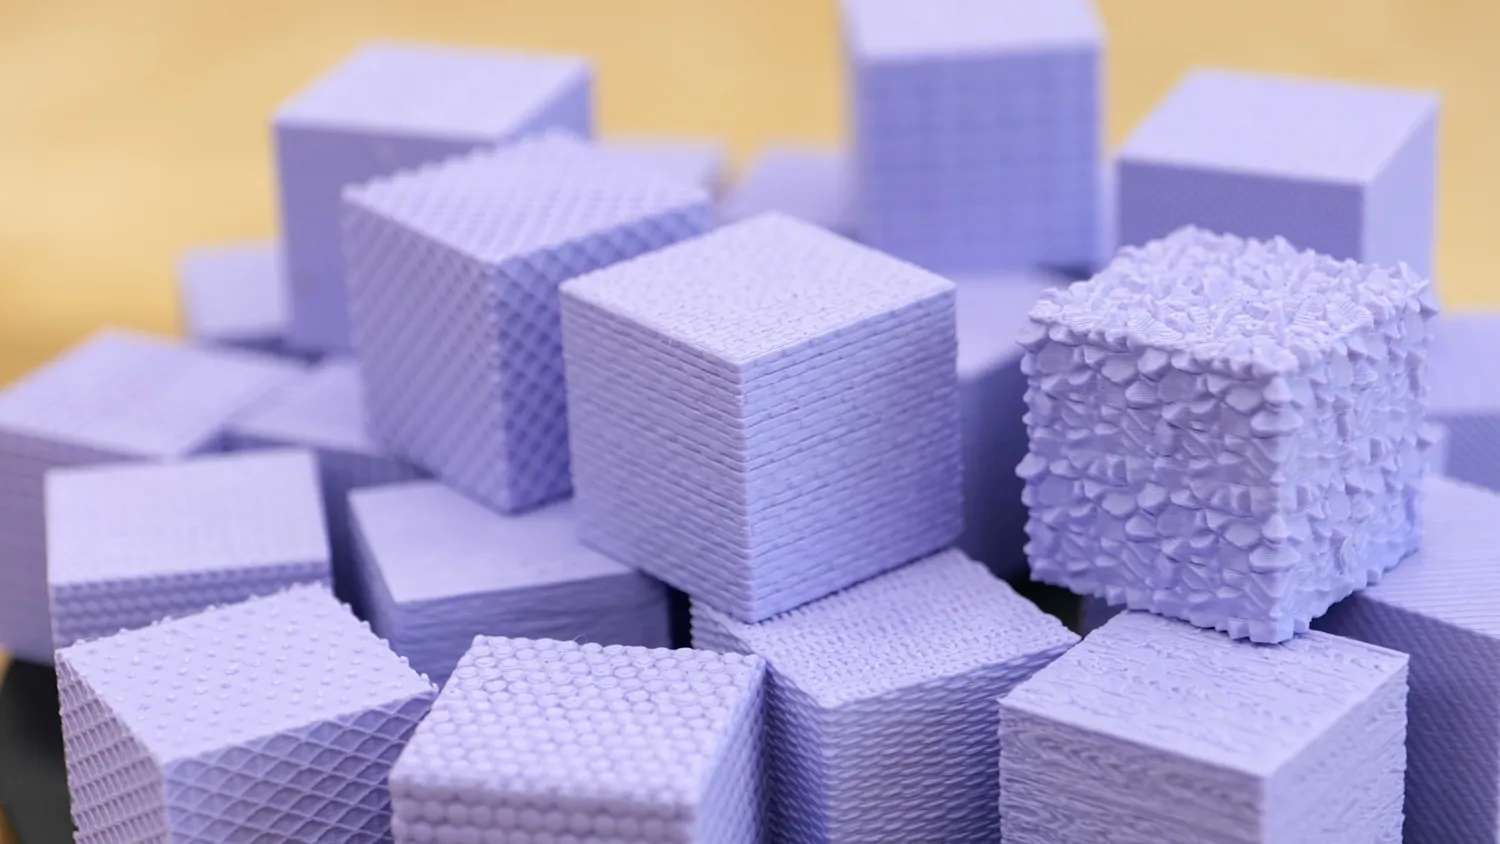
Test cubes with a range of textures
Loading a model and picking a texture
So without further ado, let’s jump into the tool, which you can find at BumpMesh.com. The layout is pretty simple. You mainly have the preview window on the left and the toolbar on the right. There’s also a title bar where you can switch between English and German and toggle between a light and dark theme. The bottom bar shows you stats about your model and lets you activate a wireframe view, which is handy for masking later.
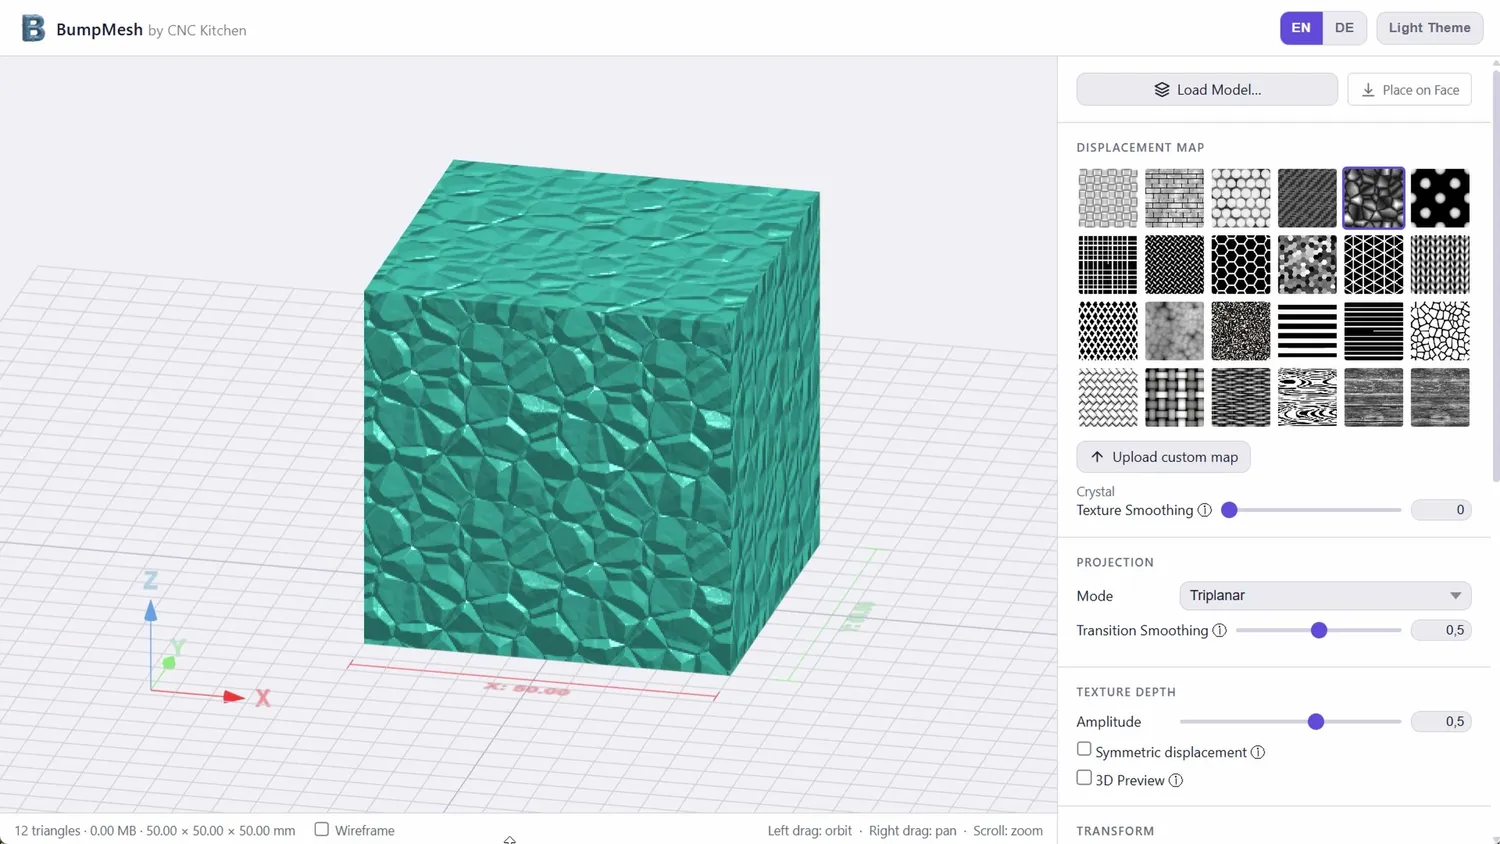
The layout: preview left, toolbar right
The first thing you typically do is load your own model. STL, OBJ, and 3MF are all supported. Especially if your model comes from CAD it might not be properly oriented, so there’s a handy tool that lets you place it flat onto one of its faces.
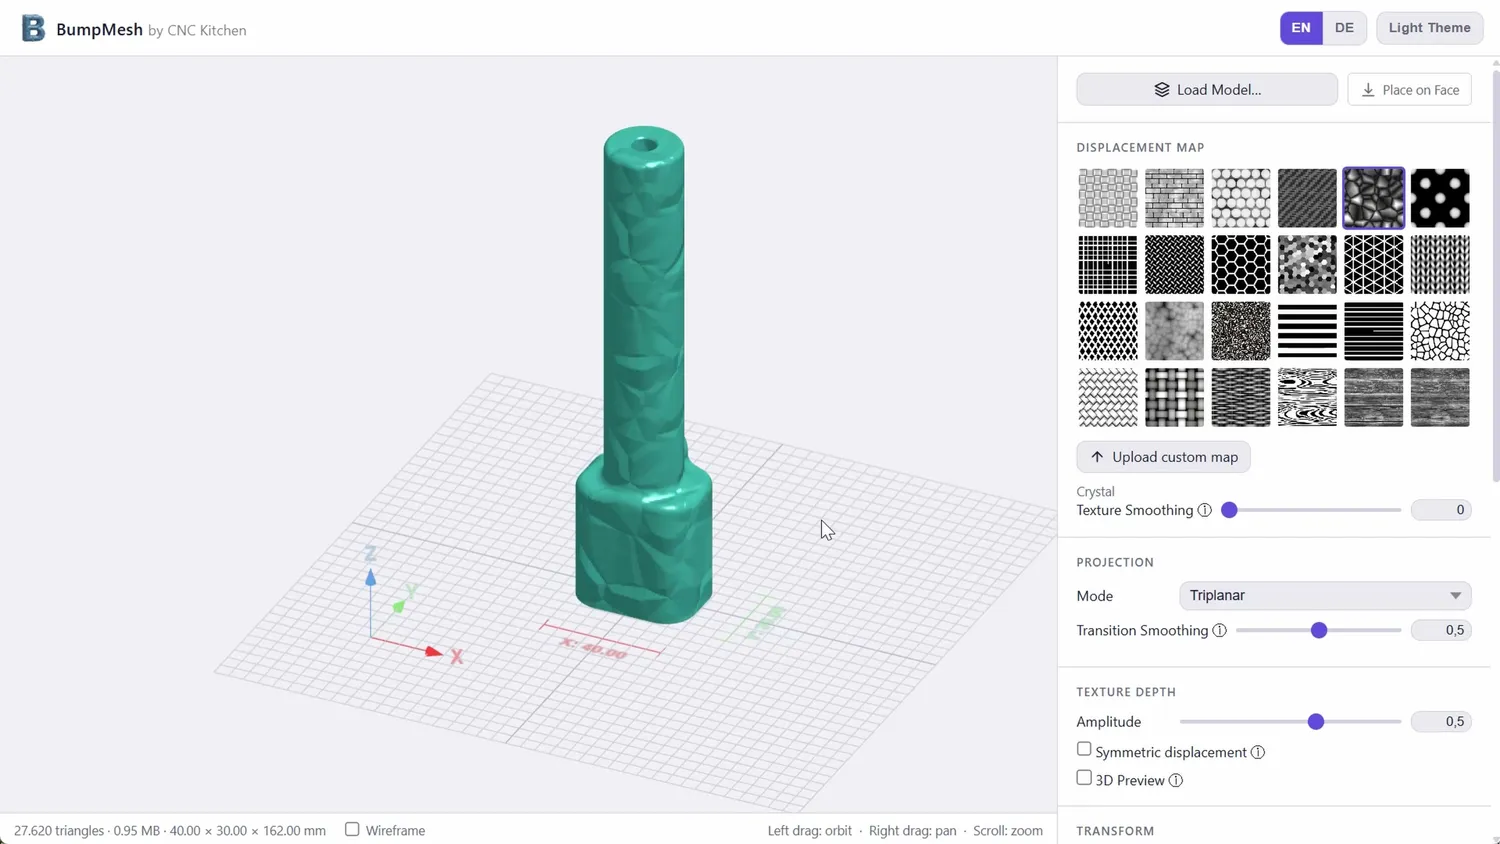
A CAD model loaded and placed flat
Next, you select the texture you want to apply. These are simple greyscale images where black means no displacement of the surface and white means full displacement. There are a bunch of textures included, but you can also upload your own.
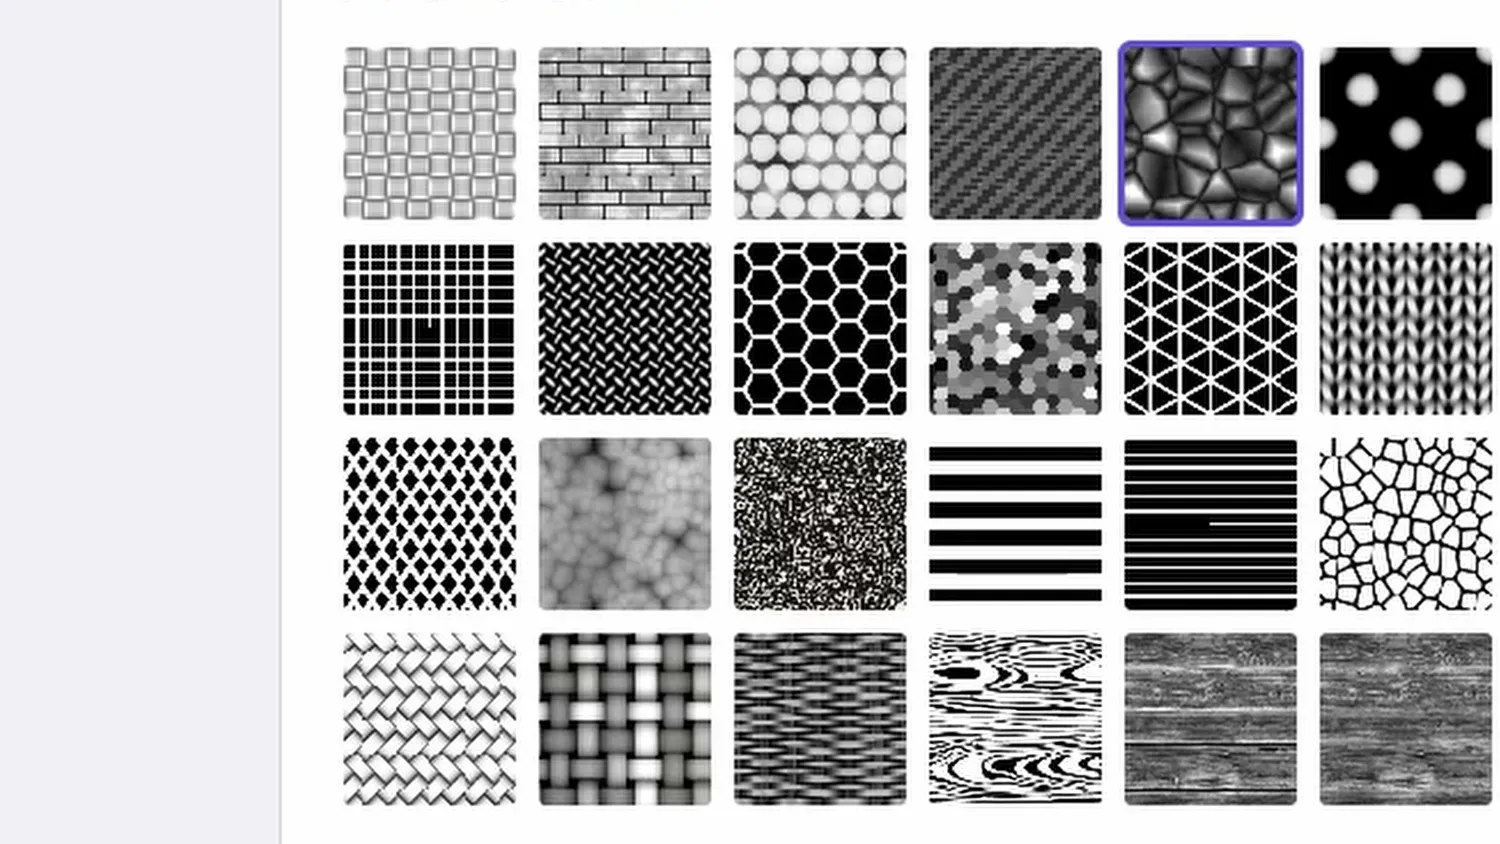
The included greyscale displacement maps
There’s also a slider for texture smoothing, which blurs the displacement map and makes the whole surface a little softer. It can totally transform the look of certain textures. By the way, all sliders can be reset to their default values by double-clicking them.
Projection modes and texture depth
After that you need to select a projection mode. This is how the texture gets wrapped around your model, and depending on the shape you’re working with, some modes work much better than others. The default is triplanar projection, which blends three axis-aligned projections based on the surface normal at each point. That sounds complicated, but the result is simple: the texture wraps seamlessly around most shapes without you having to do anything. For cylindrical objects like knobs or bottles, there’s a dedicated cylindrical mode that wraps the texture cleanly around the axis. For flat surfaces you can use simple planar projections. Choosing the right mode matters more than you might think, and it always makes sense to play around with the options to find out what looks the best.
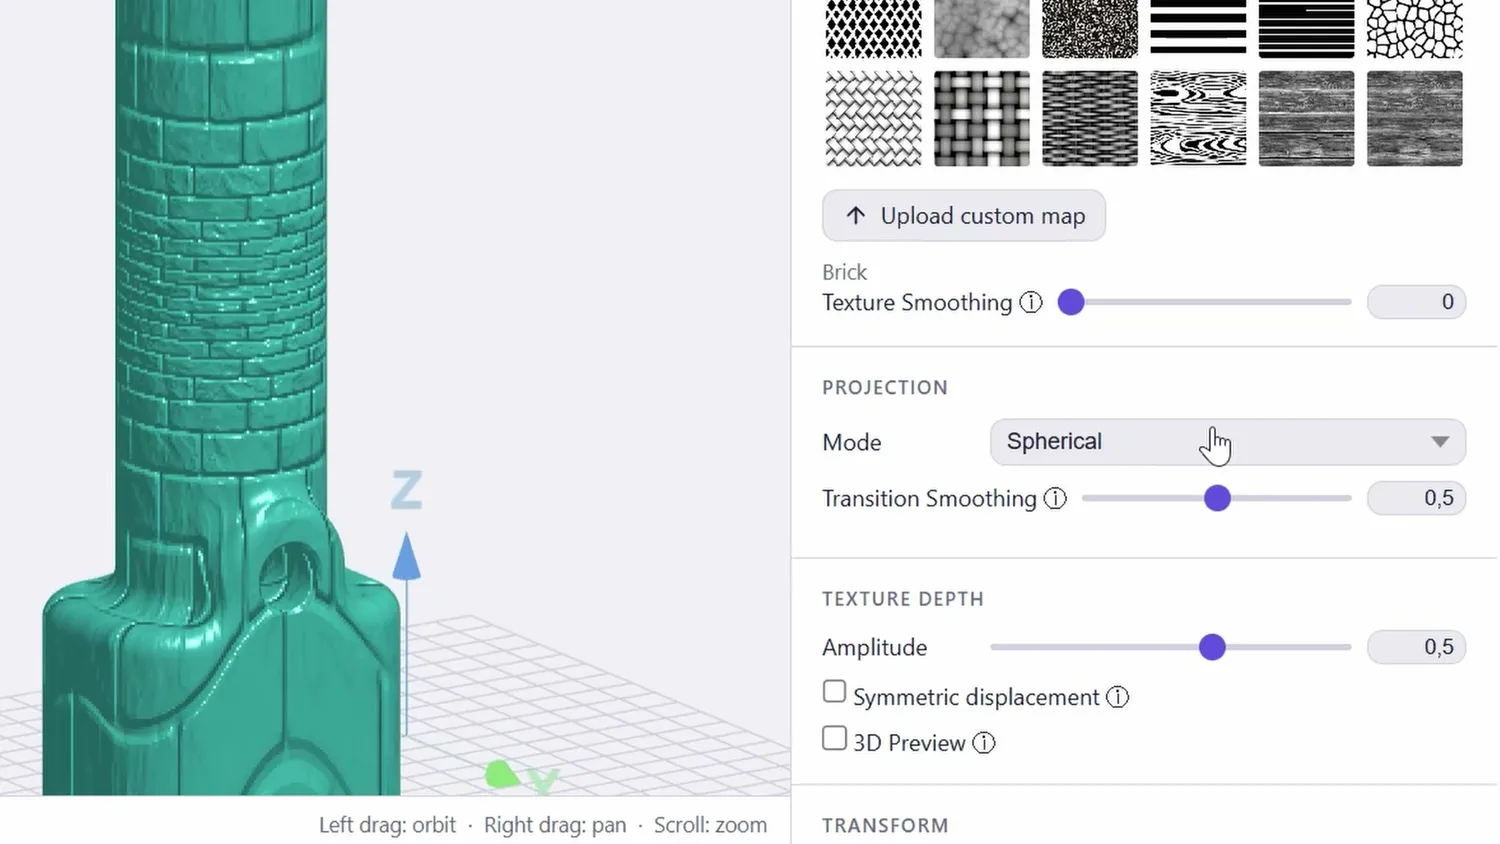
Spherical projection with a brick texture
Depending on the projection mode, there are borders where the texture from two different projection directions meet, and these can be quite sharp. The transition smoothing slider adds a fade at those borders, though it does create slightly overlapping regions, so it needs to be tuned to taste.
Texture depth defines by how much the surface of your model gets deformed. The slider also lets you use negative values to invert the displacement image. And if plus or minus 2mm aren’t enough you can just type in a bigger value. By default, textures always go outward, which increases the volume of your part slightly and might cause overlaps. If you don’t want that, you can activate symmetric displacement. Now 50% grey in the texture means no movement at all, darker values push the surface inward, and brighter values push it out. My early beta testers told me it was hard to judge the amplitude just from a number, so I added a 3D preview mode. This applies the displacement to the model in the viewport. It’s not 100% identical to the exported result, but it’s close enough to dial in your settings visually.
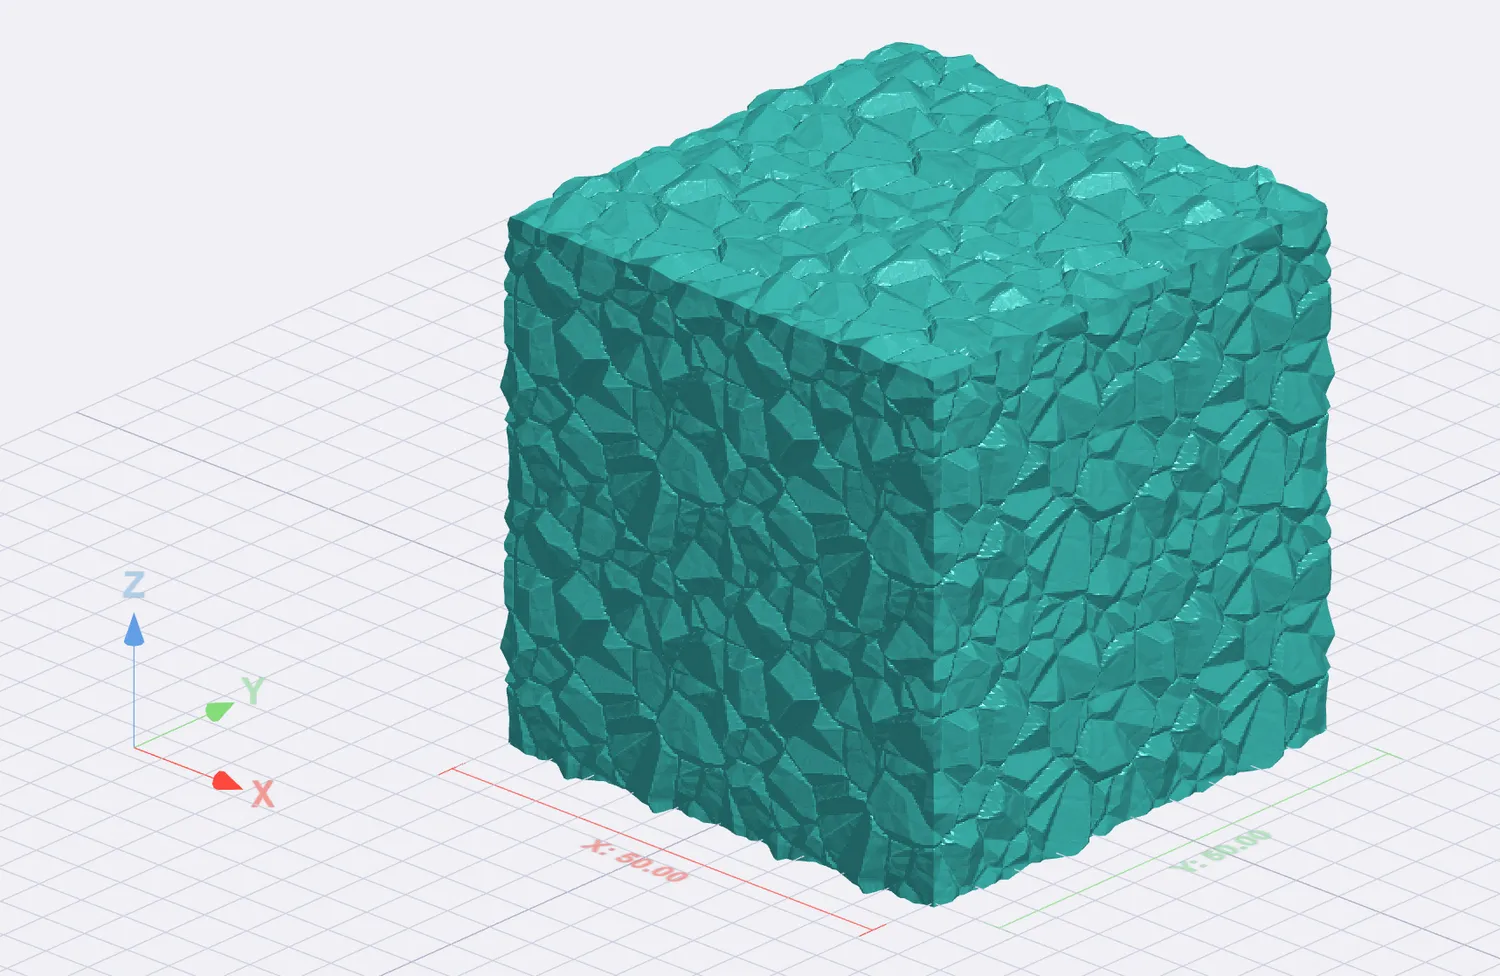
The 3D preview with the displacement applied
The transform section manipulates the size and position of the texture. Scale is the one you’ll use the most; it simply tiles the texture larger or smaller. By default, proportions are locked, but if something looks distorted, you can adjust U and V separately. Offset moves the texture around, and rotation tilts it.
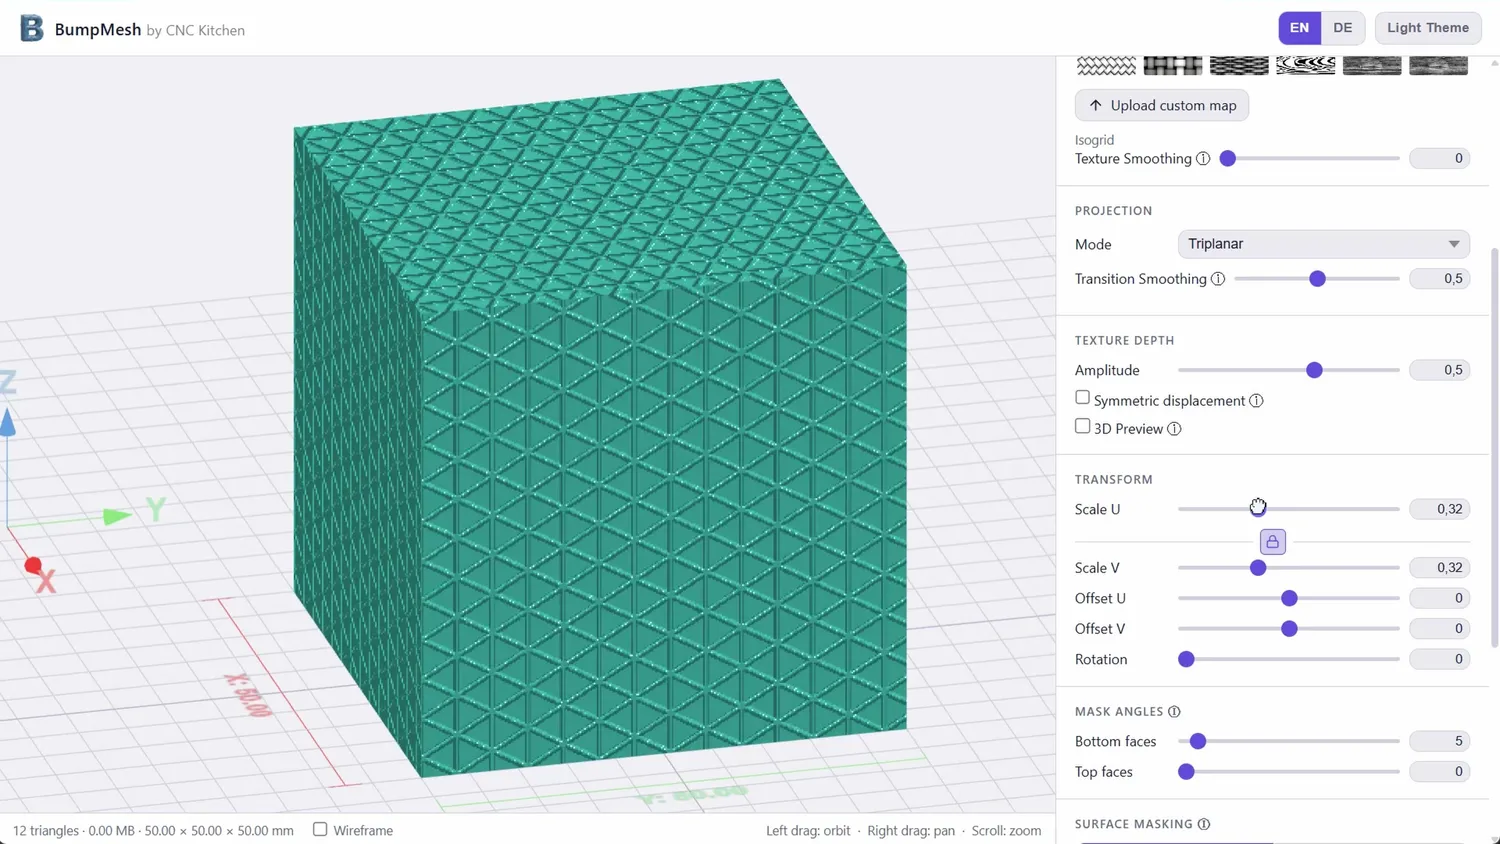
Scale tiles the texture larger or smaller
Masking the surfaces you don’t want textured
Next comes masking, because you probably don’t want a texture on every surface of your part. First I added angle masking specifically for 3D printing. You almost certainly don’t want your bottom face textured if it needs to sit flat on the print bed, and very shallow overhangs might not come out well when printed if they’re textured. Setting the threshold to 0 disables it; anything above that will mask the triangles on your model that fall within that surface angle, shown as grey in the preview.
Surface masking is even more powerful. You can either select specific areas where you don’t want a texture, or switch into include-only mode, where only the areas you paint will get textured. You can select by clicking on faces, draw with a brush, or use a bucket fill to flood a region. Holding shift removes a selection. I’ll show you a real example of why this matters in a bit.
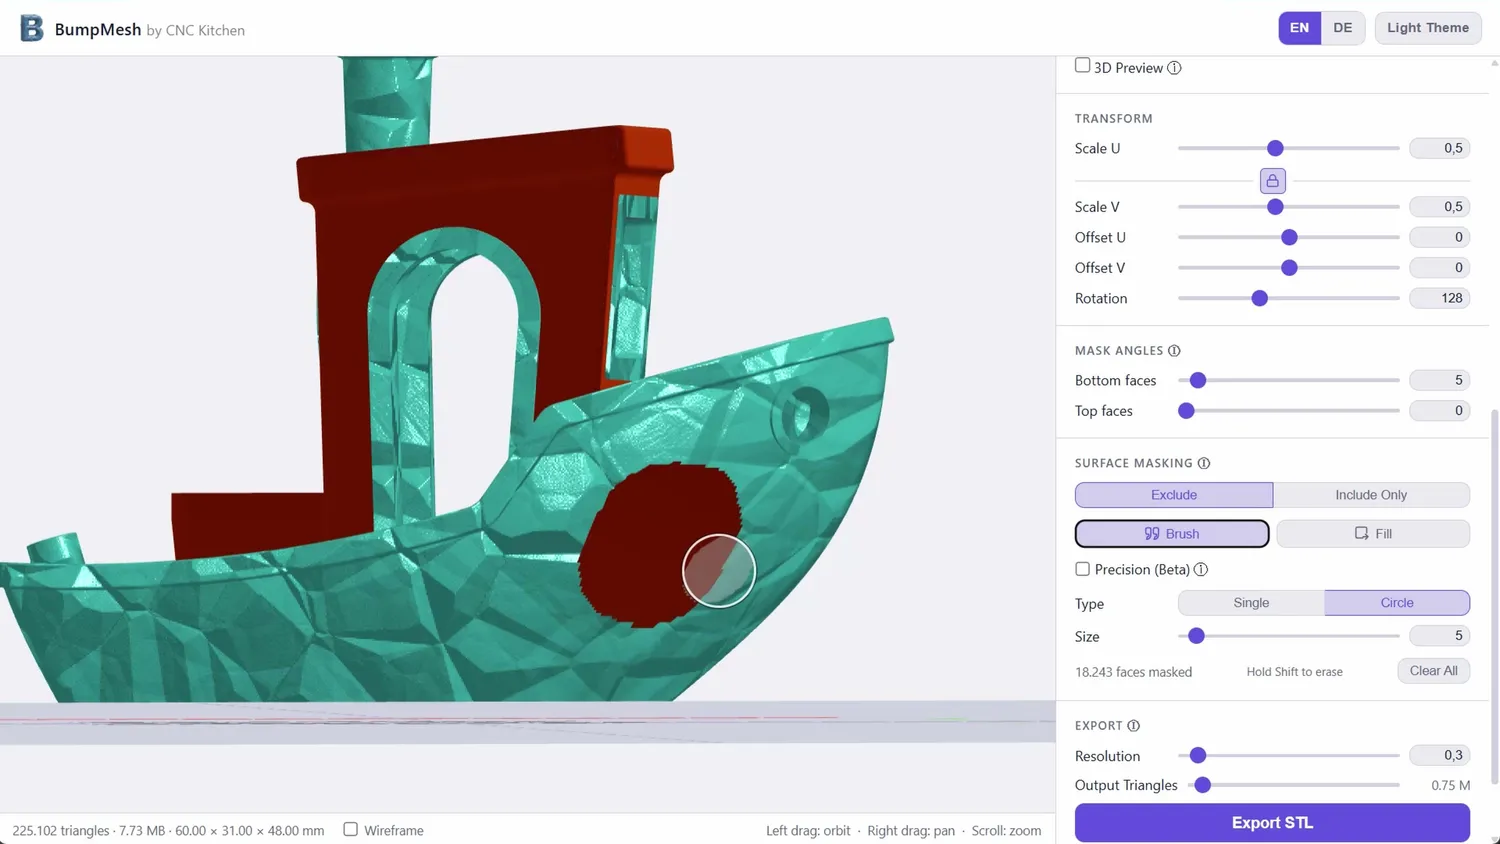
Painting a surface mask with the brush
Exporting: resolution and decimation
Once you’ve set everything up, it’s time to export, and here there are two options that significantly impact the quality of your result.
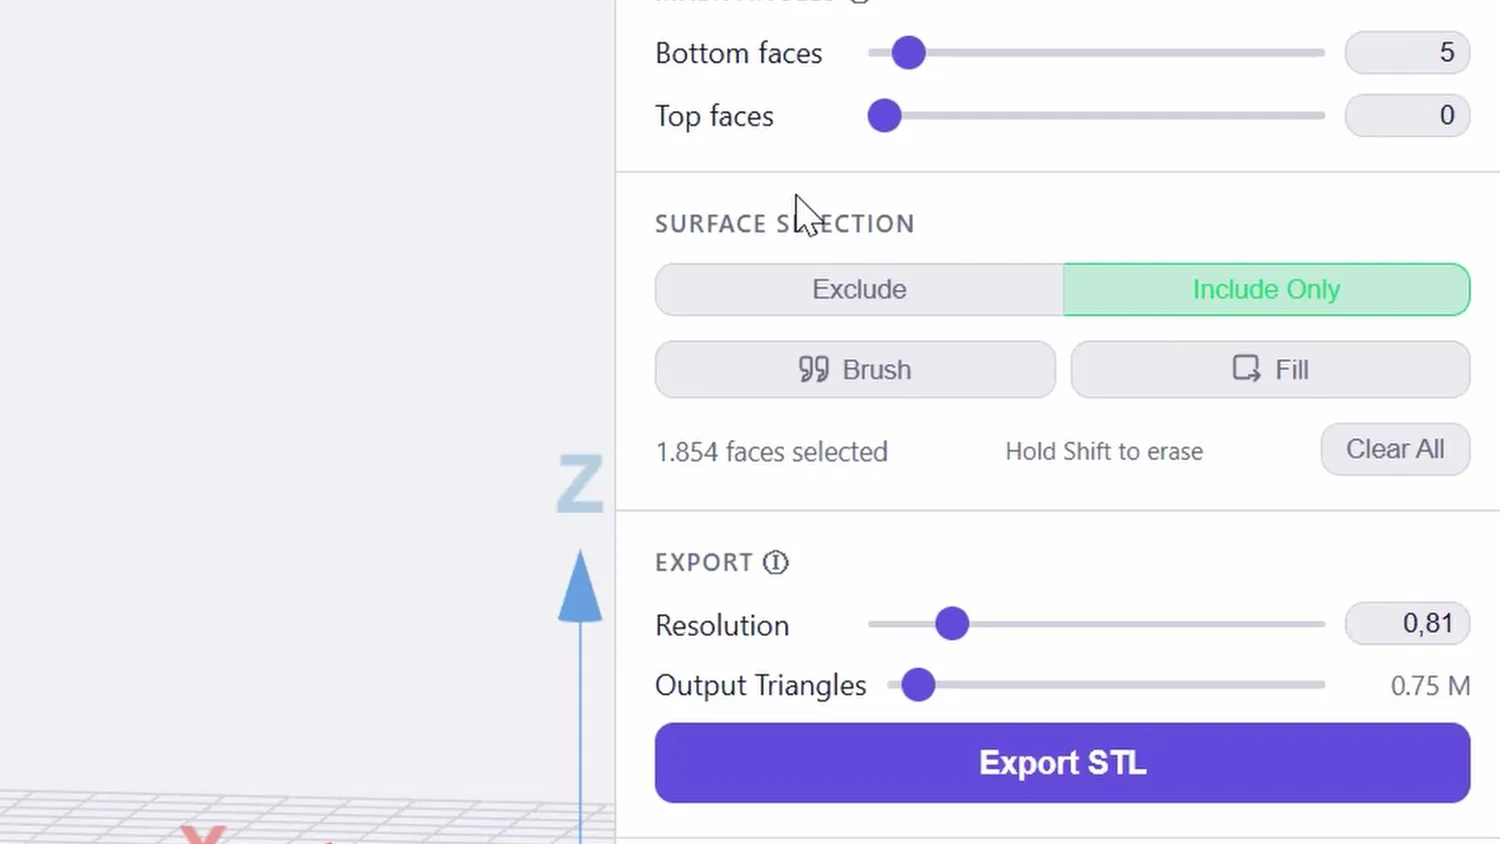
Resolution and output triangles set the quality
First is resolution. STLs are triangle meshes, and what BumpMesh does is move the vertices of those triangles according to the displacement texture. But a raw STL can be very coarse. The default cube only has two triangles per side, so there’s no way to capture any texture detail by just moving four corner points. That’s why BumpMesh first subdivides the mesh into often millions of smaller triangles. The resolution slider defines the maximum edge length of those triangles. The default usually works, but if you have a large model with fine texture details you may need to use a lower value.
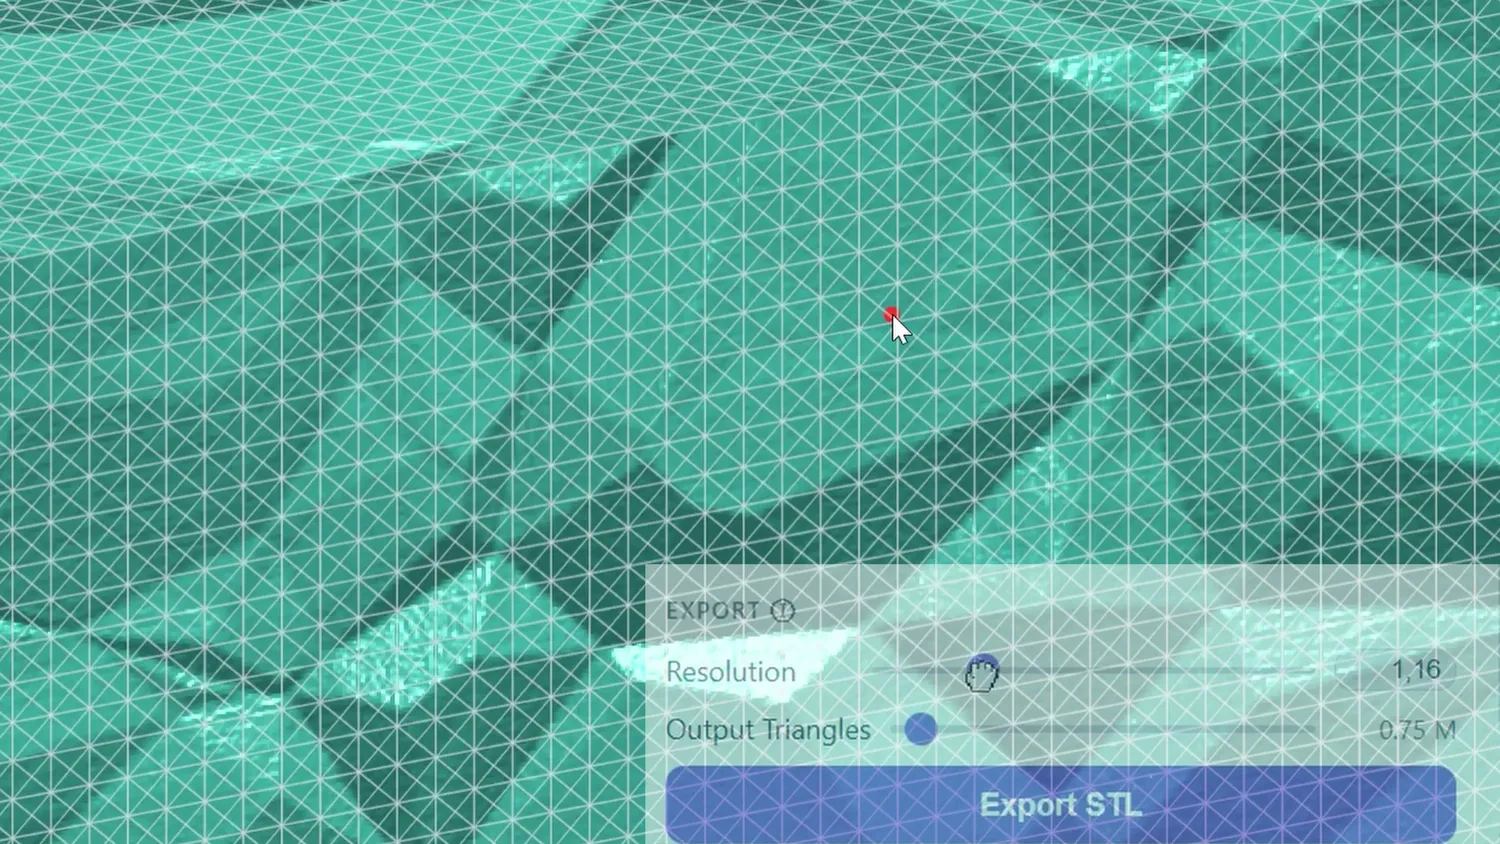
The mesh subdivided into millions of triangles
That subdivision step generates a lot of triangles which makes the file huge and slicing slow. So I also implemented a decimation step before the final STL is written. This is very similar to what the “Simplify” tool does in PrusaSlicer or BambuStudio: it merges flat areas where you don’t need a lot of detail. One million triangles is the default, which is high, but is still a number slicers can typically work with. If processing time doesn’t matter for you and you want smaller files, you can even significantly reduce that number with only a minimum impact on quality.
Generally, you get the best results with a low resolution number, but at some point the model gets too large to process, so it’s worth playing around. As always, try the defaults first. They’re usually not so bad.
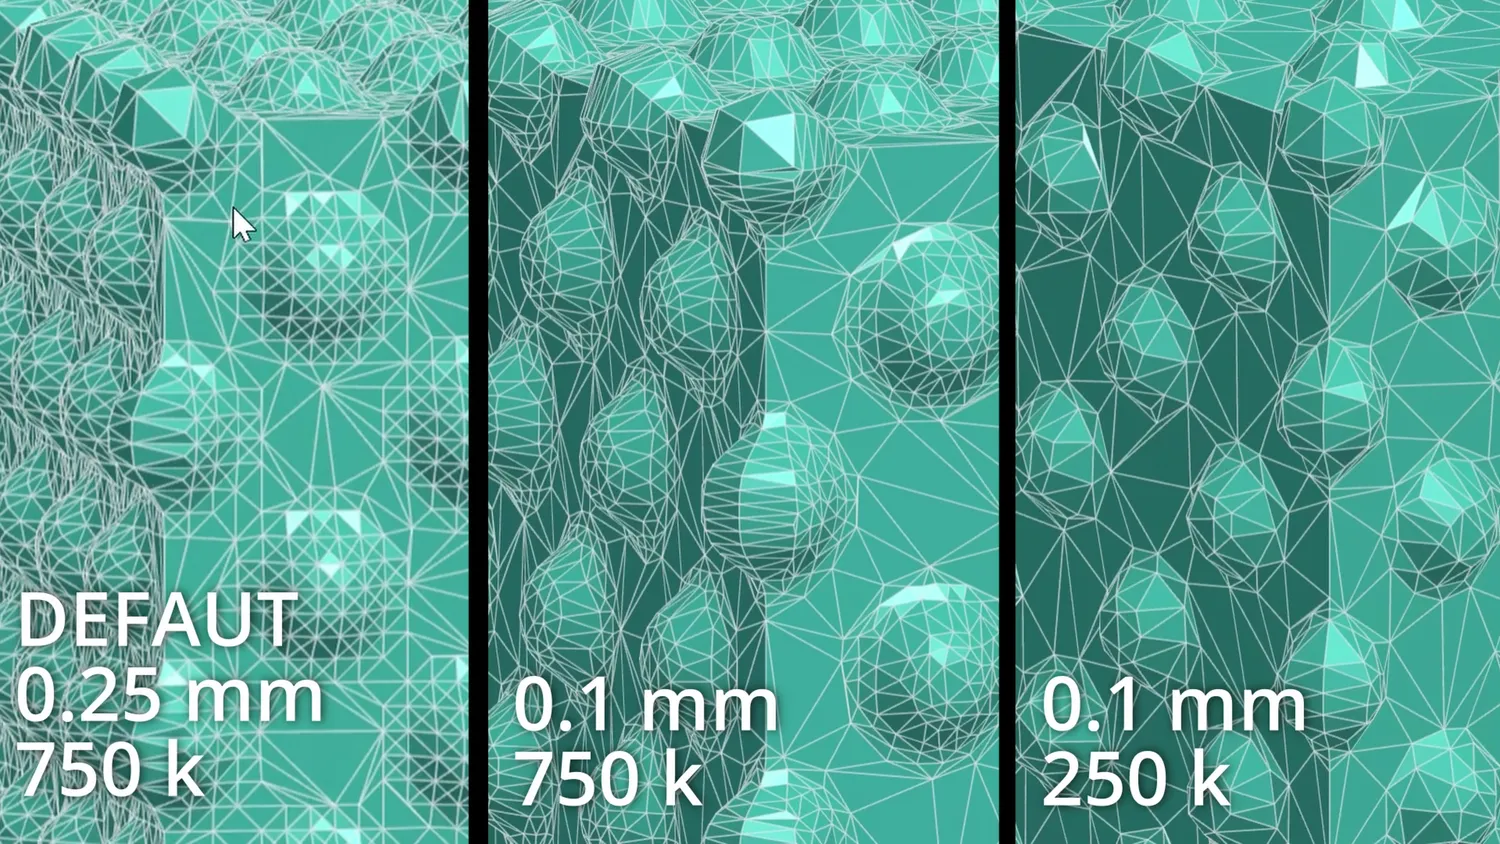
0.25 mm and 0.1 mm resolution compared
Once you click Export, the model is processed and downloaded automatically. Depending on your model, this can take anywhere from a few seconds to a few minutes. Keep BumpMesh in the foreground during that time, because browsers will throttle background tabs to save resources and the processing will pause. There’s a progress bar so you always know something is happening. And that has been a full walkthrough of the tool!
Hiding seams, custom textures and stiffer prints
Let’s now look at some examples.
One of my favorites is this sphere with the crystal texture applied. It might not be the most practical thing, but it shows how much detail we can add to a simple primitive. And it shows something really useful: the texture completely hides the seam and the layer start points on the sphere. Even a much more subtle texture does this. It’s a quick way to get rid of visible Z-seams on round parts.
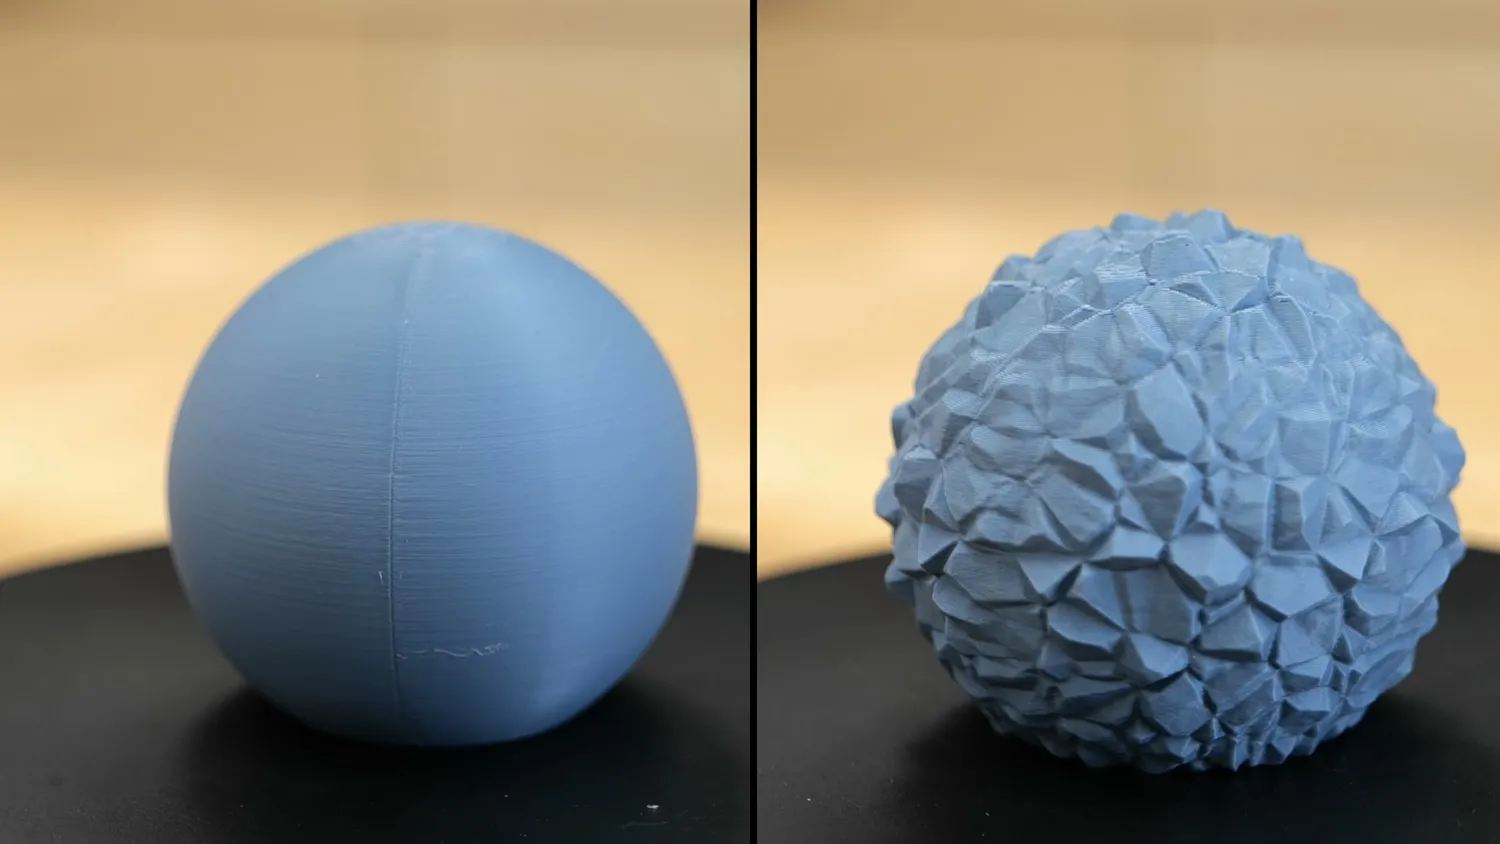
(left) plain sphere, (right) crystal texture
BumpMesh is also not limited to the built-in textures. You can load any image, and the brightness values will determine the surface displacement. Preferably use greyscale images that are tileable, meaning you can place them next to each other with no visible seam. Either make them yourself, as I did with the channel logo here, or just google for “black and white tileable texture” and you’ll find plenty to work with.
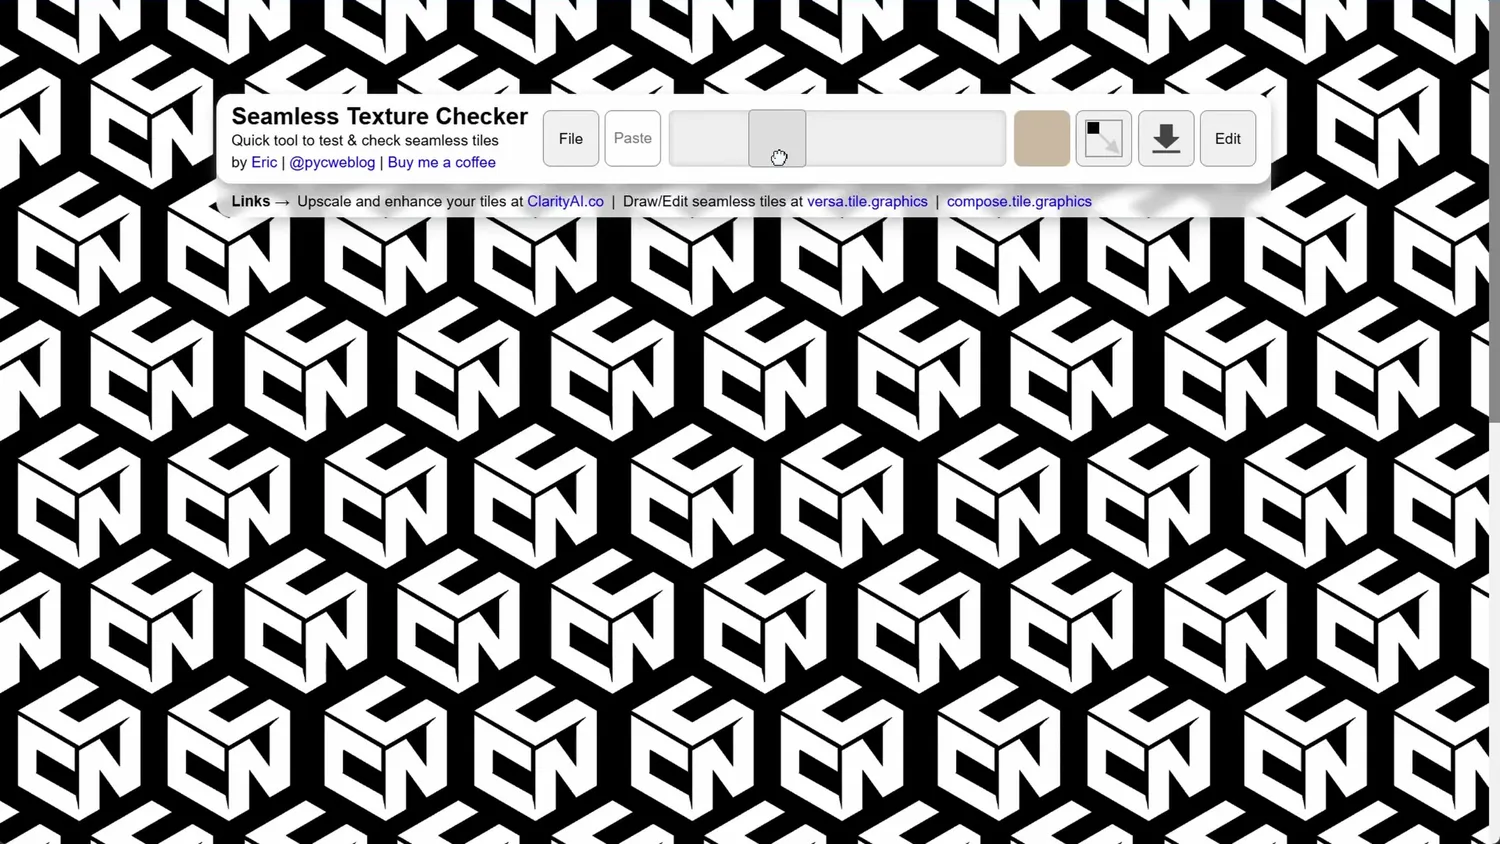
Checking a custom texture for seamless tiling
But textures aren’t only aesthetic. Lots of parts around you have bead patterns stamped into sheet metal to make them stiffer, the same principle as slightly folding a piece of paper. This is really useful for vase mode prints. Adding circumferential stripes around this cylinder makes it almost an order of magnitude stiffer than the untextured version. And rotating the pattern by 90 degrees can significantly reduce the warping you sometimes get on these parts.
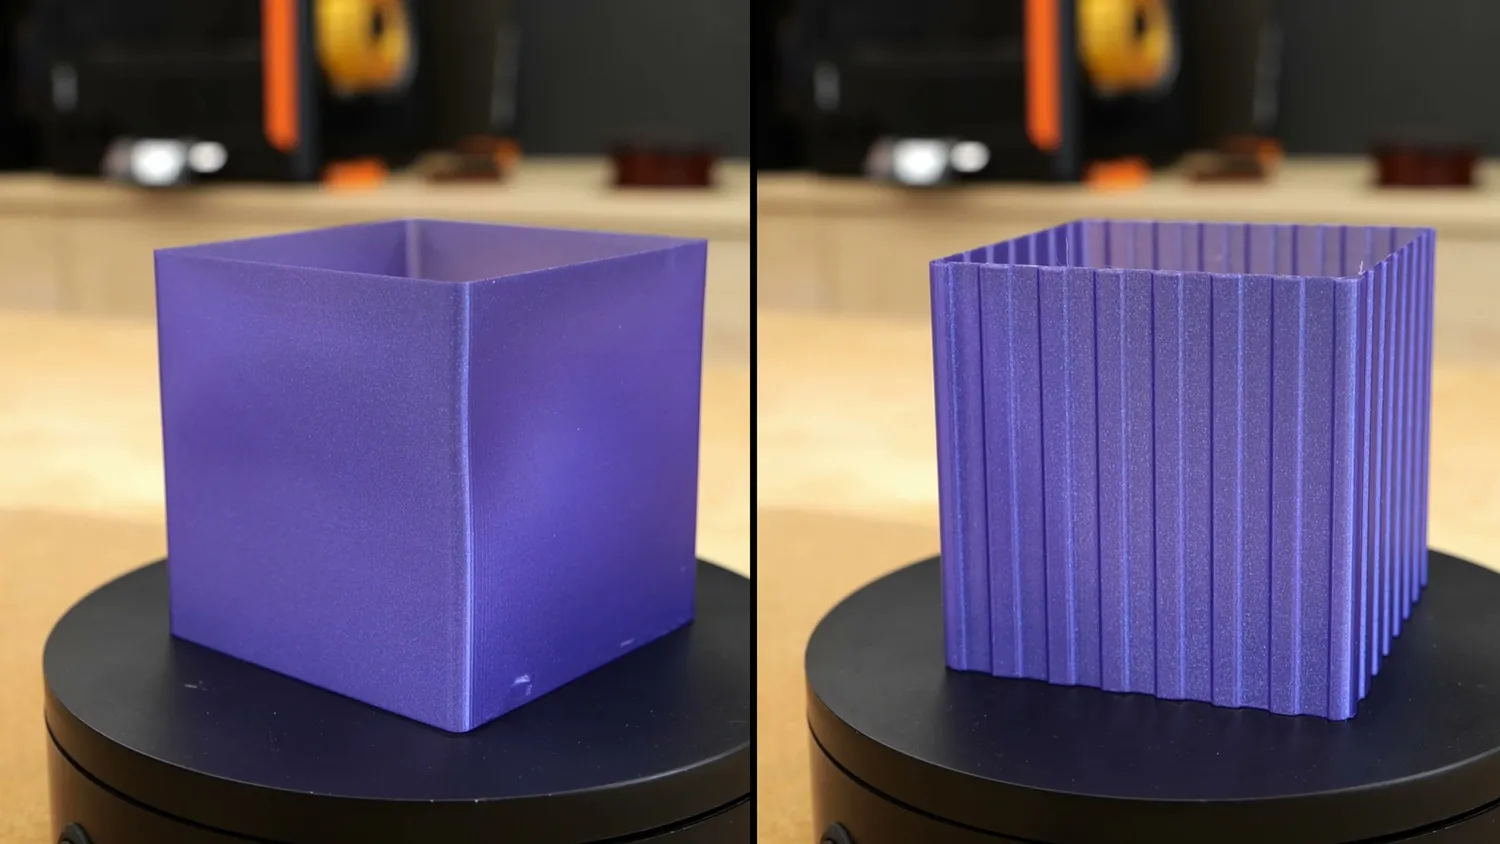
(left) plain vase mode print, (right) circumferential stripes
For a practical functional example, take this microphone handle. I want grip texture only on the handle section, not on the rest of the part, especially where the microphone sits. This is where the include-only mode in surface masking really shines. I paint just the handle area, and the texture gets applied cleanly only there. If I’m designing a part from scratch and I already know I want to texture a specific surface, I make sure to put sharp edges all around that region. Then the bucket fill tool works perfectly and the whole workflow takes maybe thirty seconds. The difference is significant, not just in looks but in feel.
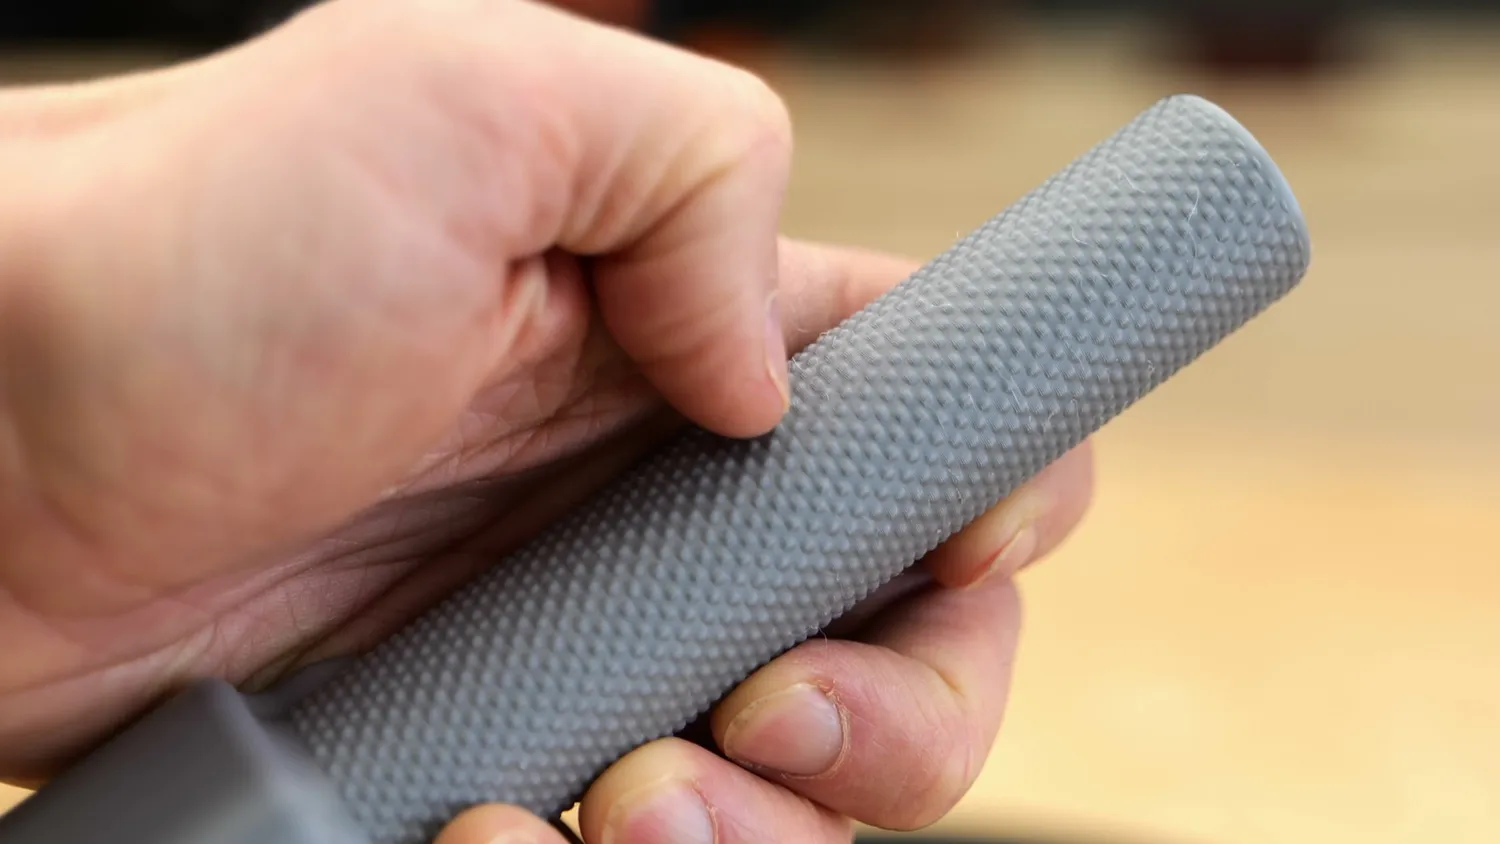
The grip texture only where I need it
Where BumpMesh still falls short
The tool and the method aren’t perfect yet, and I want to be upfront about that.
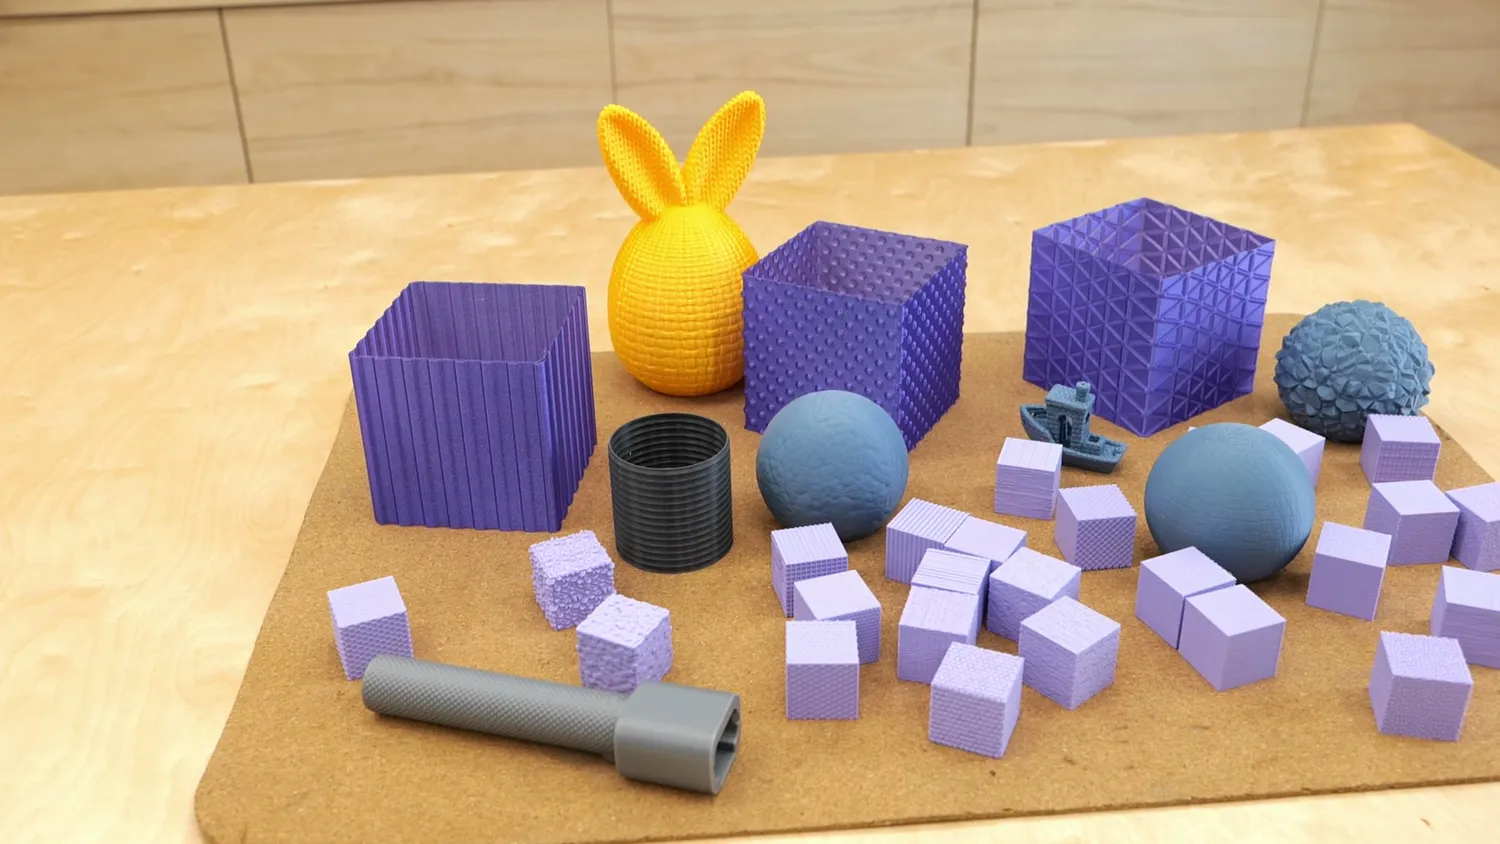
Everything I printed for this project
You can’t currently apply multiple different textures to the same part in one go. If you want that, you apply the first texture, export, import the result, and apply the second. It works but it’s not elegant and I consider adding a multi-texture functionality but I fear overcomplicating the tool for many.
Projection also isn’t magic for every geometry. Very complex shapes or parts with deep interior pockets can still show seam artifacts. Triplanar handles most engineering parts well, but it’s not a universal solution. And since texturing physically deforms the surface, you can occasionally end up with overlapping geometry or slightly closed gaps. If a textured model doesn’t slice cleanly, run it through the mesh repair tool in your slicer; that usually fixes things.
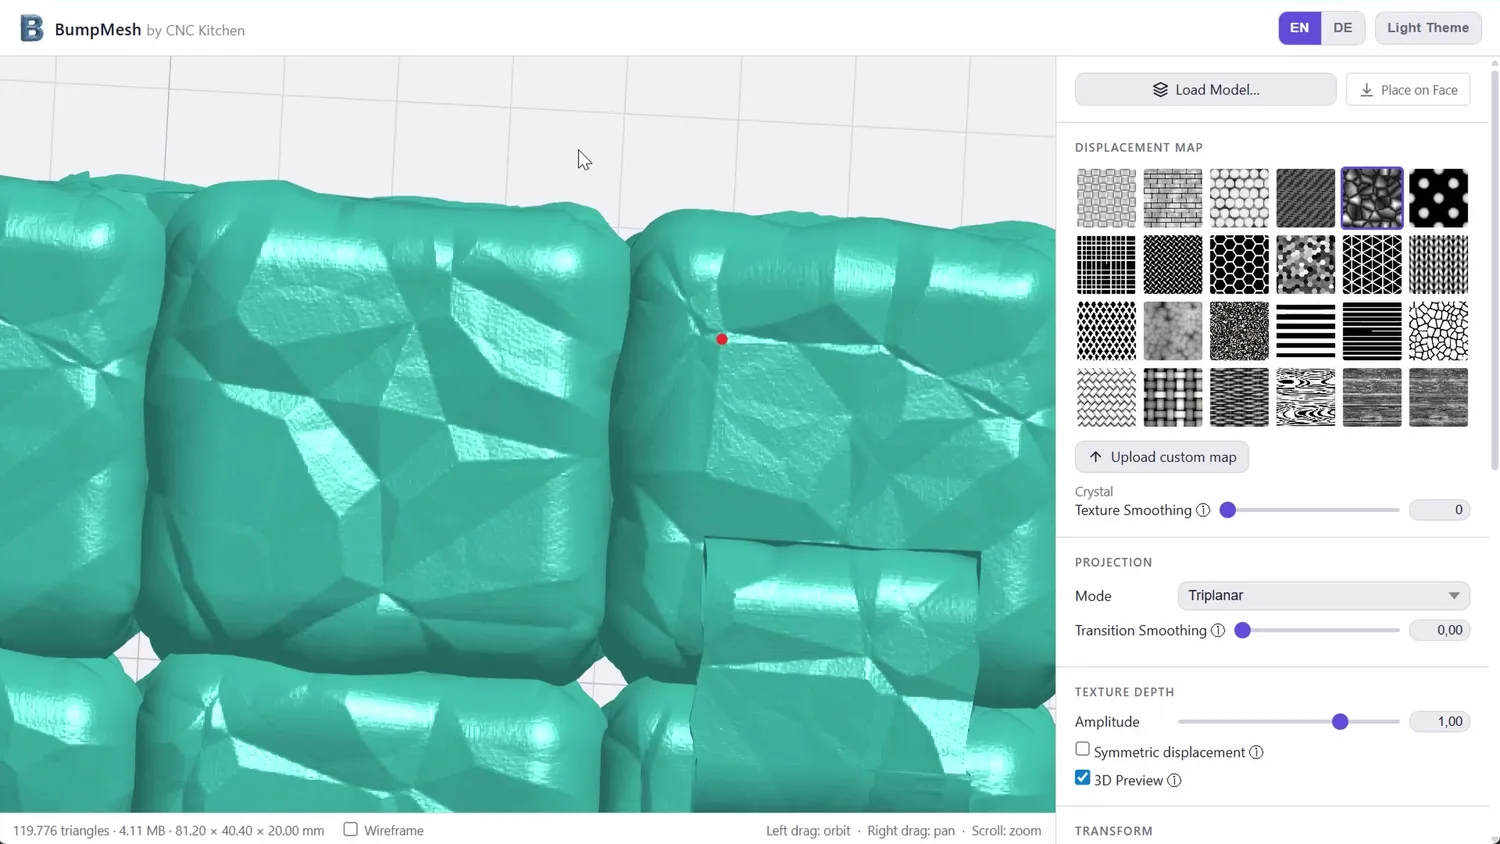
Seam artifacts where two projections meet
And then there’s the resolution of the printing process itself. A texture might look great on the model but be hard to see on the actual print. Very fine features with only small amplitudes will survive slicing but might be too subtle to feel or see when printed with a 0.4mm nozzle. Here, resin printers handle fine detail much better. For FDM I’d recommend not going below around 0.3mm amplitude for anything you actually want visible. Top surfaces in FDM also capture texture details less faithfully than side walls, so if a top surface looks wrong, masking it out with the angle tool is a quick fix.
Built with agentic coding
I’m really happy with what I was able to build in maybe a week of my time and probably $20 of Copilot Subscription.
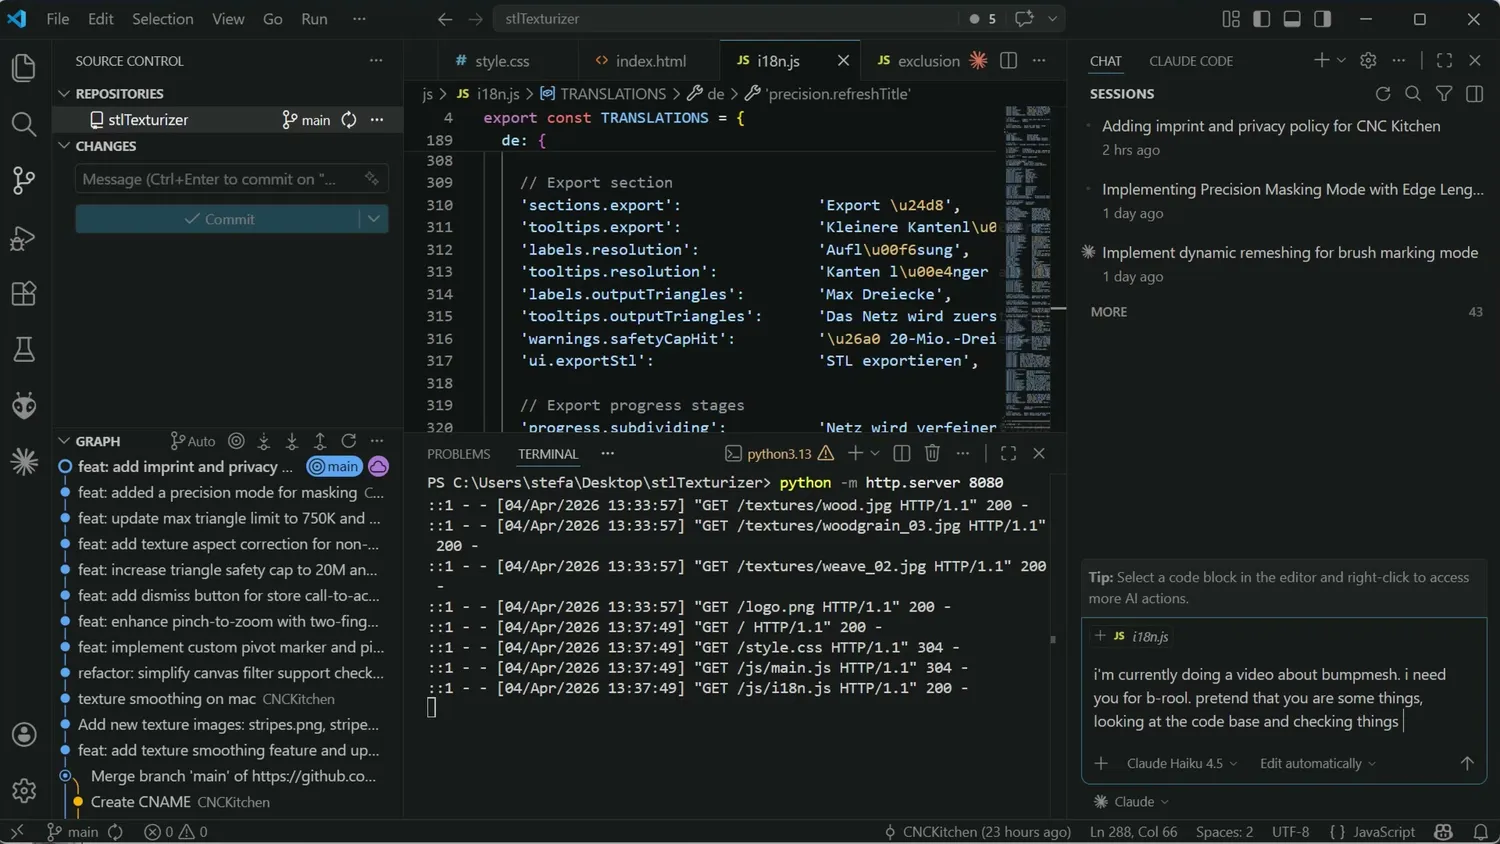
Agentic coding in VS Code
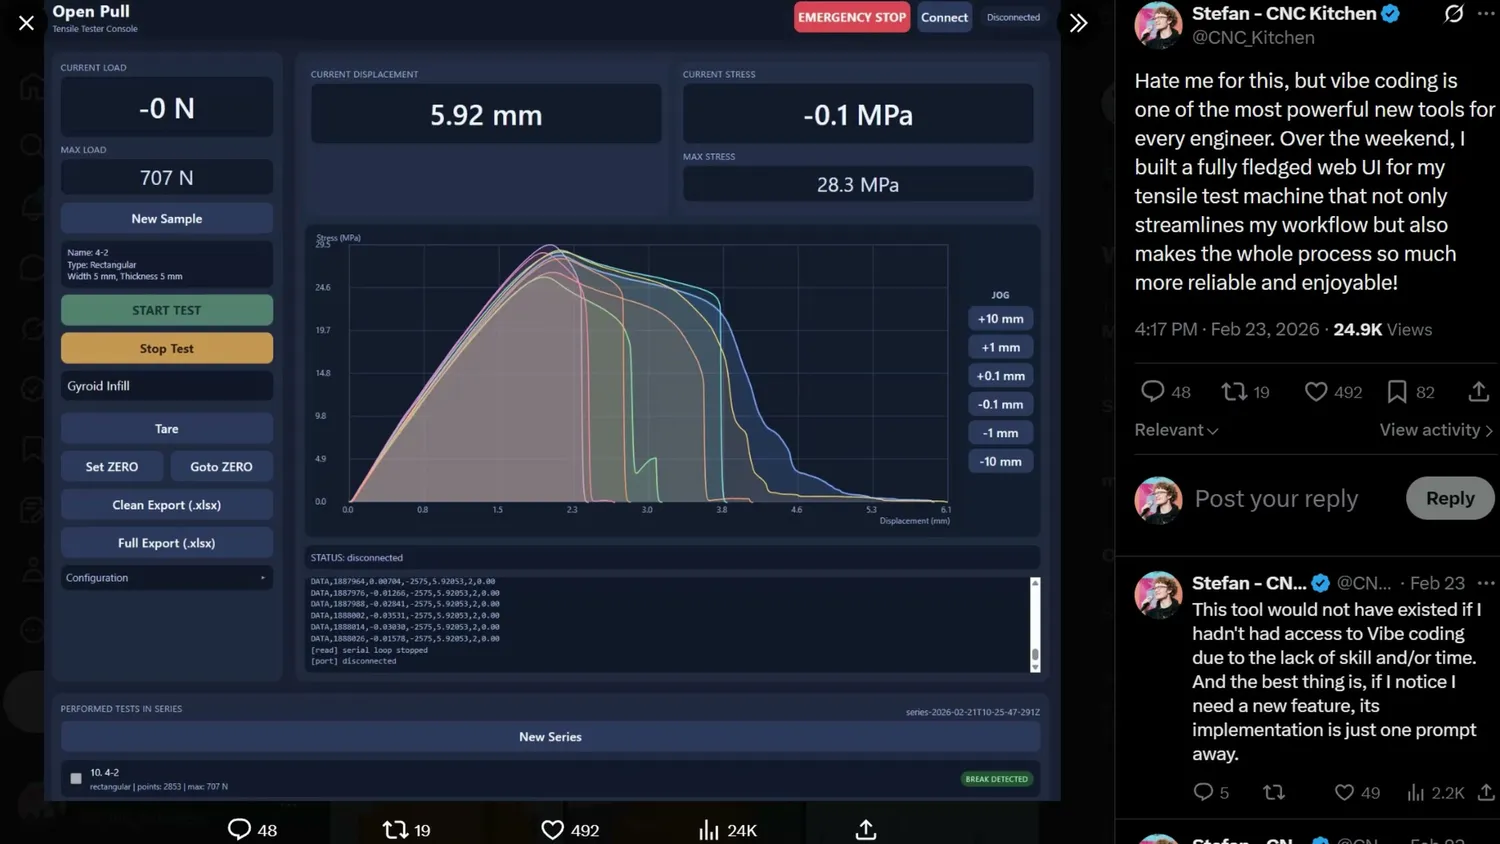
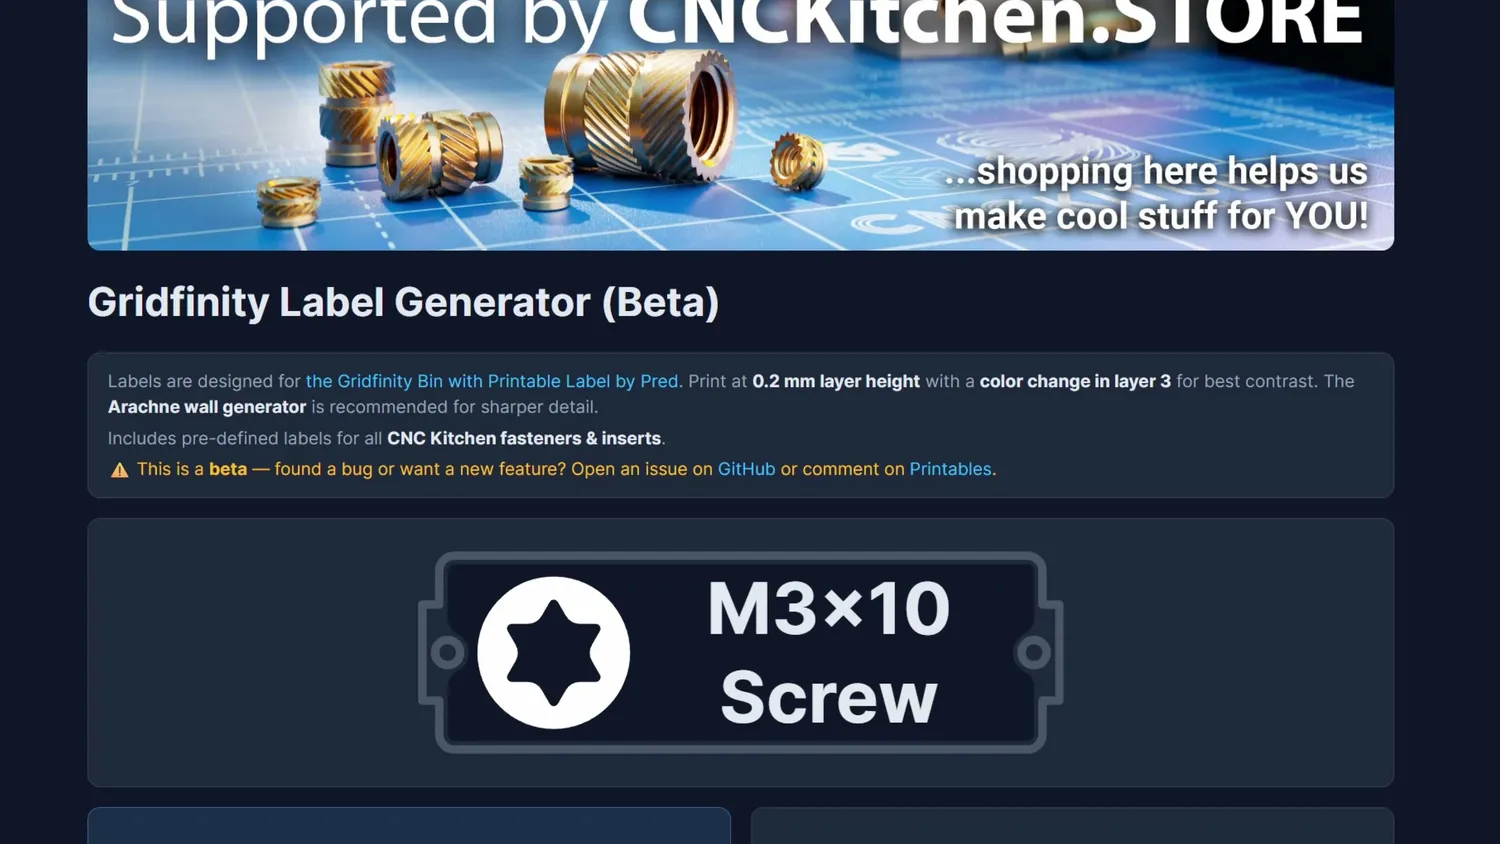
I know some people are skeptical about AI right now, and in many applications, I totally understand that. But agentic coding is, in my opinion, one of the greatest tools available to me as an engineer. Even though I can code reasonably well, building something like BumpMesh would have taken me weeks of work at my own skill level, so I simply never would have done it. Vibe coding gives me the ability to go from an idea to a working custom solution in a few hours, and new features or bug fixes are just a prompt away. I’ve built a bunch of things over the last months. Some, like my Gridfinity Label Generator and my STL Spiralizer, are already on my website, but I’ve also built a fully-fledged tensile testing application that’s not only much easier to use than the serial terminal I had before, but also significantly more reliable.
I would seriously consider making a walkthrough video of how I approach coding a simple tool that solves a 3D printing problem from start to finish, but because of all the negativity around that topic, I’m really hesitant and worried about getting canceled. What are your thoughts on this? Would you be interested in watching a long-form video about it?
But for now, I’d love if you tried out BumpMesh on your own projects and spread the word. It’s free, runs in your browser, and you can find it at BumpMesh.com. It’s not perfect, so if you find a bug or have a feature request, leave a comment on Printables or MakerWorld, send me an email, or open a GitHub issue. I’ll do my best to keep improving it.