
The Beginner 3D Printing Guide I Wish I Had
A 3D printing beginner's guide from 10 years of experience: printer setup, filament types, slicing basics, your first print and fixing common problems.
TL;DRthe short version
- You can get very capable and reliable printers today starting at around $200. Open-frame machines are excellent starters for PLA and PETG, while enclosed CoreXY printers really start to shine once you want ABS or polycarbonate.
- When you unpack a spool, never let go of the loose filament end. If it slips under another winding you've essentially created a knot that will cause binding during a print.
- PLA makes up about 90% of my own prints: cheap, accurate and stiff, but it softens around 50 °C. PETG gets you to roughly 70 °C, ABS and ASA to about 100 °C but want an enclosure, and TPU is what you use for flexible parts.
- Prints stop sticking because of dirt and skin oils, and the most effective fix I've found is washing removable build plates in the sink with hot water and dish soap. Be careful with metal scrapers, I've seen terrible injuries.
- The only parameters I usually touch are layer height, perimeters, infill, supports and temperatures. Half the nozzle diameter is a solid layer height, so 0.2 mm on a 0.4 mm nozzle, and more walls add more strength than more infill.
- Print a 3DBenchy and look for red flags rather than perfection: a flat first layer, no stringing, clean top surfaces, smooth side walls and a decent bow and chimney.
- Excessive stringing is usually moisture, and even PLA may need drying at 45–50 °C for a few hours. Most of the remaining problems are avoided by basic maintenance: keep the machine clean, oil the rails, grease the screws.
- Modern 3D printers are tools now, not endless projects. You can still upgrade them, but most upgrades are about convenience, not performance.
So you just got a brand new 3D printer or are about to get one and want to avoid the biggest beginner mistakes, quickly learn about the different filaments, get an introduction into slicing, and know where to find good models to feed your new machine. This is the perfect 3D Printing beginners’ guide where I share methods and the essential tips from my over 10 years of working with these machines - and even if you’ve been printing for a while already, I’m pretty sure you’ll still learn something new.
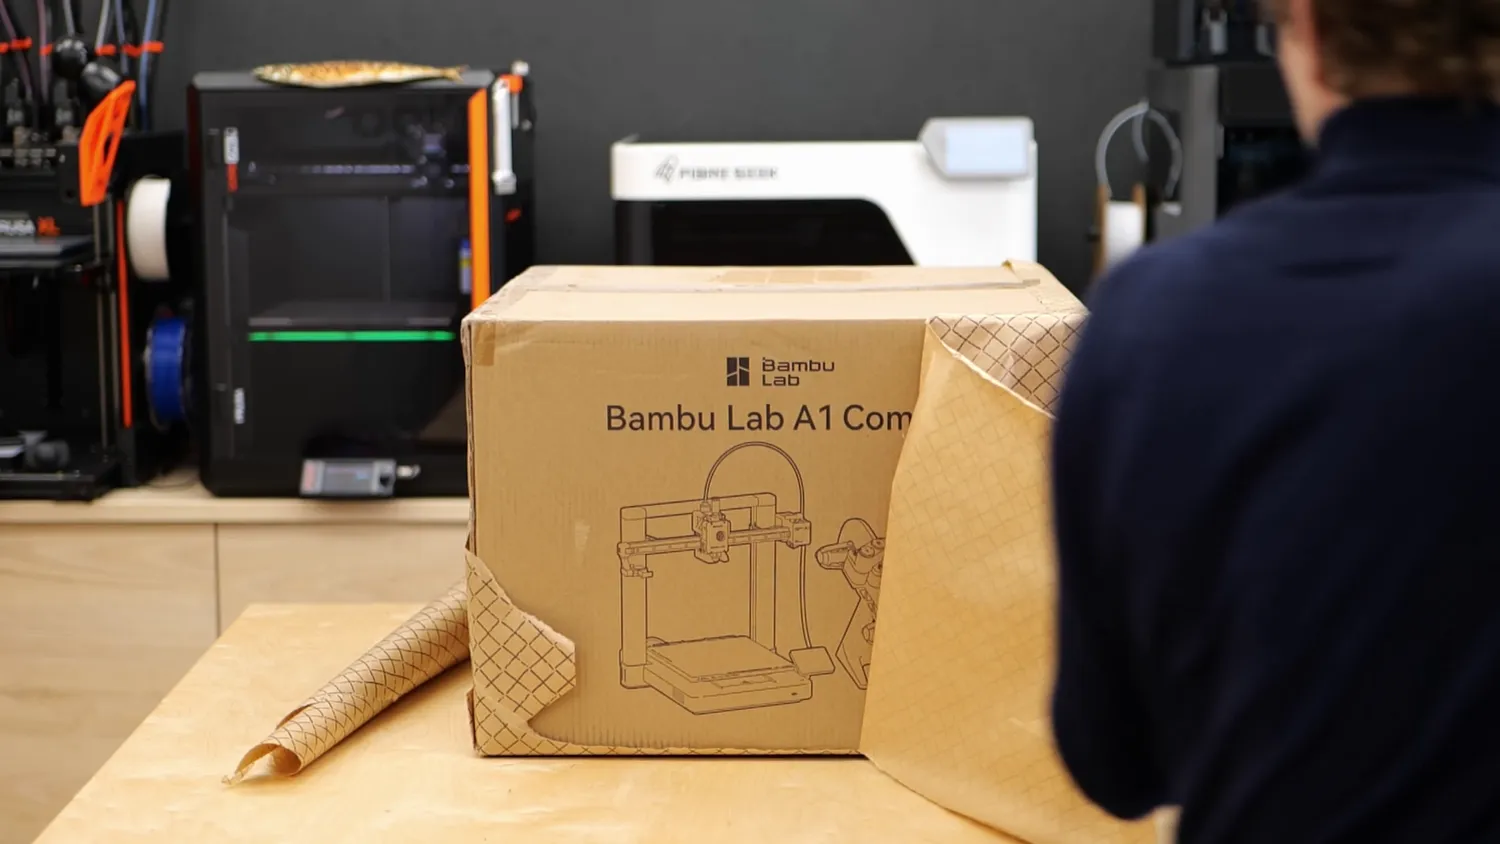
A brand new printer, still in the box
A few years ago, getting into 3D printing meant a lot of dedication, tinkering, and frustration. Today, it’s often easier to get a 3D printer running than a 2D inkjet printer, but that still doesn’t mean it can’t be overwhelming and frustrating at first. This article is meant to give you an overview of the most important things to get the best results as soon as possible!
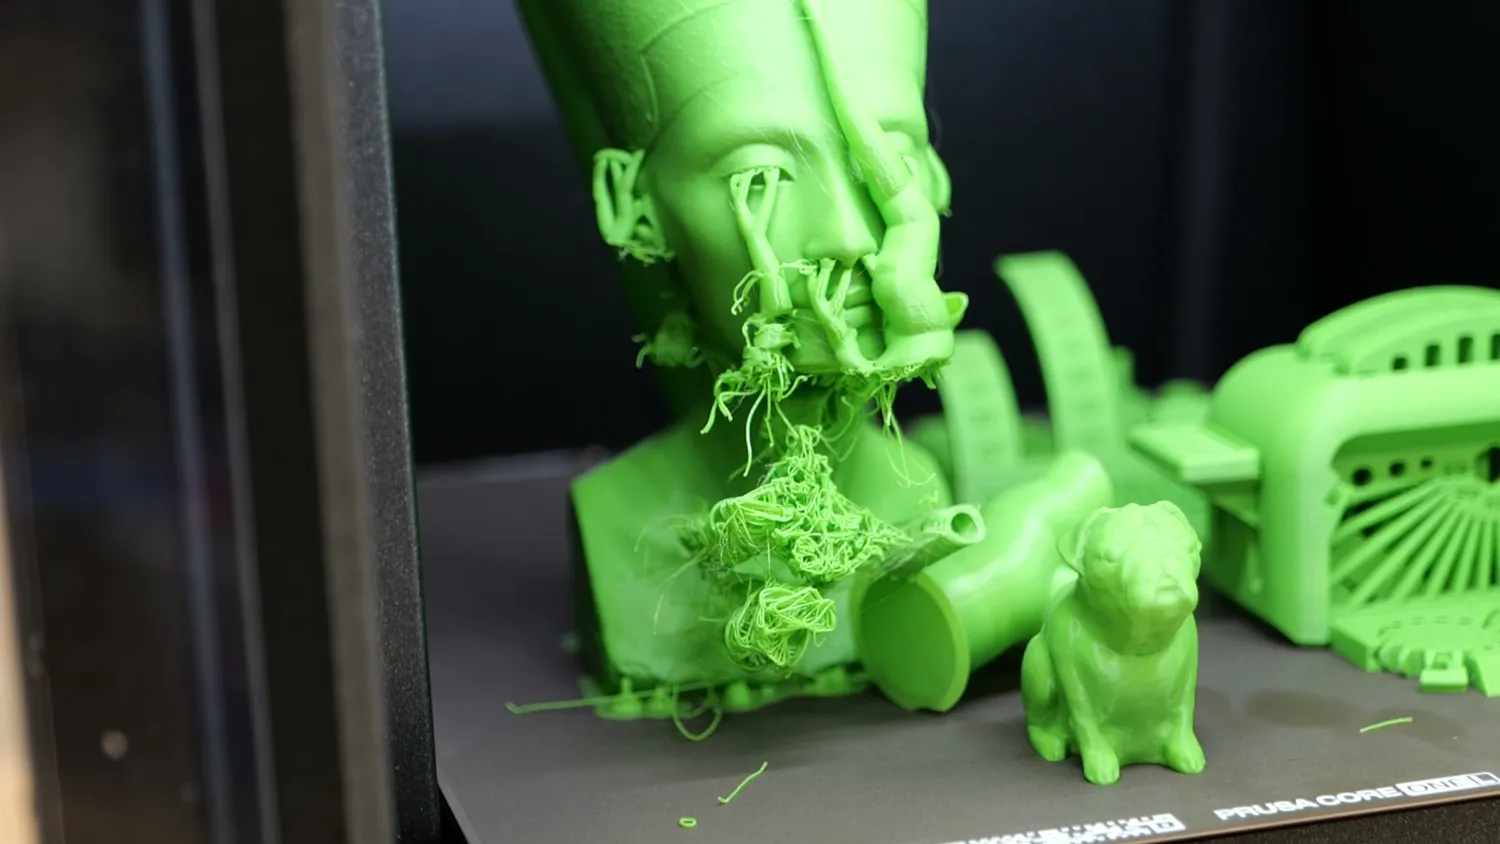
3D printing used to mean a lot more frustration
Getting the printer out of the box
Getting modern printers out of the box and up and running usually takes anywhere from a few minutes to about an hour. Pretty much all printers I’ve used in recent years include the tools you need to assemble them and get your first prints out.
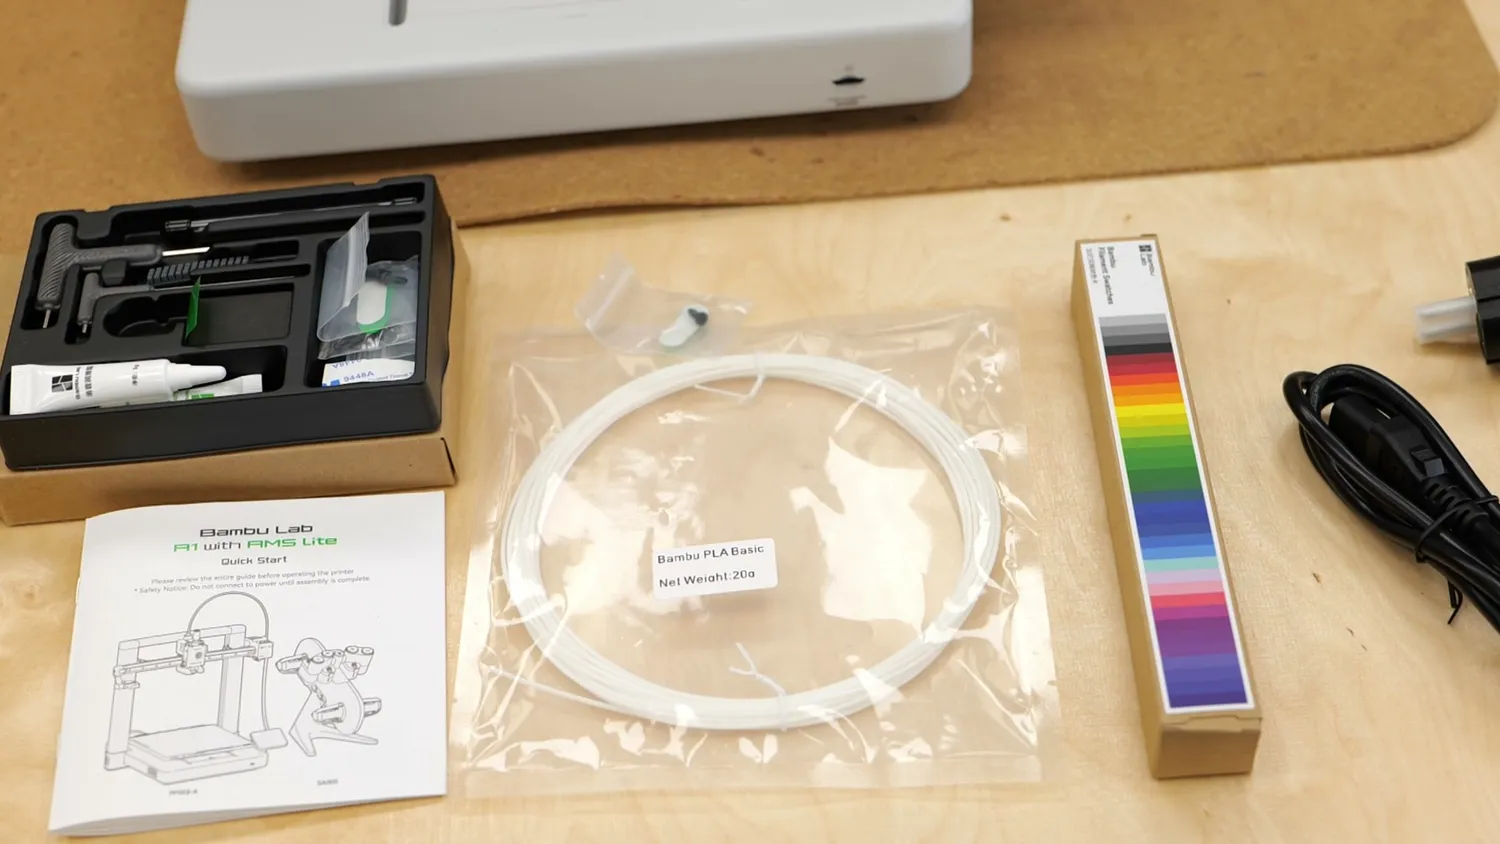
Everything you need is usually in the box
Even though I personally avoid reading manuals, in this case, I strongly recommend at least skimming the quick-start guide. It usually prevents missing a screw, forgetting a cable, or assembling something slightly wrong that will haunt you later.
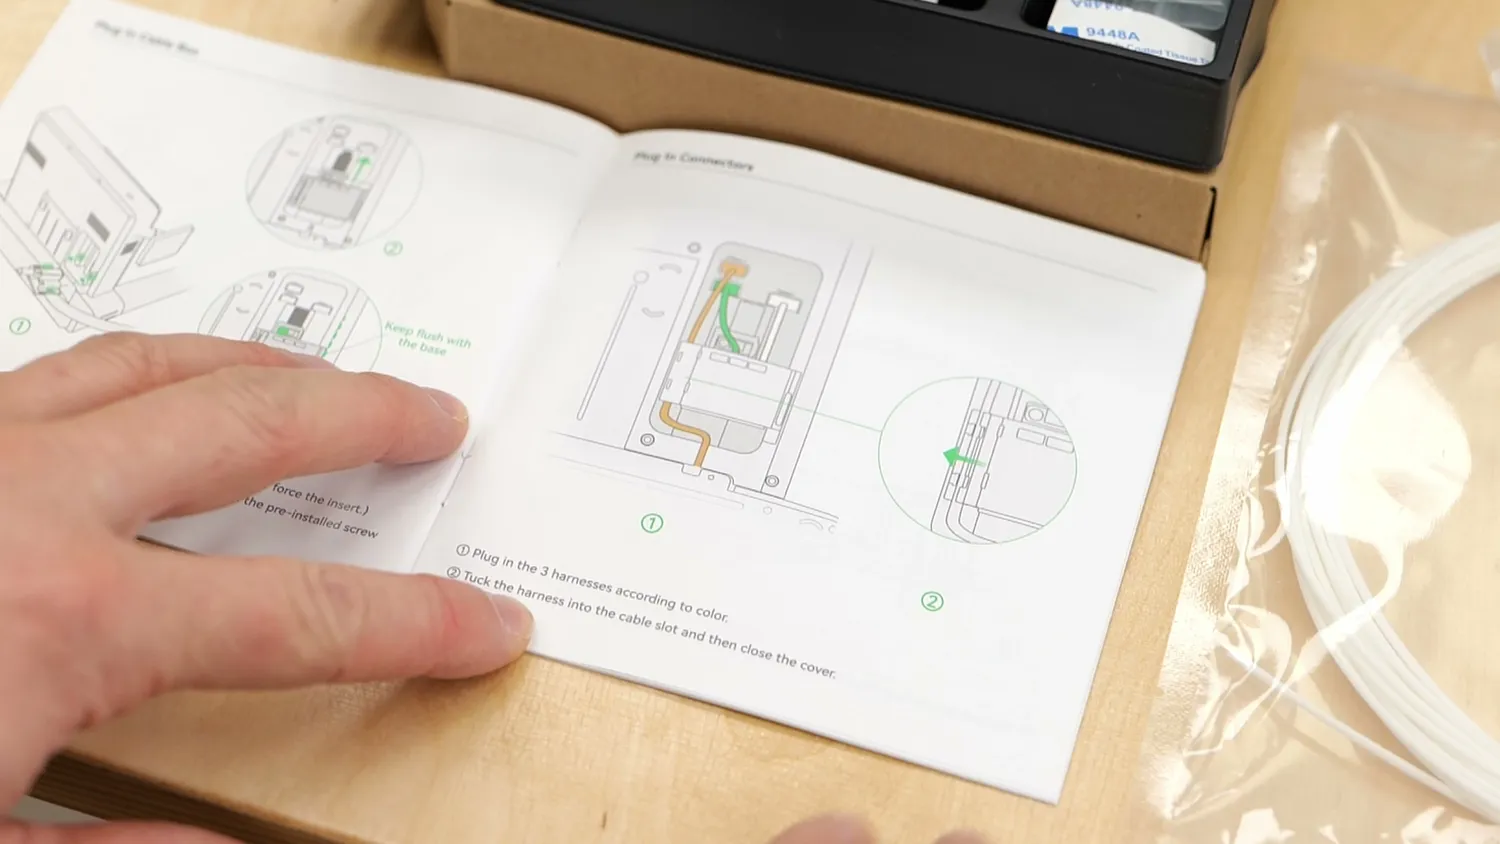
At least skim the quick-start guide
For today’s demonstration, I’ll use a Bambu Lab* A1, not because this is sponsored by them, but simply because I still had one unopened in storage. You might have a completely different printer, but almost everything you’ll see here also applies across other brands and designs.
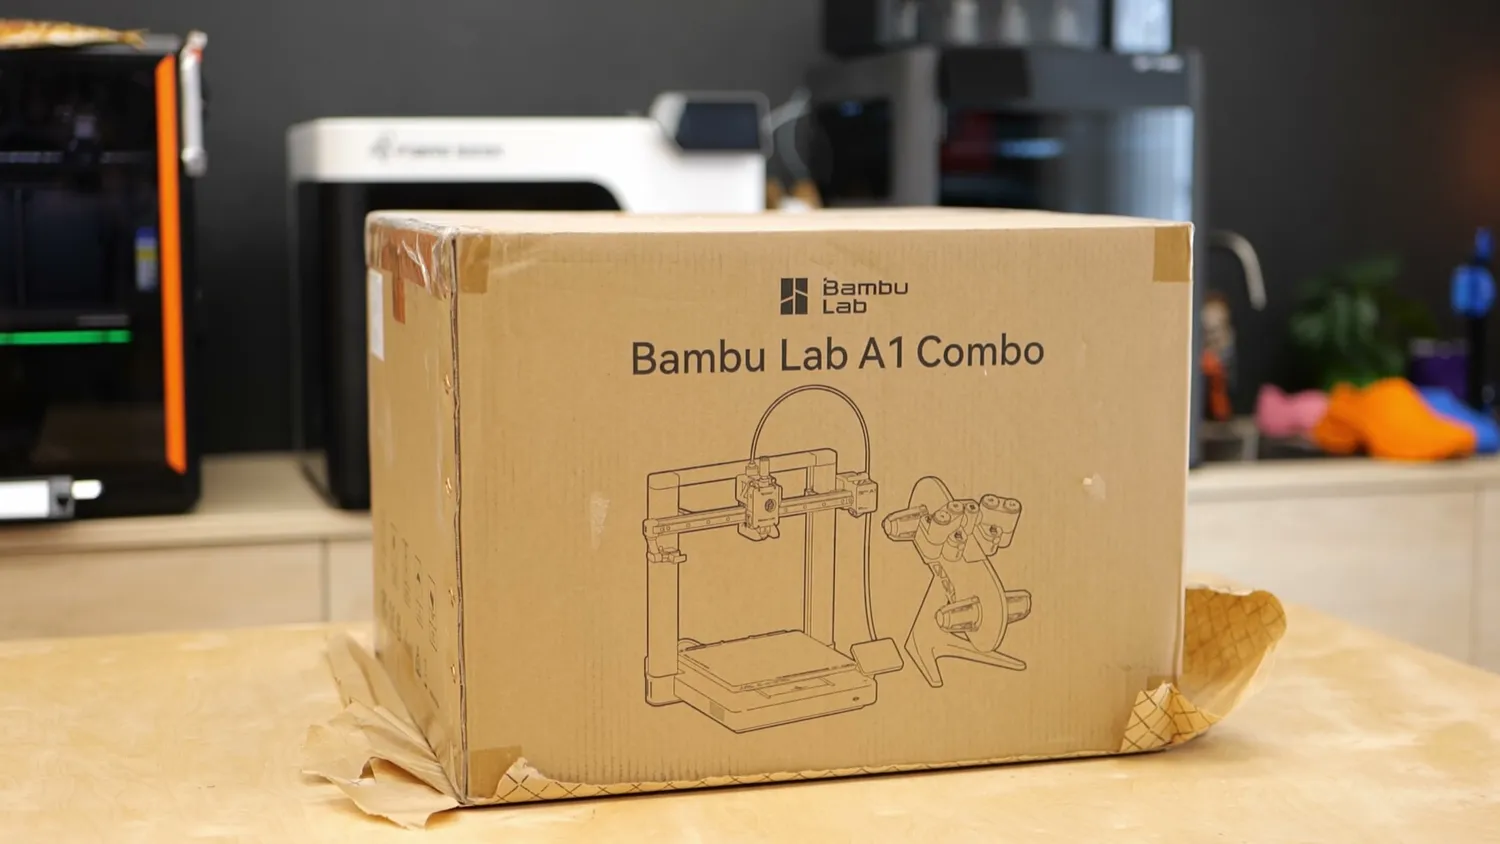
The one I still had unopened in storage
Which 3D printer should you get?
You can get very capable and reliable 3D printers today, starting at around $200. As you move up in price, you typically gain size, speed, convenience, and material capability. Open-frame printers like the A1 are excellent starter machines, especially if you mainly want to print PLA or PETG. Enclosed CoreXY machines have become more popular in recent years. They tend to print faster, though not necessarily better, and really start to shine when you want to print high-temperature or high-performance materials like ABS or polycarbonate. I’ve put a list of machines I personally like using at the bottom of this article.
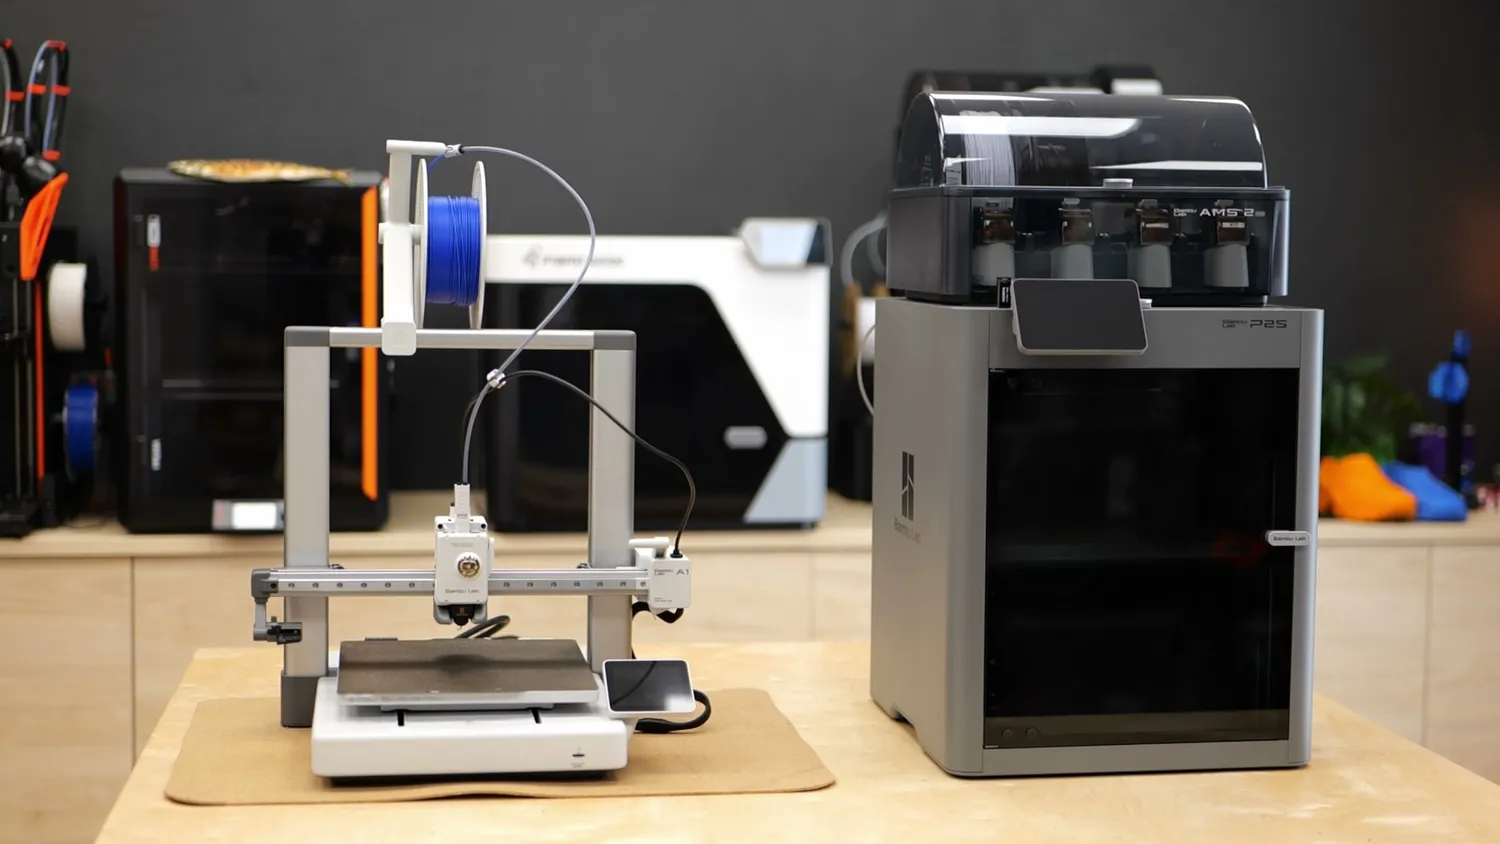
An open frame machine next to an enclosed CoreXY printer
First start-up, calibration and firmware
Once the machine is assembled, it’s time to power it on. Most printers guide you through a setup process that includes self-checks, resonance compensation, and automatic bed leveling. You can typically connect the printer to the internet for firmware updates, cloud access, and easy file transfer but you can usually skip this and use USB or an SD card instead if you prefer.
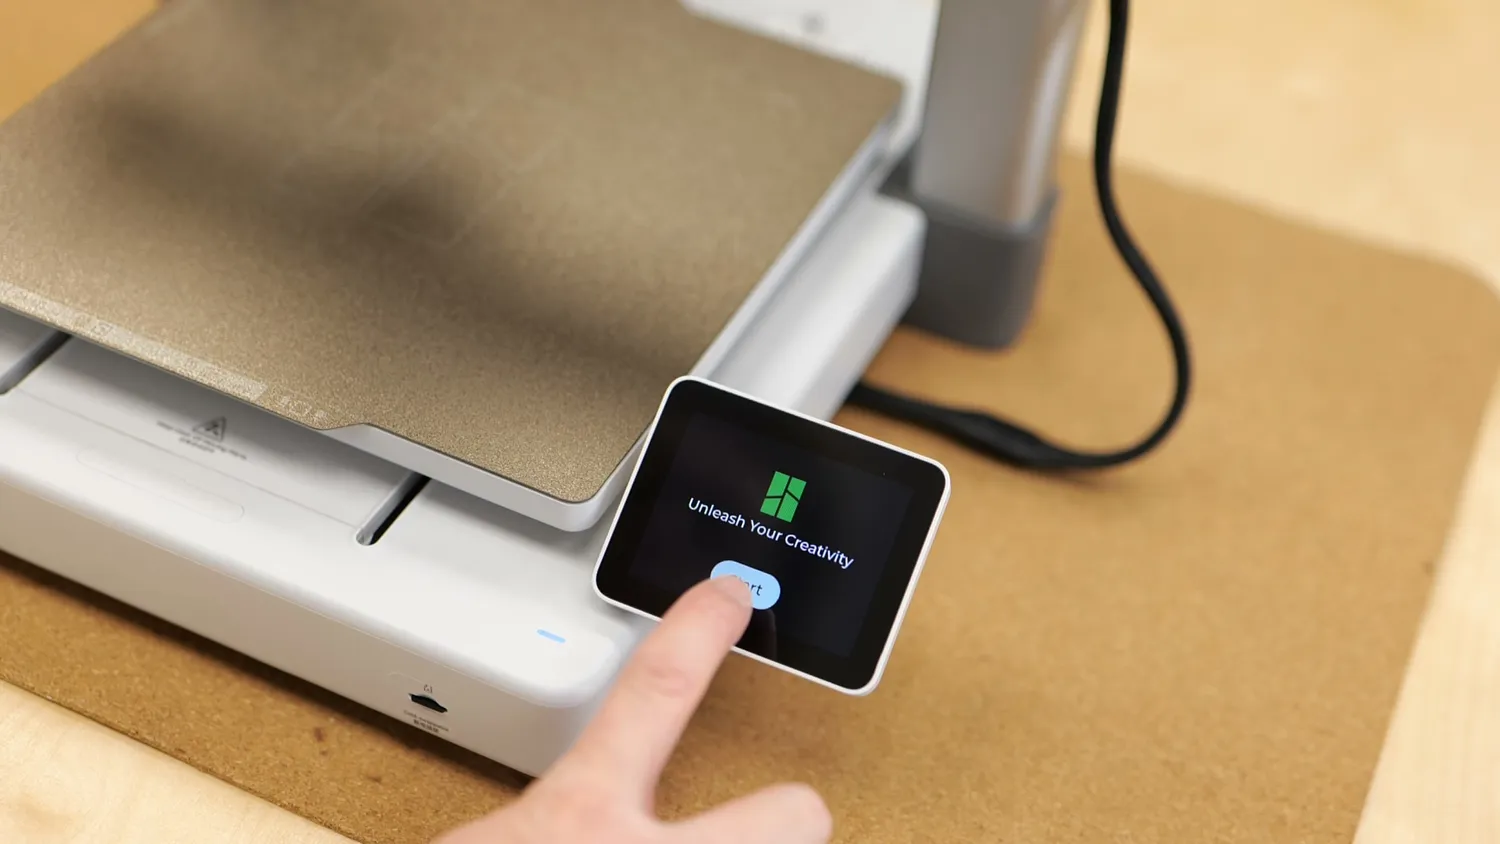
Powering up for the first time
After calibration, I recommend checking for firmware updates before doing anything else. These updates often fix bugs, improve print quality, or add features.
Loading filament and your first print
The last thing missing before your first print is filament. Most printers come with a small sample spool of PLA, usually enough for one or two small prints. If you bought a full spool, I recommend starting with that instead.
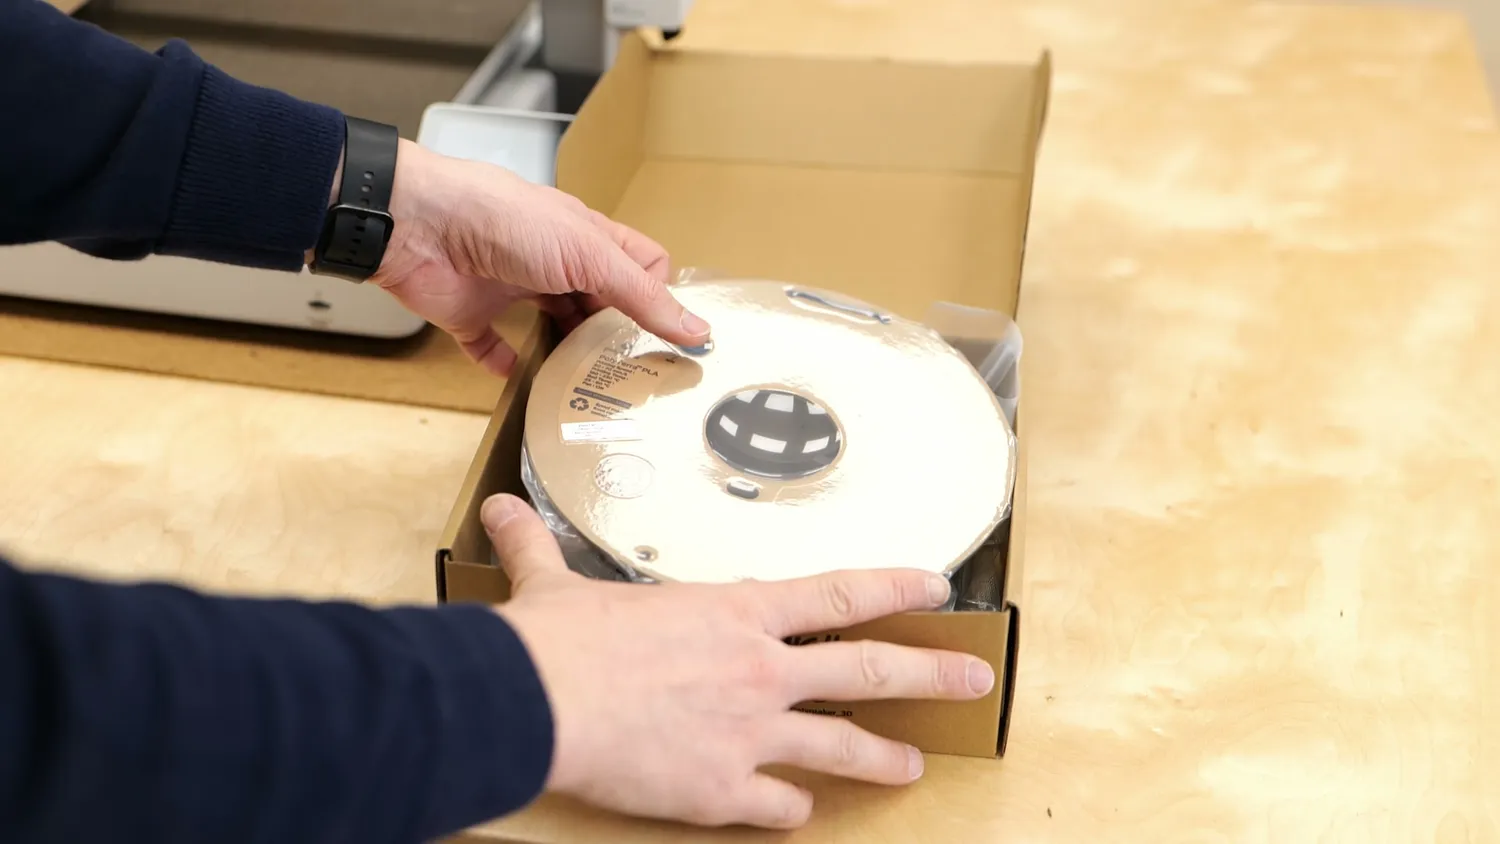
Better to start with a full spool
Get it out of the sealed bag, and here’s one of the most important beginner rules: never let go of the loose filament end. If the filament slips under another winding, you’ve essentially created a knot that will cause binding during a print. Always secure the end in one of the holes on the spool when you let it go.
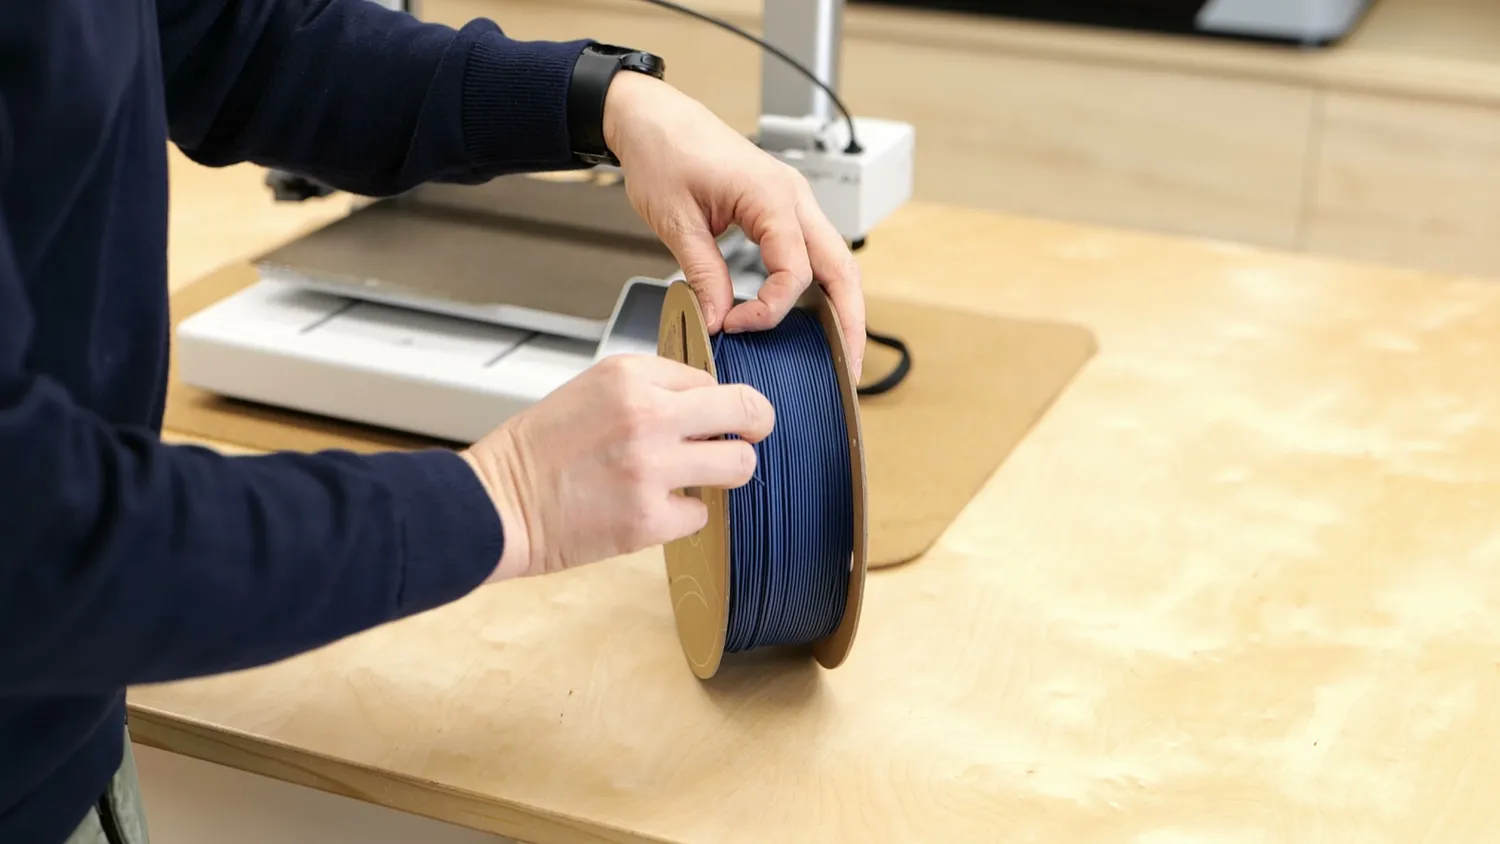
Never let go of the loose filament end
Loading filament is usually straightforward. Select the correct material type on the printer, clip the bent end, follow the instructions, and once molten plastic starts coming out of the nozzle, you’re ready.
For your very first print, I strongly recommend using one of the pre-sliced models that typically come with the printer. With them you can check if the printer works before you start throwing your own prints at it. I’m printing a small scraper here, which takes less than 20 minutes.
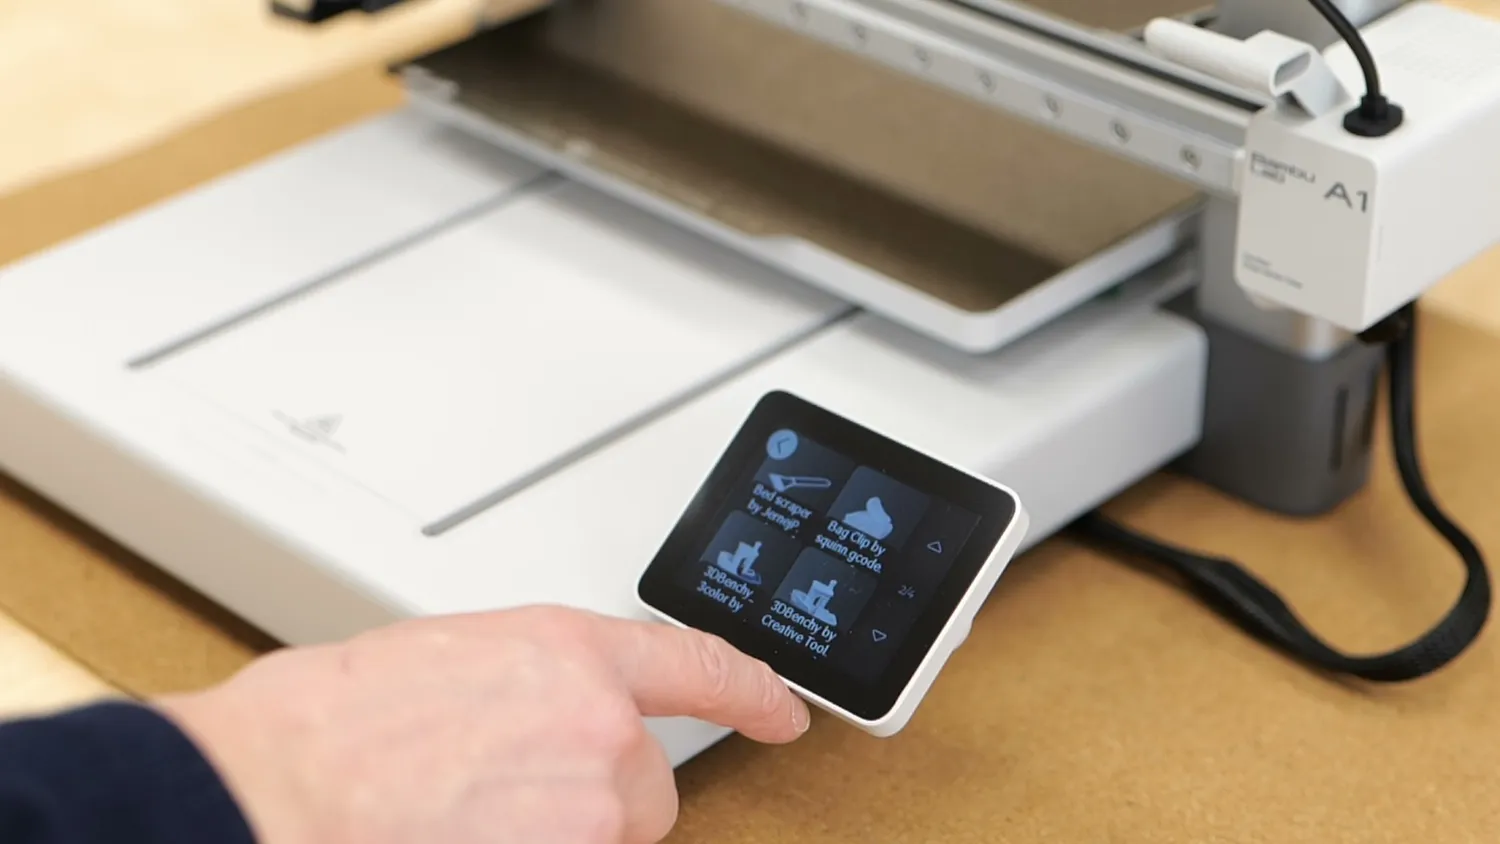
Pre-sliced models that come with the printer
The printer will heat the bed and nozzle, probe the bed to ensure the first layer goes down evenly, and then start printing, precisely positioning molten plastic in perfectly planned paths, layer by layer, to produce a three-dimensional part.
While this is printing, let’s talk about materials.
The filaments you should know
All materials used in FDM printing are thermoplastics, so they melt when you heat them up and then solidify again. Their properties though, can be very different!
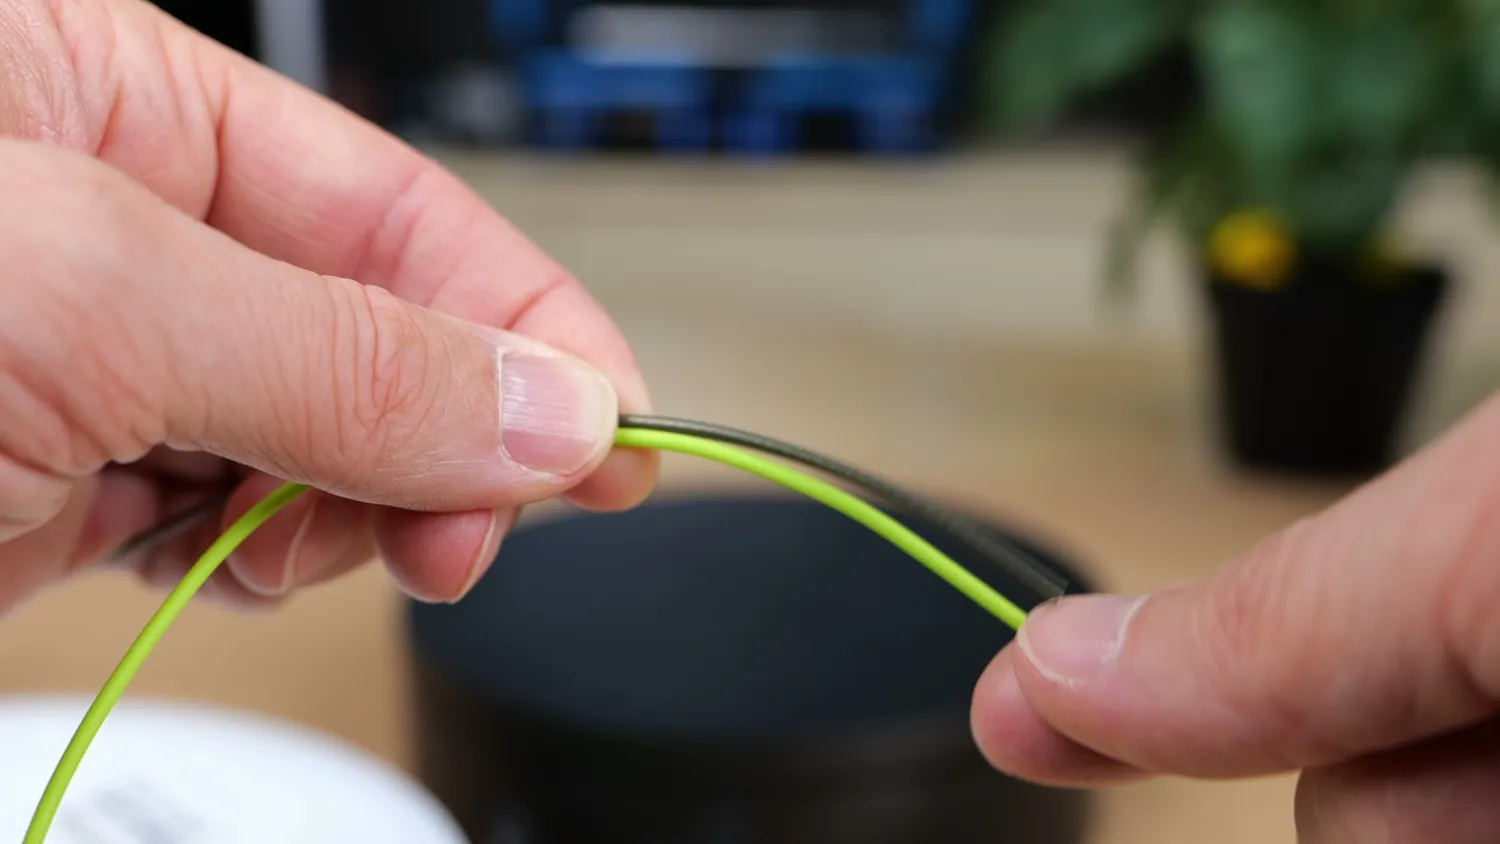
All FDM filaments are thermoplastics
PLA is by far the most common filament today and makes up about 90% of my own prints. It’s cheap, easy to print, dimensionally accurate, and fairly strong and stiff. Its main drawback is temperature resistance because it starts softening around 50 °C.
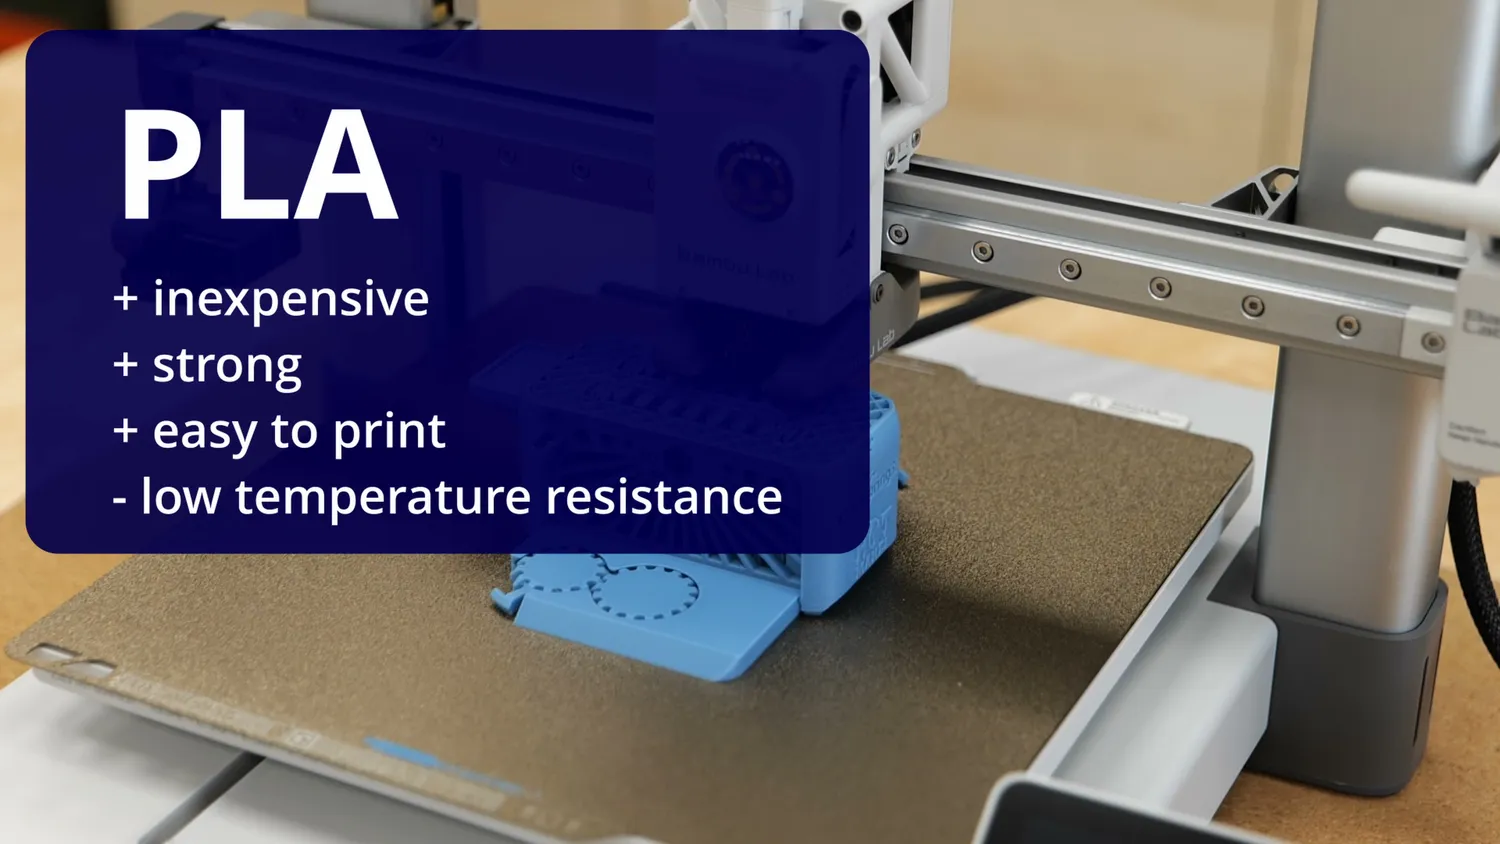
PLA: cheap and easy, but soft above 50 °C
PETG is a popular alternative. It’s still easy to print and increases heat resistance to roughly 70 °C while being slightly tougher, but it’s more susceptible to moisture.
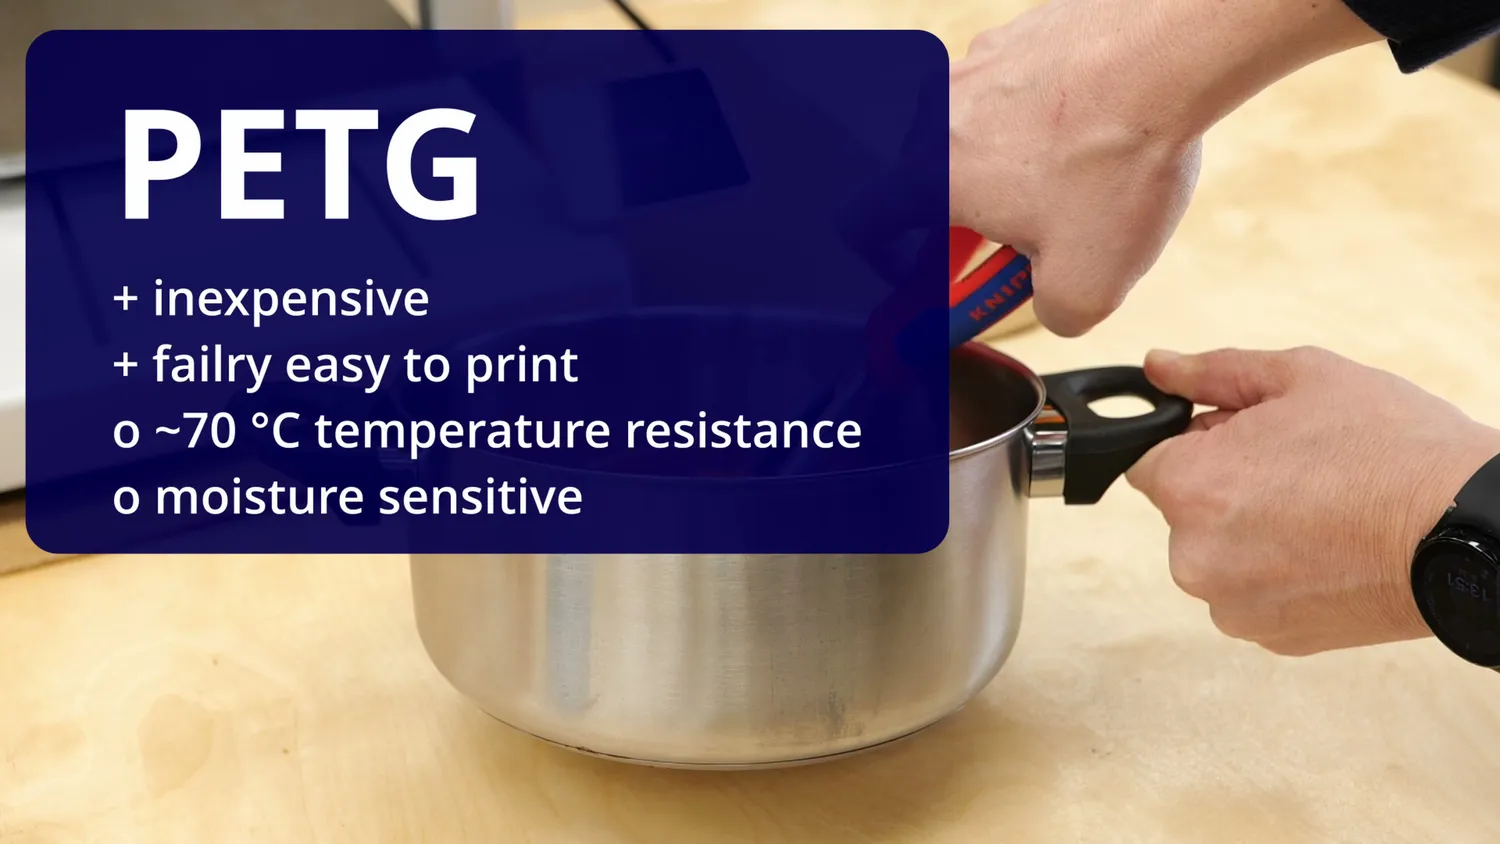
PETG: tougher and good to around 70 °C
If you need more heat resistance, ABS or ASA are commonly used, good up to around 100 °C and quite impact-resistant, but they should be printed in an enclosure due to warping and fumes.
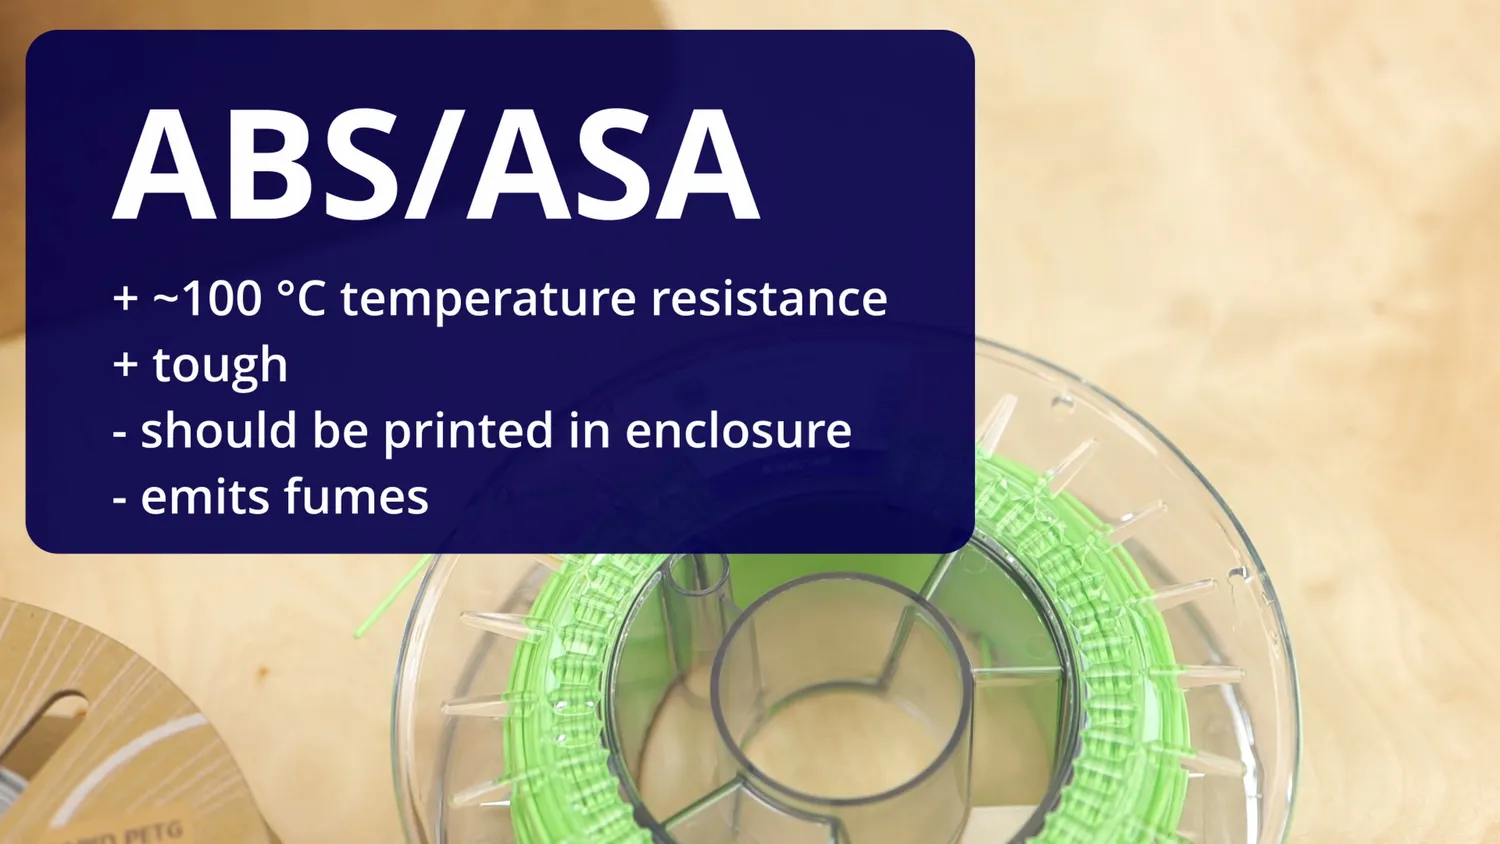
ABS and ASA reach about 100 °C, but print them enclosed
TPU is used for flexible and durable parts. It comes in different Shore hardnesses but becomes increasingly difficult to print the softer it gets.
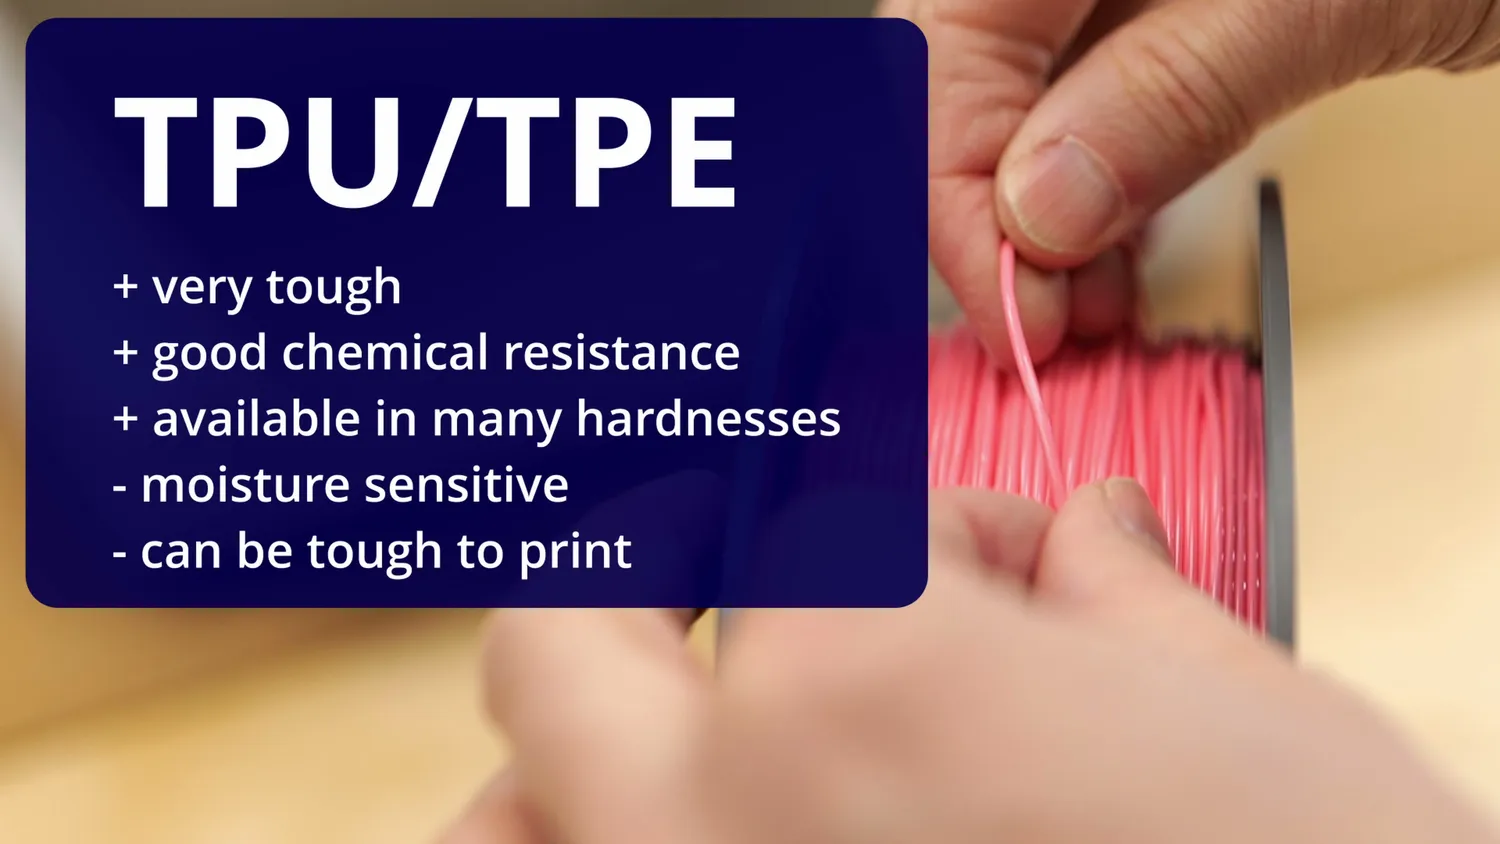
TPU: flexible and tough, harder to print the softer it gets
There are many more specialized materials, but this was an overview about the most popular ones.
PLA comes in many flavors
Let’s quickly circle back to the most popular option, PLA, because it comes in many variations.
Plain PLA is usually the easiest to print. PLA Plus or PLA Pro is modified to be tougher but often slightly softer. Silk PLA contains additives that increase gloss but also amplify print artifacts and can be a pain to print. Matte PLA hides layer lines nicely but can suffer from reduced layer adhesion. Glow-in-the-dark PLA can be great for decorative things but it contains abrasive particles that will quickly wear out nozzles unless you use one made from hardened steel.
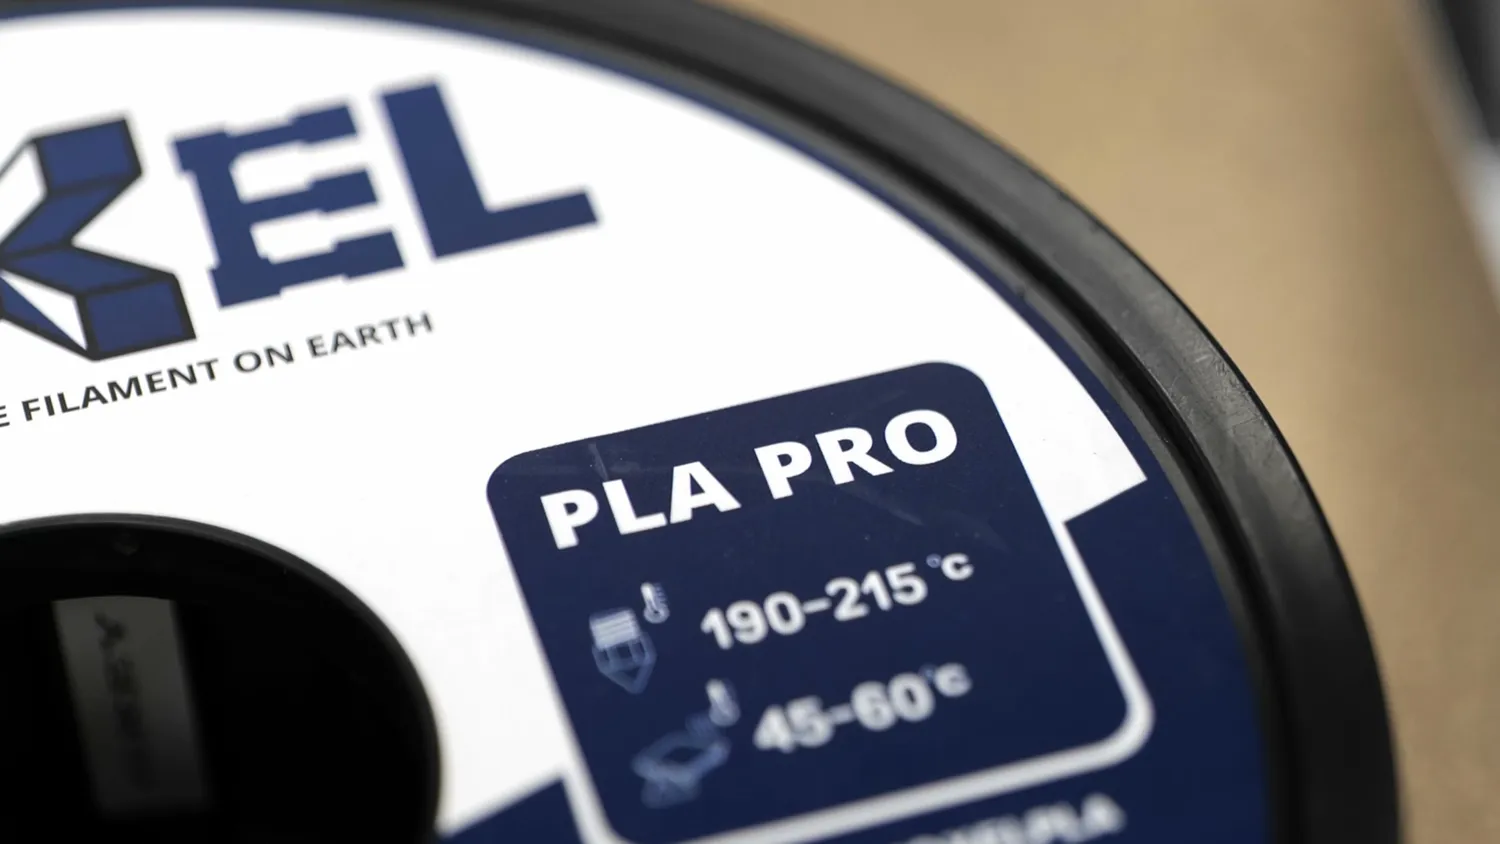
PLA Pro is modified to be tougher
If you’re just starting, buying filament from your printer manufacturer is often a safe choice because the provided profiles are tuned for it. You can use other brands as well, but avoid the absolute cheapest filaments because they can cause more problems than they save you in money. Check out local manufacturers, because they are often a good choice as well.
PLA is often considered safe to be around when it’s printed, but studies have shown that printing almost any material will emit harmful fumes and particles, some more than others. So I always recommend having a printer that doesn’t have a filtered exhaust in a separate room with ventilation and definitely not in your bedroom.
Removing prints and cleaning the build plate
But now back to our first print. Once it is finished, let both the bed and the part cool down. Many prints will release almost on their own. With spring steel build plates, you can remove the sheet and flex it slightly. If something is really stuck and you’re tempted to use a metal scraper, be very careful. Not only can they damage your bed but I’ve seen terrible injuries when people slip and cut their hands.
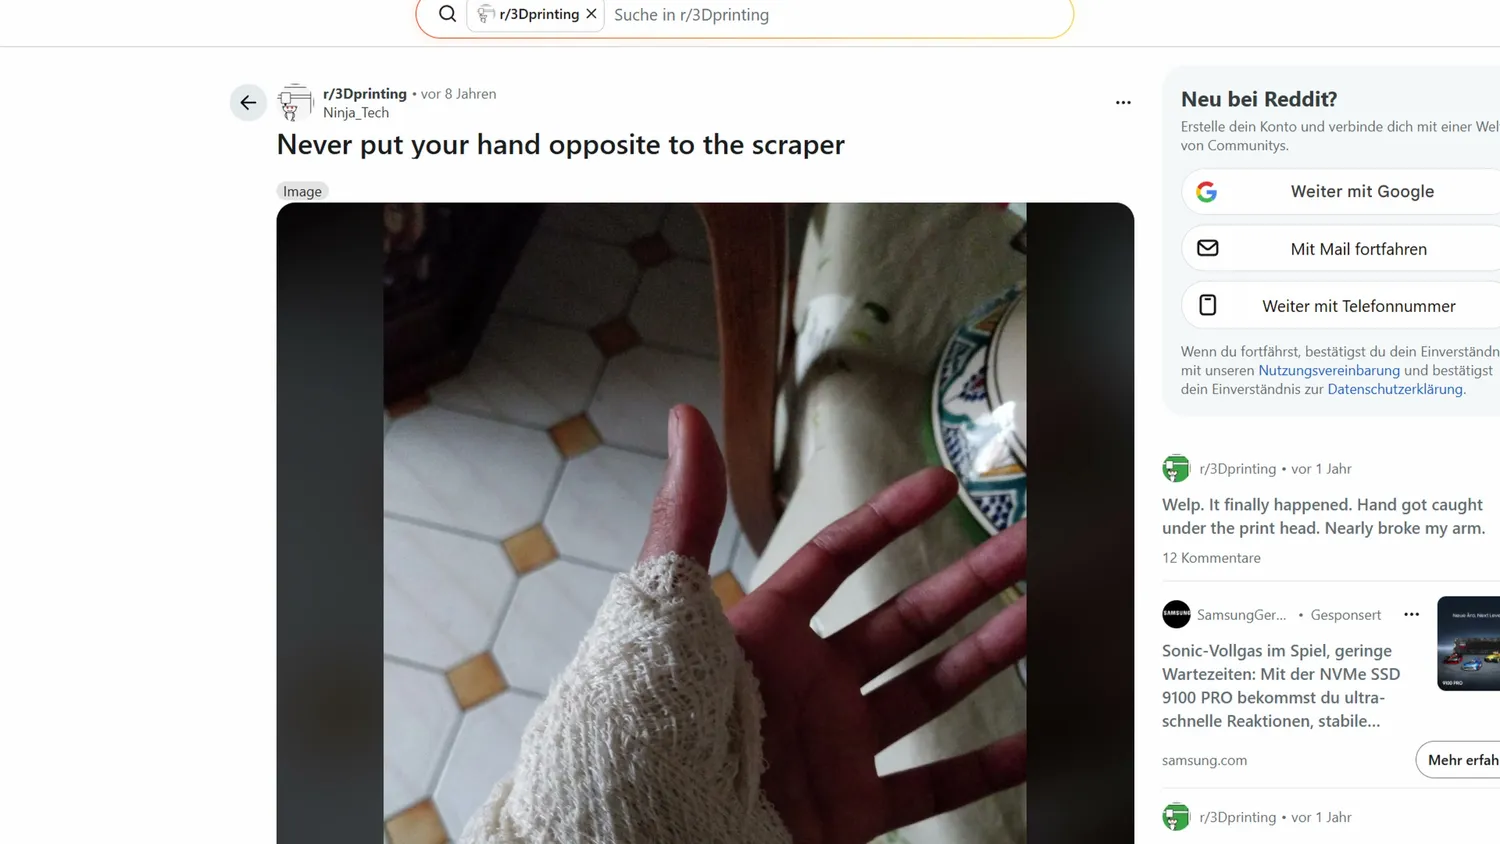
Scraper injuries really do happen (Reddit/r/3Dprinting)
Over time, prints may stop sticking properly due to dirt and skin oils. Wiping the bed with isopropyl alcohol helps, but the most effective method I’ve found is washing removable build plates in the sink with hot water and dish soap. Dry them with a clean paper towel and avoid touching the surface afterward.
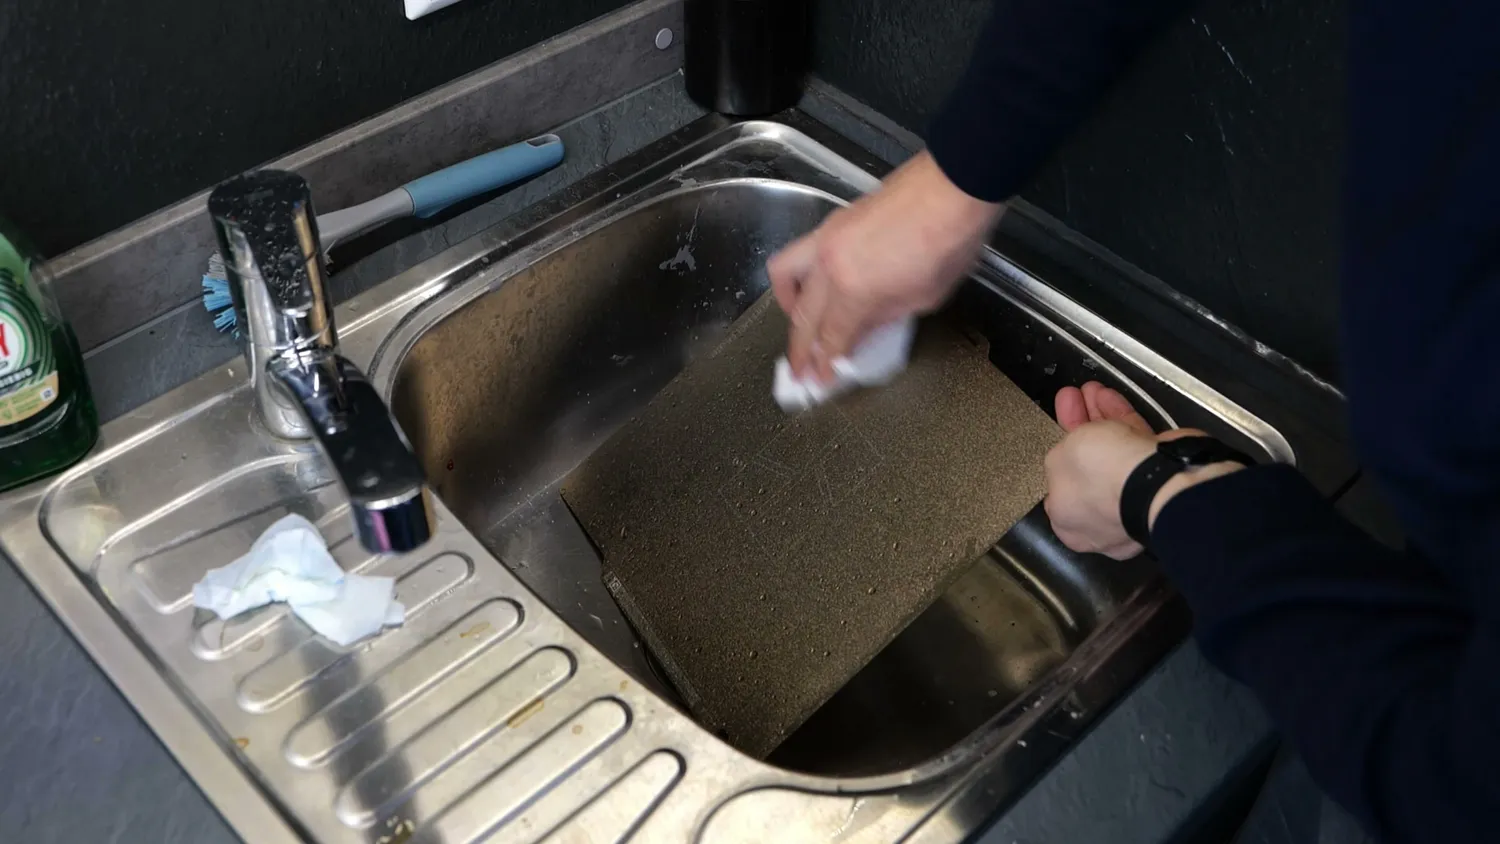
Hot water and dish soap work best
Powder-coated PEI sheets work very well, but large parts can still lift at the corners. This is why I personally use a bed adhesive* even for PLA because it allows me to reliably and repeatedly manufacture these edge-case prints.
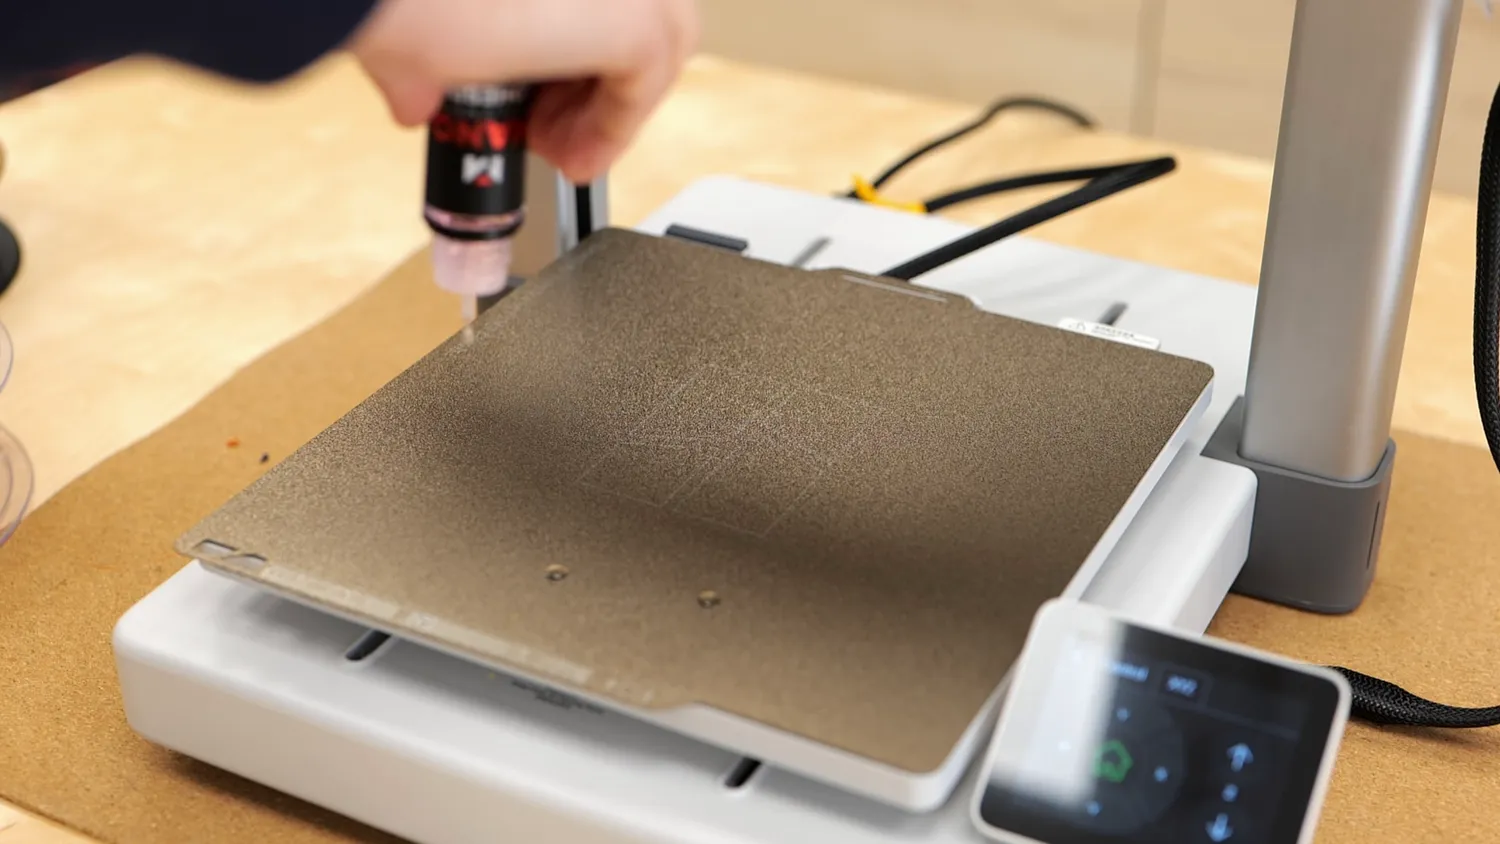
Adhesive makes even the edge cases reliable
Slicing a model yourself
Now that we know that the printer is working, let’s slice a model ourselves.
While some printers allow you to start prints from a phone or tablet, proper print preparation is still best done on a PC or Mac. Download the slicer from your printer manufacturer’s website; for the A1, that’s Bambu Studio. Most printers accept G-code from multiple slicers, but as a beginner, start with the manufacturer’s software before experimenting with alternatives like OrcaSlicer.
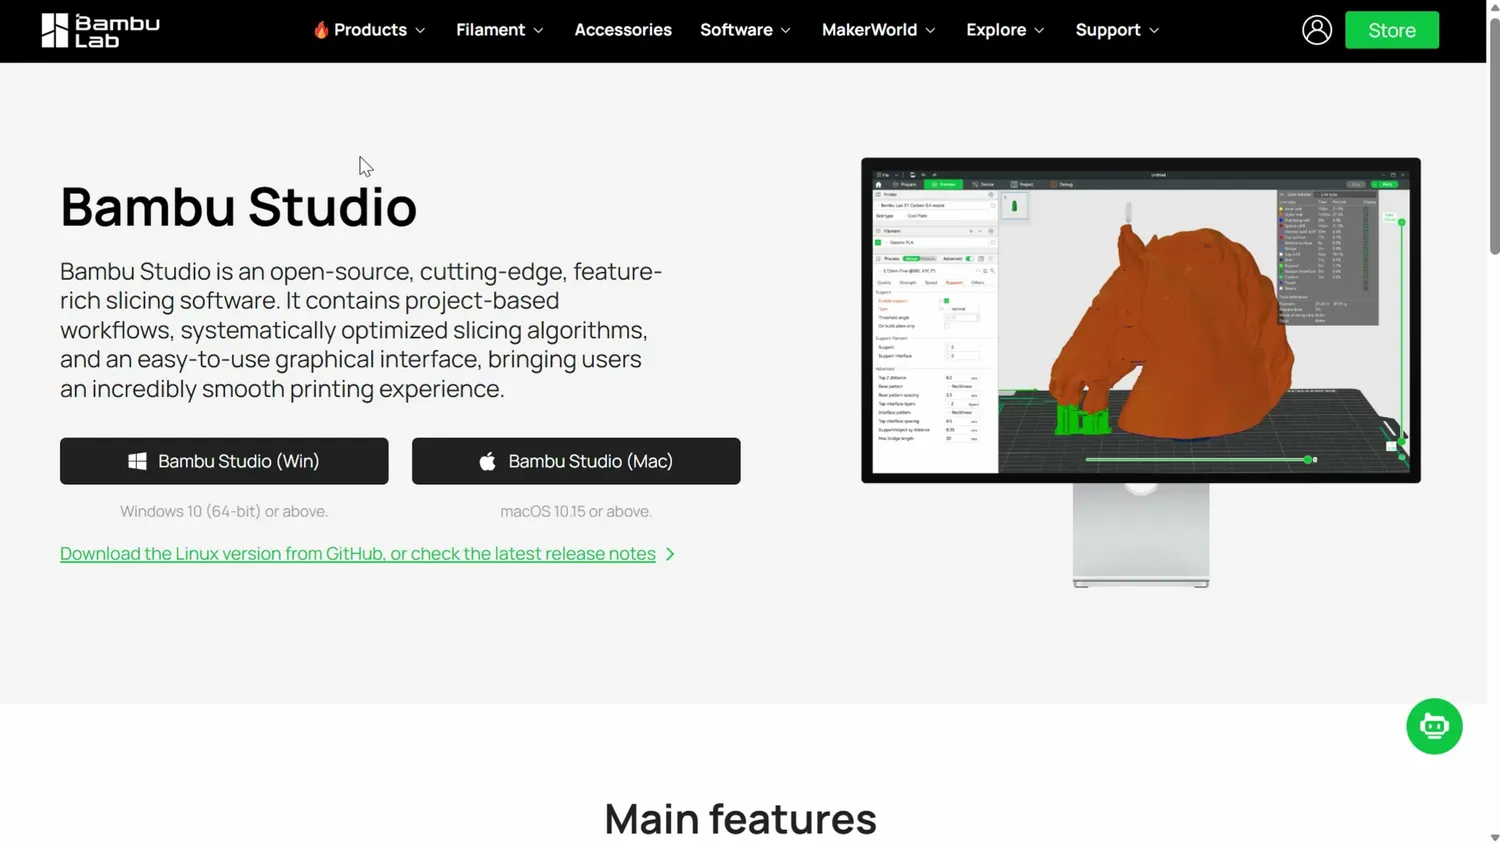
Modern slicers hide many parameters by default, and that’s a good thing. I see too many people ruin well-tested profiles by randomly changing settings. Only tweak things if you have a reason.
The parameters I usually only touch are: Layer height, Number of perimeters, Infill, Supports and the filament temperatures.
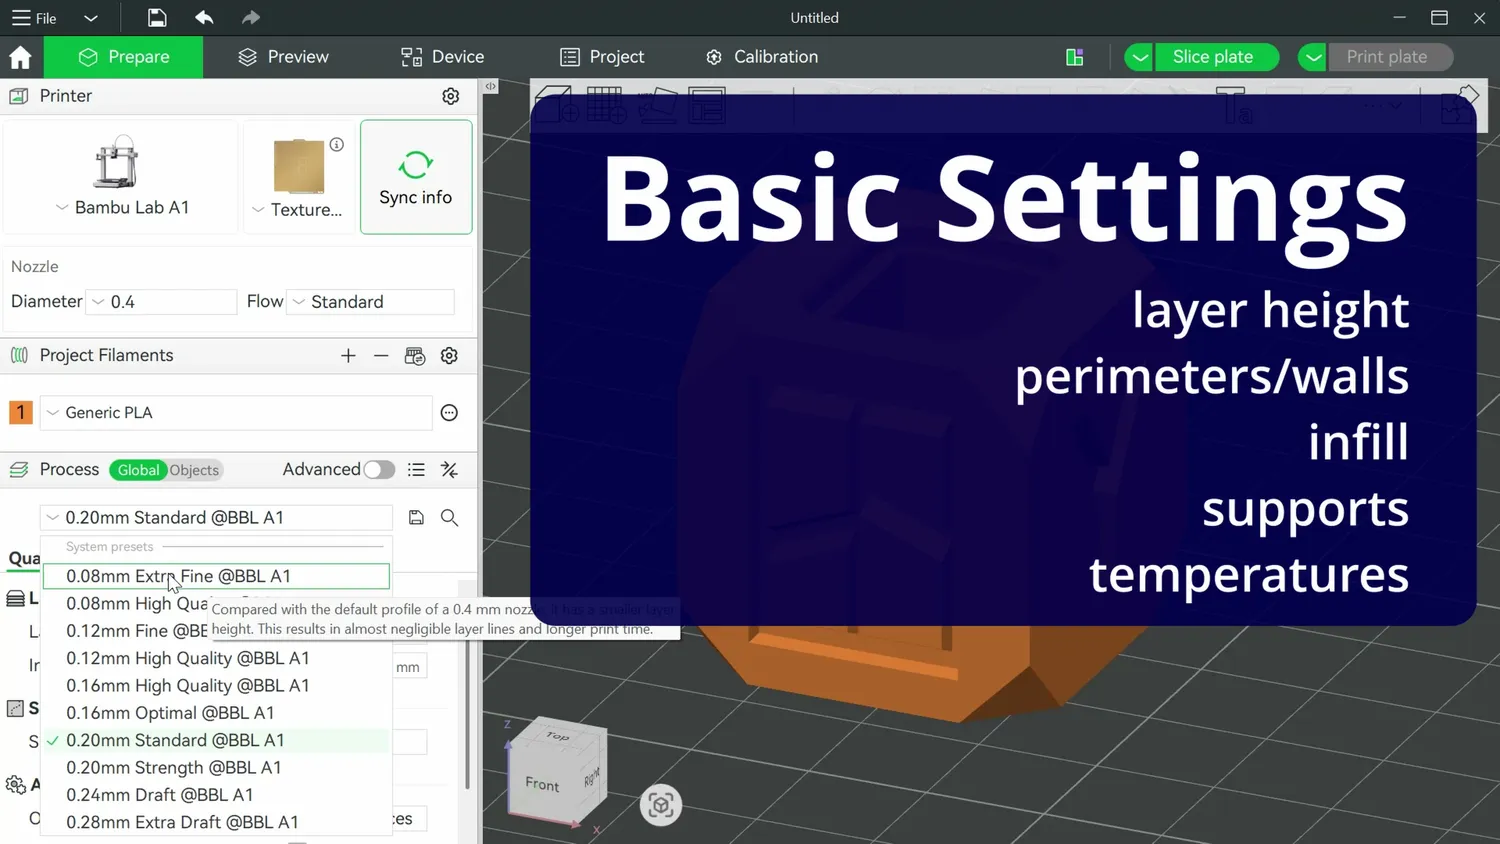
The only parameters I usually touch
A very solid engineering starting point for layer height is half the nozzle diameter. With a 0.4 mm nozzle, that’s 0.2 mm. Thicker layers save time but these days with fast printers usually only a little. Thinner layers can improve detail, but going too low causes other issues. So I almost exclusively stick with 0.2 mm.
Perimeters and infill set how much the inside of a part is filled with plastic and are used to control the strength. Increasing wall thickness usually adds more strength than increasing infill. Avoid adding too much infill, as you will eventually reach diminishing returns.
If you’re using a filament without a preset, select the Generic template and start with the middle of the manufacturer’s recommended temperature range.
With that all set, slice the model that generates the toolpath the printer follows and either send it directly to the machine or copy it to an external drive.
Judging the result with a 3DBenchy
The first model I usually print is a 3DBenchy. It’s often even available in the slicer, takes less than an hour on modern printers and is a great way to see if your settings, filament and printer work well together.
You’re not chasing perfection here. You’re looking for red flags.
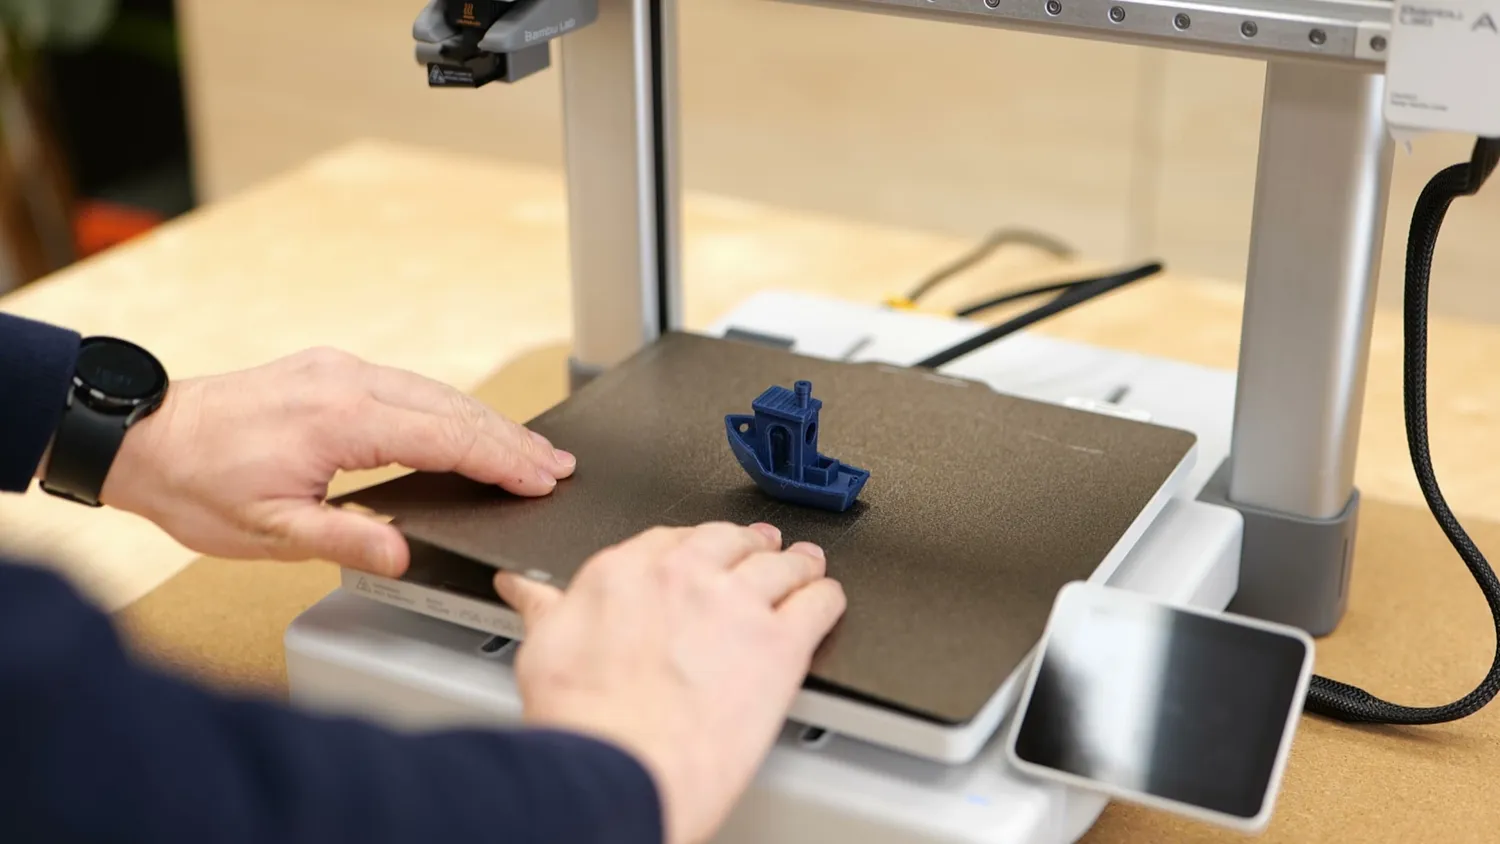
Looking for red flags, not perfection
The first layer should be flat, with extrusion lines just barely visible. If not, check your nozzle offset. Look for stringing which are these tiny hairs all over the part, that can indicate nozzle temperatures being too high or moist filament.
Check top surfaces for holes or roughness which indicate if material flow is too high or too low. Side walls should be smooth, and make sure the bow and chimney look good because they can be an indicator of insufficient cooling. A modern printer should produce a Benchy that looks at least this good, if not better.
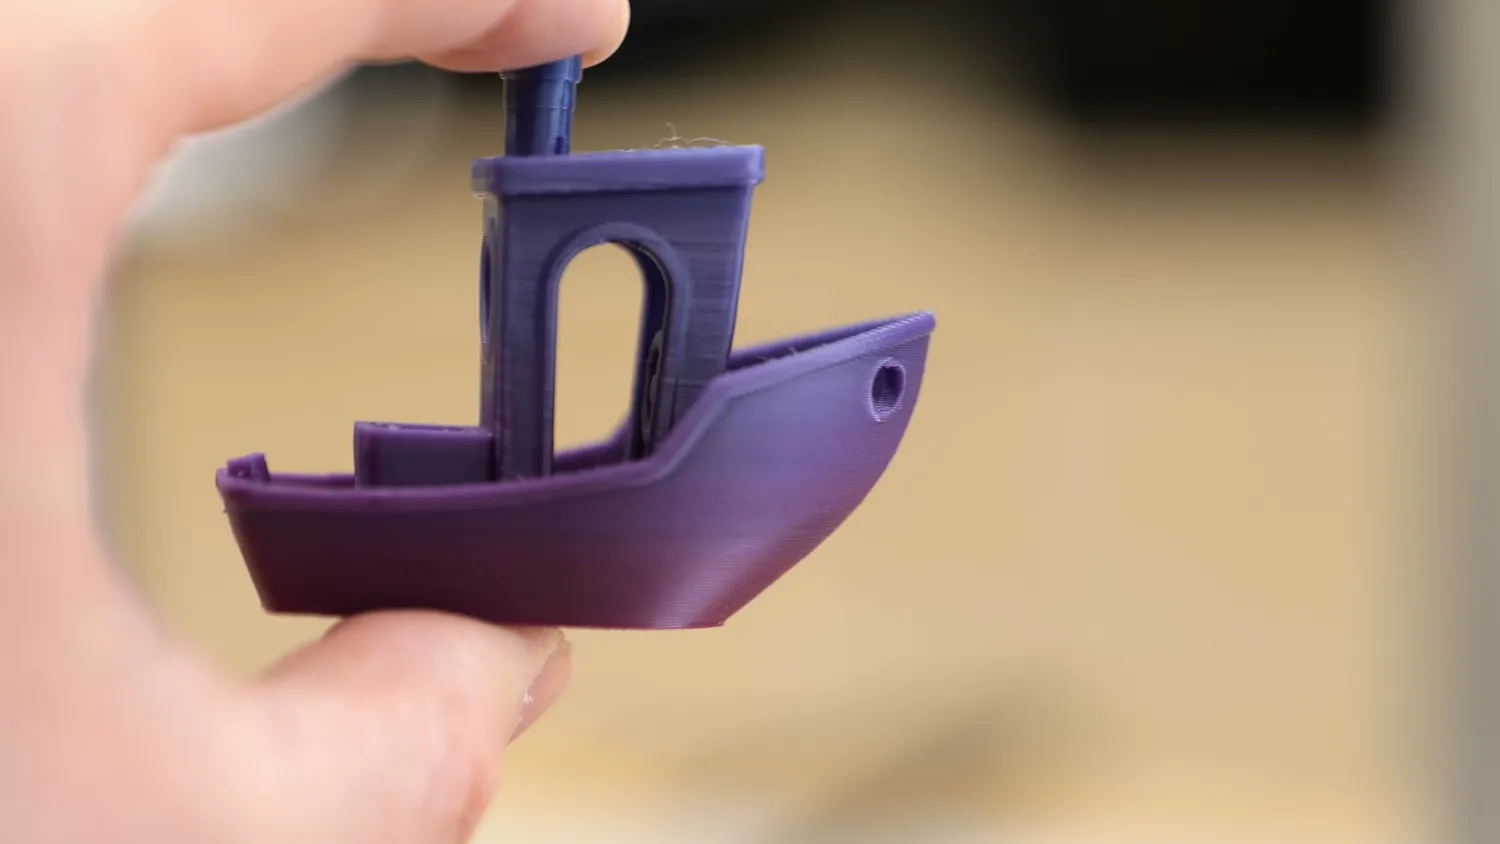
Smooth walls, and a clean bow and chimney
Where to find 3D models
In my opinion, 3D printing becomes most powerful when you design parts yourself in CAD, but that’s not mandatory.
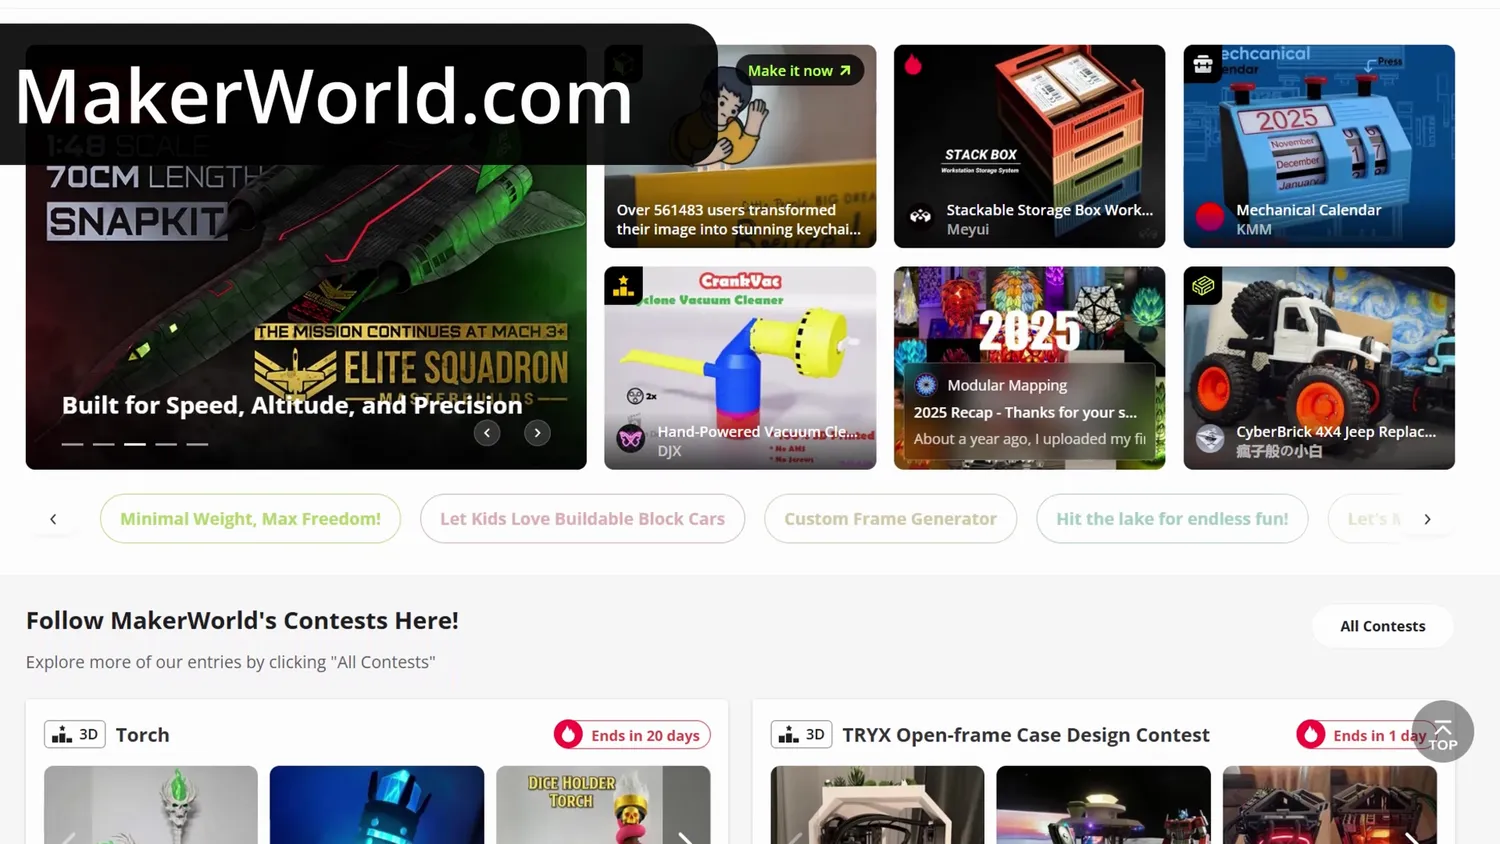
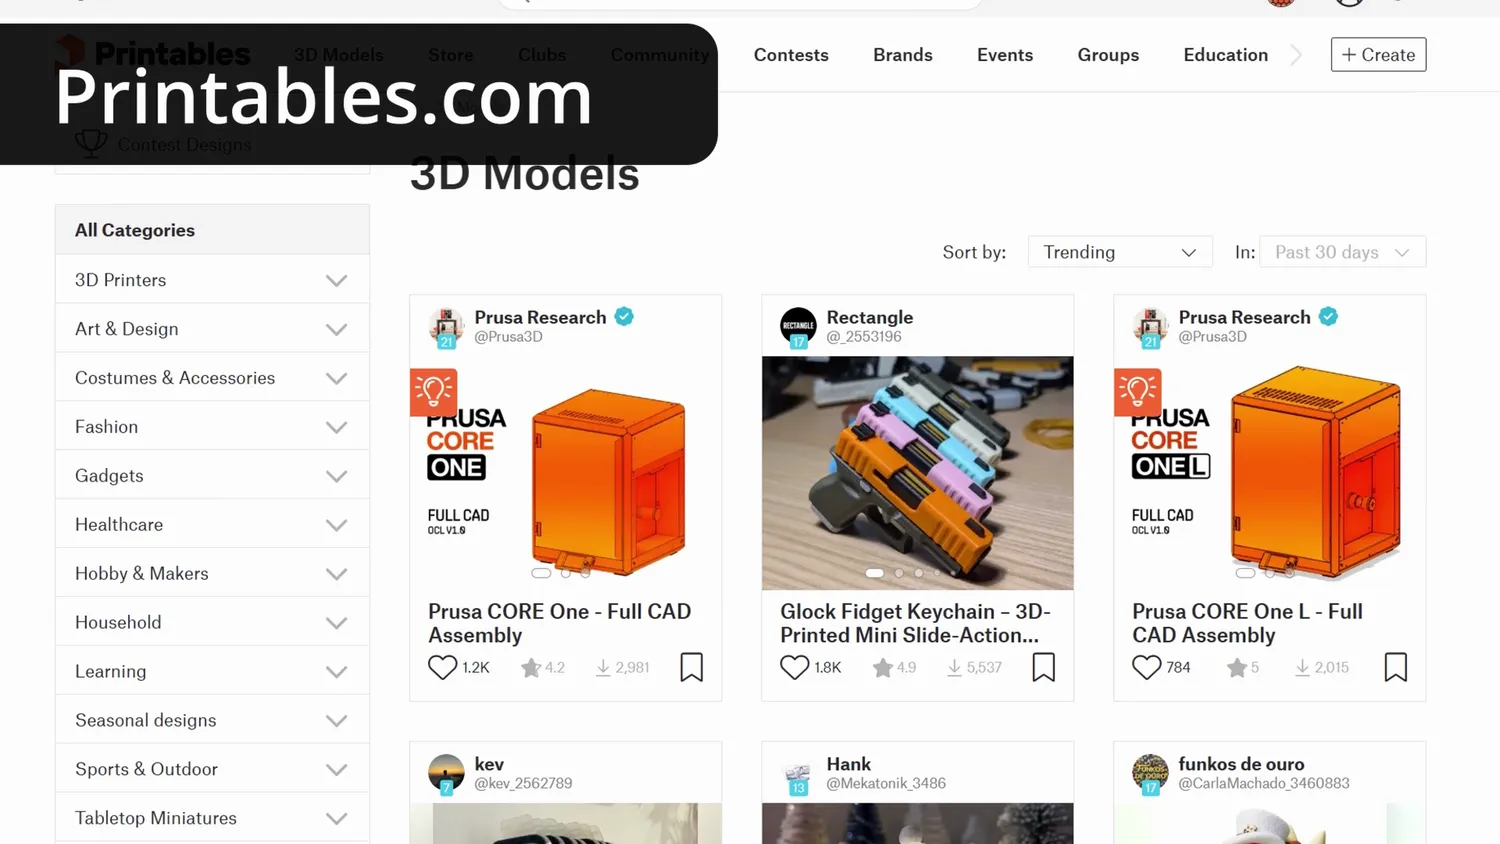
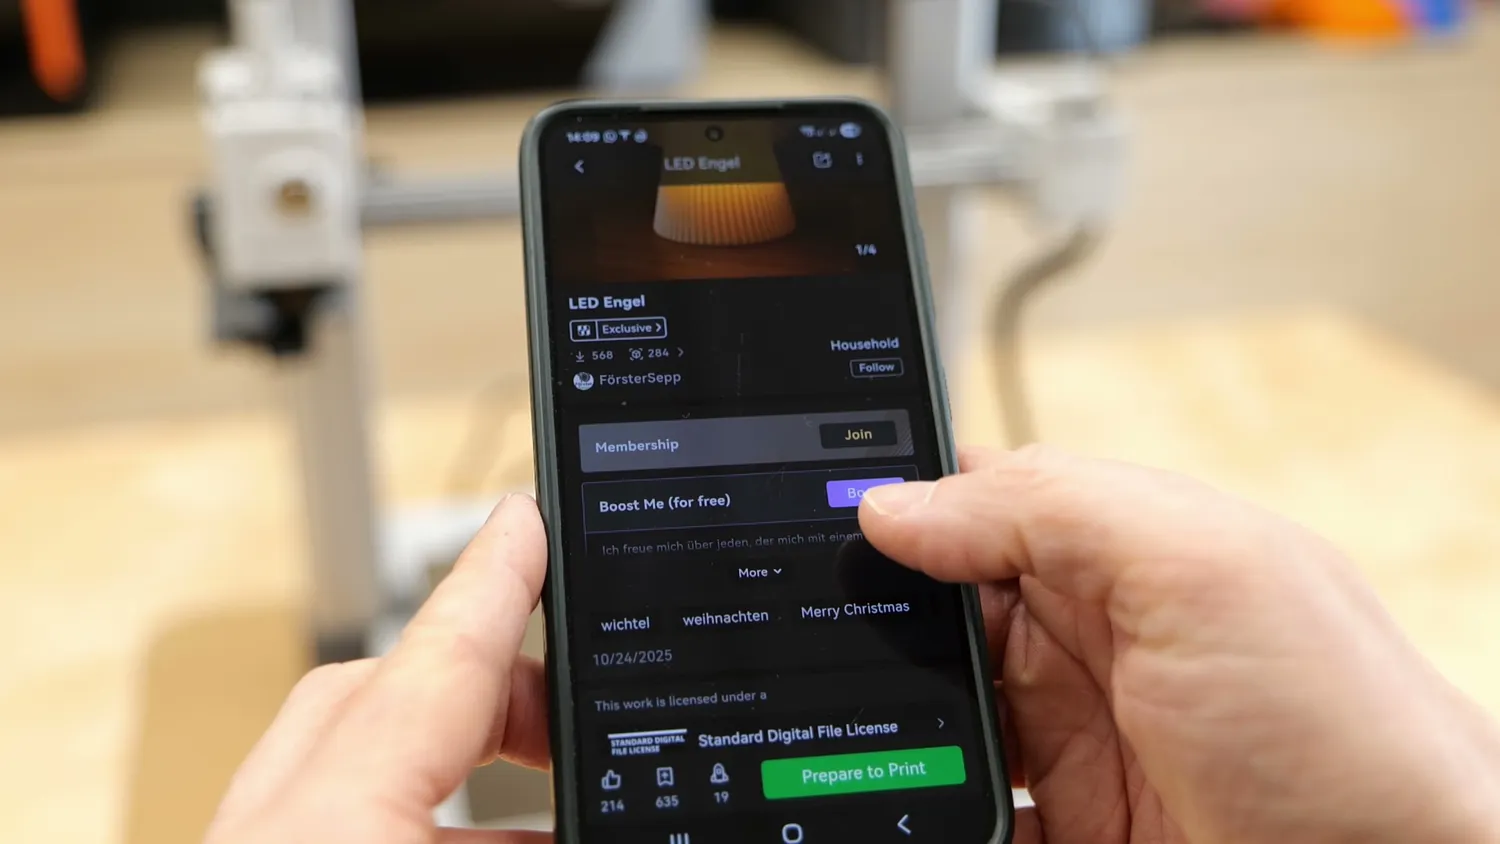
There are millions of models available online. Thingiverse used to dominate, but today I recommend Printables by Prusa* and MakerWorld by Bambu Lab. You’ll find everything from decorative objects to highly practical problem-solving designs or spare parts. Paid models are also becoming more common and often are definitely worth it.
Most downloads are STL, 3MF, or STEP files. STL is the most common format that contains the model as thousands of triangles. A 3MF is an archive that includes the triangle model, but may also include settings and colors. STEP files are CAD-based and ideal for editing, though slicers still convert them to triangles internally, so don’t expect better quality here.
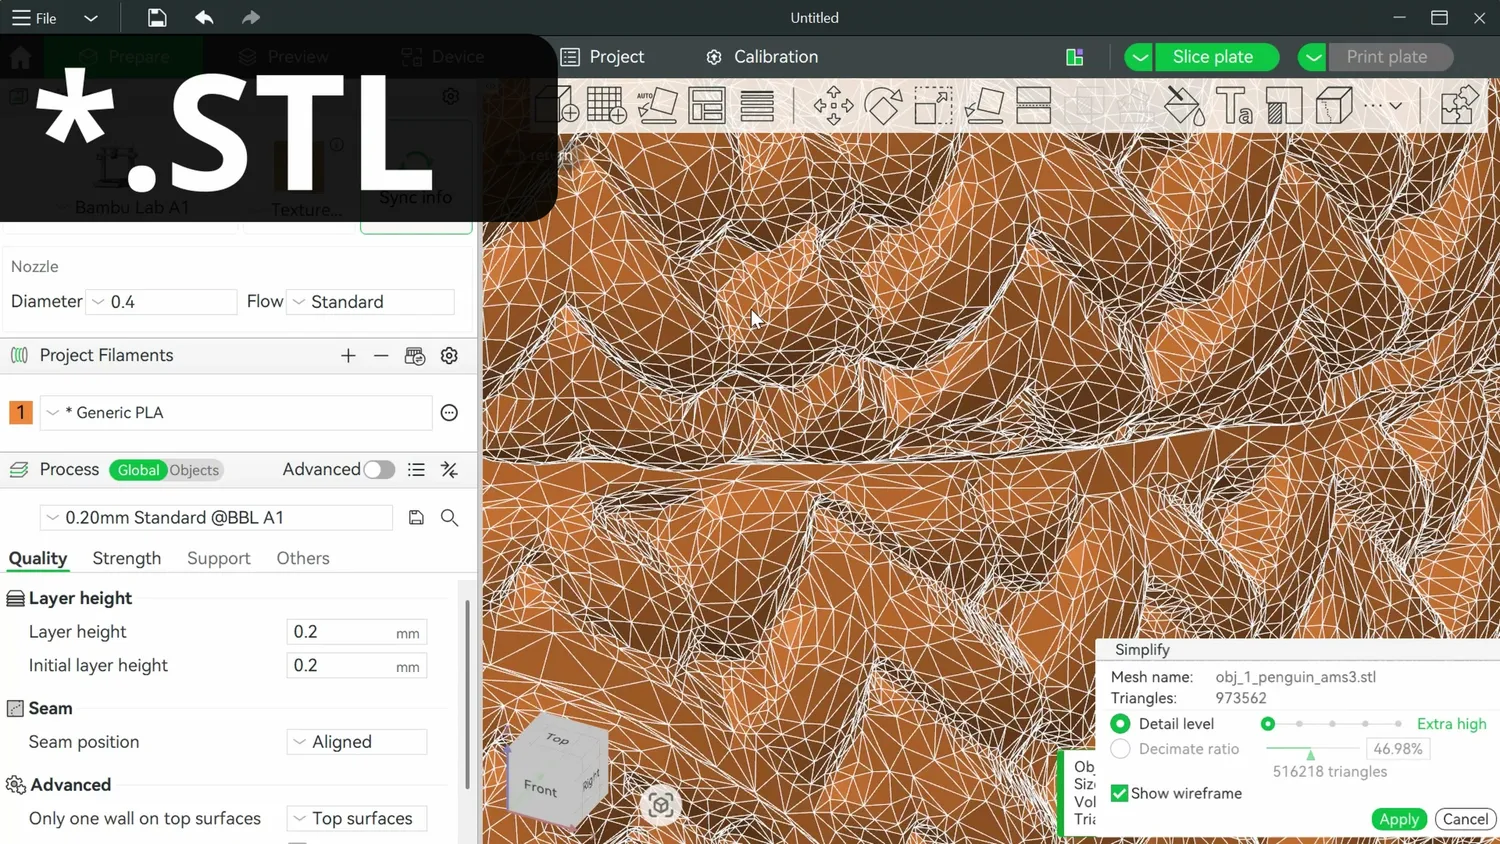
An STL is just thousands of triangles
Place the model you downloaded on your virtual print bed, try to find the optimal orientation so it sticks and might not even require supports, or try out the auto-orientation feature. This might all sound overwhelming at first, but you’ll quickly learn what works and what doesn’t.
Troubleshooting the most common problems
Even with perfect preparation, problems will happen.
Bed adhesion issues are very common. Clean the bed, consider adhesive, increase bed temperature, or use a brim.
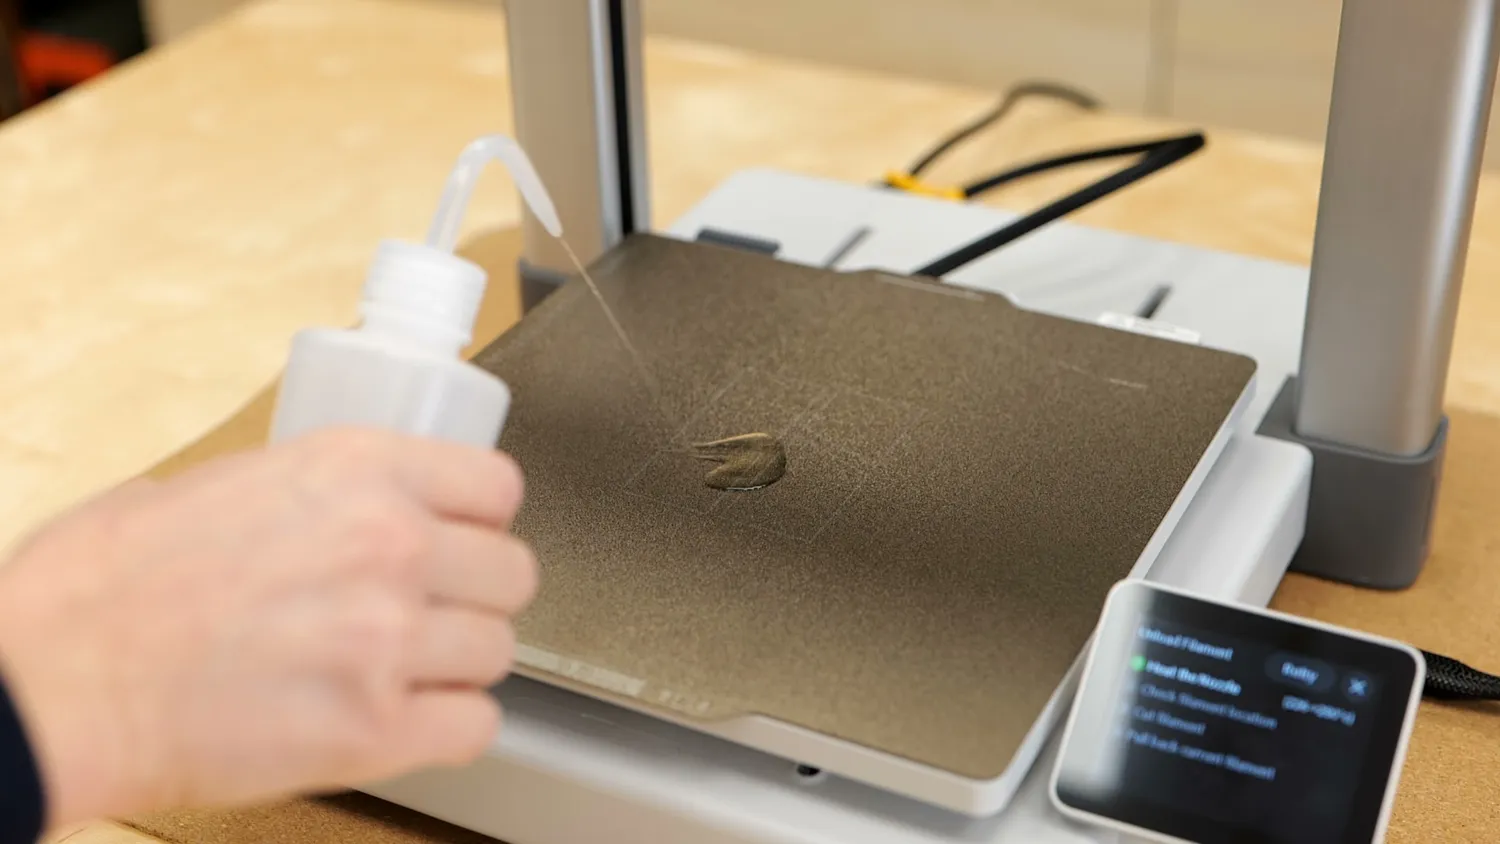
Cleaning the plate fixes most adhesion problems
If a print fails mid-way and sticks to the nozzle, you may end up with a blob of death. Don’t panic. Heat the nozzle to printing temperature and slowly remove the softened plastic and often you will be fine.
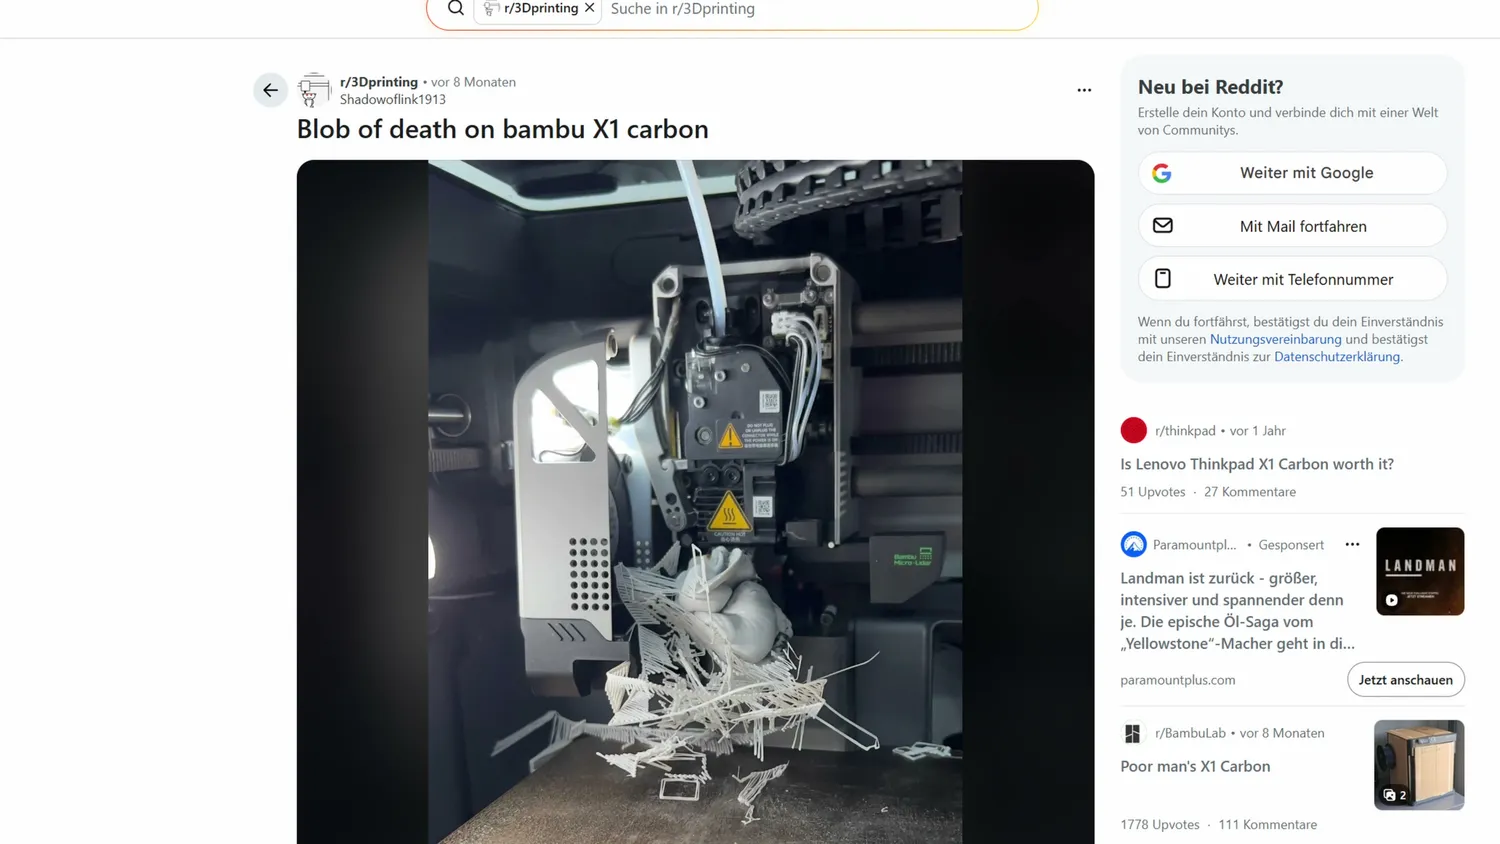
The blob of death (Reddit/r/3Dprinting)
If print quality is bad, check the basics first: firmware, slicer defaults, filament quality and dryness. A problem I often see, especially during humid summers, is excessive stringing on parts, which is often caused by filaments containing too much moisture. Even PLA can absorb moisture and may need to be dried at around 45–50 °C for a few hours. I store most of my PLA open on a shelf, but especially other materials should be stored in airtight containers or bags with fresh desiccant* on the inside to keep them dry. And if that doesn’t help, engage with the wonderful 3D printing communities you can find everywhere online!
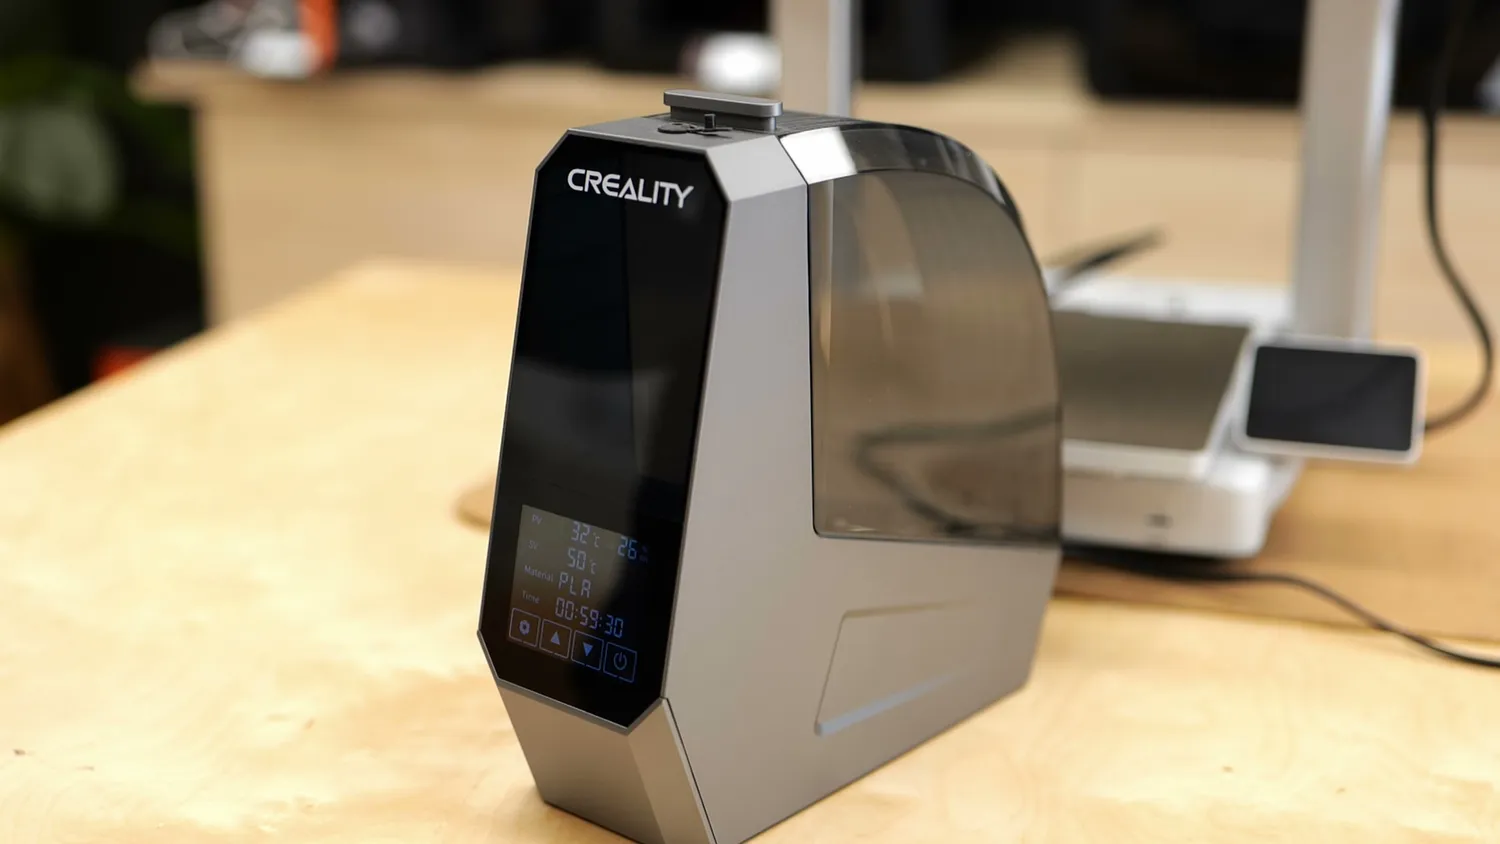
A dryer takes the moisture back out
Partial or full nozzle clogs can happen as well and this is when something internally blocks the small nozzle hole. Use the supplied cleaning needle, or check out our CNC Kitchen nozzle pokers and try to poke the nozzle hole and if that doesn’t help due to bigger particles, perform a cold pull. Extrude some PLA, let it cool, then reheat while gently pulling the filament. Around 70 °C it will release, pulling debris with it, but remember to always follow your printer’s manual.
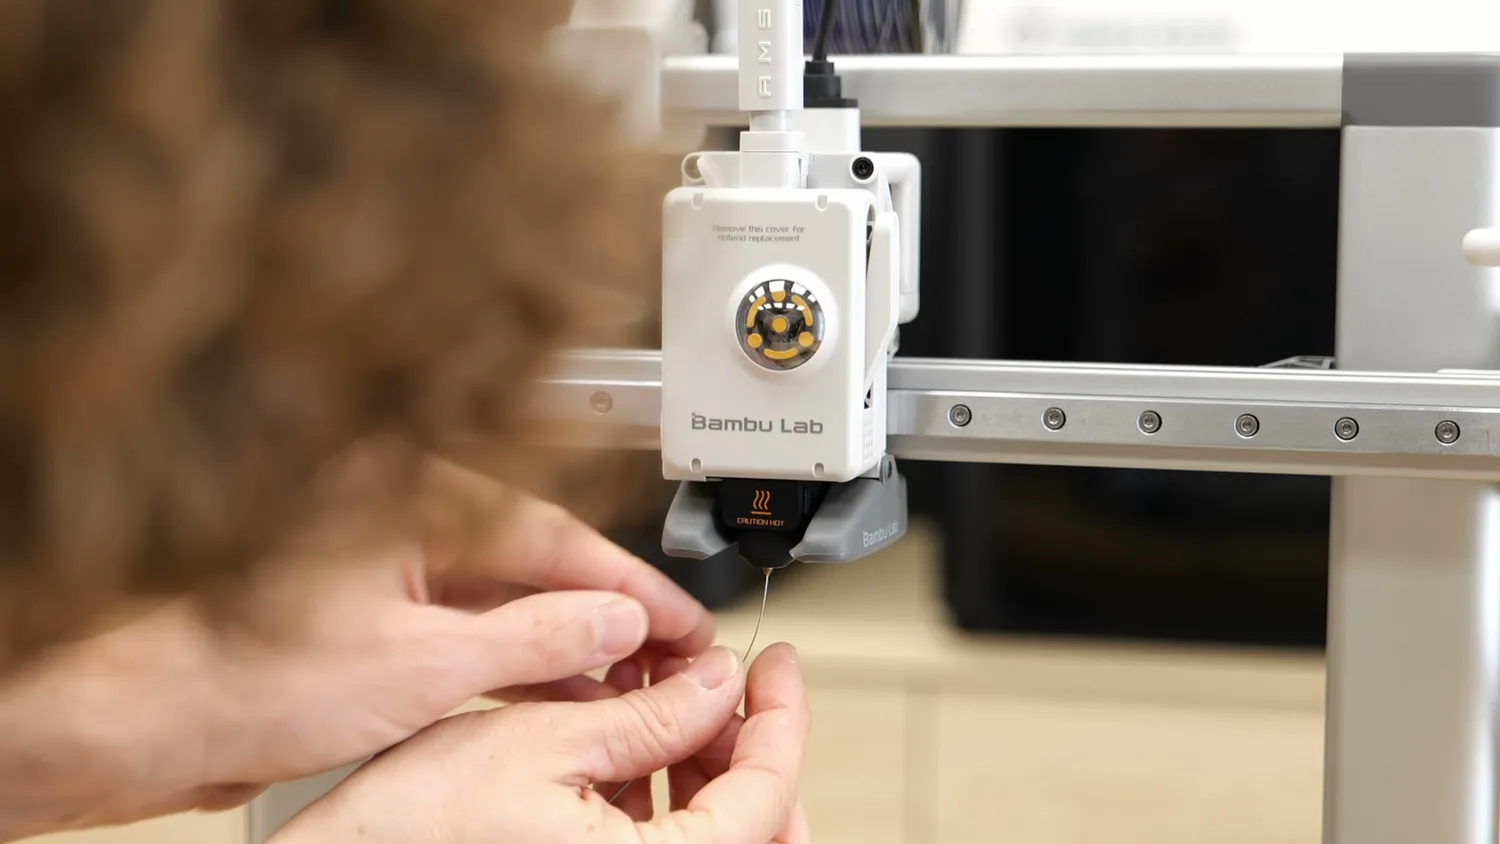
Poking a partial clog back out
If nothing helps, replace the nozzle or hotend. Maybe keep some spare parts on hand, and avoid extremely cheap nozzles, because quality matters.
Basic maintenance
Many issues can be avoided with basic maintenance. Most importantly, keep the machine clean. Regularly wipe and then lubricate rails and lead screws (oil for rails, grease for screws) and wipe off excess so the leftover doesn’t become the next dust magnet. Clean the hotend with compressed air or a vacuum and remove residues on the nozzle with a soft brass brush. Also just wiggle on some of the parts regularly to check for loose screws.
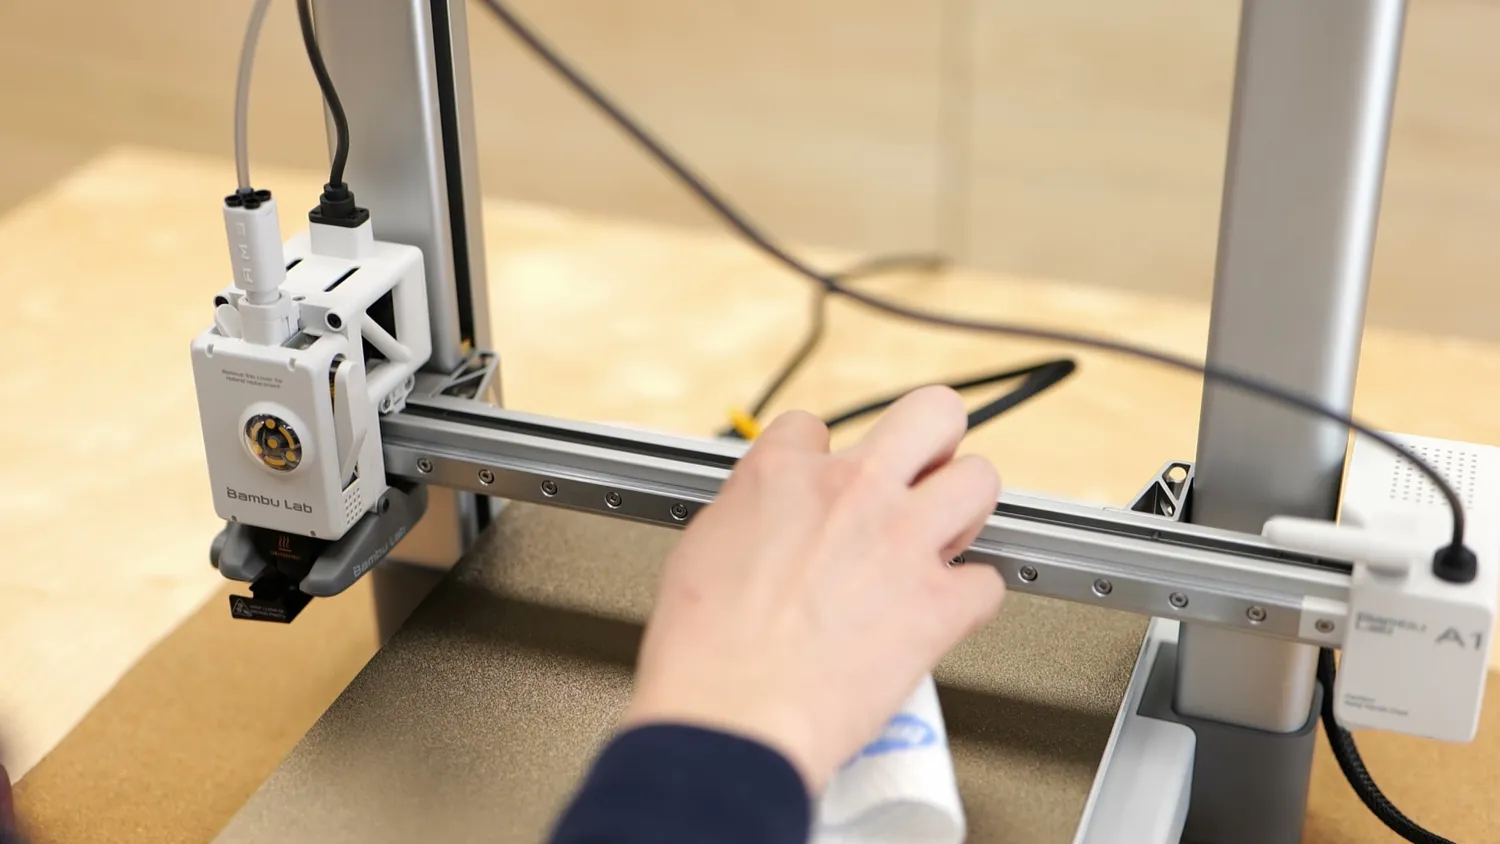
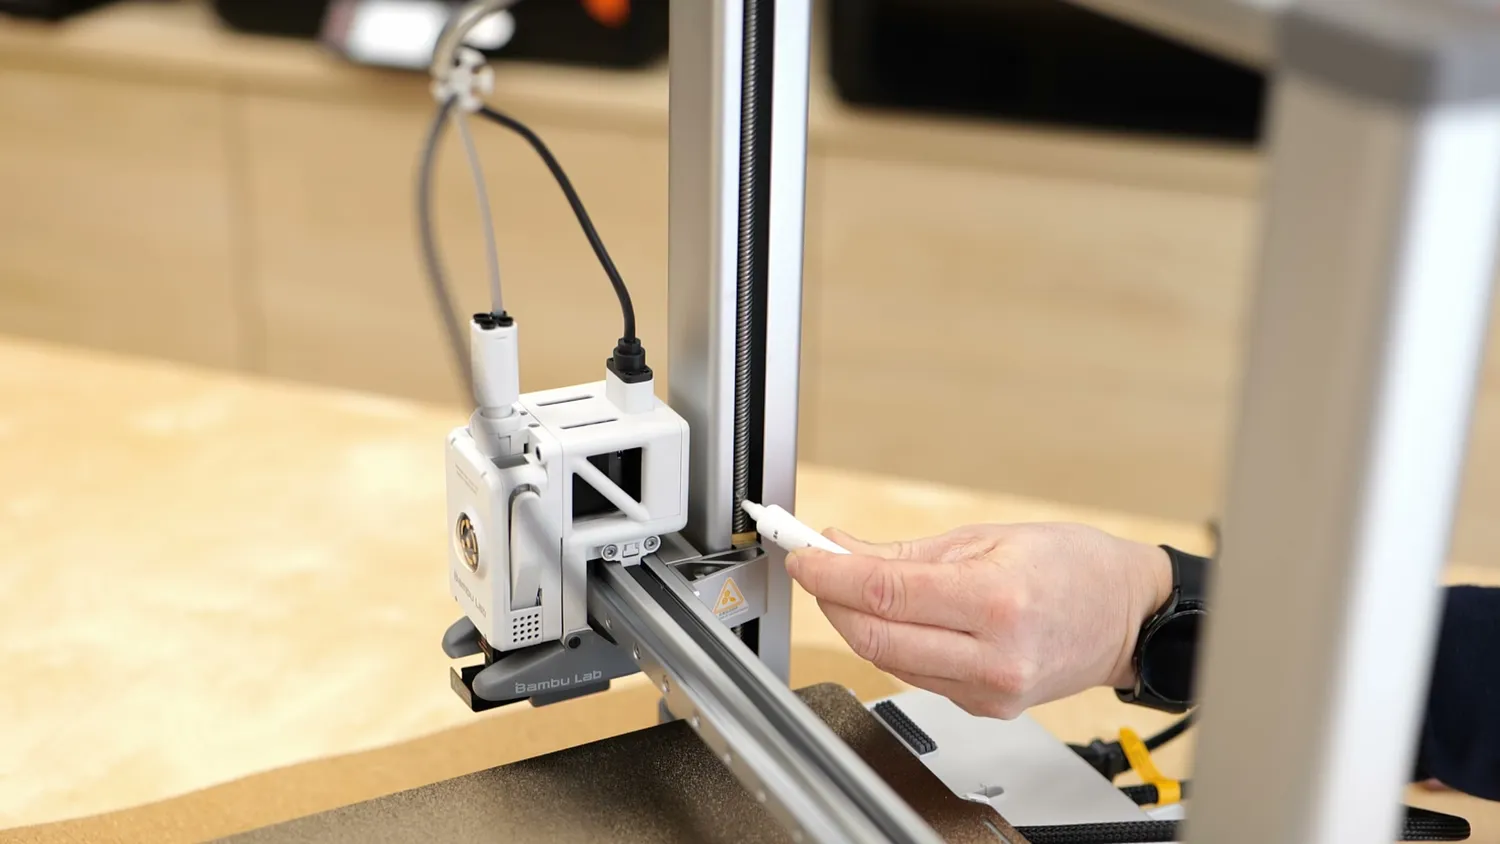
3D printers are tools now, not endless projects
That’s it. Modern 3D printers are tools now, not endless projects. You can still upgrade your machines but most of them are about convenience, not performance. Used correctly, a 3D printer can be a genuine game changer for turning ideas into physical objects with the click of a button.
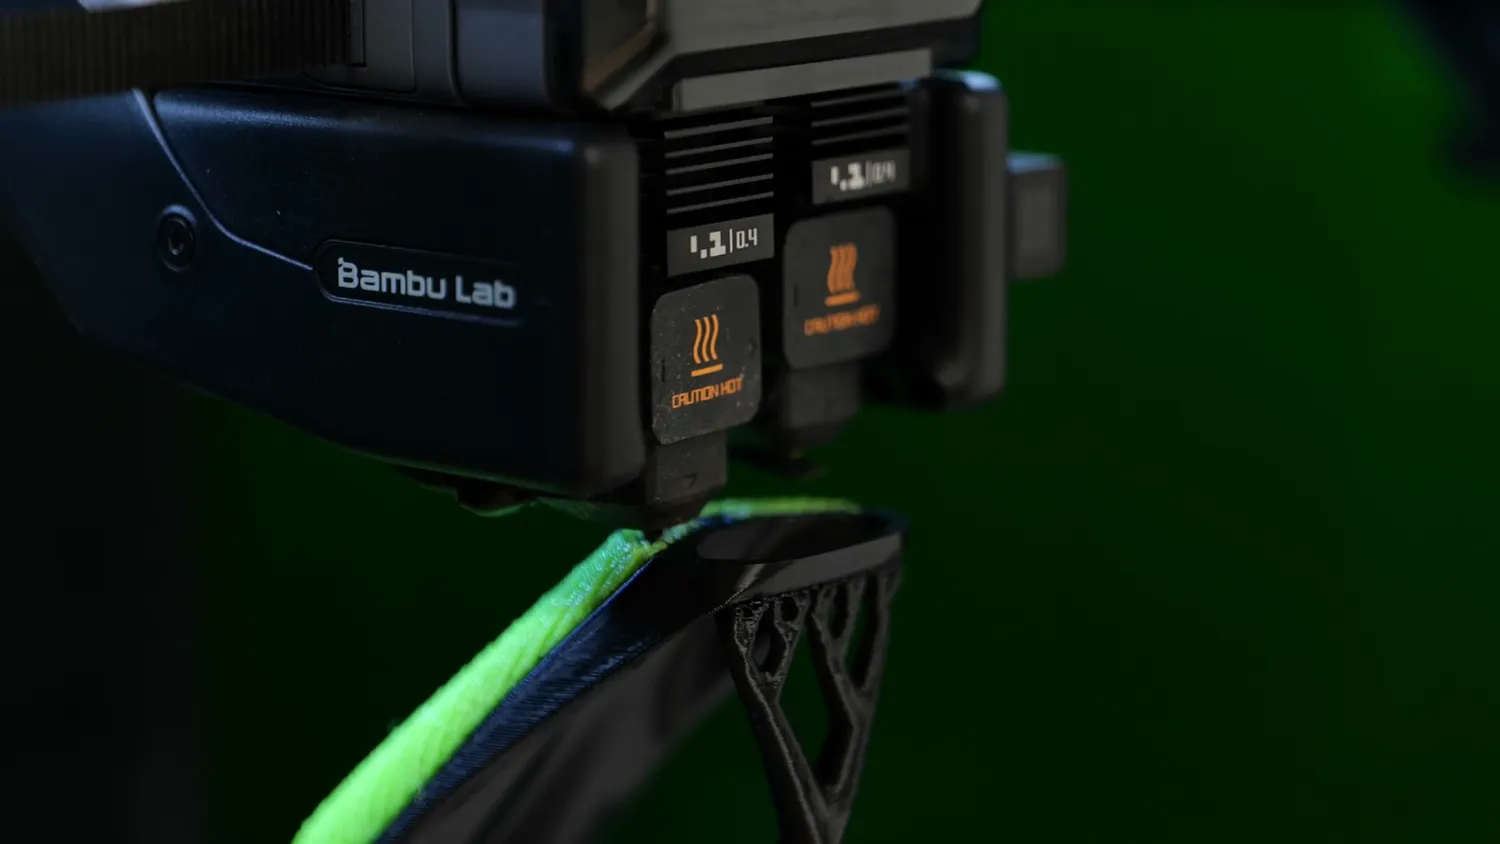
A modern dual-nozzle toolhead in action
I hope this guide helps you get started without unnecessary frustration. If I missed anything, let me know, and tell me what your first print or first failure was. My goal is to show that this technology is far more than a toy. And there is so much more to learn and explore!
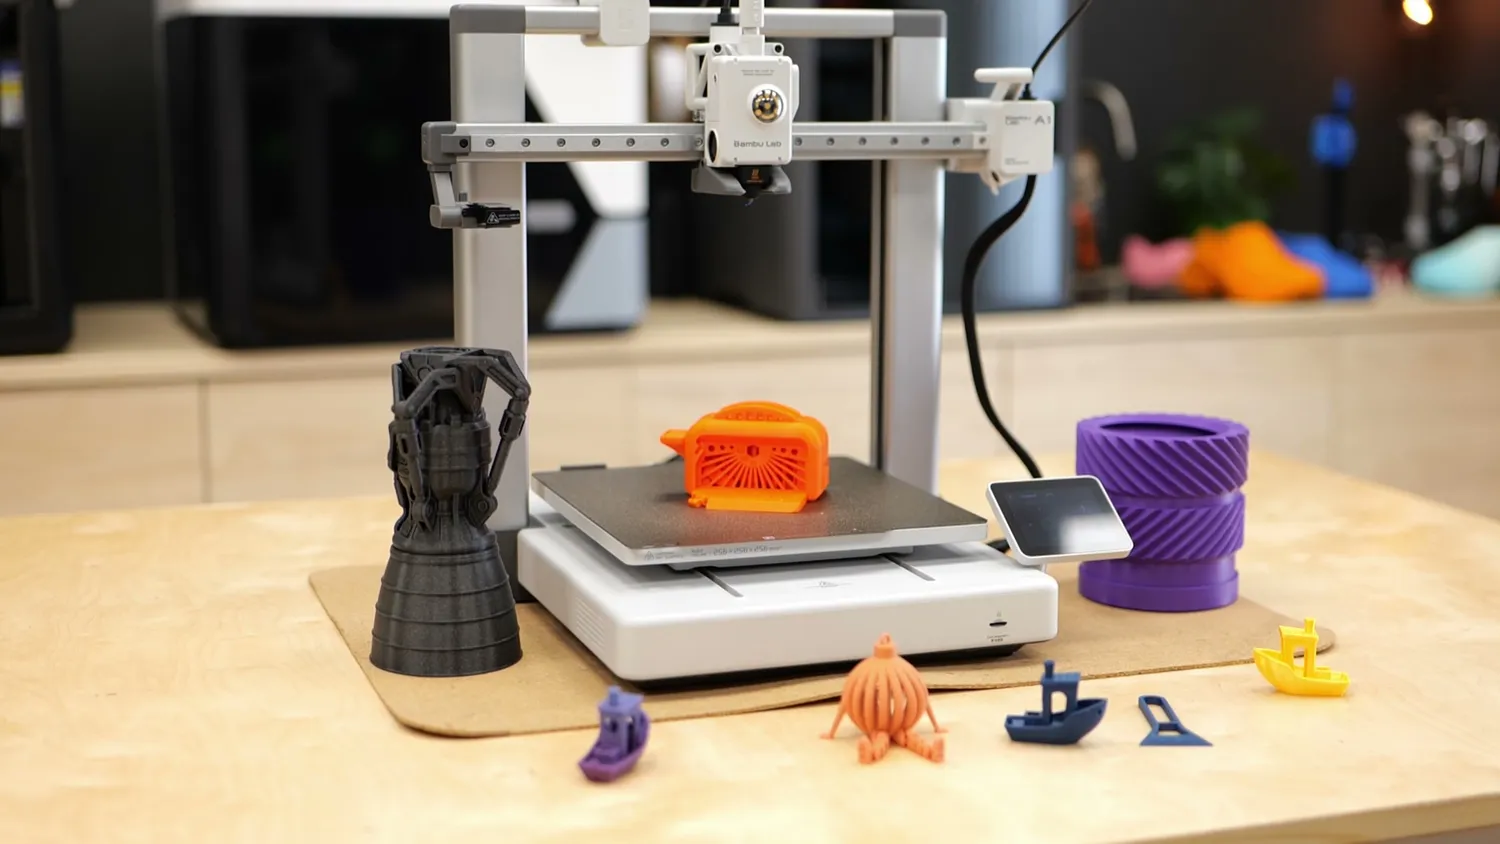
Ideas turned into physical objects
🖨️ The 3D printers I personally like using:
(Most bang for your buck) Bambu Lab A1 Mini*
(Bigger build volume) Bambu Lab A1*
(EU/US made open frame) Prusa MK4S*
(Enclosed) Bambu Lab P2S*
(EU/US made enclosed) Prusa CORE One*
(EU/US made large enclosed) Prusa CORE One L*
(Dual nozzle) Bambu Lab H2D*
(Nozzle changer) Bambu Lab H2C*
(Affordable toolchanger) Snapmaker U1*
(Big toolchanger) Prusa XL*
* Links marked with an asterisk are affiliate links — if you buy through them, I earn a small commission at no extra cost to you. As an Amazon Associate I earn from qualifying purchases. Thanks for supporting my work!