
What Prusa Got Right (and Wrong) with the New CORE One L
The Prusa CORE One L doubles the build volume to 300x300x330 mm for €1,699. Print quality, VFAs, noise, chamber heating, and the annoyances they fixed.
TL;DRthe short version
- The CORE One L is €1,699 or $1,799 fully assembled, with no kit version now or in the foreseeable future, because they swapped the 24V bed for a mains AC one.
- Twice the print volume (300x300x330 mm, 28.8 l against 14.9 l) for only about 10% more outer size, and at 22 kg it weighs slightly less than the regular CORE One thanks to aluminium panels.
- The bed goes to 120 °C and doubles as an active chamber heater that recirculates air underneath it, getting the chamber to 60 °C. The hotend stops at 290 °C, which is a bit short for PPS and the newer high-temperature nylons.
- Print quality is much better than the CORE One I first got, but VFAs are not gone. They show up in edge cases and wherever the printer slows down for cooling. Dropping the external perimeter speed to around 70 mm/s made them basically invisible, at the cost of 30 minutes on a 5.5 h print.
- There is still no pressure advance calibration in PrusaSlicer; you have to go to OrcaSlicer to generate a test pattern. And I still got nozzle cleaning errors twice during testing, on a machine where a simple nozzle wiper would have solved it.
- The annoying top vent is fixed: a flexible lever on the printhead opens and closes it automatically, the top panel comes off without rivets, and the filament path finally has a big radius into the extruder. But there's no Poka Yoke stopping you from refitting that panel the wrong way round.
- Around 50–55 dBA printing PLA with peaks to 60 dBA, silent when idle. Prusa Connect turned out to be a real surprise. After a year of use I'd call it on par with Bambu's, and better if you run several printers.
- So is it the better CORE One? Yes, definitely, mainly for the quality of life improvements and the better bed. A Bambu Lab H2S with its multi-material system still costs less than a CORE One L without one, so a lot of this comes down to idealism: EU manufacturing, no forced cloud, any slicer you like, and real people in support.
🦙 Get the CORE One L (€1,699 / $1,799): https://geni.us/PrusaCOREOneL*
This is the new Prusa* CORE One L: not that much bigger on the outside than its little brother, but with twice the print volume! I was finally able to test it here in the studio, so in this article, I want to talk about how it performs and whether they managed to fix some of the things that annoyed me on the old CORE One. So is the CORE One L not only the bigger, but also the better CORE One? Let’s find out!
Just three weeks ago, a few creators and members of the press were invited to an impressive reveal event in Prague, where Prusa basically shrunk us down and put us into their new large-volume machine. Unfortunately, the test machines took a bit longer to arrive than expected, but I was stoked when the CORE One L finally showed up in the studio because it comes with some really nice new upgrades.
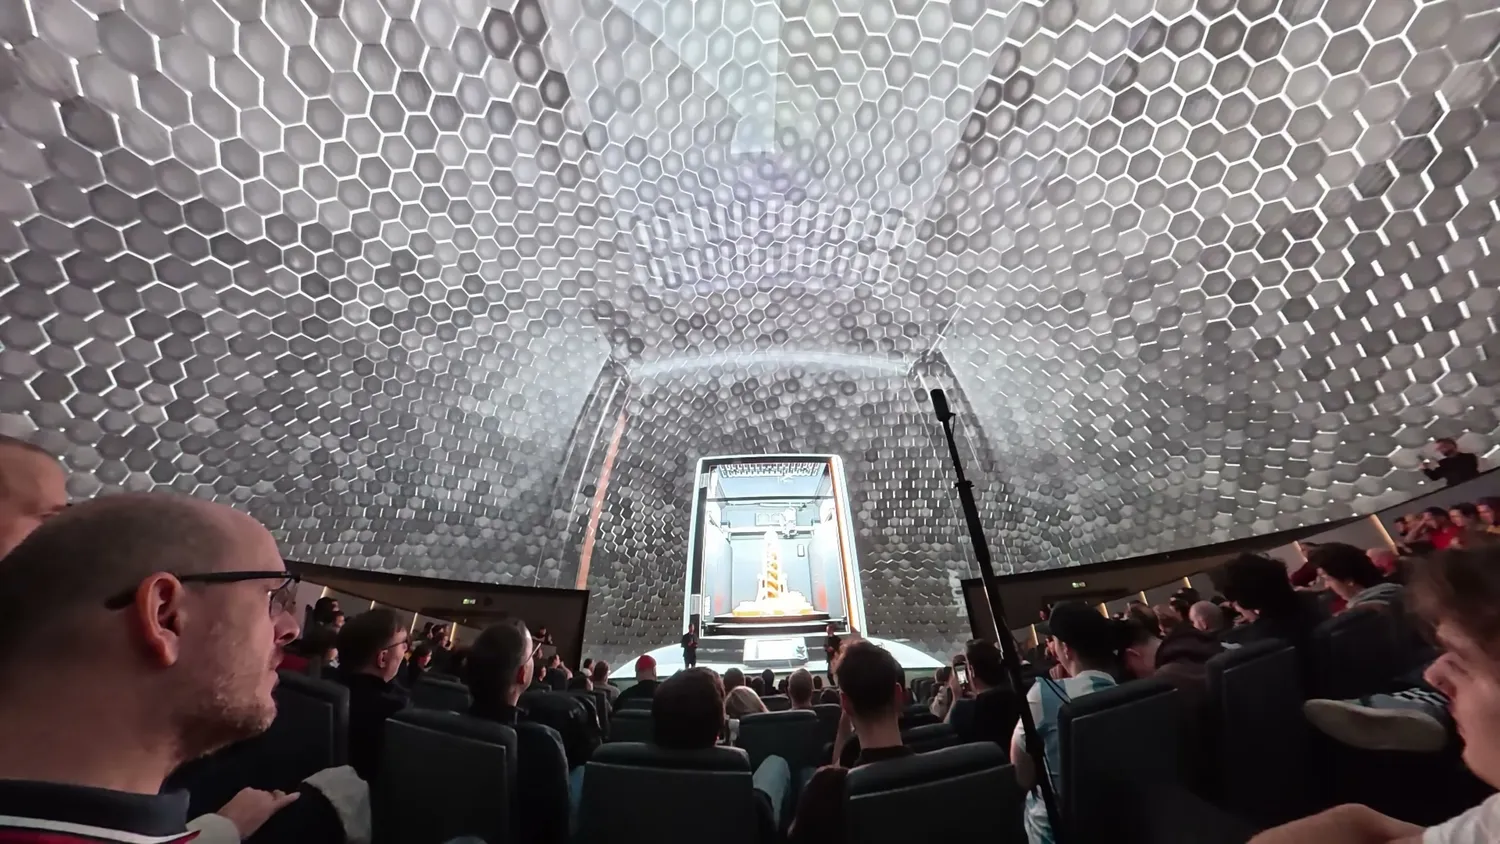
The reveal event in Prague
The CORE One L currently sells for €1,699 or $1,799 fully assembled. There’s no kit version right now, and probably won’t be for the foreseeable future, because they switched from a 24V bed to a mains AC bed.
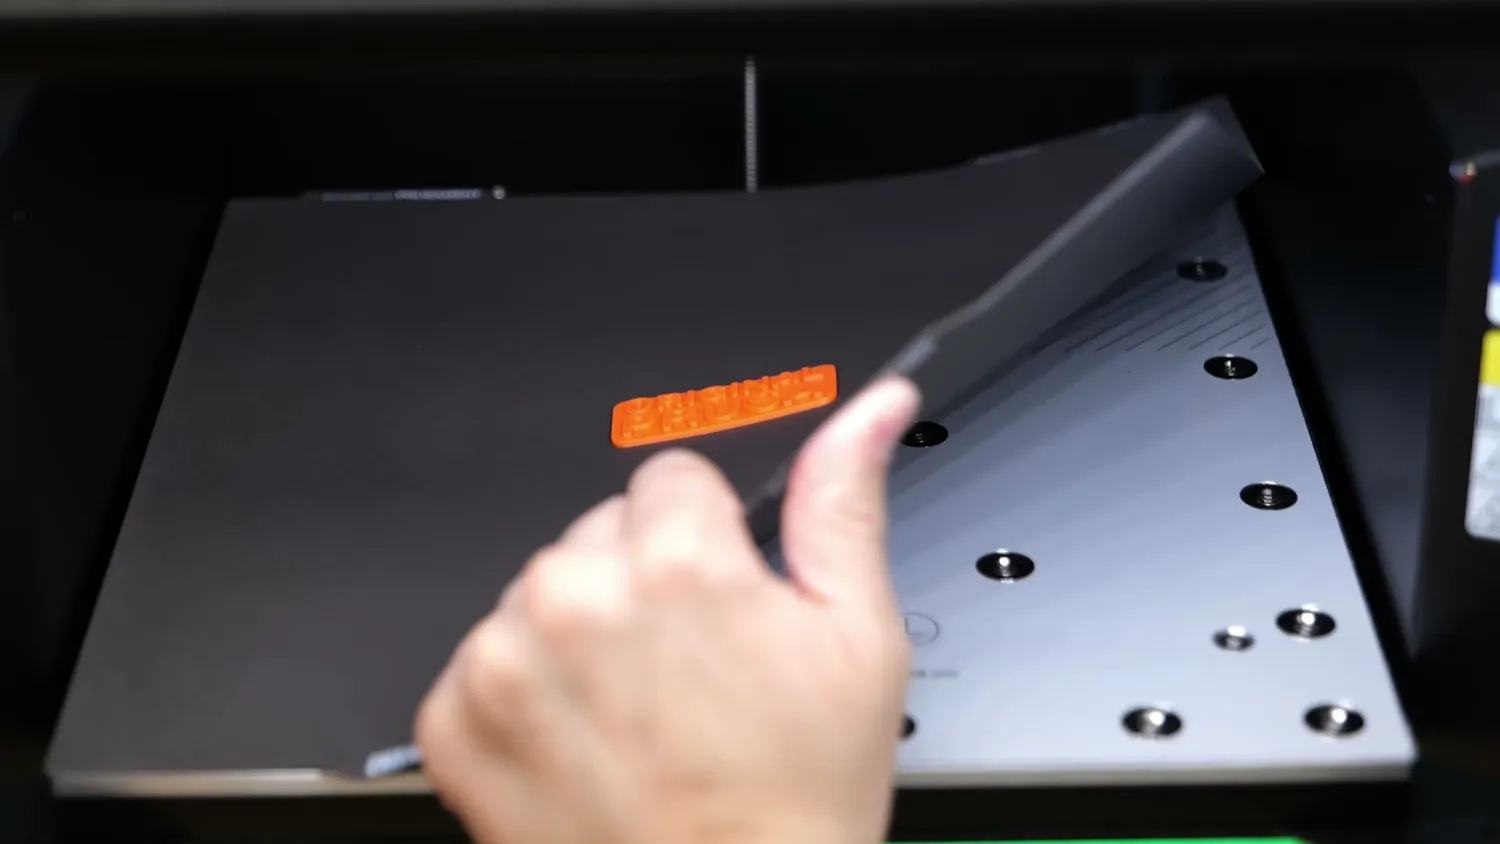
The sheet lifts off a milled aluminium bed
Unboxing and setup
Unboxing the machine was straightforward, and I love how they print the unboxing steps right onto the pieces of cardboard to make everything as smooth as possible. After installing the screen, removing a bit of foam, and adding the spool holder, it was ready to be turned on.
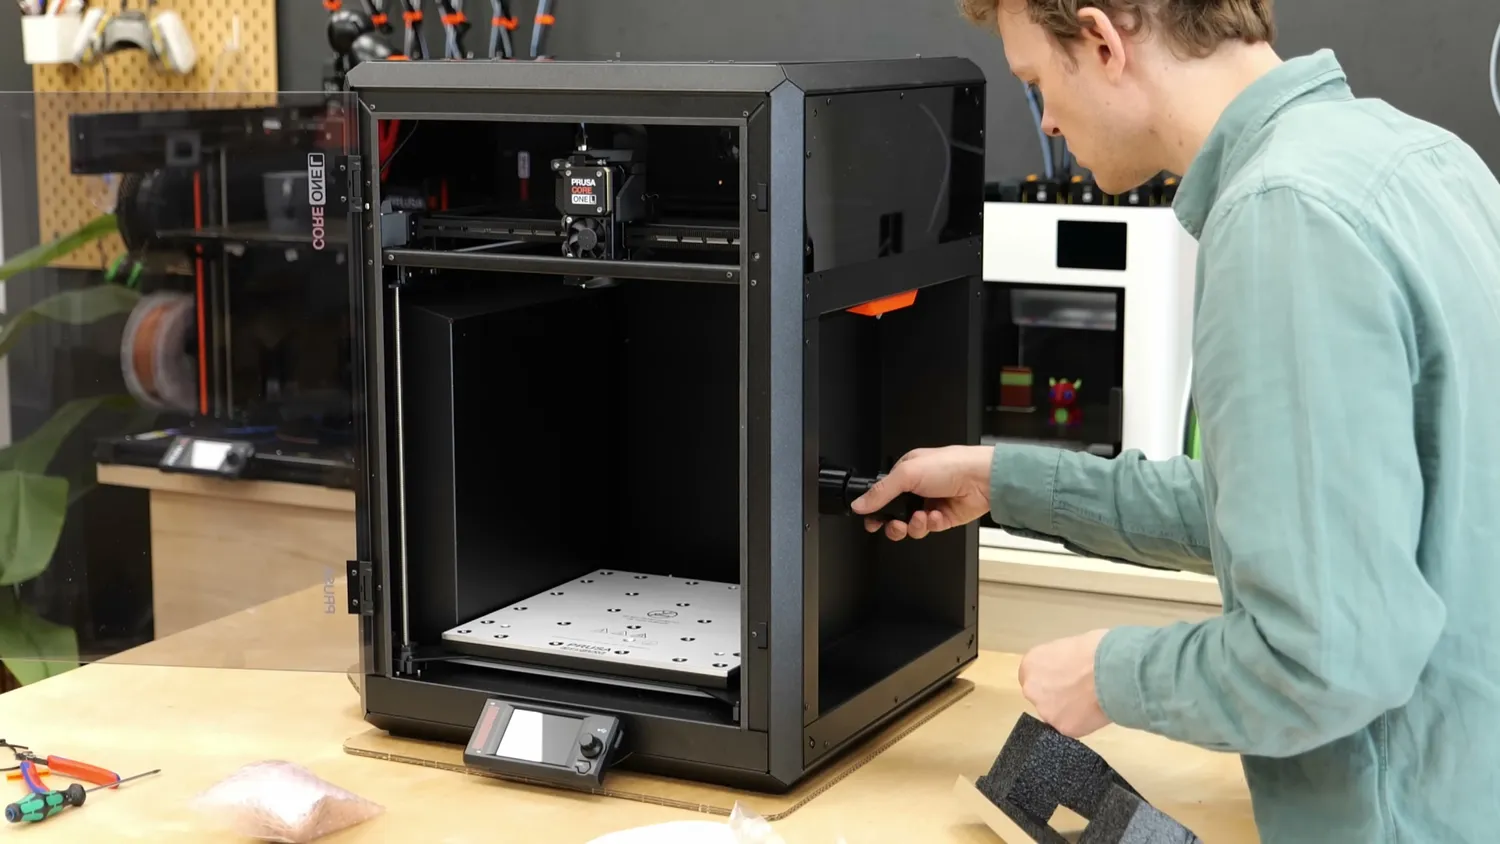
Adding the spool holder
Setup is done using the color LCD screen that’s arguably not the prettiest, but finally also a touchscreen. You can, but don’t have to, connect the machine to your network and to Prusa’s cloud service, Prusa Connect, which I’ll talk about later.
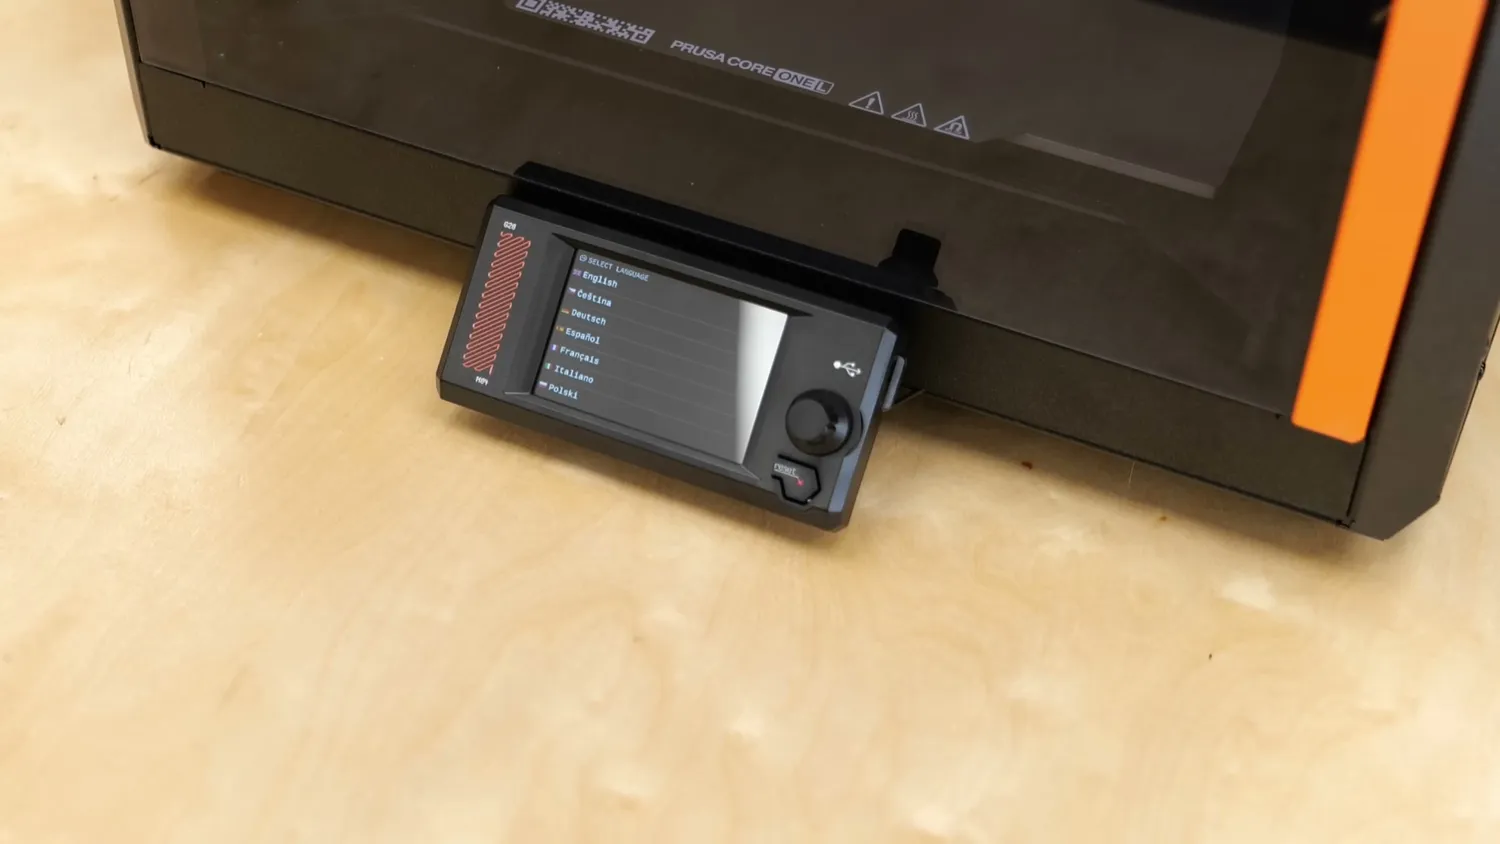
The new colour touchscreen
The build chamber camera now finally comes with the machine and can, but doesn’t have to, be installed. It’s a completely separate device that only takes power from the printer. If you want to use it, the machine needs to be connected to the cloud service. The setup is cleverly done using the Prusa App, which shows a QR code that you scan with the camera to connect it to Wi-Fi and your account. Once that’s done, you’re ready to go.
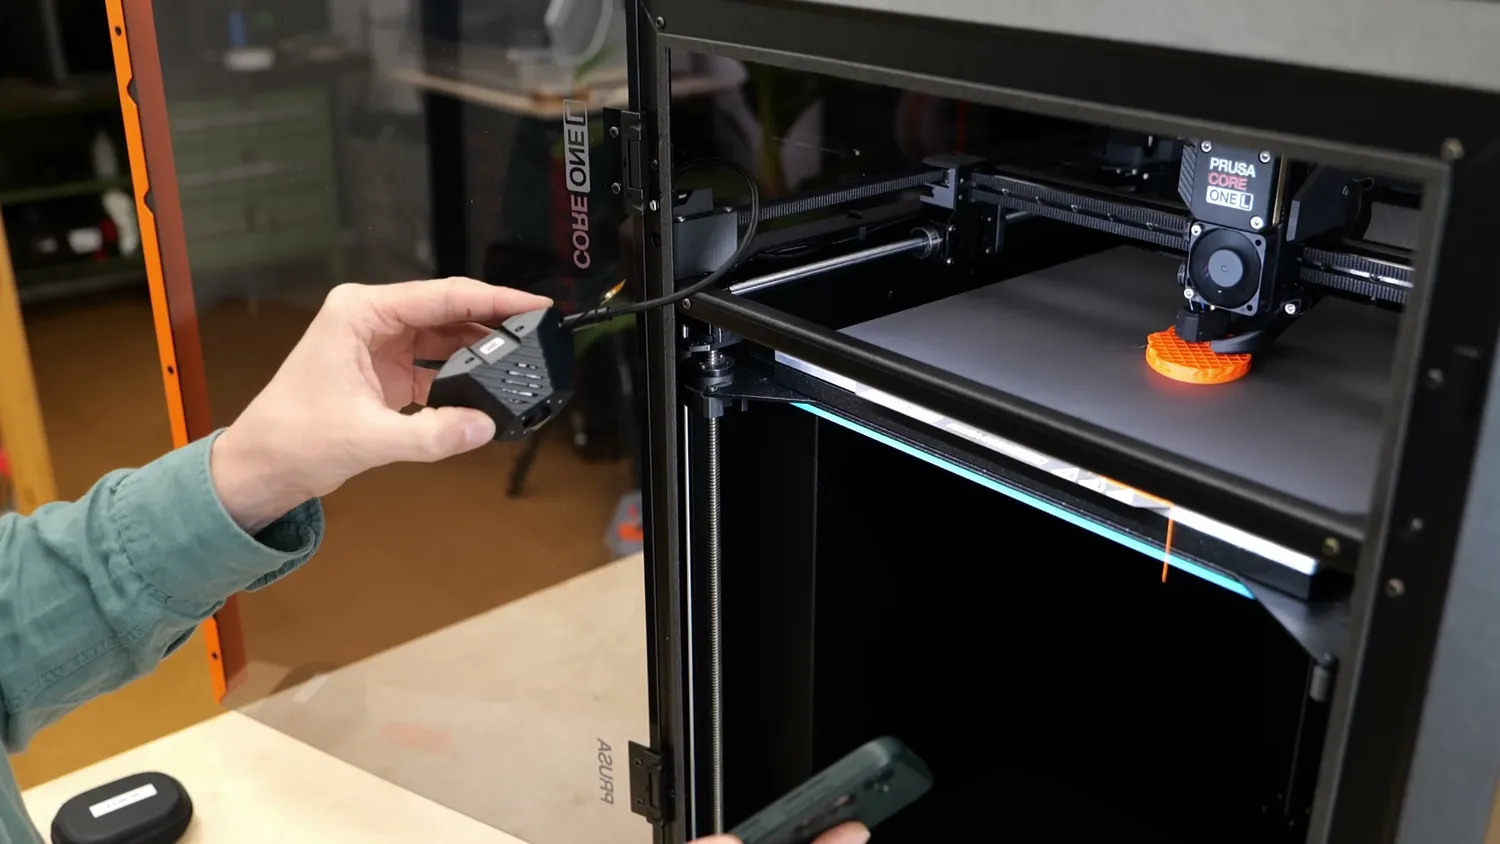
The chamber camera is its own device
The machine doesn’t need any pre-calibration because the bed is probed anyways before every print. Phase stepping, which reduces motor noise, is pre-tuned at the factory, and the input shaper values are preset, so there’s no resonance sweep before each print. The printhead PCB now finally has an accelerometer on it so you can, if you want, do phase stepping and input shaper calibration yourself, without needing to buy an additional accessory as on the smaller CORE ONE*. The whole unboxing process takes around 10 minutes and was really straightforward. And since the machine weighs only 22 kg, this can easily be done alone, something I really struggled with on other big machines.
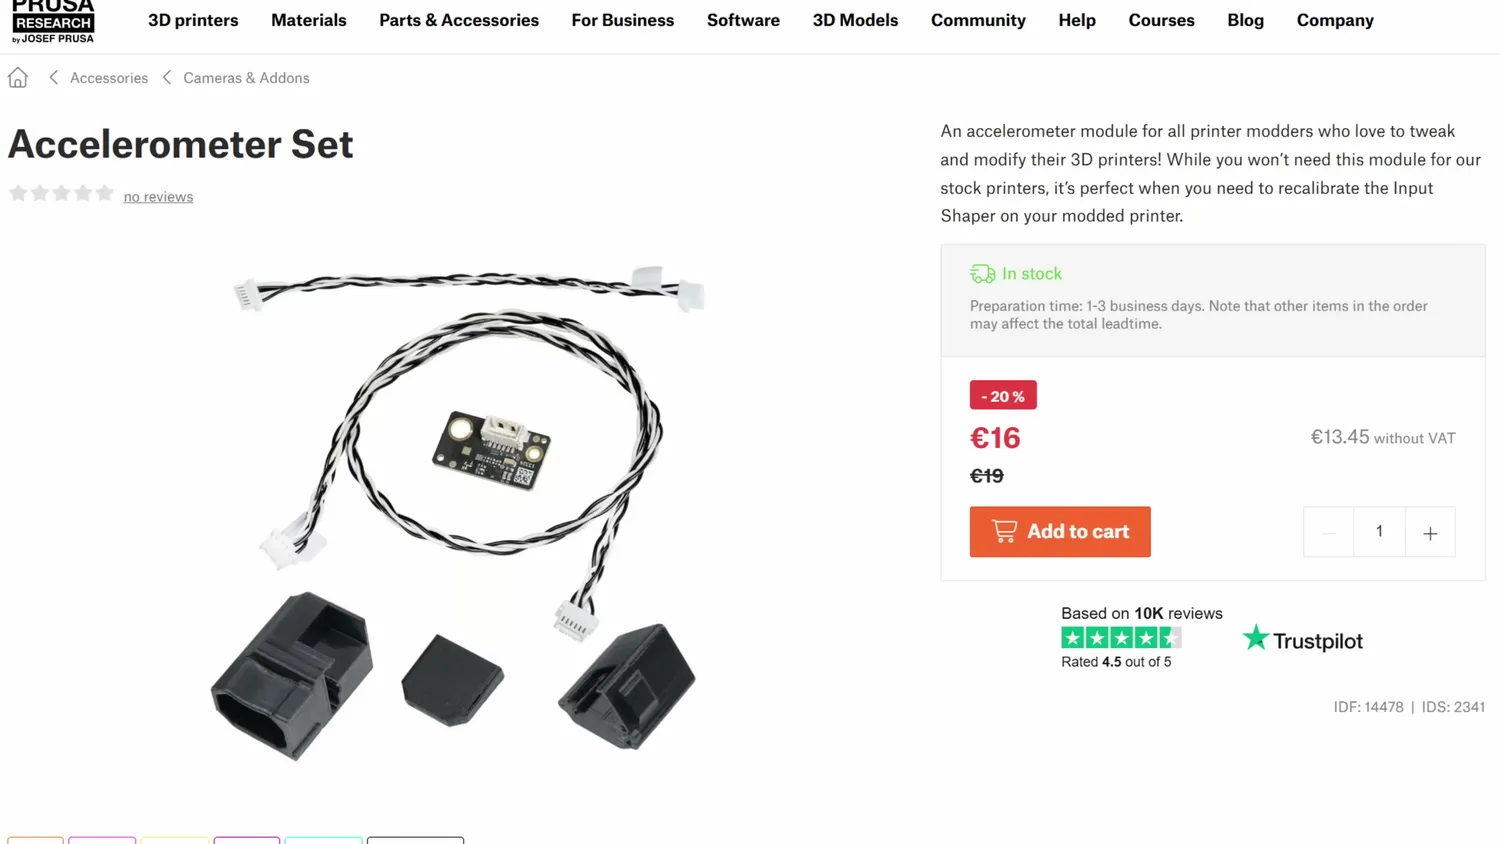
The accelerometer you no longer have to buy
The weight is even slightly less than the regular CORE One because they switched some of the panels from steel sheet metal to aluminum, though magnetic accessories will still stick in the usual places.
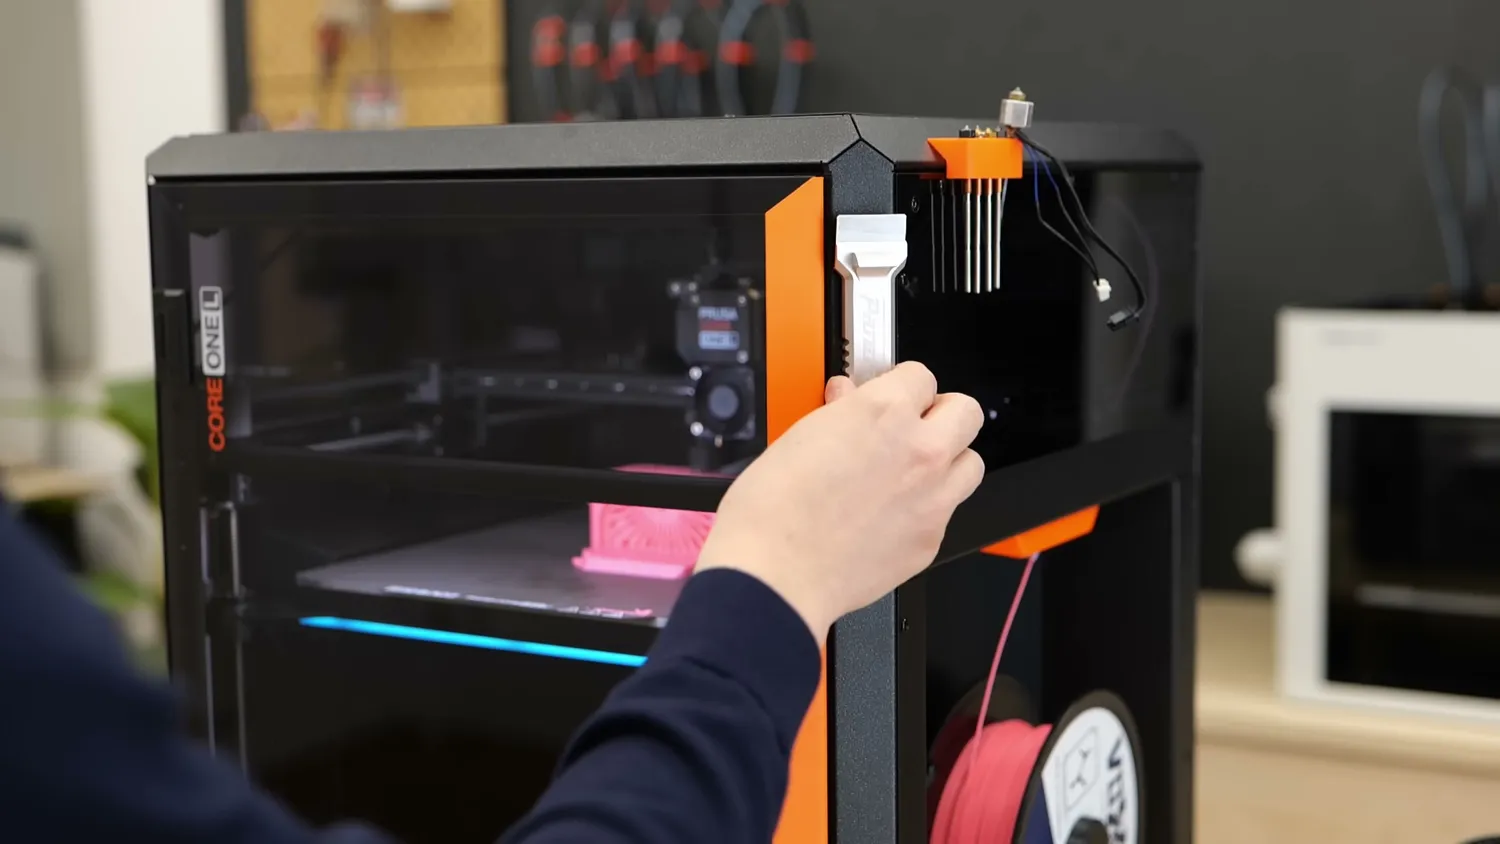
Magnetic accessories still stick to the panels
I started my last review by saying that the CORE One is finally the Prusa printer I’m not embarrassed to show my friends anymore, and it’s the same with the CORE One L. I really like the outer appearance: the sturdy black frame, the bevels, the slightly tinted windows, and the colored accents of the handle and LED bar under the bed. It just looks different from the flood of wannabe X1 Carbon clones on the market. Sure, the build isn’t as clean and polished as a Bambu Lab* machine, but it has this steampunk, post-Soviet vibe I kind of enjoy.
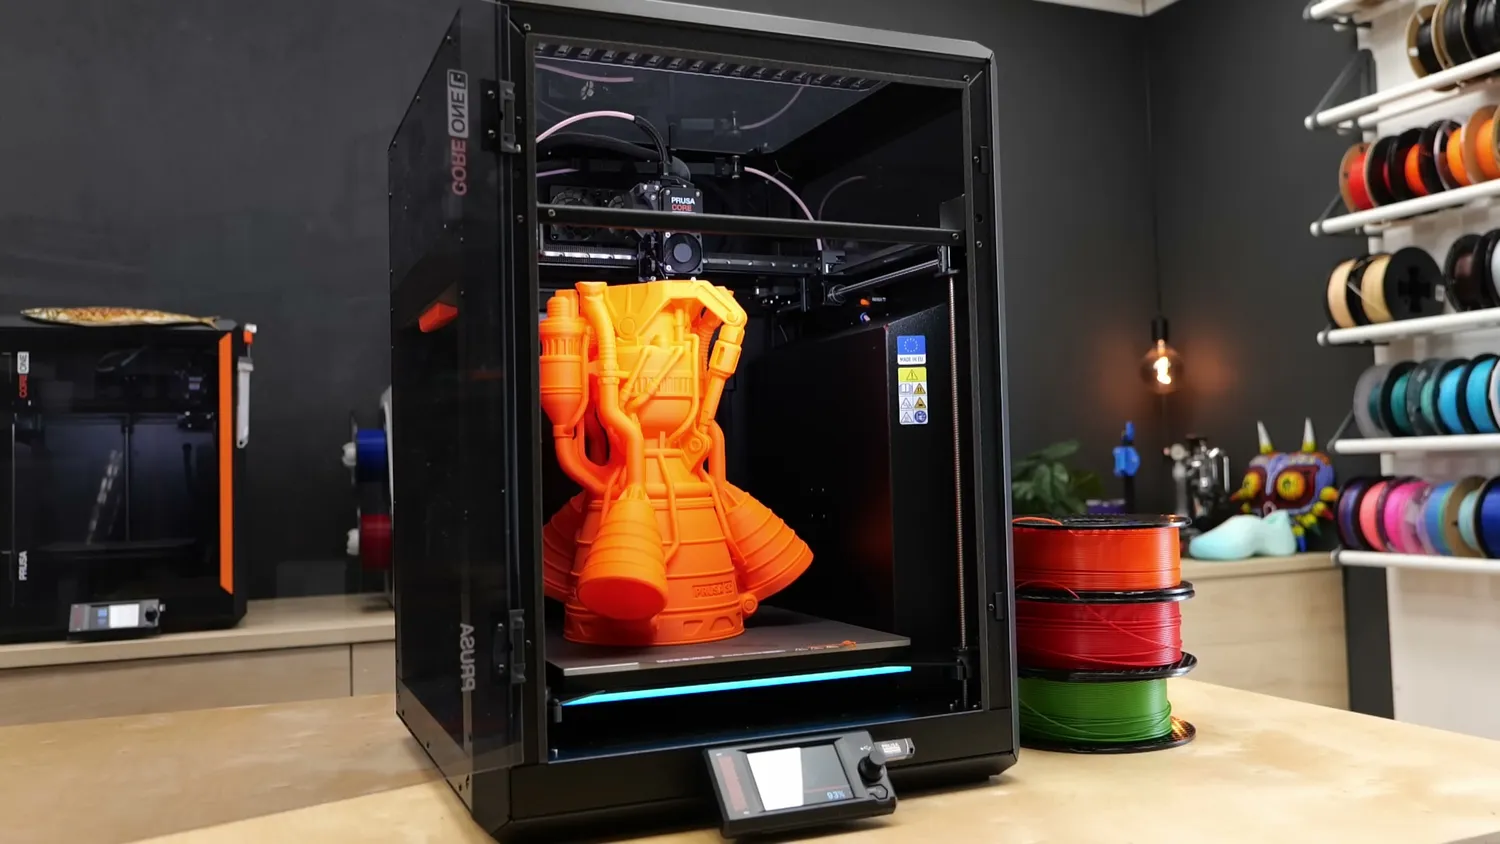
The LED bar under the bed
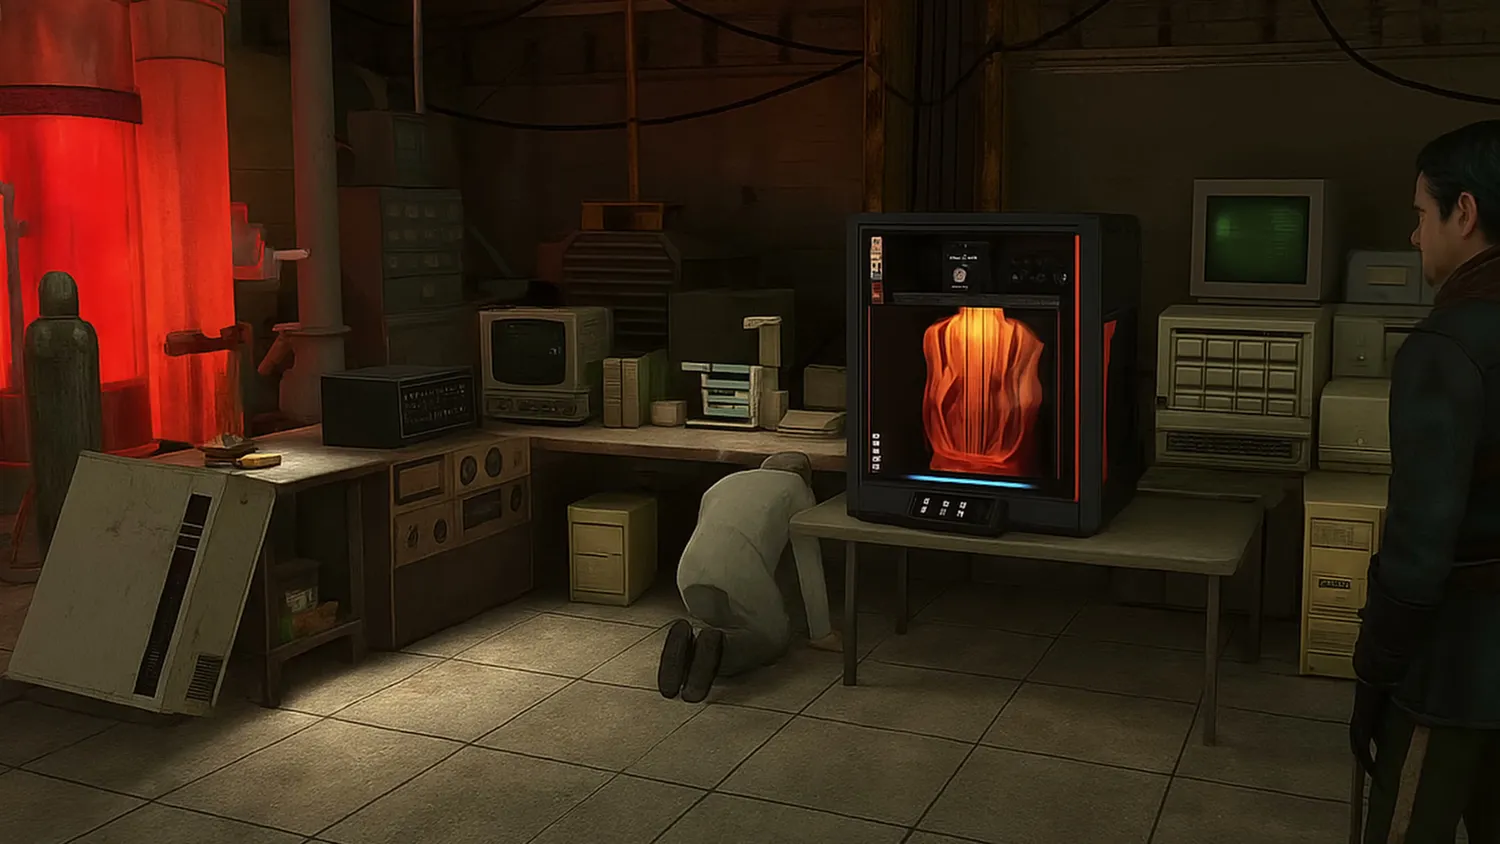
When I visited the Prusa factory three weeks ago, I understood where that came from. The whole place looked like a scene straight out of Half-Life 2, and the CORE One would fit perfectly into Dr. Kleiner’s lab. Almost everything is made with the tools you have at hand: bent sheet metal, 3D-printed parts, pieces of acrylic, zip ties, dangling wires, and an interface that’s functional, though not the prettiest. Don’t take that as criticism (I seriously love the look), but some might prefer the clean, Apple-like designs other manufacturers go for. Anyway, enough of a tangent.

Specs and hardware
The specs of the machine are pretty much the same as the old CORE One, besides the doubled build volume, now with a print area of 300x300 mm and a height of 330 mm. The outer dimensions only grew by around 10%, and if you put both machines side by side, they don’t look massively different.
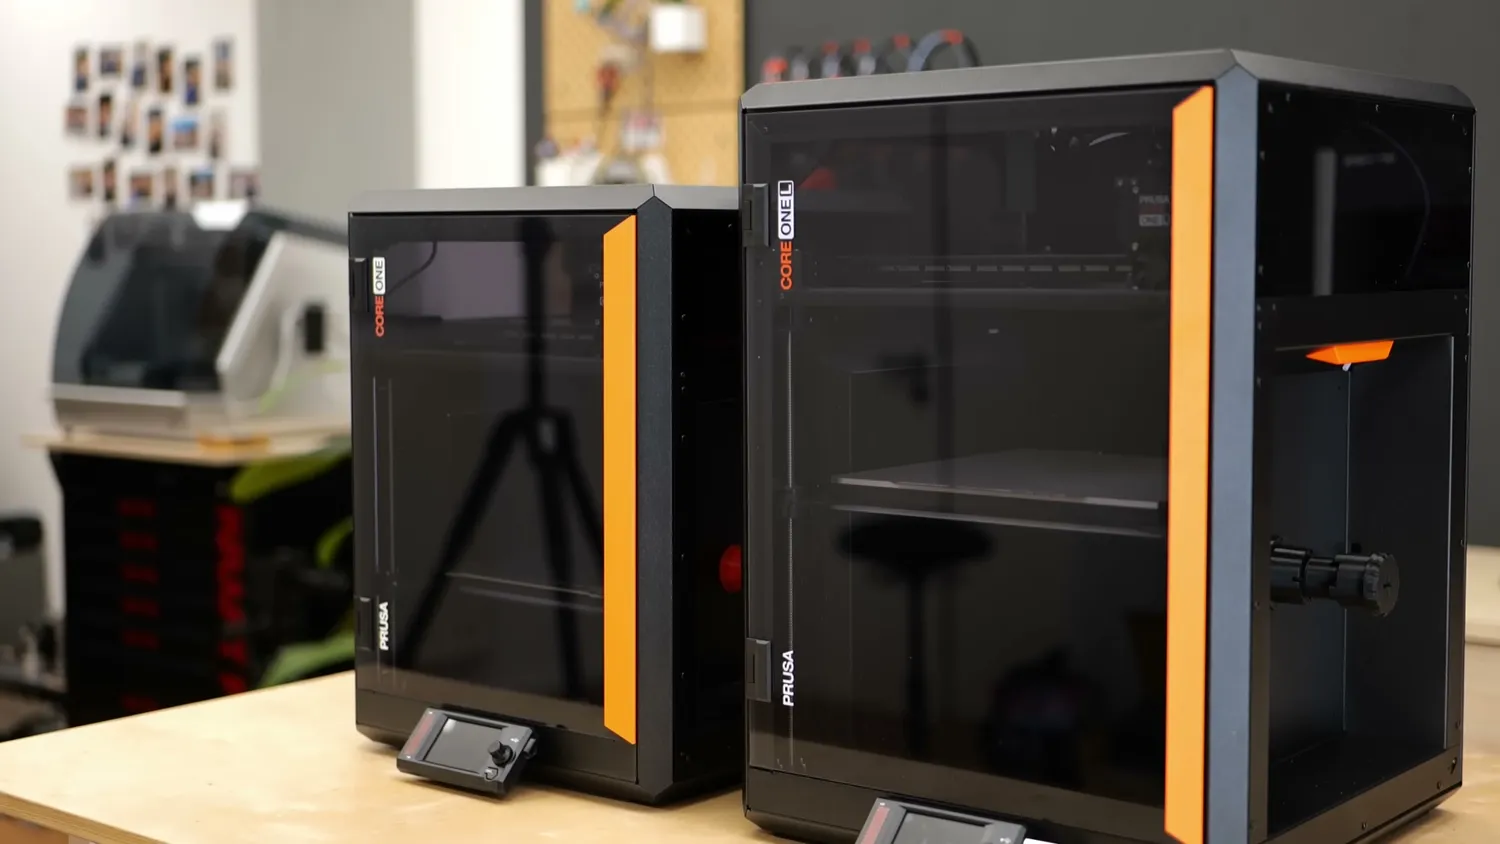
(left) CORE One, (right) CORE One L
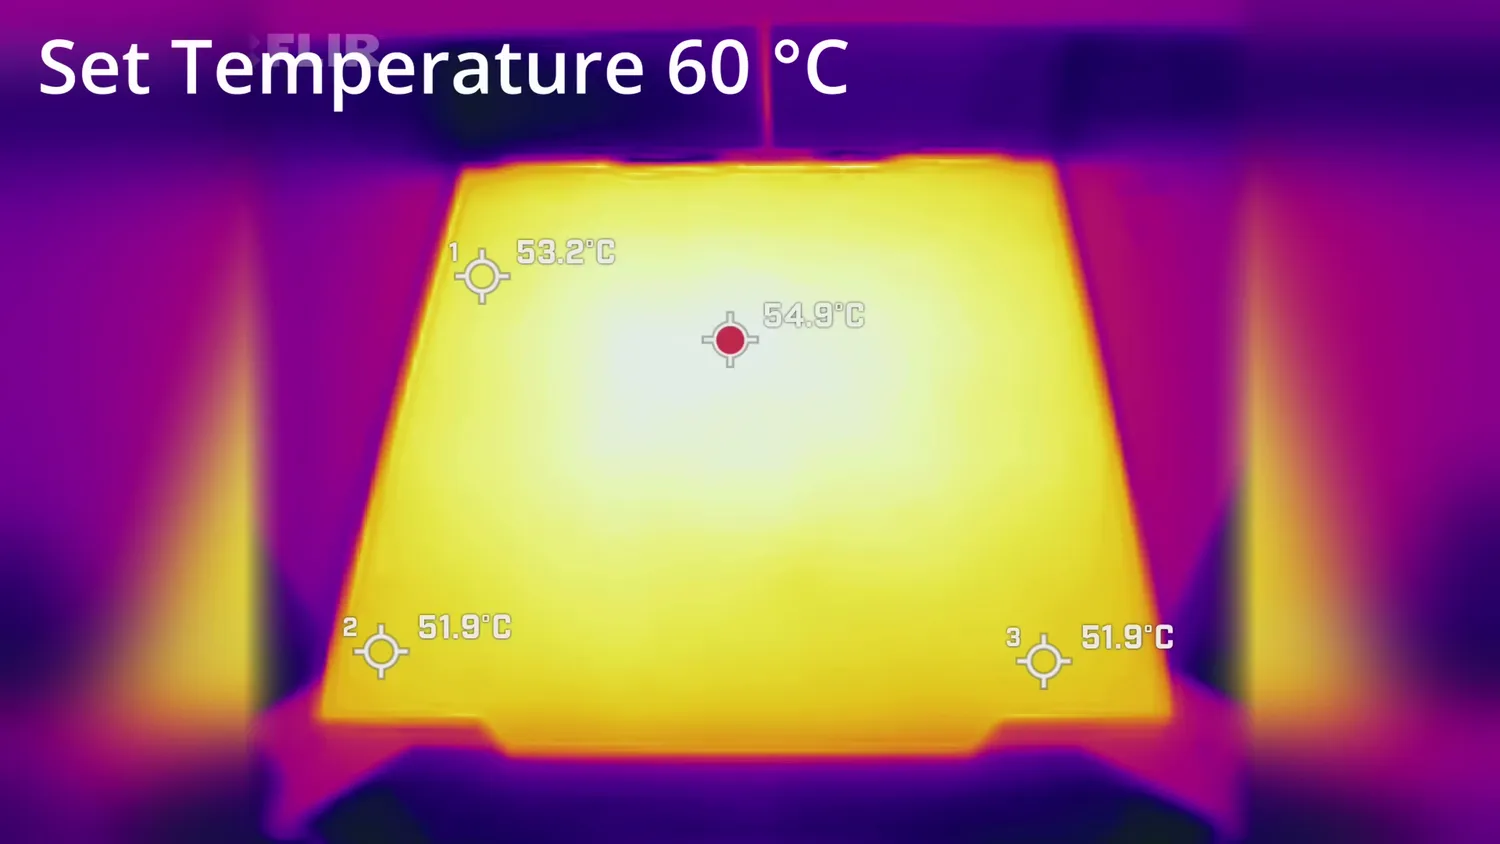
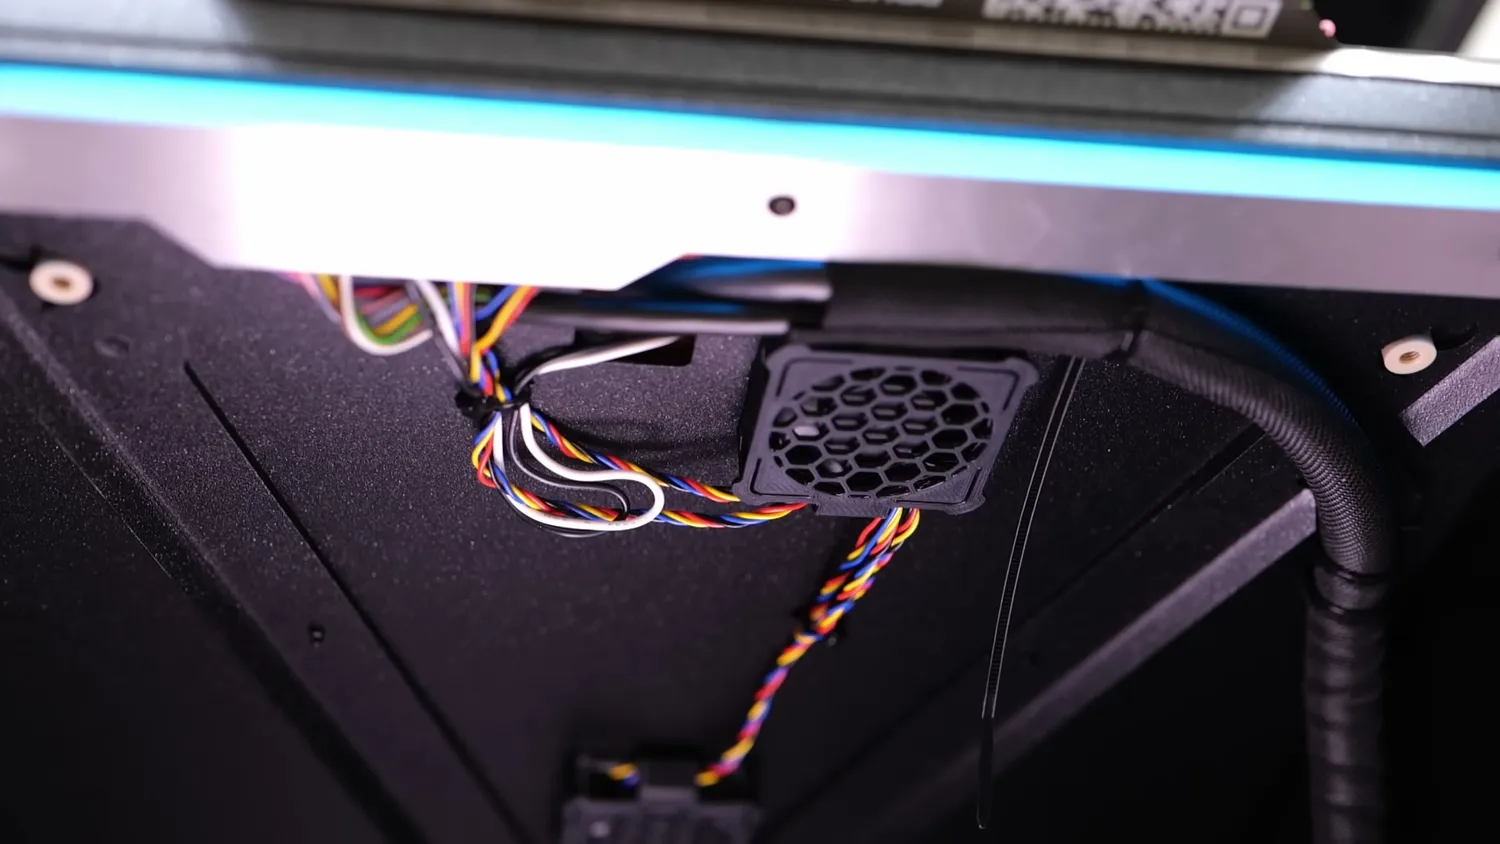
The heatbed, a thick sheet of milled aluminum, offers a very even, though not necessarily perfectly on point, temperature. It goes up to 120 °C and doubles as an active chamber heater with additional fans. The inside air is recirculated over the bottom of the bed, making the chamber heat up faster than with simple passive convection. This way, the chamber reaches up to 60 °C, which is great for technical materials.
On the other hand, the hotend tops out at 290 °C. That’s enough for most materials, but with newer high-temperature nylons and polymers like PPS becoming more affordable, being able to go just a bit higher would have been nice.
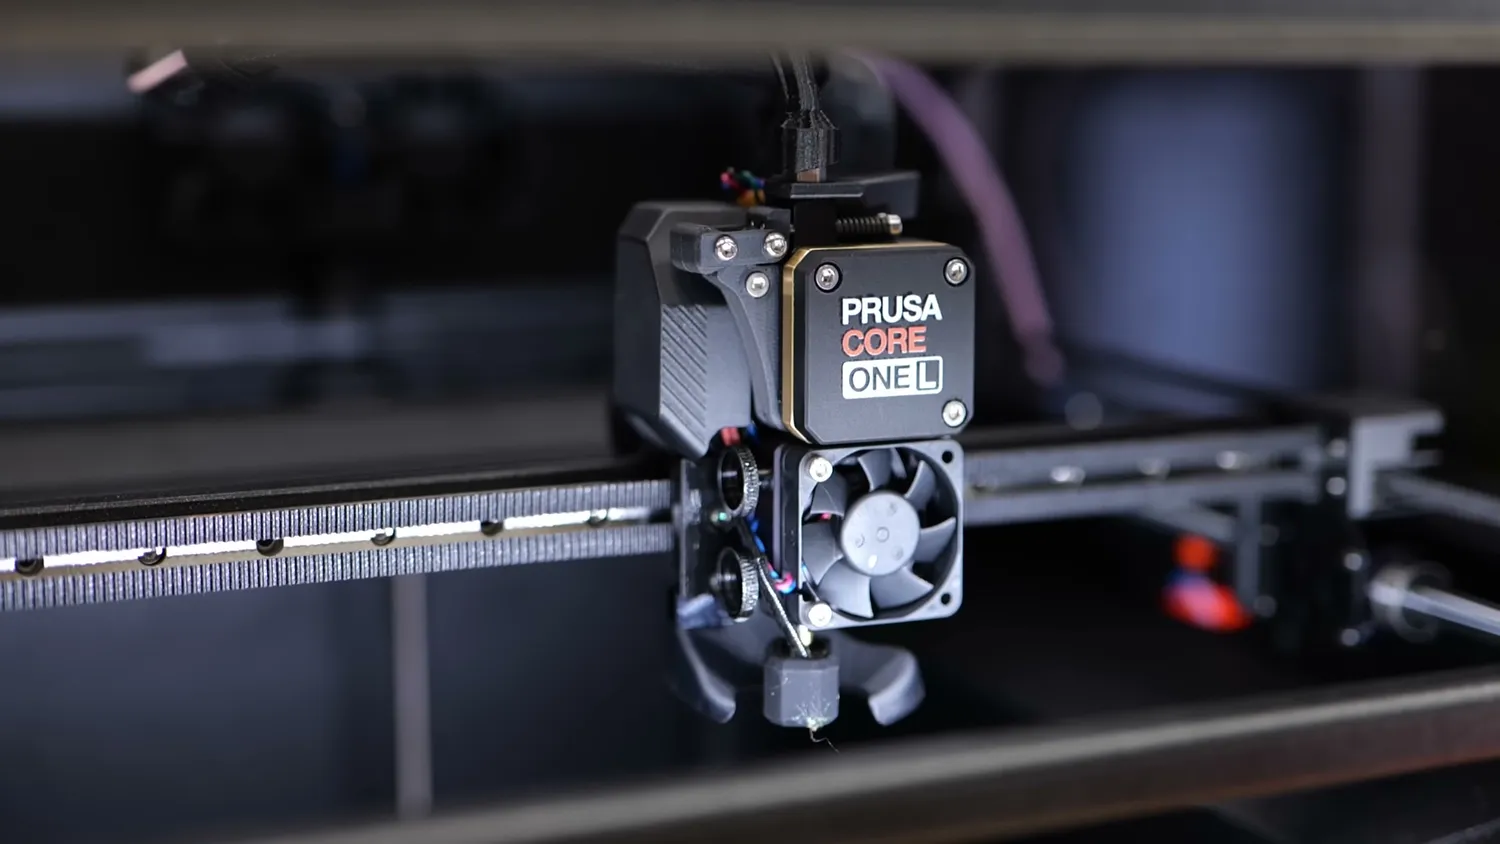
The hotend tops out at 290 °C
The CORE One L comes with two nozzles: a brass high-flow nozzle and a standard-flow hardened steel one. Though I don’t understand why they don’t just include a high-flow hardened steel nozzle right from the start, so you never have to swap.
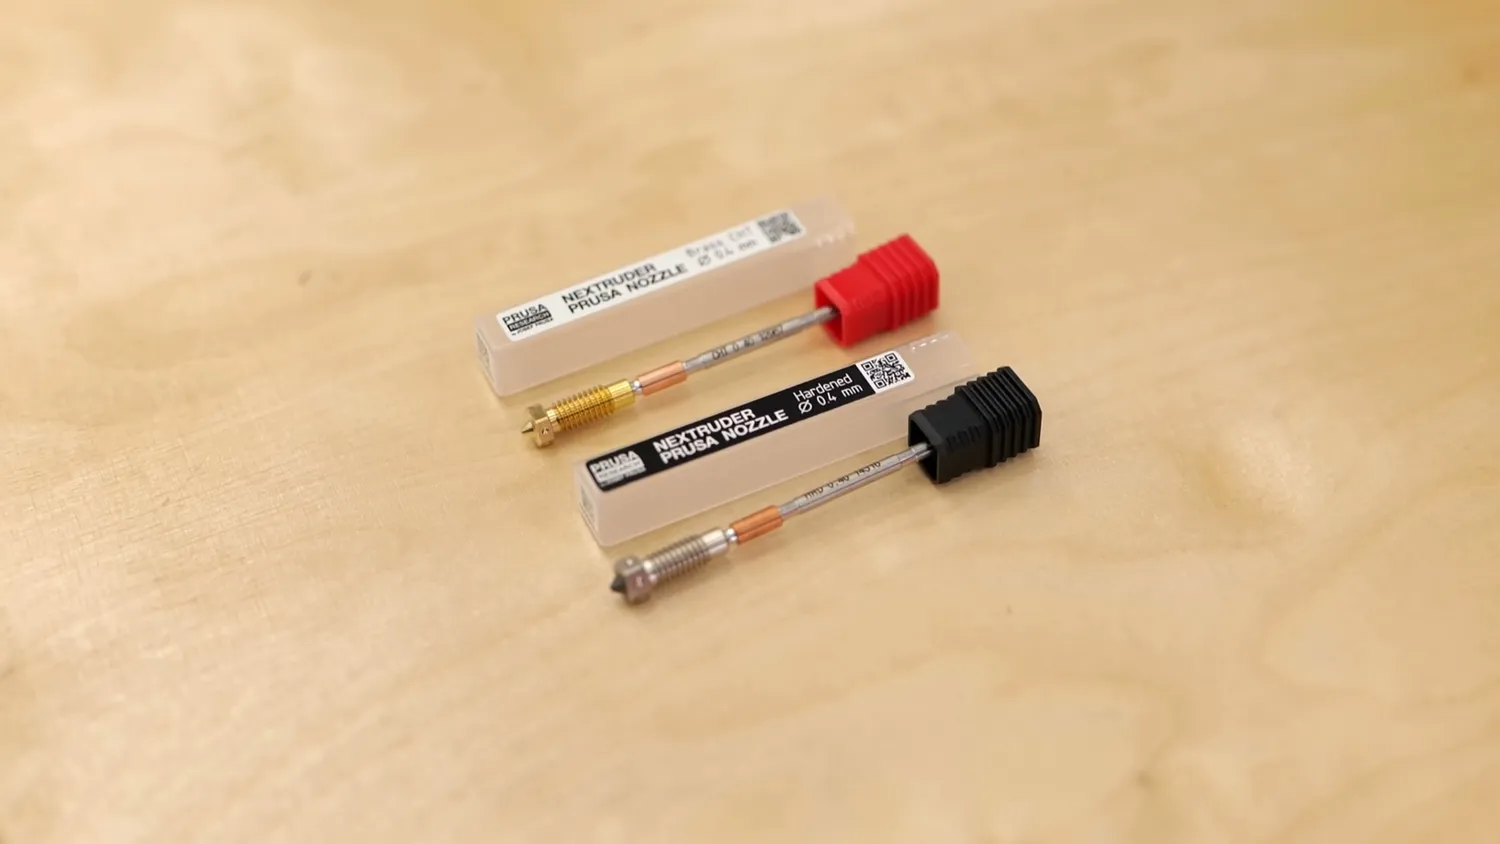
Brass high-flow and hardened steel standard-flow
The spring steel sheet that comes with the machine is their satin PEI variant, which works well with most materials and gives prints a nice, consistent bottom texture. It’s a good all-rounder, but if you mainly print PLA, definitely get their smooth PEI sheet too; PLA just sticks much more reliably on that. The new plates also do have a QR code on the front that the camera can detect at some point, probably informing you in the slicer if the sheet and material are compatible. I’ve ruined more than one smooth PEI sheet in the past by printing TPU or PCBlend on it.
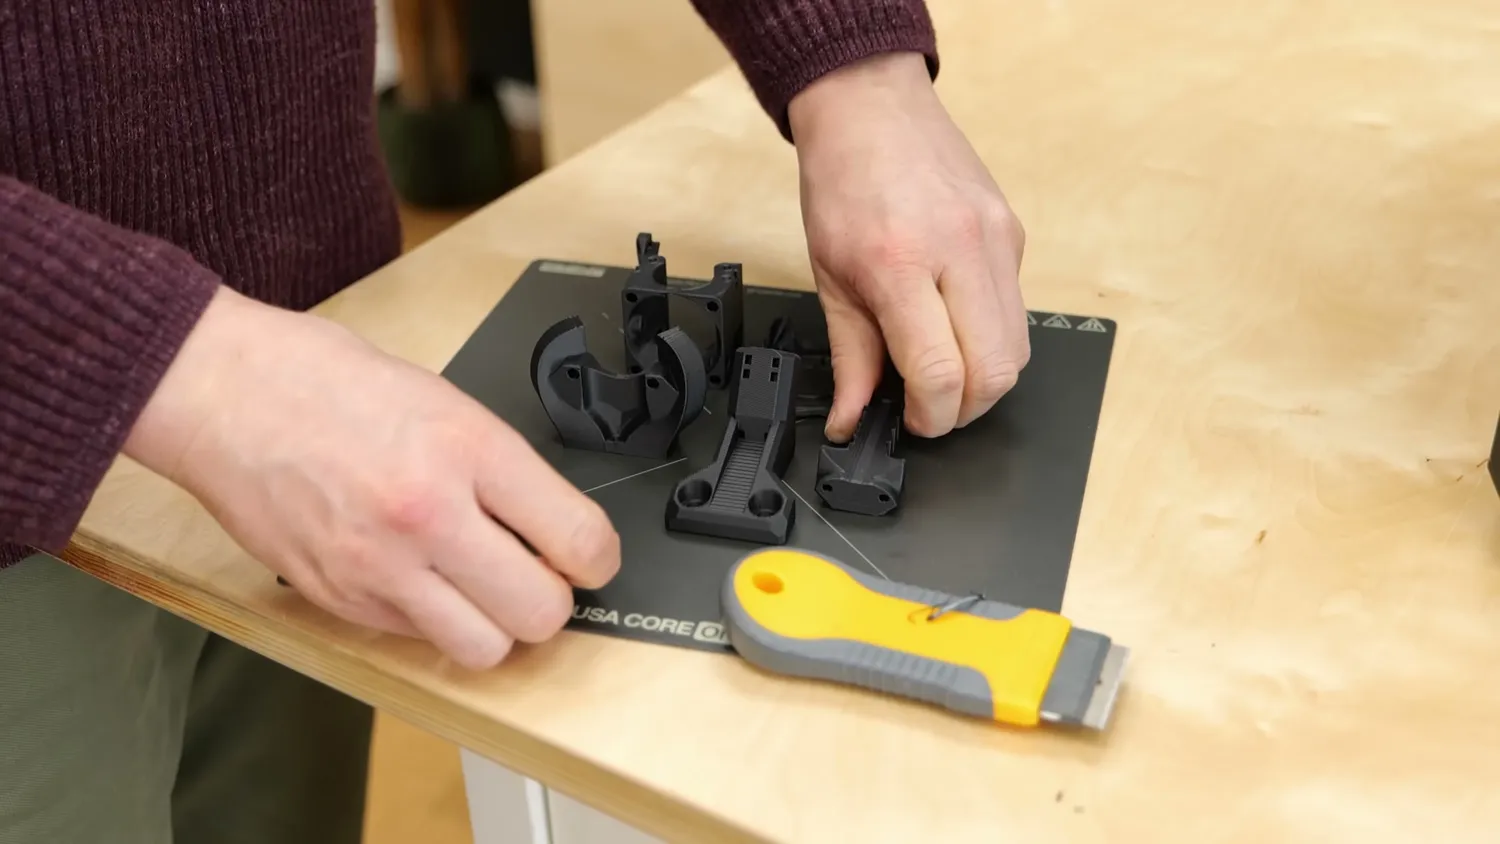
The satin PEI sheet releases parts easily
Other than that, you get a linear rail on the X-axis and guide rods on the Y-axis. The Prusa MMU3 will also be available early next year for the CORE One L, though it’s still a messier and more complicated system than what many competitors offer today.
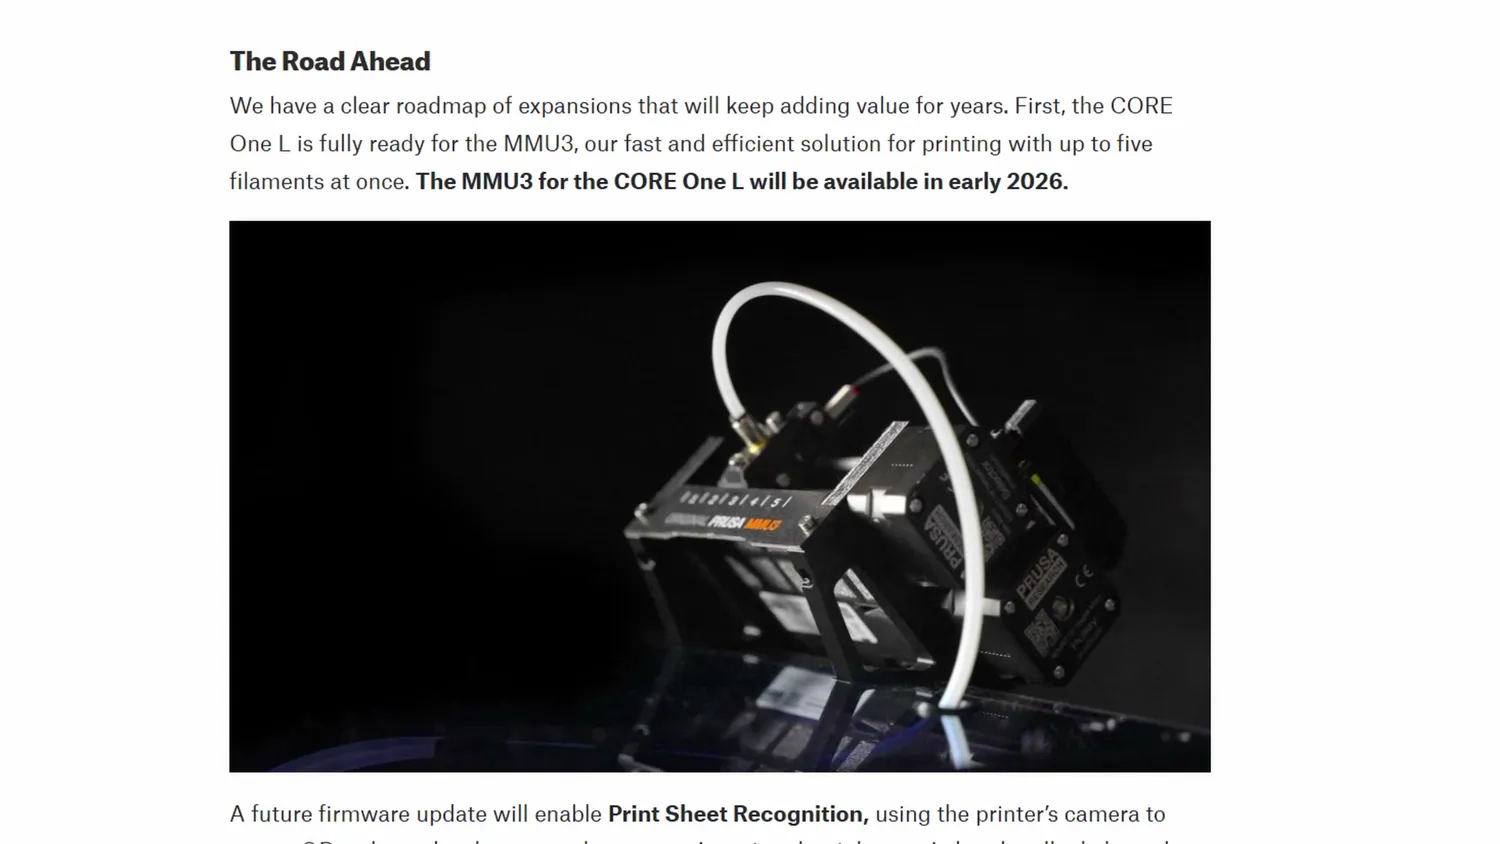
MMU3 for the CORE One L in early 2026
Print quality and the VFA problem
I had several major annoyances with the regular CORE One that I hoped they finally fixed. Let’s start with print quality, which wasn’t bad, but if you compared it directly to other machines, you could notice a slight surface pattern. Prusa later addressed that so-called VFA issue by changing belt tension and adding some slicer trickery, which noticeably reduced the ripple effect.
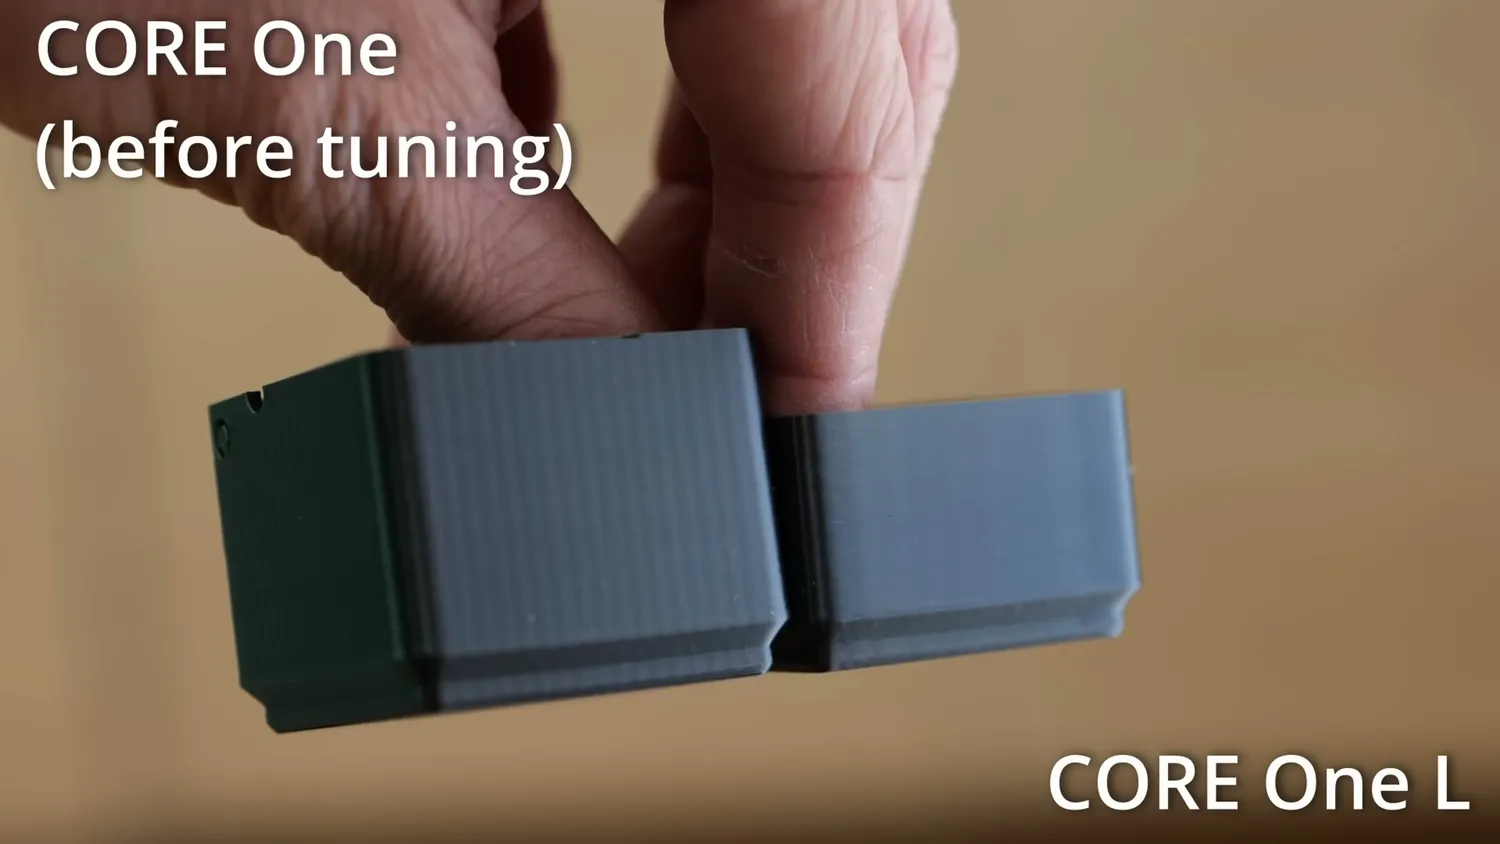
(left) CORE One before tuning, (right) CORE One L
Most of my prints looked good, and if you don’t have a direct comparison, you’d probably be happy. Only in edge cases, or when the printer slows down for cooling, do the VFAs start showing again, for example on the lower hull of the 3DBenchy. But if you stick to the standard “Balanced” profile, even parts printed in silk PLA now look way better than the ones I initially got on the CORE One.
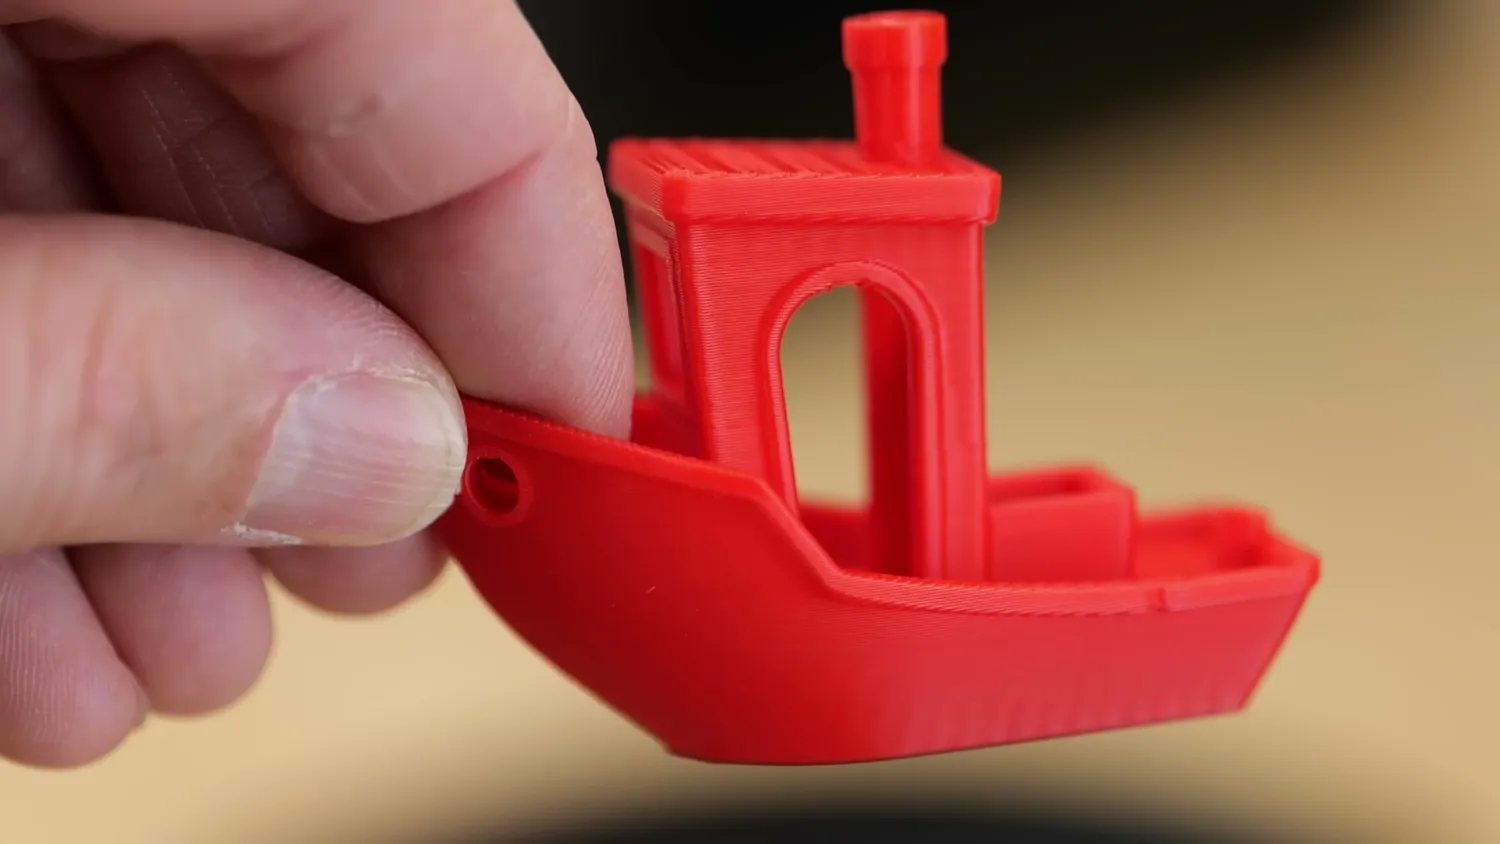
VFAs still show on the lower hull
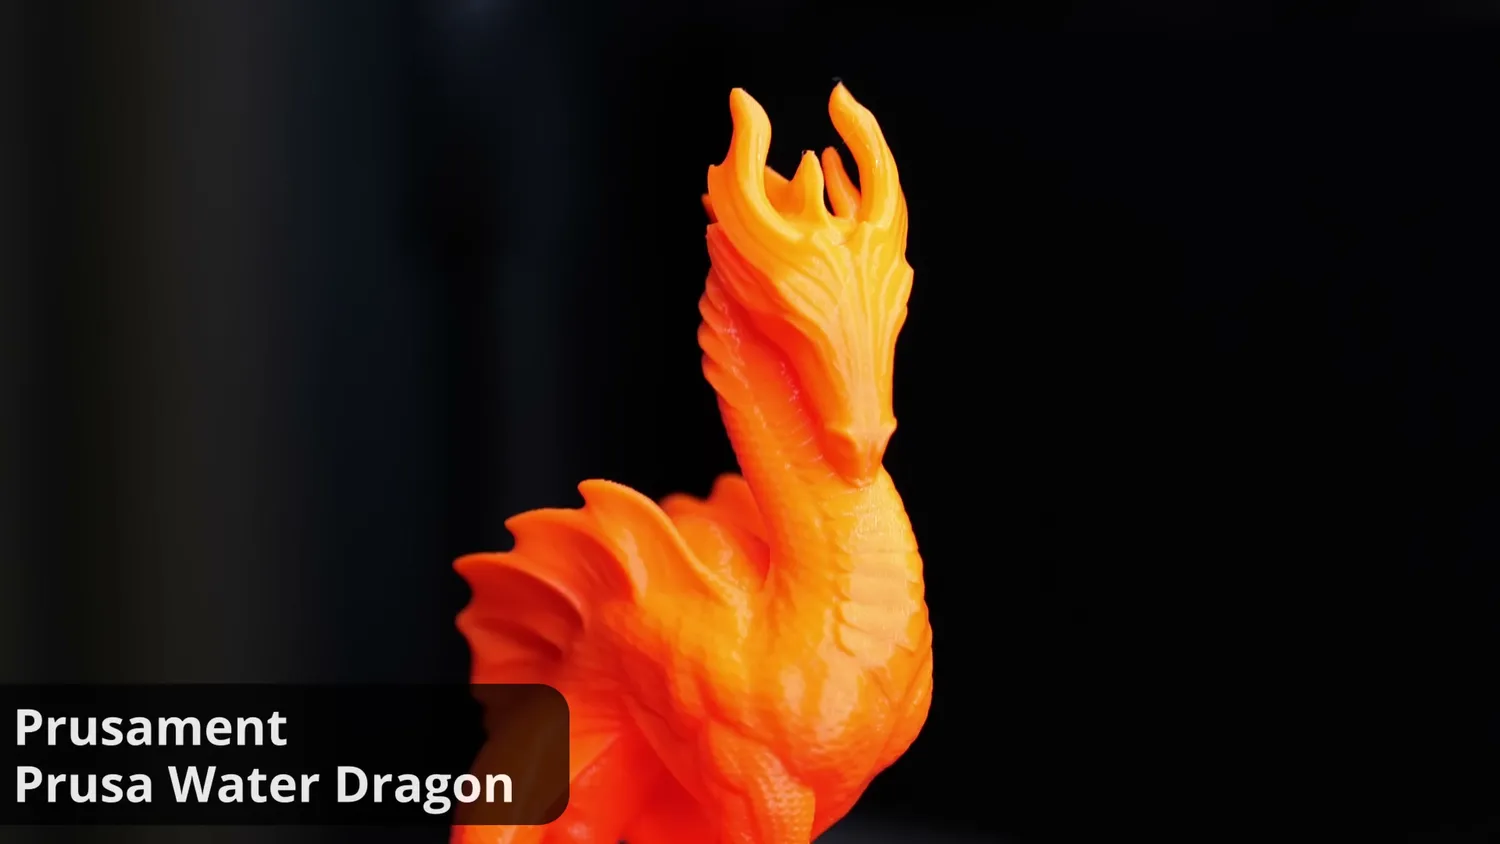
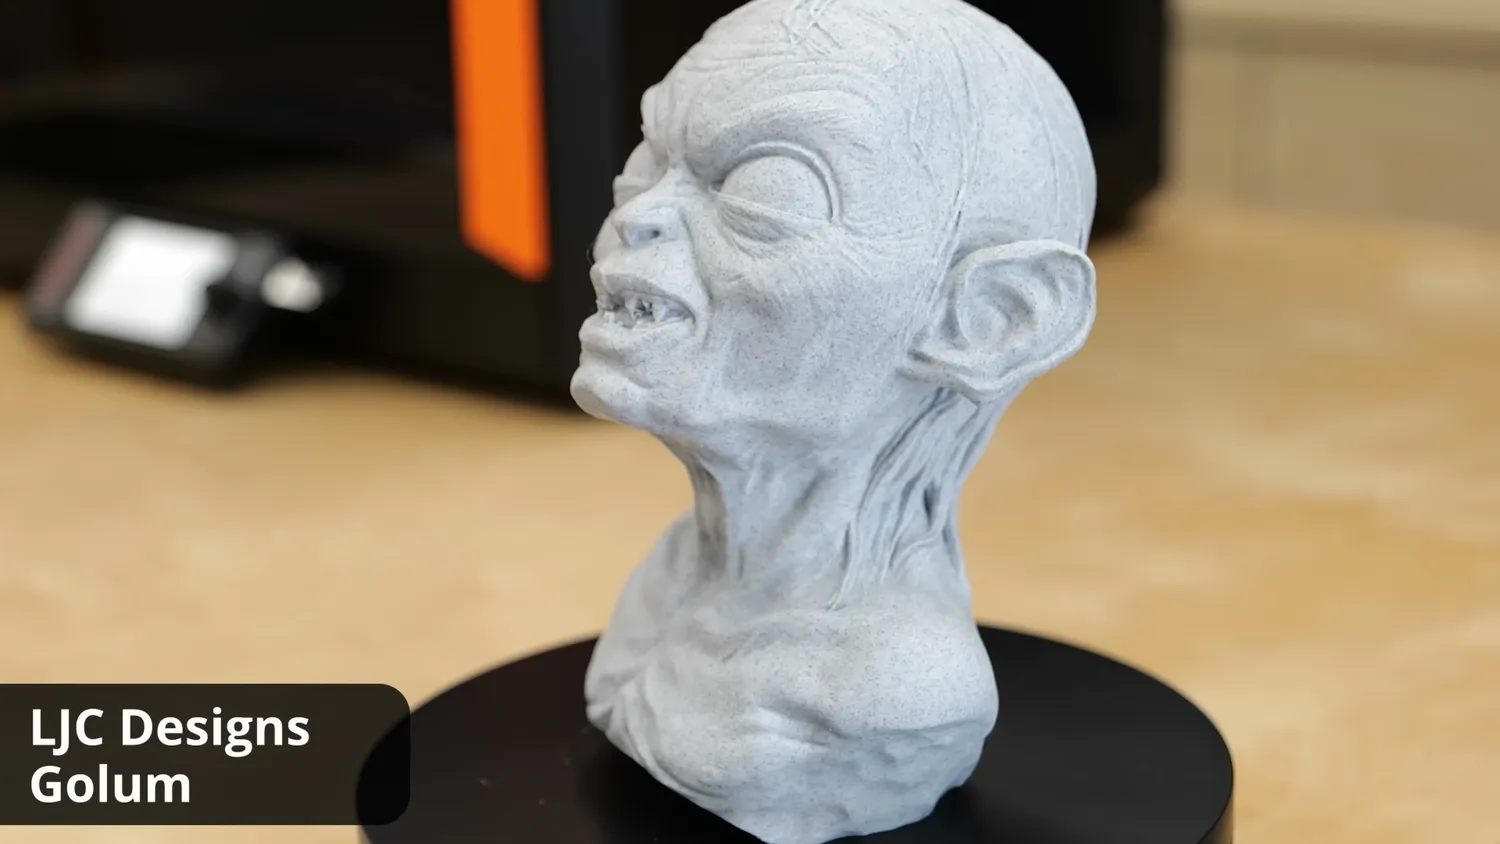
Let’s look at some prints. This water dragon in PLA looks beautiful: tons of detail and crisp definition. Then there’s Gollum in marble PLA, which of course hides small defects, but still turned out great (though I definitely wouldn’t want to bump into that bust at night).
It gets more interesting with Clockspring’s Torture Toaster. At first glance, the print looks perfectly respectable: everything moves, tolerances are free down to 0.2 mm, and the overhangs look good. But if you hold it up to the light, you start noticing some strange surface inconsistencies on those smooth, curved surfaces, and once you see them, you can’t unsee them. It’s the same with the Prusa Puppy or even their own sliced rocket engine.
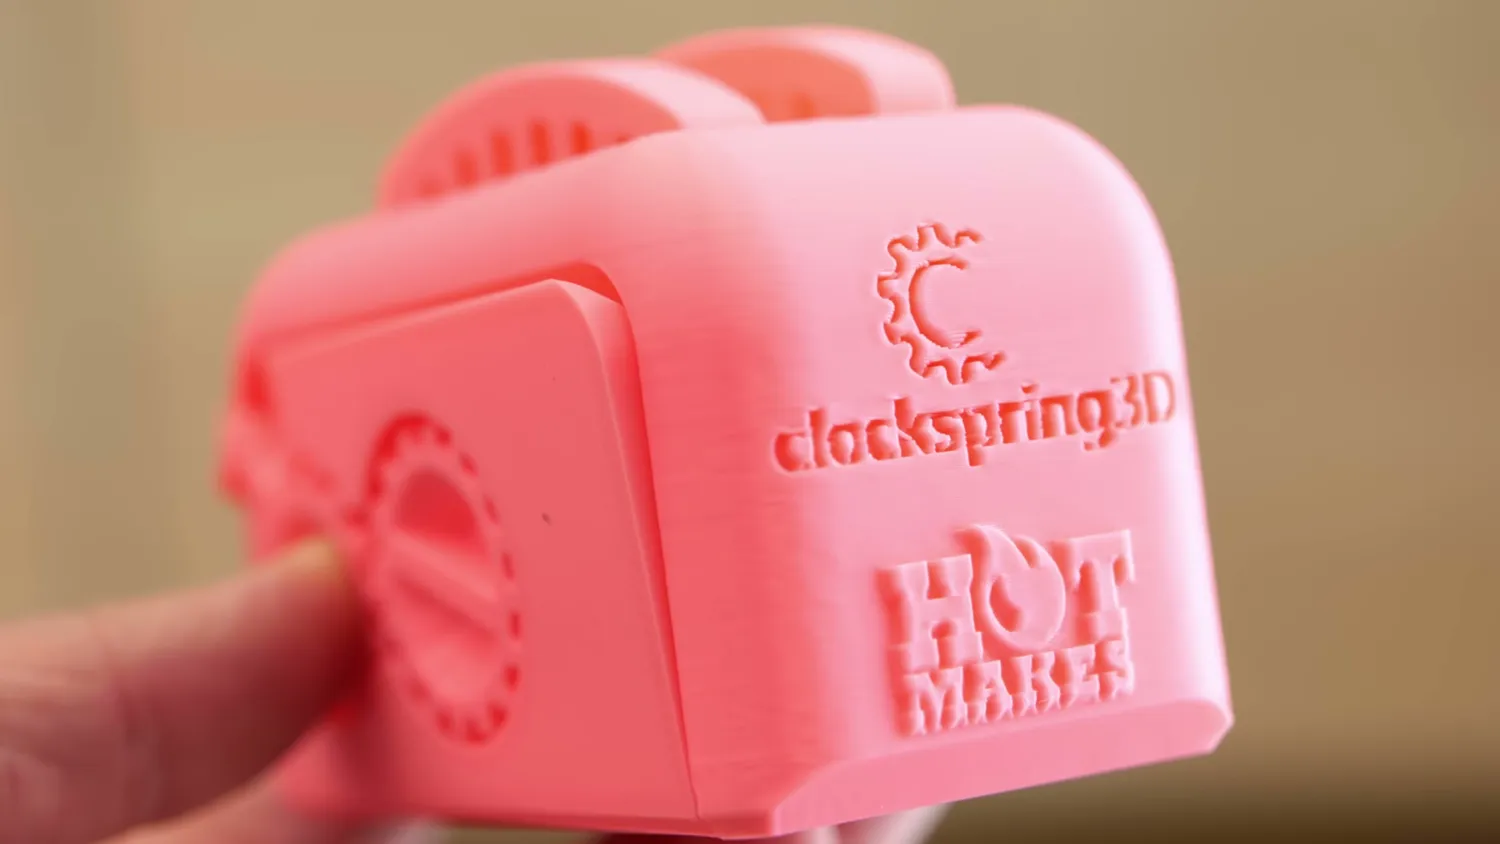
Clockspring’s Torture Toaster in PLA
Without a comparison, you probably wouldn’t notice, but it’s there. Interestingly, these artifacts seem to coincide with the strange speed changes you can see in PrusaSlicer when you enable the Actual Speed visualization, which factors in acceleration, jerk, and junction deviation.
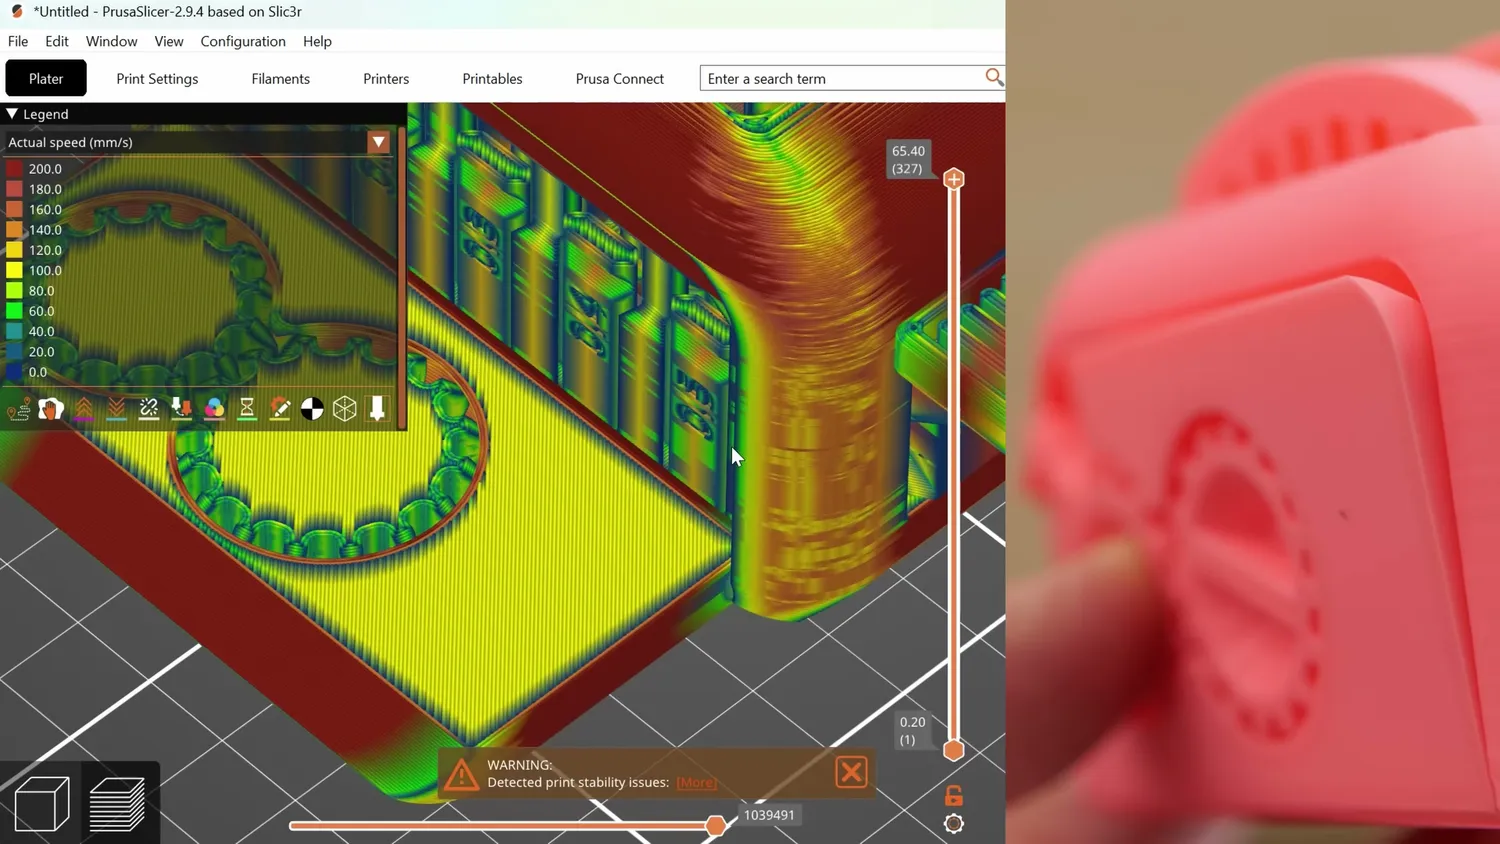
PrusaSlicer’s Actual Speed visualization
I tried a few things to debug this and couldn’t get rid of it completely, either in the speed preview or in the actual prints. The only improvement I found was lowering the external perimeter speed to around 70 mm/s. Then the print movements looked smoother, and the VFAs were basically invisible making the appearance of the print so much nicer. Yes, in the case of the torture toaster this adds around 30 minutes to a 5.5 h print but I’d be happy to have a print profile that prints a bit slower but gives me those really smooth surfaces! At that point, I stopped debugging, because I want to review the machine as it is, not as it could be. This should be a tool, not a project.
When we are already talking about speed. Yes, the CORE One L can print fast and is as fast as the small CORE One and the profiles are set up in a way that they more or less match what BambuLab does. If it should print that fast is another question though.
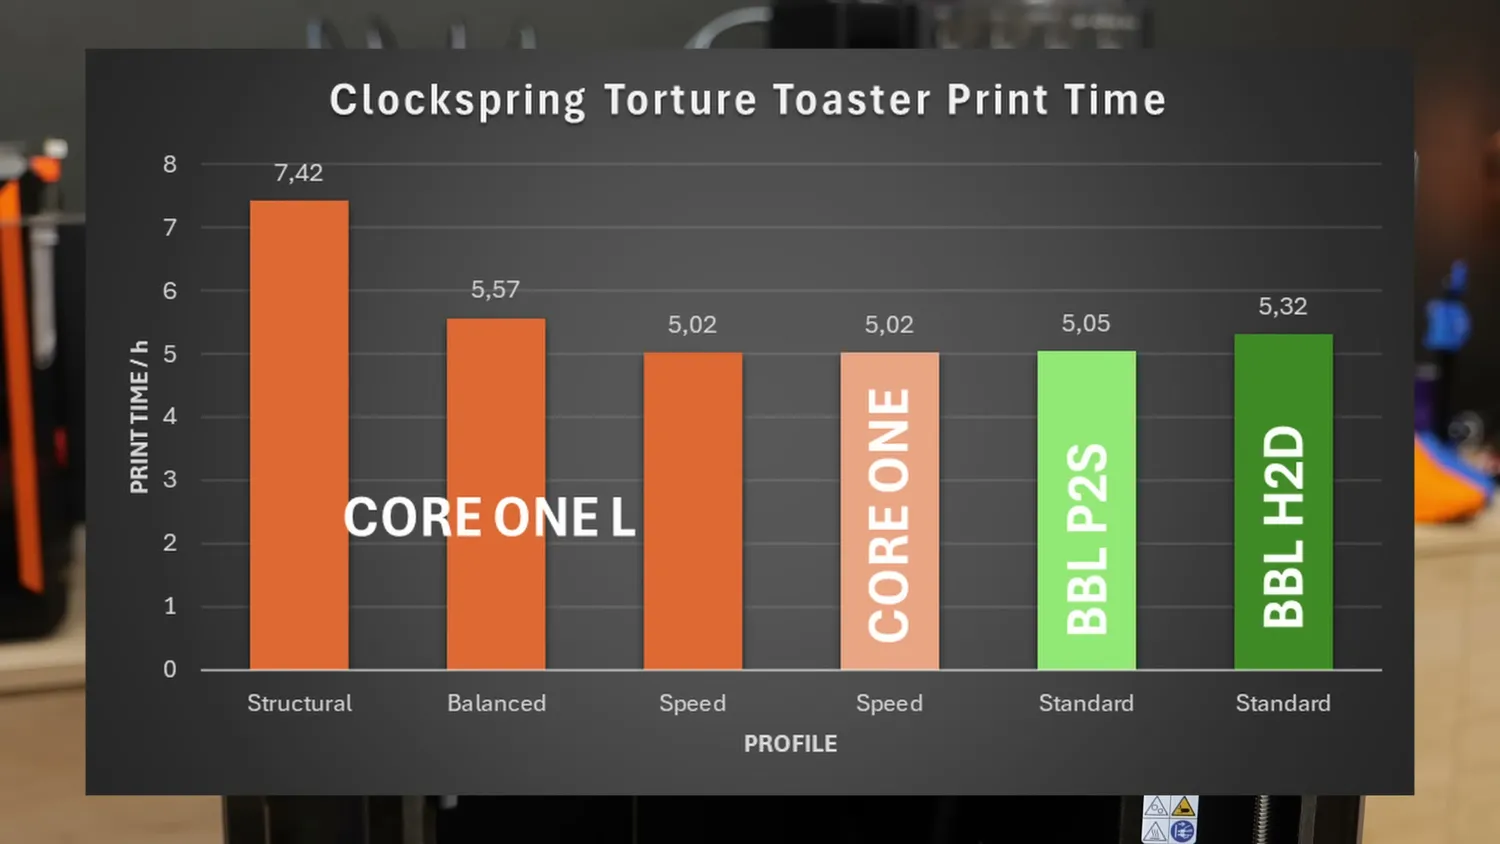
Torture Toaster print time by profile and machine
Back to the prints. The 3DBenchy was printed in 40 minutes using the normal speed profile, and overall it looks good and clean. I only have two complaints: First, you can still see a bit of those VFAs on the bottom, where the material printed shinier because it was moving slower. VFAs are speed-dependent, and there are certain speeds where they’re more pronounced. Normally, you’d set your perimeter speed to one where surface quality is best, but when the printer slows down for cooling, you hit those “bad” speeds again.
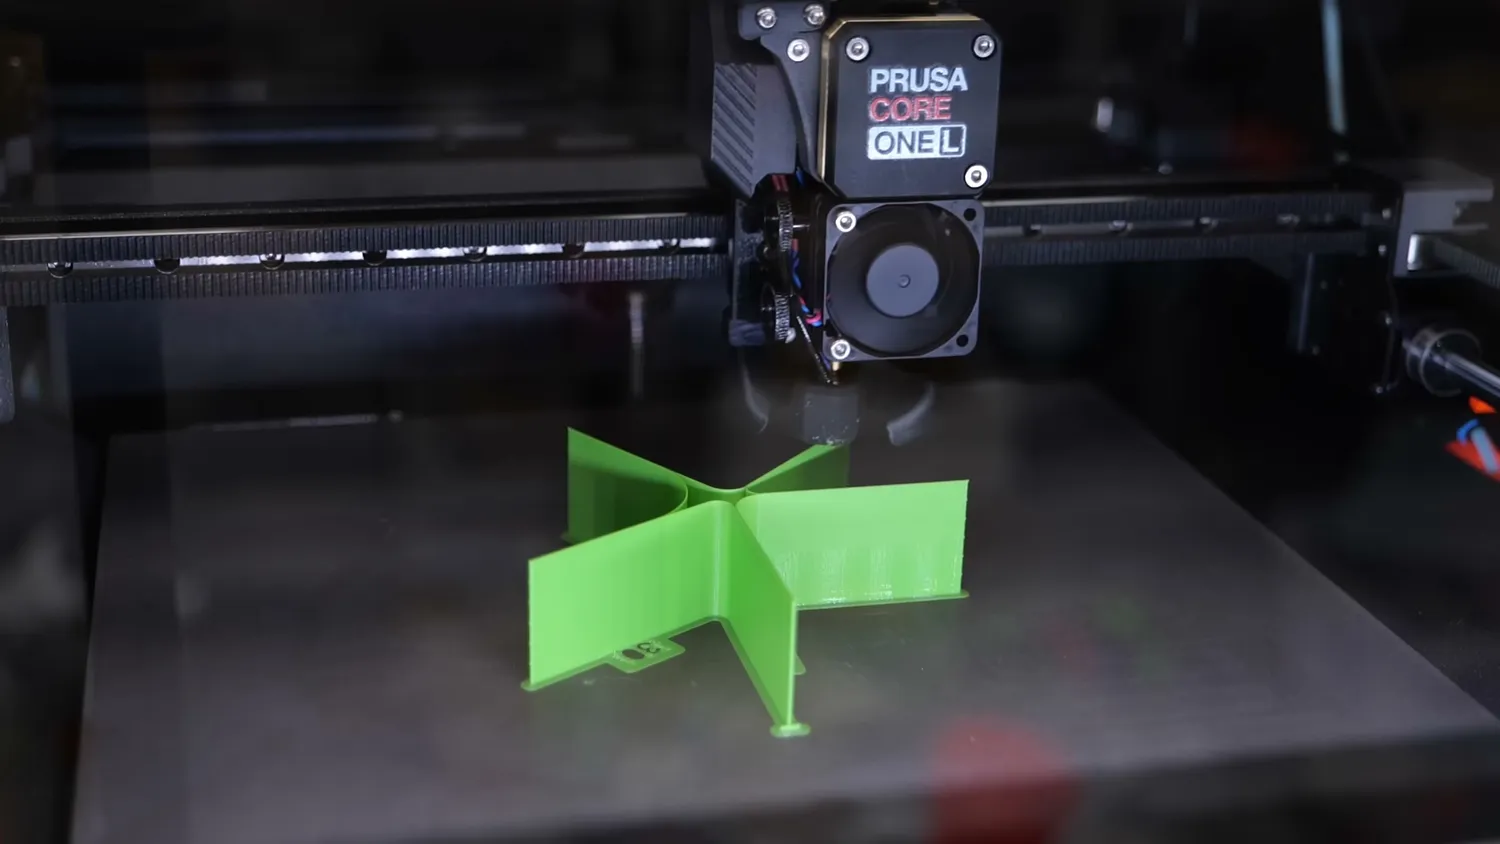
The VFA test print
The second complaint are the small gaps visible on upper surfaces, where the pressure advance value is, in my opinion, set too high. Unlike, for example, Bambu Lab, there’s no automatic filament calibration on Prusa printers; the pressure advance values are almost hardcoded into the filament profiles. So if the results don’t look optimal, you have to test and set them yourself.
But PrusaSlicer doesn’t include a way to generate test patterns, so you have to use OrcaSlicer for that. Why? I sometimes don’t understand their stubbornness in thinking “good enough” is enough. This starts with proper pressure advance calibration, especially for a high-speed printer. Sure, their default values work fine most of the time, but sometimes you just have that one filament that behaves differently. OrcaSlicer became so popular for a reason: it includes the calibration tests people actually want to do out of the box. So Prusa, please, make life easier for the rest of us!
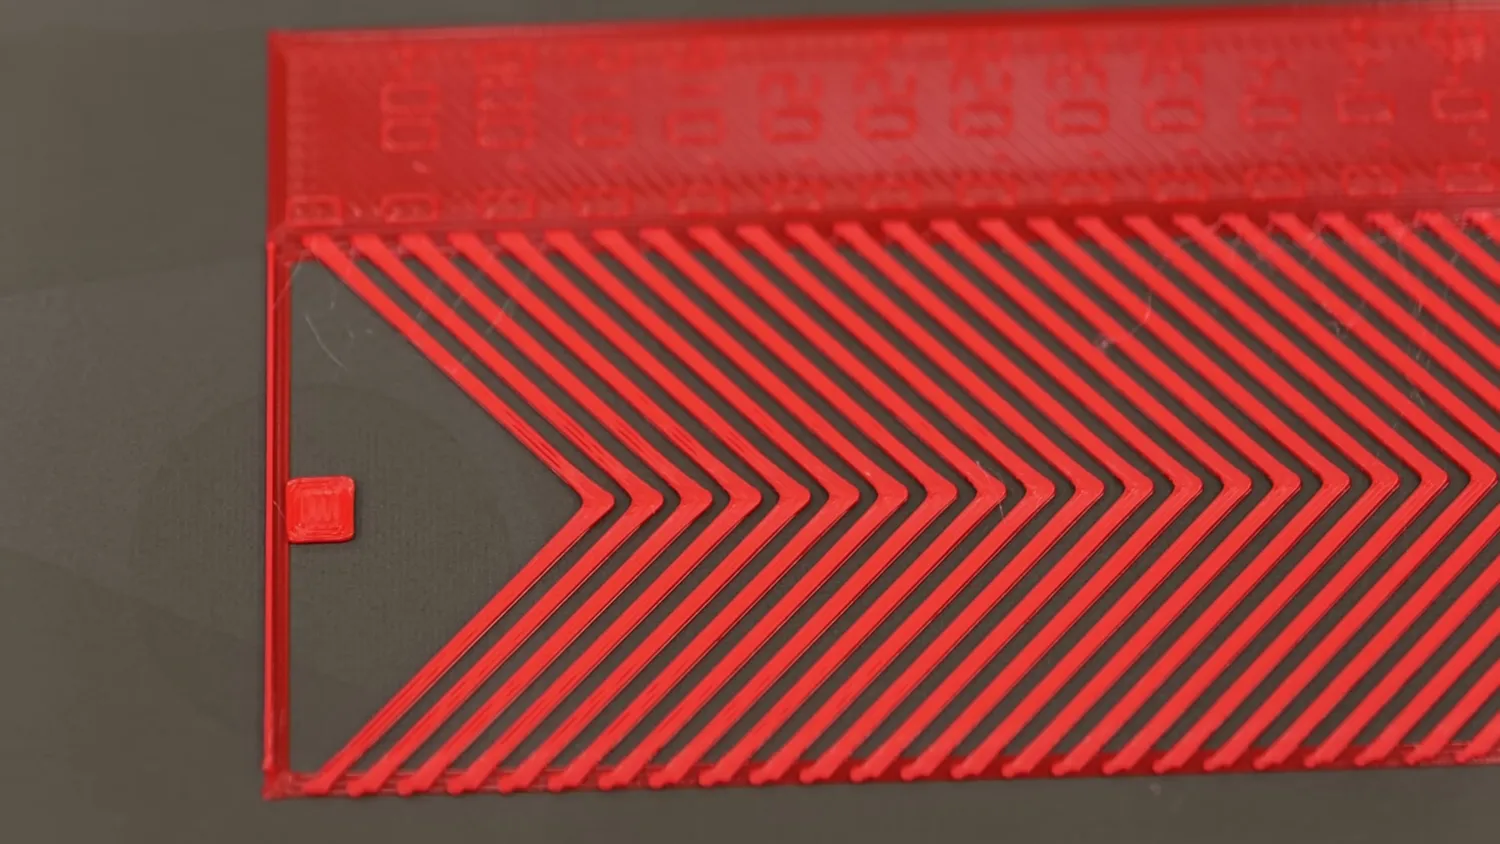
A test pattern you have to leave PrusaSlicer for
Nozzle cleaning, and other Prusa stubbornness
And this isn’t the only stubborn thing that gets me mad. On the old CORE One, I regularly got nozzle cleaning errors with certain materials. It happened all the time: I’d start a print, leave the room, and later find it paused because the nozzle cleaning routine failed. To their credit they added an ignore button and they changed the filament loading routine, and that helped a lot, but it still happened twice during testing on the new machine.
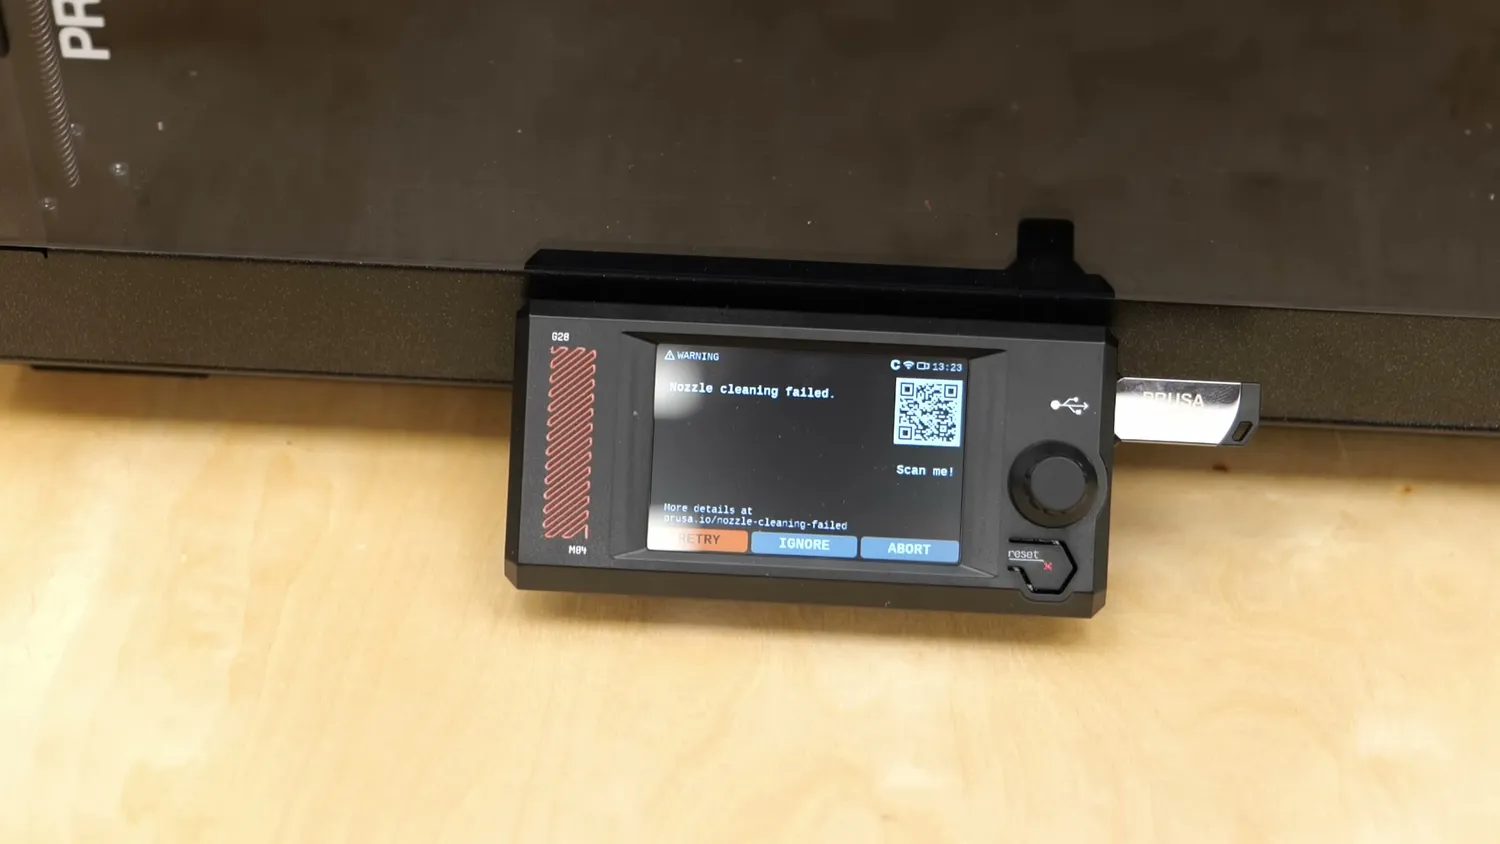
Nozzle cleaning failed, again
I wouldn’t be that frustrated if this were just an unavoidable problem with nozzle probing, but it’s not. This has been solved for years! Basically, every other printer these days comes with a nozzle wiper, which would fix so much of this frustration. If you sell a professional machine, make sure things like this just work and every time. “Good enough” isn’t good enough just because you don’t want to copy the competition.
I laughed when I unboxed the machine and saw that they now also secure the print bed with a few screws highlighted in red, something I first saw on Bambu Lab machines. I wonder how many internal debates they had before finally biting the bullet and doing this as well! Sometimes you don’t need to reinvent the wheel; just take inspiration from what works and improve it. And they did. The little red tags they use are way nicer than stickers that you can barely peel off.
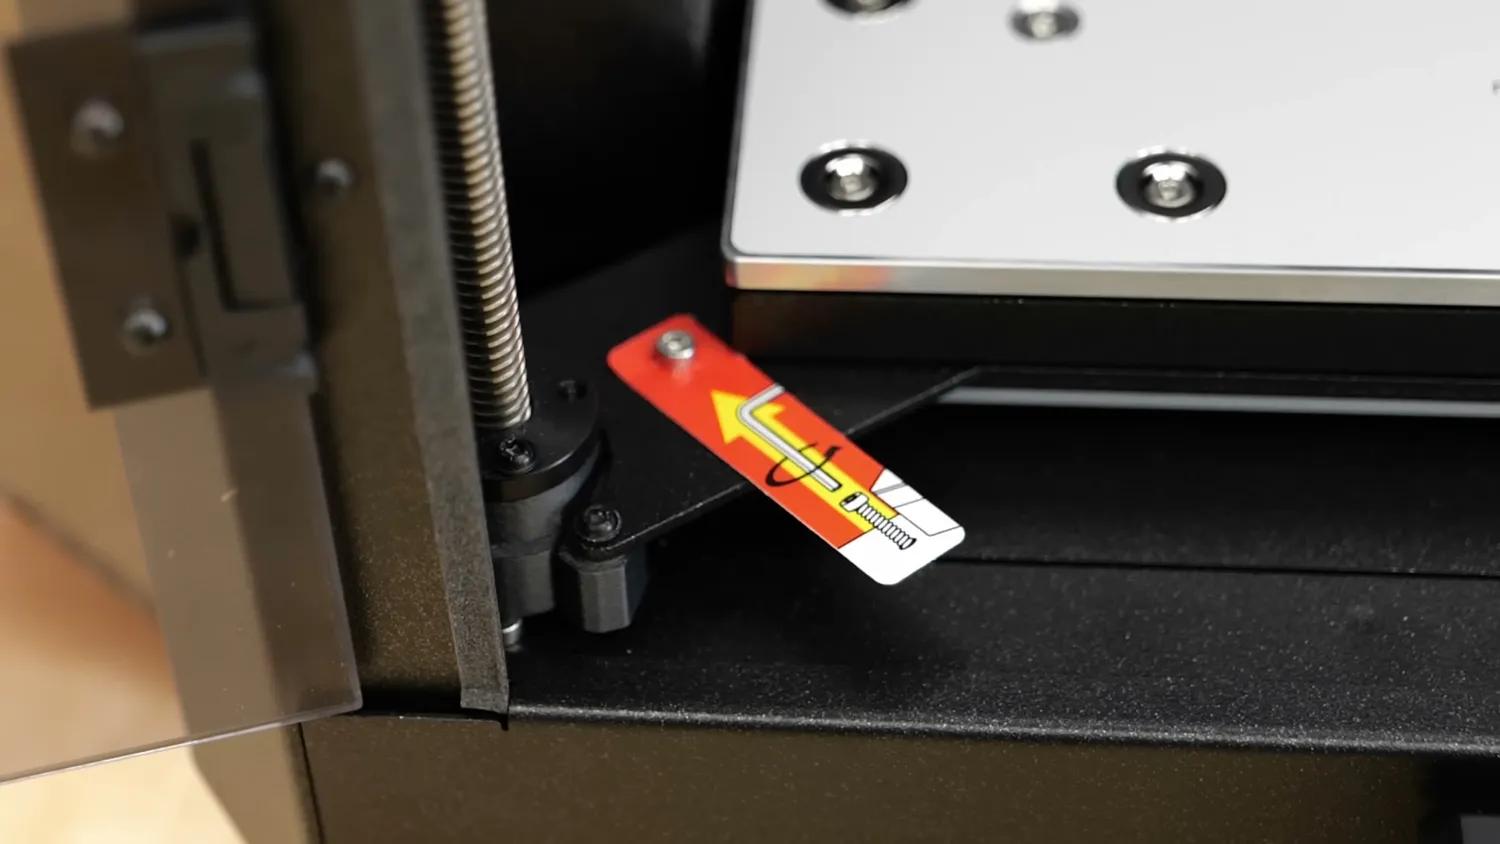
Red tags on the transport screws
Anyway, enough of a rant, sorry for that. I had some seriously frustrating hours while making this review. Don’t get me wrong, there are things that aren’t perfect on the CORE One L, but which machine is? We need to look at both the good and the bad to give an informed opinion.
What Prusa got right
First of all, Prusa listened and fixed that annoying top vent. It’s now actuated by a flexible lever on top of the printhead. Depending on whether you’re printing PLA or PETG (where you want a cool environment), or something like ASA (where you want it hot inside), the printer will automatically open or close the vent during startup. It’s not as flashy as the automatic vents on Bambu’s machines, but it’s super simple, and with fewer moving parts, there’s way less that can break.
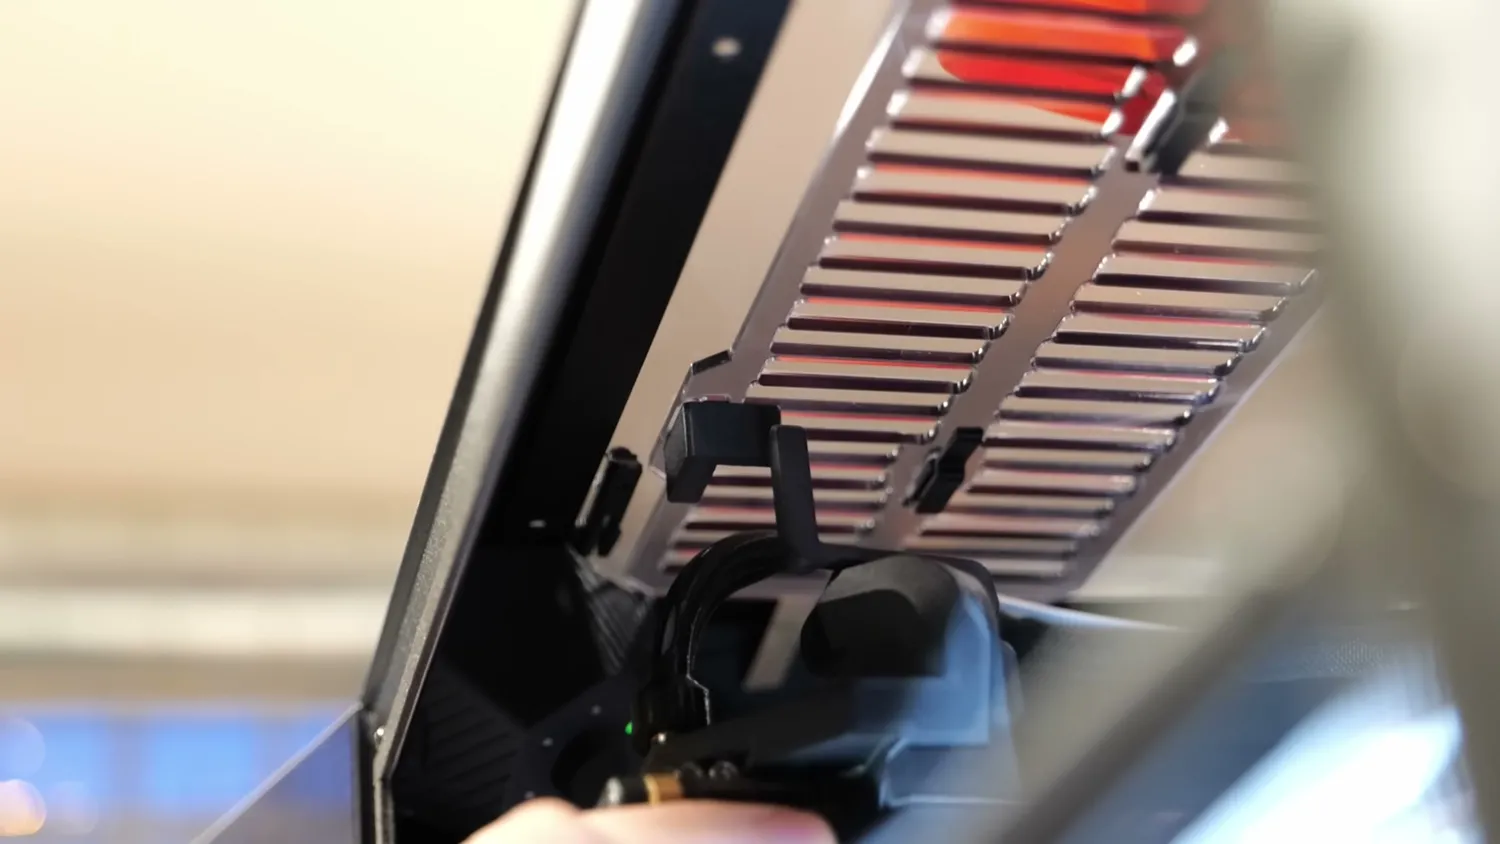
The vent is actuated by a lever
The top panel can also finally be removed without removing rivets, fantastic for maintenance! What I don’t understand, though, is why they didn’t add a Poka Yoke feature so it can only be installed in one orientation. Right now, you can install it however you like, and if it’s possible, someone will install it the wrong way around. This will render the top vent useless, resulting in poorer print quality and leaving users frustrated and confused.
Something often overlooked on enclosed machines is the filament path: where the PTFE tubes rub on the top cover and have tight bends near the extruder, making filament feeding harder, increasing drag, and sometimes breaking brittle materials. The CORE One L handles this nicely: there’s enough space on top to avoid rubbing, and the filament is guided into the extruder in a big radius.
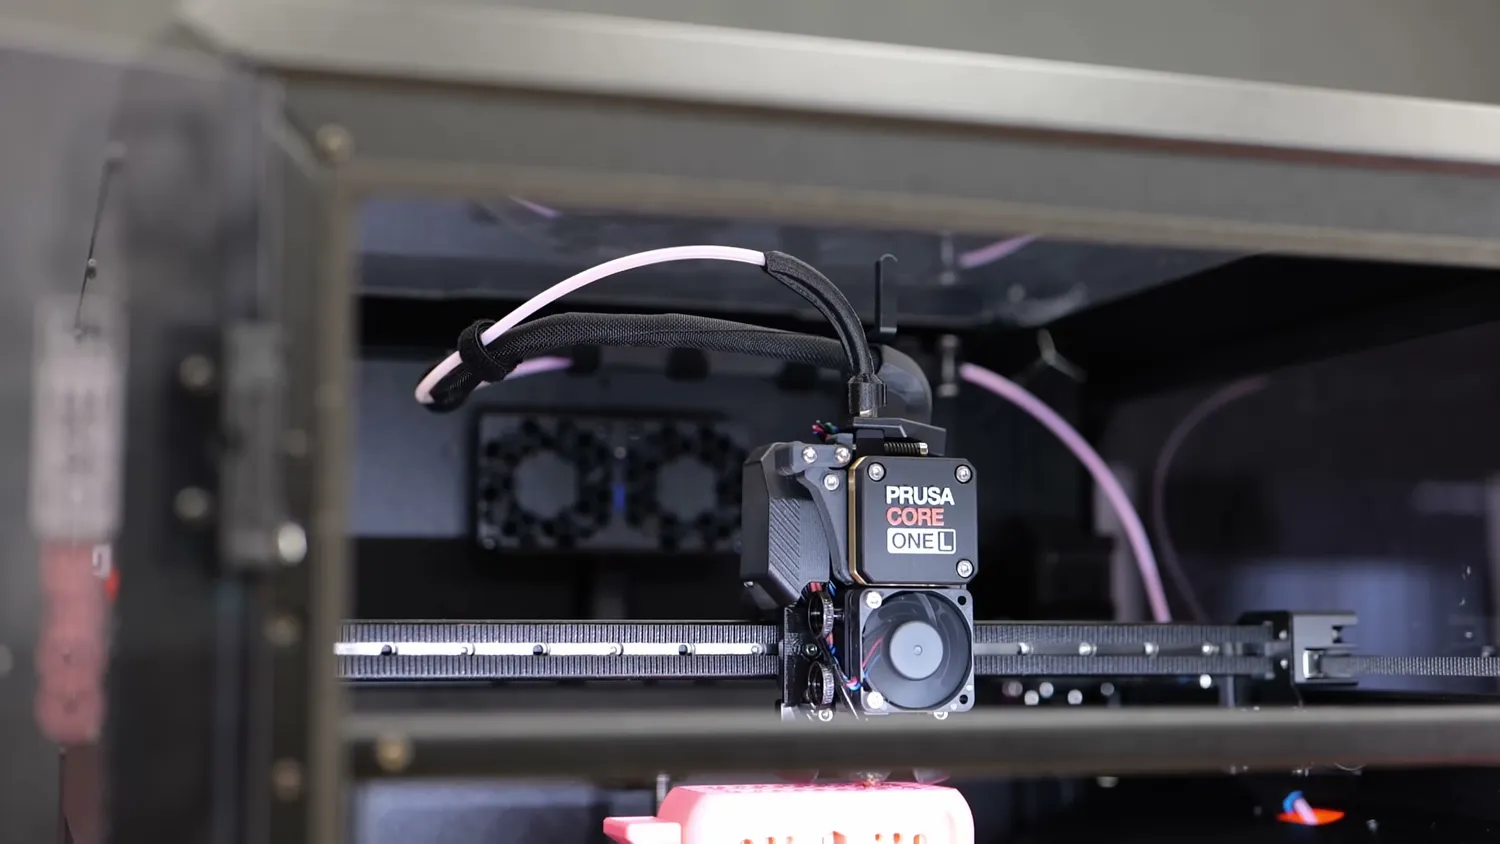
Filament enters the extruder in a big radius
On that note, another small but useful addition is a switch at the first filament sensor to disengage it, letting you easily feed flexible filament into the extruder. And that works really well. The only problem is that there is a second sensor at the extruder itself where the flexible filament then gets stuck and this even with Prusa’s own 95A shore hardness material. So you still have to remove the bowden connector and push the material through. If they solved it for the first sensor, why not add the same feature at the printhead? Still, once the filament’s in, even soft TPUs print beautifully.
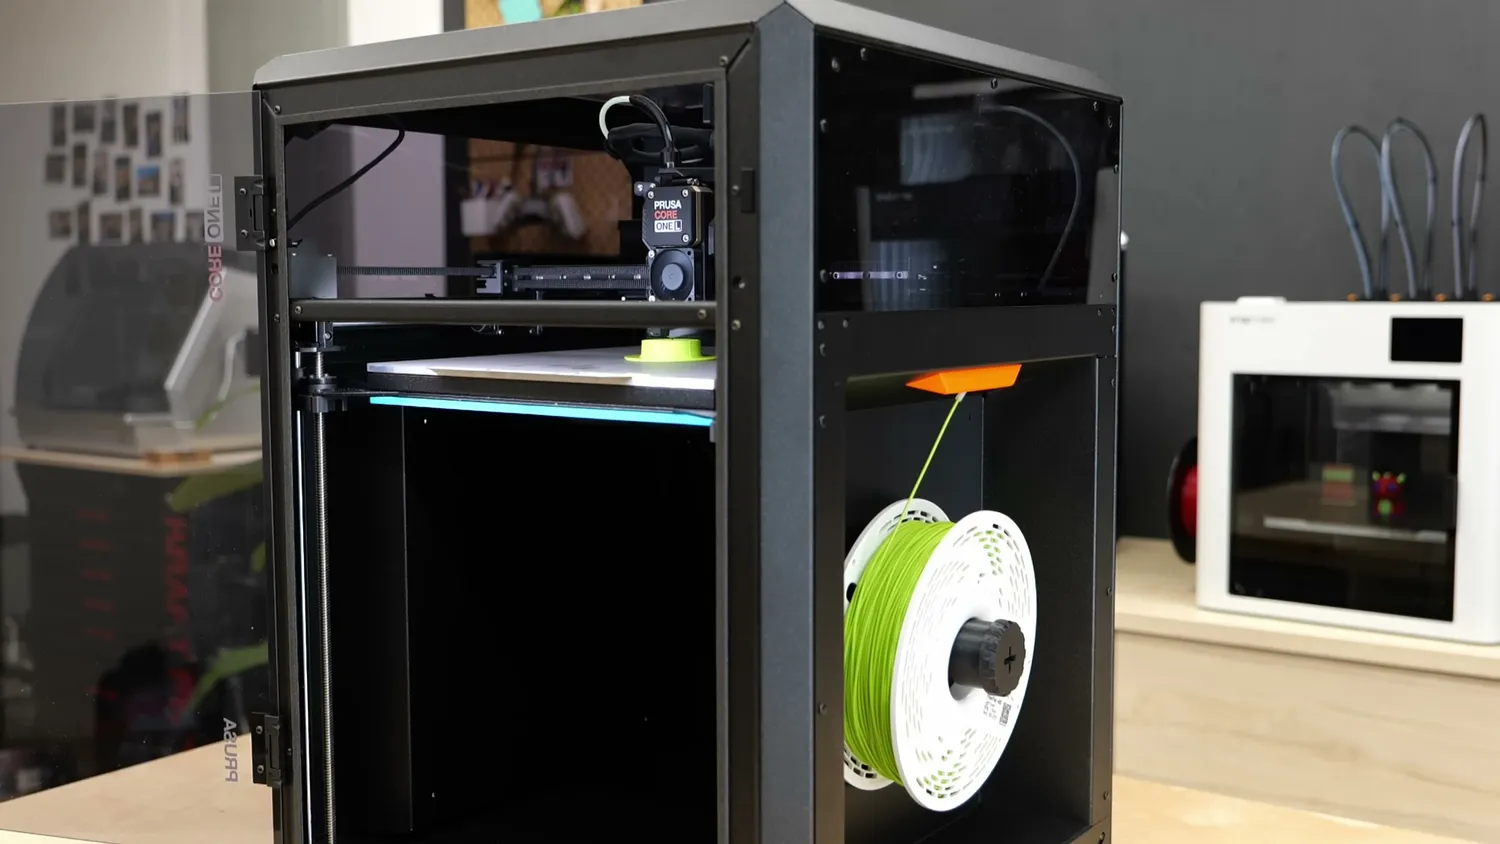
Feeding flexible filament from the side holder
Noise and air filtration
When printing, the noise level is quite acceptable. It’s not as silent as the old MK3, but this one prints roughly three times faster. So, with great speed comes… slightly more noise. When idle, it’s completely silent; the fans only spin when needed.
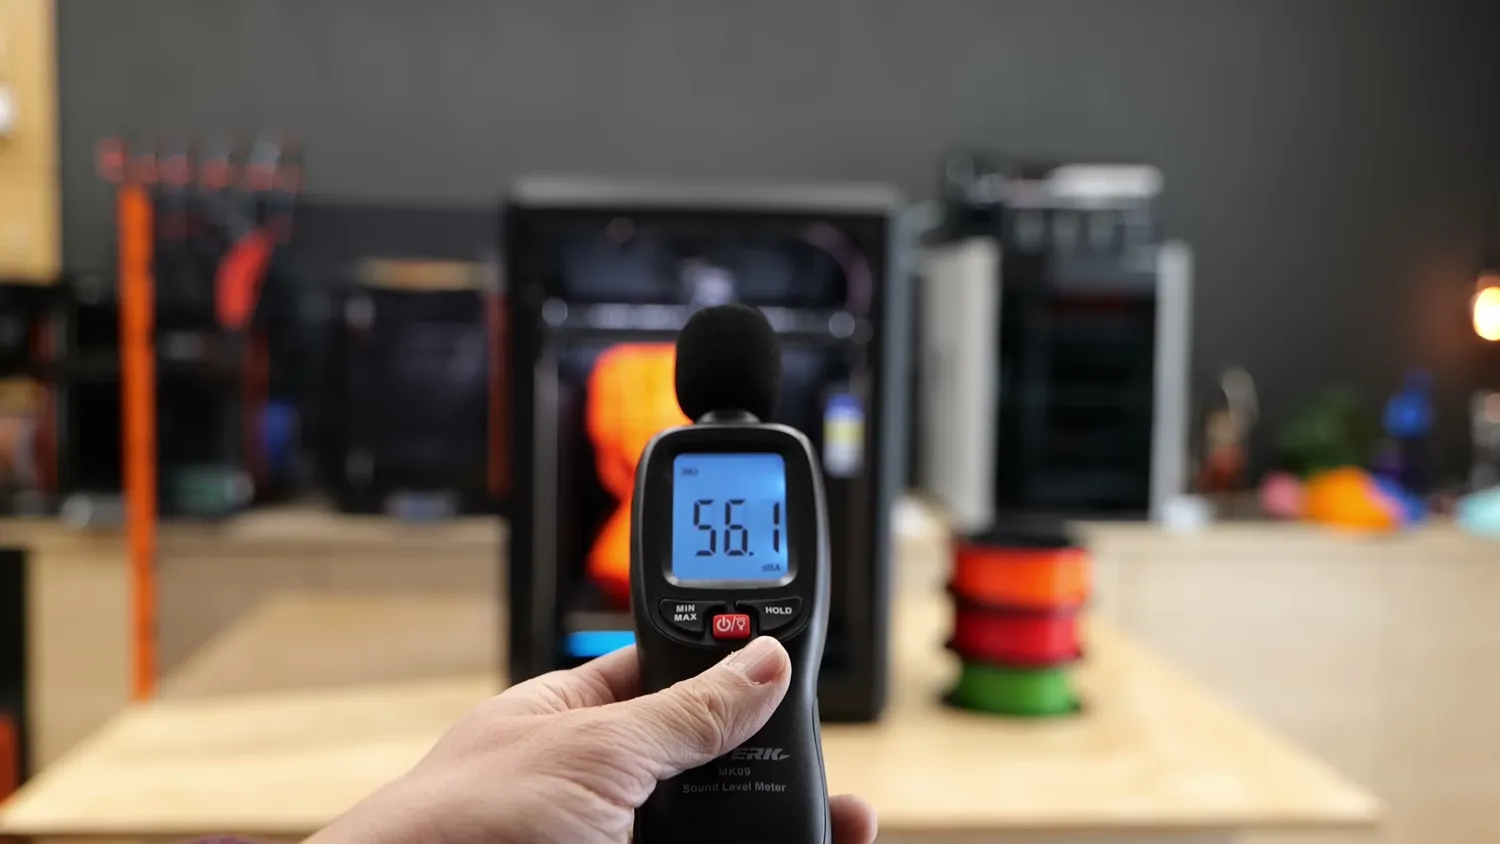
56.1 dBA while printing PLA
During PLA printing, I measured around 50–55 dBA, with peaks up to 60 dBA during travel moves. Closing the door reduces noise a little, but since the housing isn’t airtight and has vents on top, the effect is small. I wouldn’t want to sleep next to it, but it’s fine to have running in a workshop. It only gets loud when the chamber fans kick in, especially if you use something like my DIY HEPA and charcoal filter for the CORE One that has a lot of flow resistance. But if you don’t use such a filter, the fans are barely noticeable.
Speaking of air filtration, the CORE One doesn’t include a filter by default and simply exhausts air out the back. I’m a sucker for clean air, so I added my own DIY solution when the original CORE One came out. But for a while now, you can also get Prusa’s advanced air filtration system, made in collaboration with Alveo3D.
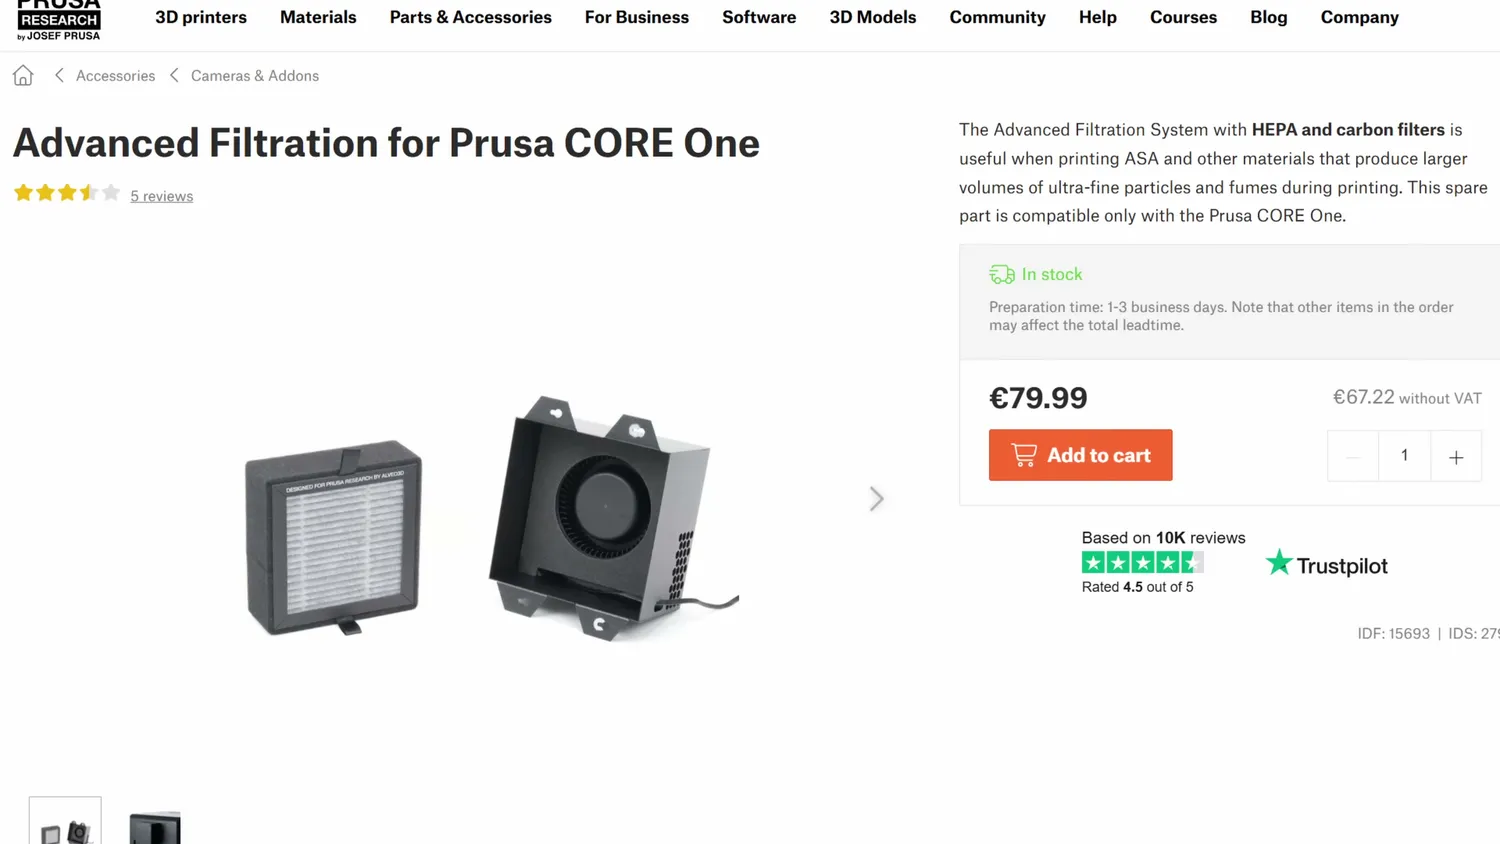
Prusa’s advanced filtration, made with Alveo3D
It’s a beefy HEPA and charcoal filter rated for about 600 hours of printing, plus an additional radial fan that mounts to the back and is controlled by the printer. This is, in my opinion, an excellent upgrade. It filters the barely noticeable yet still unhealthy fumes and particles from PLA or PETG, and almost completely removes the smell of PC or ABS. It also creates a slight negative pressure inside the chamber so that air doesn’t leak out through gaps.
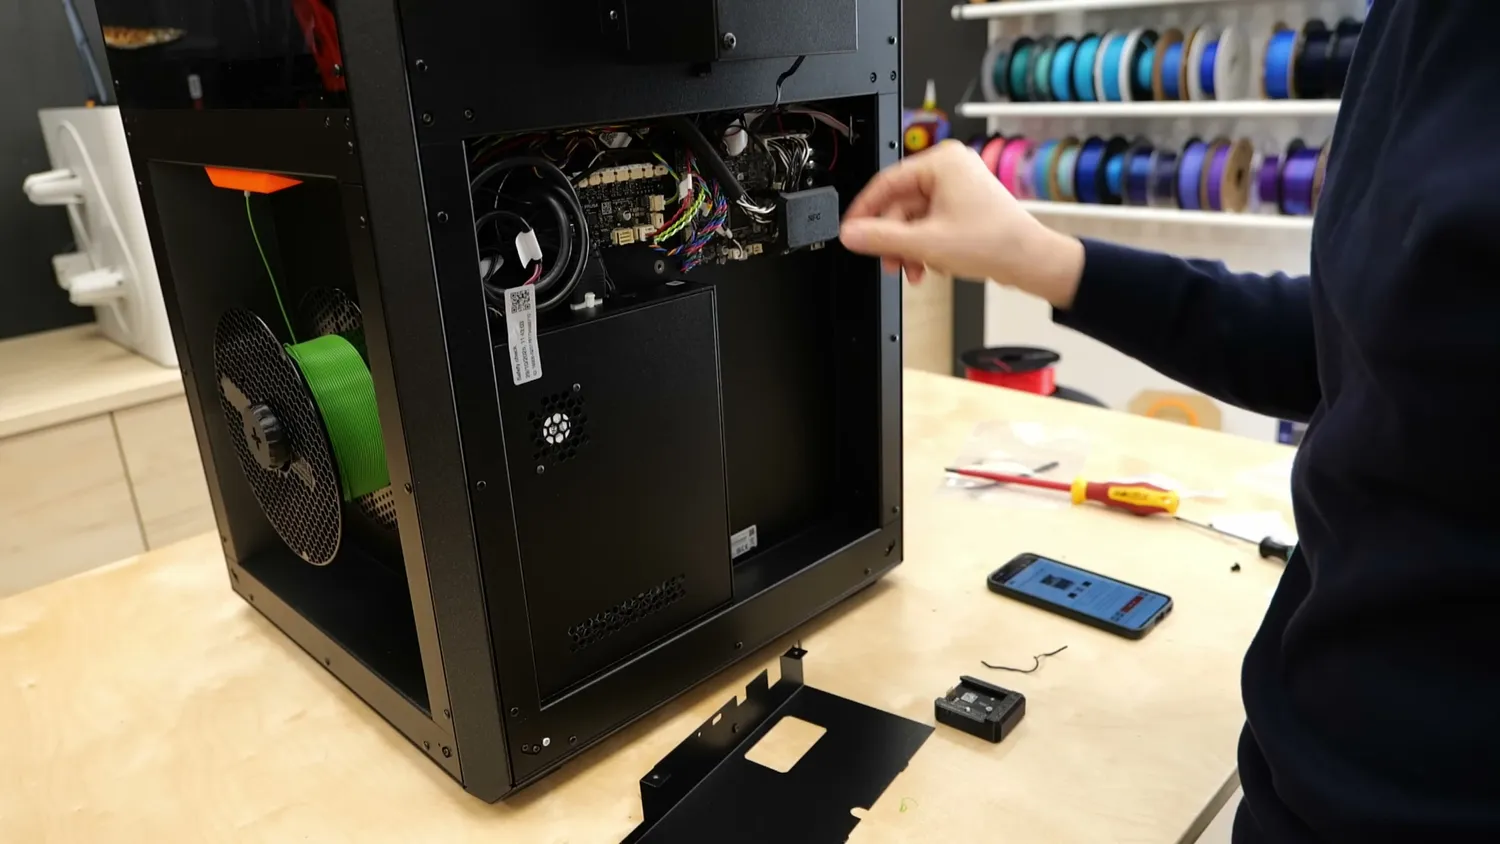
The back panel comes off to install it
I mean, sure, people choose to smoke, but if you’re spending long hours in the same room as your printer, this is a must-have upgrade. That said, I have to add that the internal temperatures are higher with a filter. That didn’t cause PLA printing problems in my 20°C studio but could cause more issues during summer.
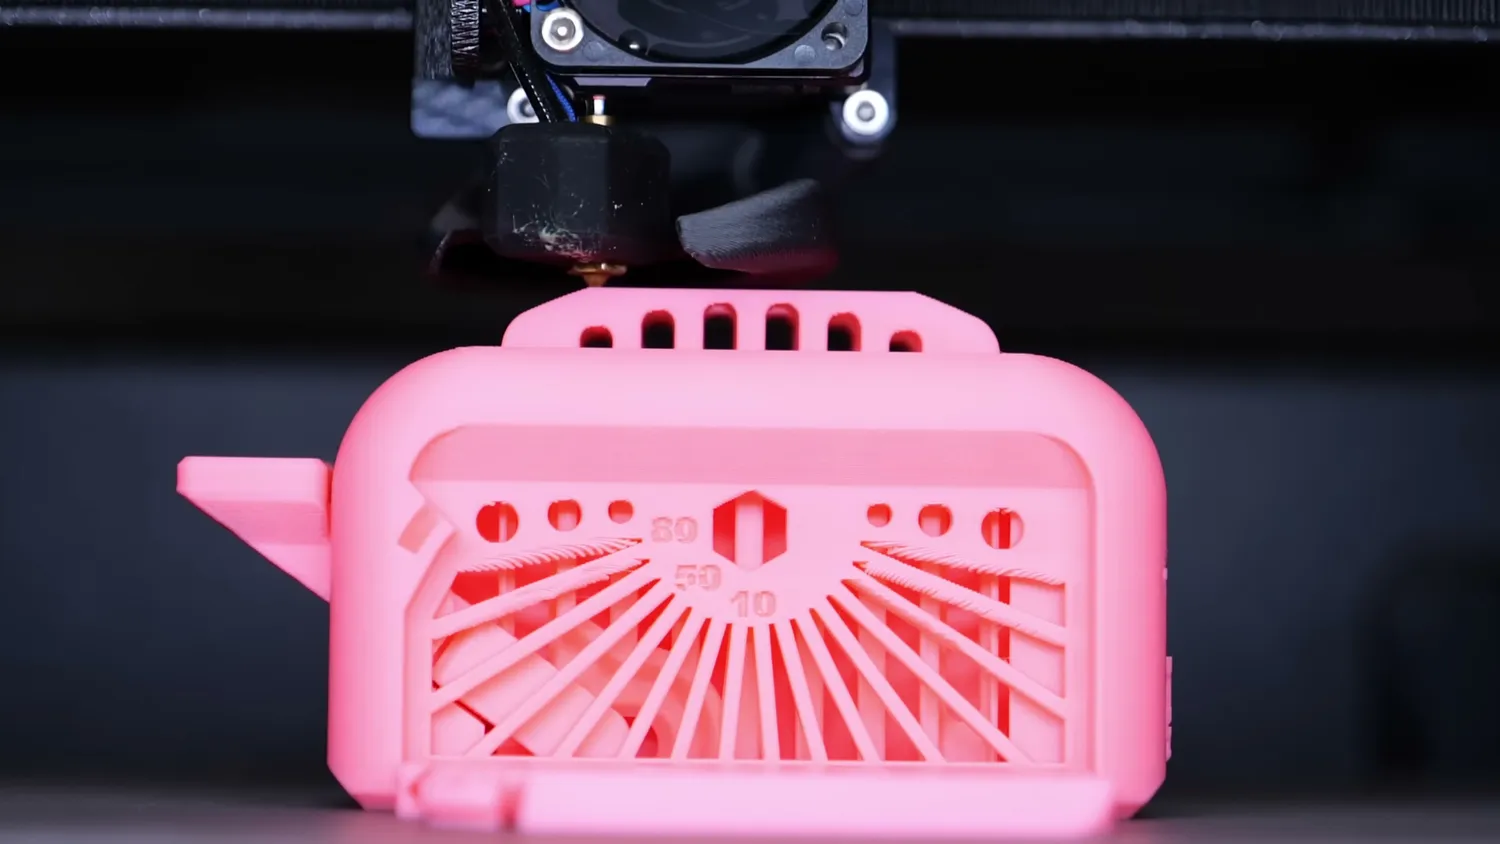
PLA still printed fine in my 20 °C studio
Prusa Connect, Easy Print and OpenPrintTag
Another upgrade I had completely overlooked for a while is Prusa Connect, Prusa’s cloud-based 3D printer management platform. It’s completely optional. You can still send print jobs over your local network or, very old-school, carry your G-code on the included USB stick. But with Prusa Connect you can send and monitor prints from anywhere, with tons of useful statistics and even print-farm management features.
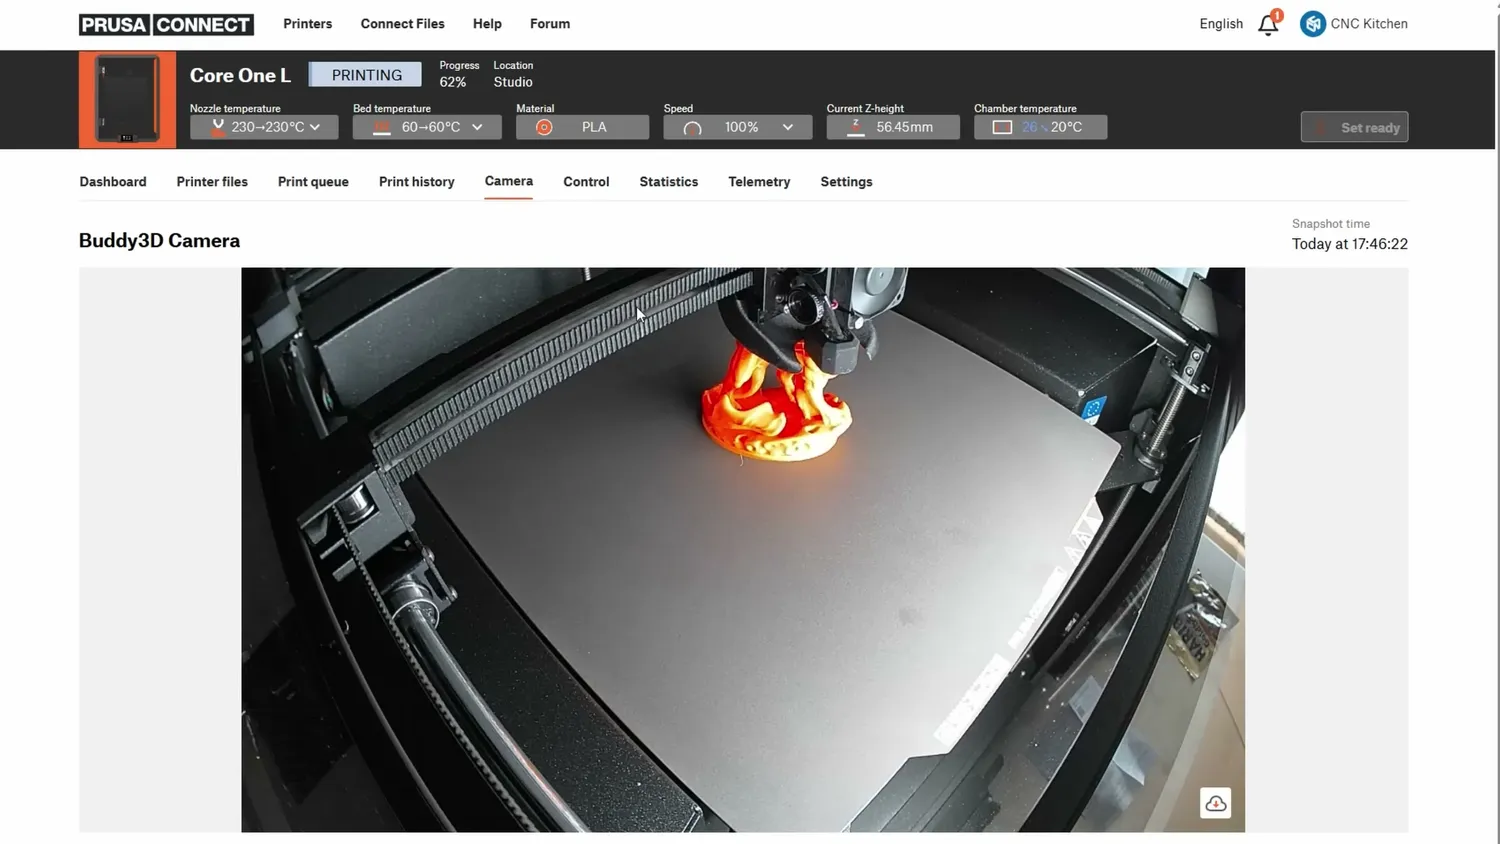
Prusa Connect, with the chamber camera
And this doesn’t only apply to the browser version; the Prusa App on your smartphone also works great. If only the app wouldn’t nag me every time I start a print, telling me the printer “needs my personal attention,” even though it’s already happily printing! Other than that, I’m impressed. I thought only Bambu had that flawless cloud and app experience, but after using it for a year, I have to say Prusa Connect is definitely on par, and if you manage several printers, it’s even better.
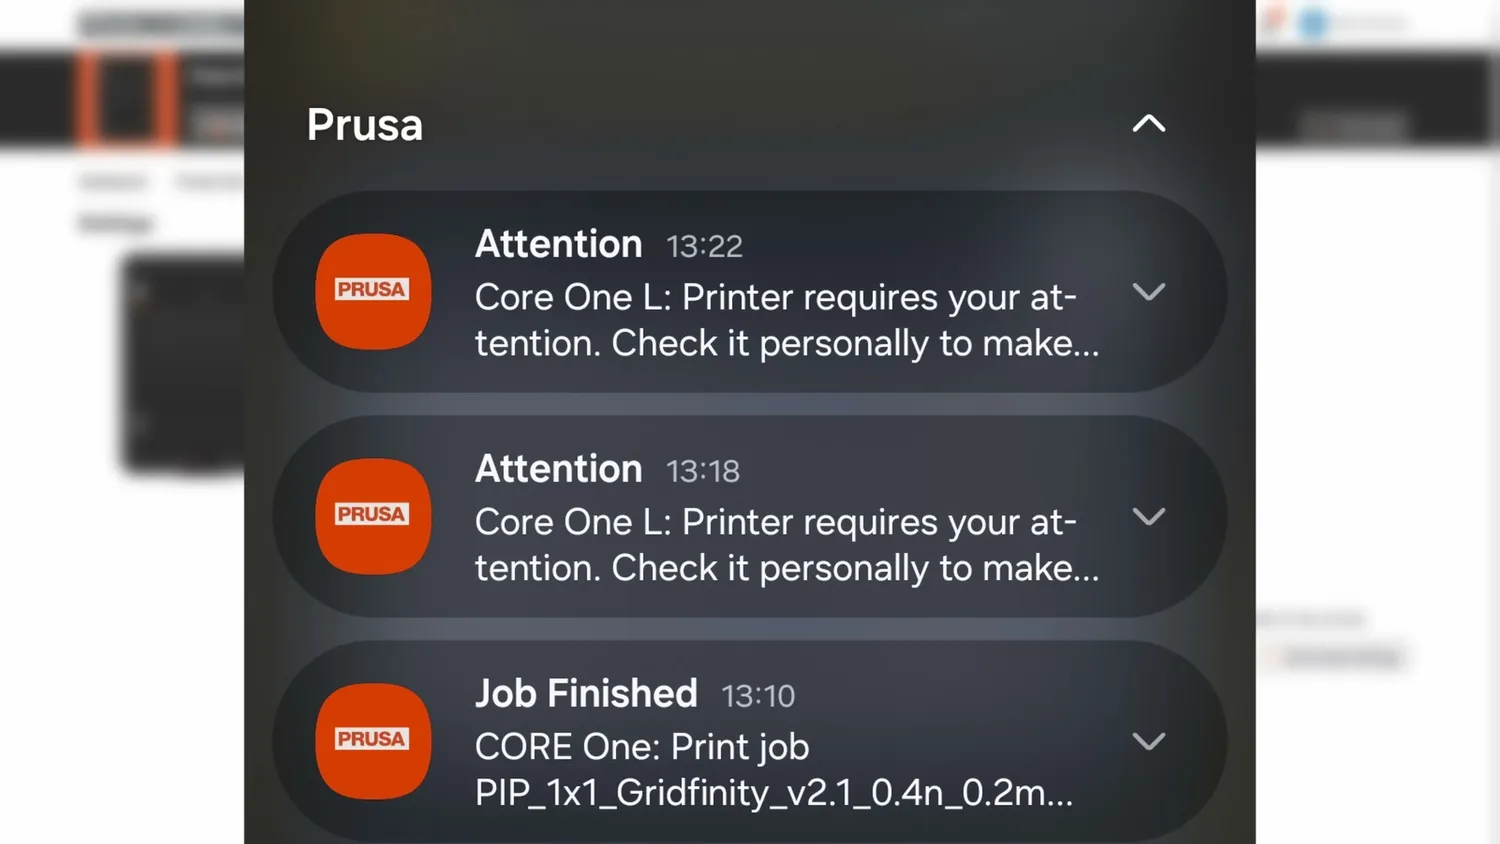
The app, asking for my personal attention
A small feature also worth mentioning is Prusa Easy Print, their online slicer. It lets you slice models straight from Printables, right in your browser, without installing any software. That might not be something for power users, but it’s perfect for family members who just want to hit “print” without touching PrusaSlicer. Seriously, give it a try!
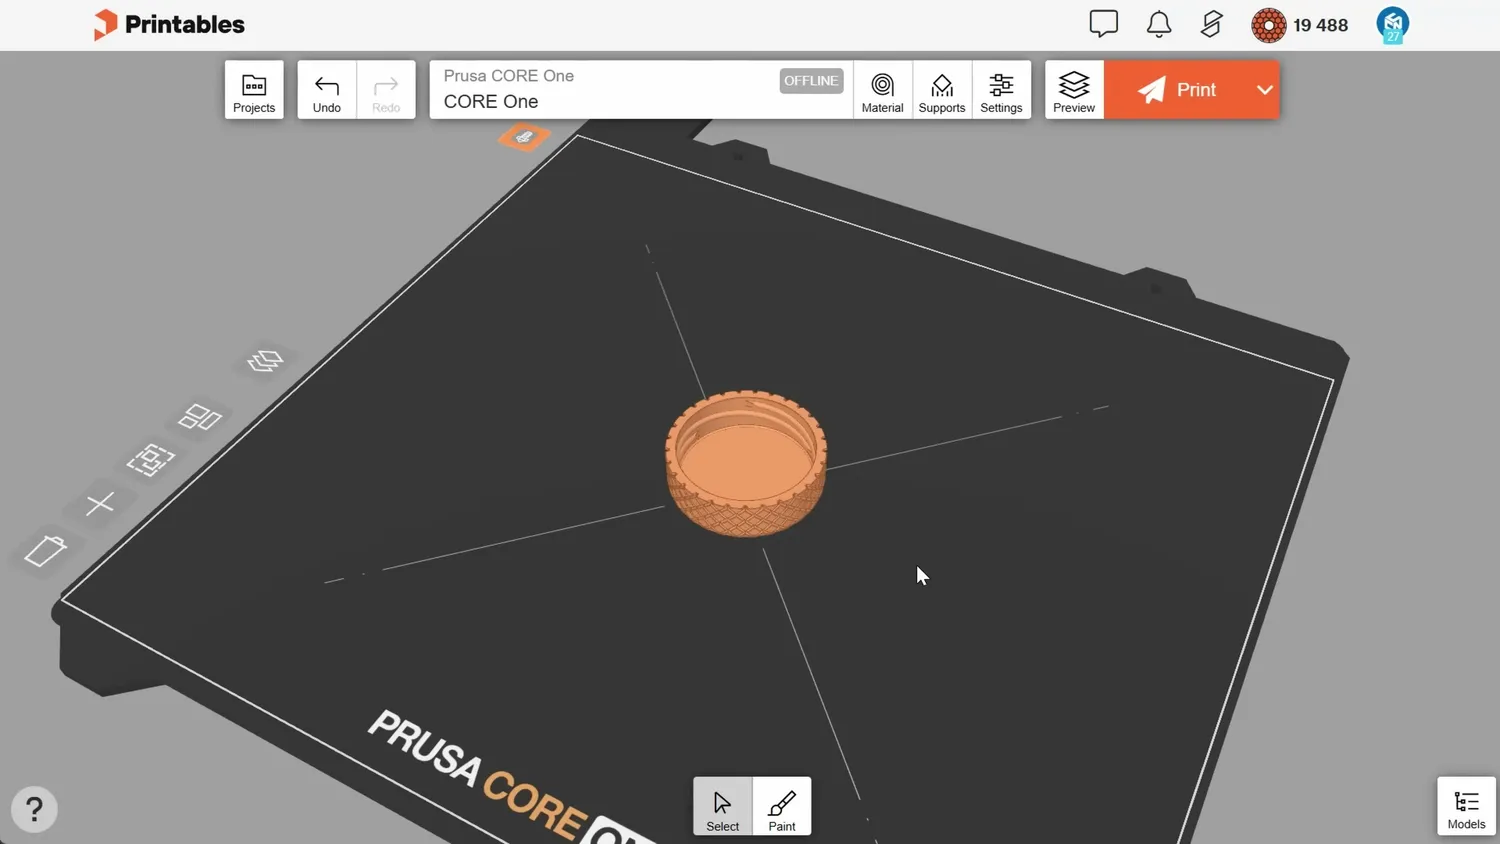
Slicing straight from Printables in the browser
What’s unfortunately still missing, though, is the implementation of Prusa’s new OpenPrintTag system, which they announced the same day as the CORE One L. OpenPrintTag is an RFID tag for filament spools that stores data like color, material type, and remaining filament, so you never load the wrong spool again and wonder why your print failed.
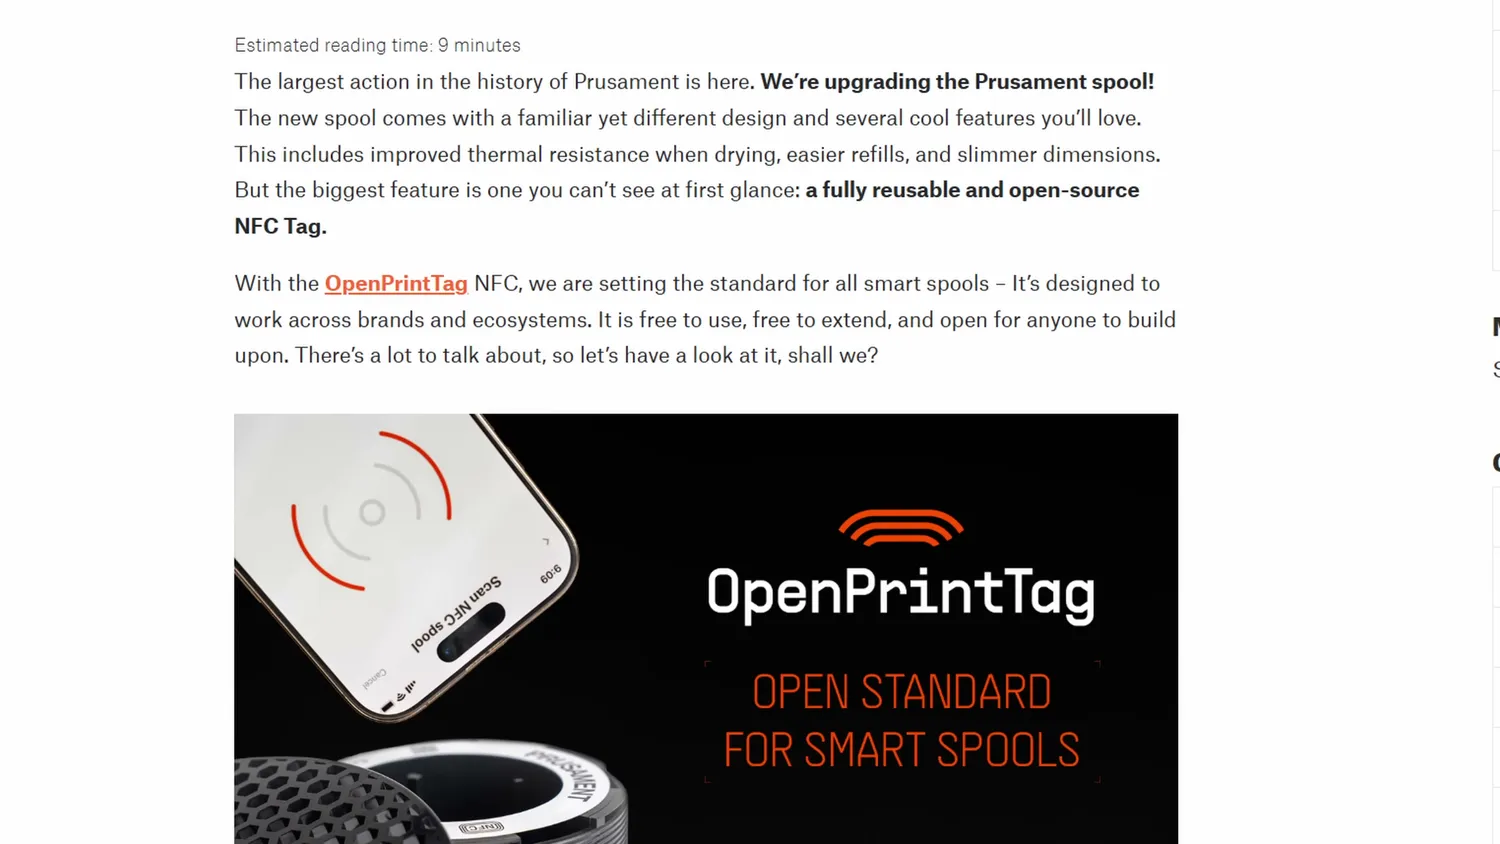
OpenPrintTag, announced the same day
And this isn’t a way to lock you deeper into the Prusa ecosystem. OpenPrintTag is completely open, and Prusa actively encourages other filament and printer manufacturers to adopt it. In the future, no matter whose filament you load, your printer will automatically recognize the material and color, streamlining the whole workflow.
All the documentation is already out there, but Prusa won’t have it fully integrated into their printers or slicer until sometime next year at that means that the CORE One L also doesn’t have a RFID reader yet. That’s all a bit of a pity, because it’s a great idea.
Is the CORE One L the better CORE One?
So far, the new Prusa CORE One L has been working really well for me. I think it looks beautiful (minimalist but unique), and while a few areas still need polish, the overall experience is solid. The prints look good (not perfect), but I’m sure Prusa will keep tuning the profiles. The slicer, printer, and materials all play nicely together. So, is the CORE One L the better CORE One? Yes, it definitely is, mainly because of the quality of life improvements and a better heated bed. I hope we see some of these changes in a CORE One S overhaul someday, or maybe they will include some of these improvements in the newer CORE Ones as well.
But if you look at the competition, it’s hard to ignore that you can get a Bambu Lab H2S, including their multi-material system, for less than what a CORE One L costs without one. That competitor has more features and slightly better print quality. So, who should buy this machine?
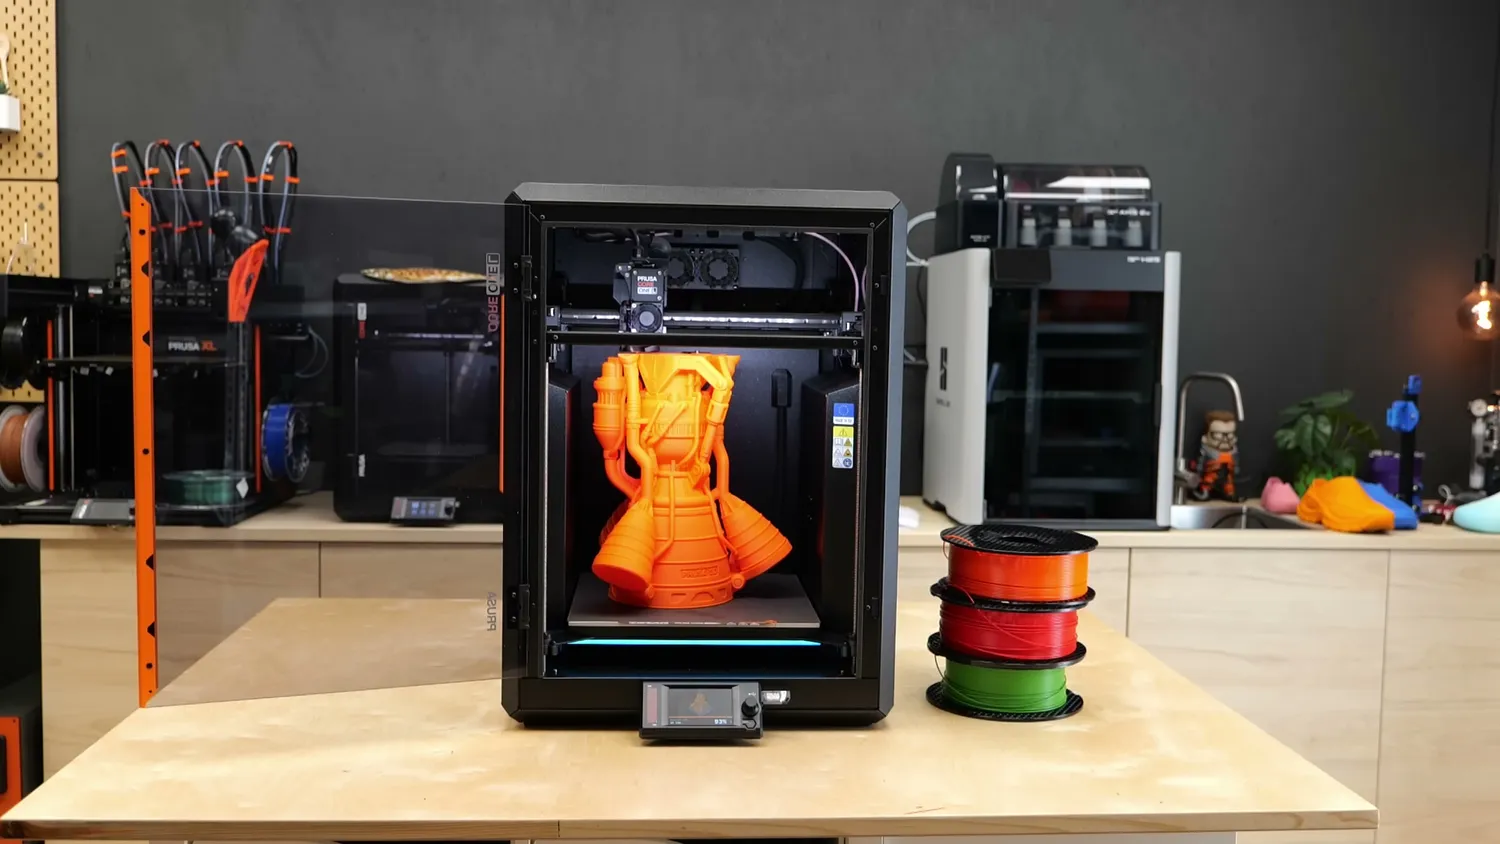
The competition is never far away here
In the end, a lot of it boils down to idealism. You buy a Prusa because it’s manufactured in the EU, or these days also in the USA. You buy a Prusa because they don’t force you into the cloud. They even offer a Critical Infrastructure Edition for medical or military customers that completely removes networking, with transfers only via encrypted USB drives.
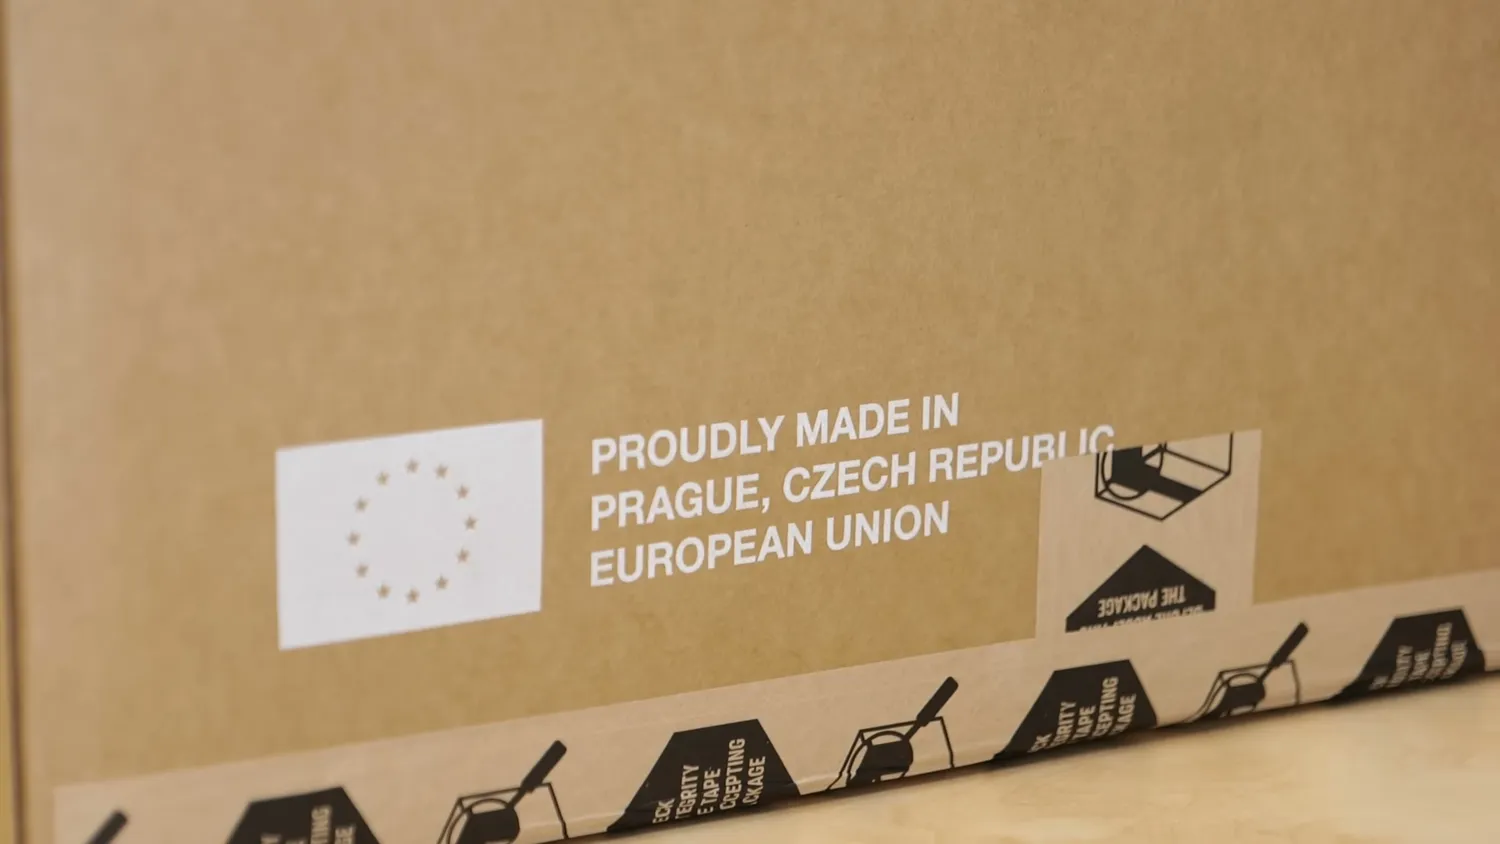
Proudly made in Prague, Czech Republic
They let you use any slicer you like. Their own slicer, which they open-source, is the foundation for almost every good slicer out there today. They build machines that are easily repairable: many parts are themselves 3D-printed, and anything else can be ordered directly from their store. And when something goes wrong, they have real people in support chat who actually try to make things right.
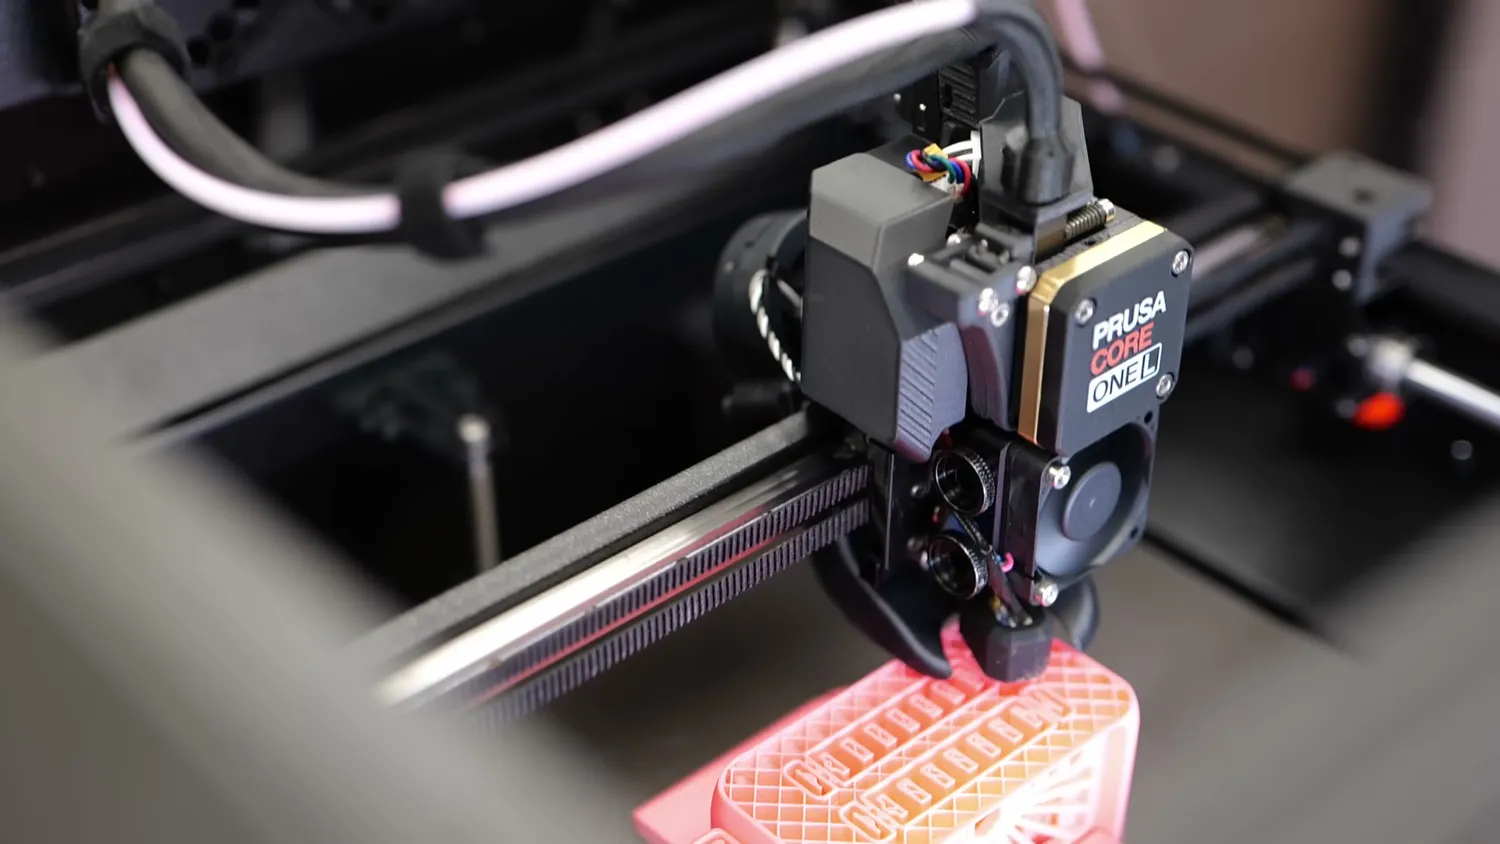
The printhead, with its serviceable parts
Western manufacturing, proper support, and the lack of heavy subsidies naturally make these machines more expensive. That’s just a fact. But it’s still impressive that Prusa remains one of the last Western companies producing consumer and prosumer 3D printers at a reasonable price. And we should be proud of that, and support it.
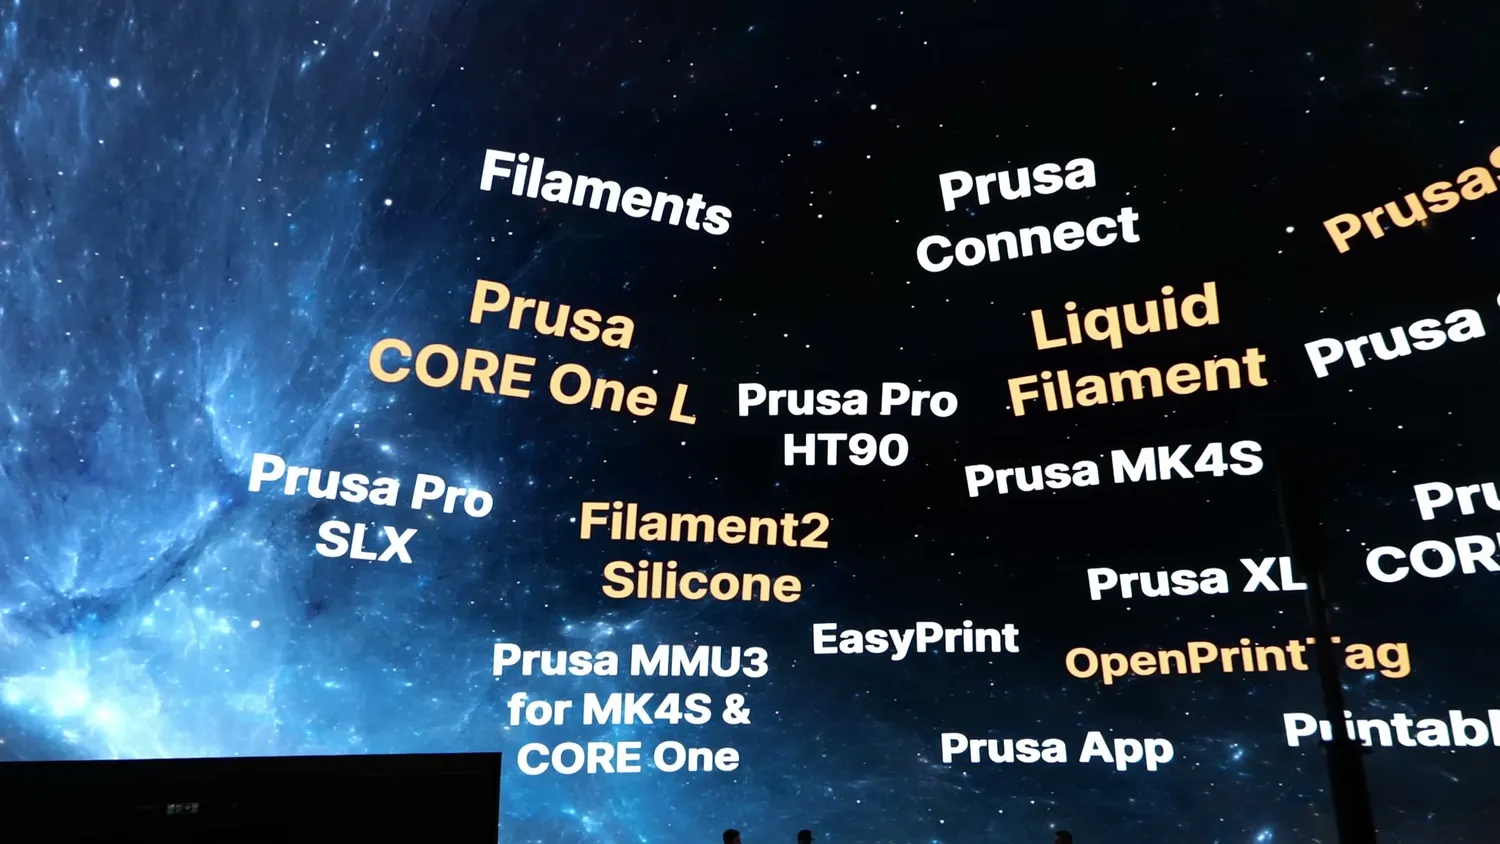
Everything Prusa announced in Prague
So, if you’re not chasing the absolute best “bang-for-your-buck” machine but instead want something that delivers solid quality, is backed by excellent long-term support, and will likely be upgradable when the next version arrives, then the Prusa CORE One L and the ecosystem around it will probably not disappoint you.
🦙 Get the CORE One L (€1,699 / $1,799): https://geni.us/PrusaCOREOneL*
* Links marked with an asterisk are affiliate links — if you buy through them, I earn a small commission at no extra cost to you. As an Amazon Associate I earn from qualifying purchases. Thanks for supporting my work!