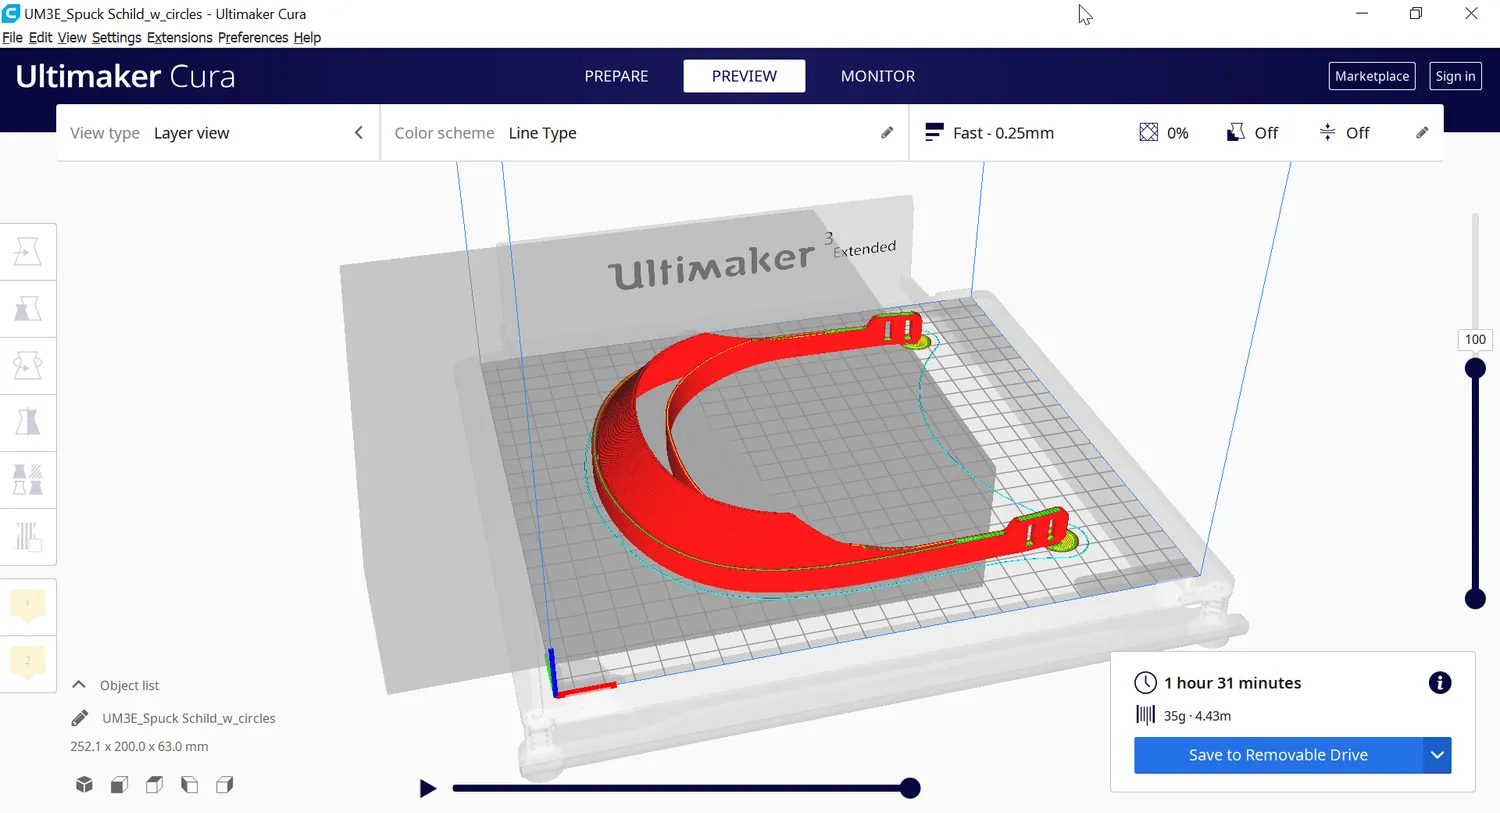
How to use modifier geometry in CURA
A step-by-step guide to adding modifier geometry in CURA, so you can change wall count, top and bottom layers only where a part actually needs it.
Due to my recent video, I got a lot of questions how to simply add Modifier Geometry in CURA. So here is a step-by-step guide on how it’s done in CURA 4.5 but the process should be very similar, also in older releases.
- Load your part into CURA, select it and add a Support Blocker (E)
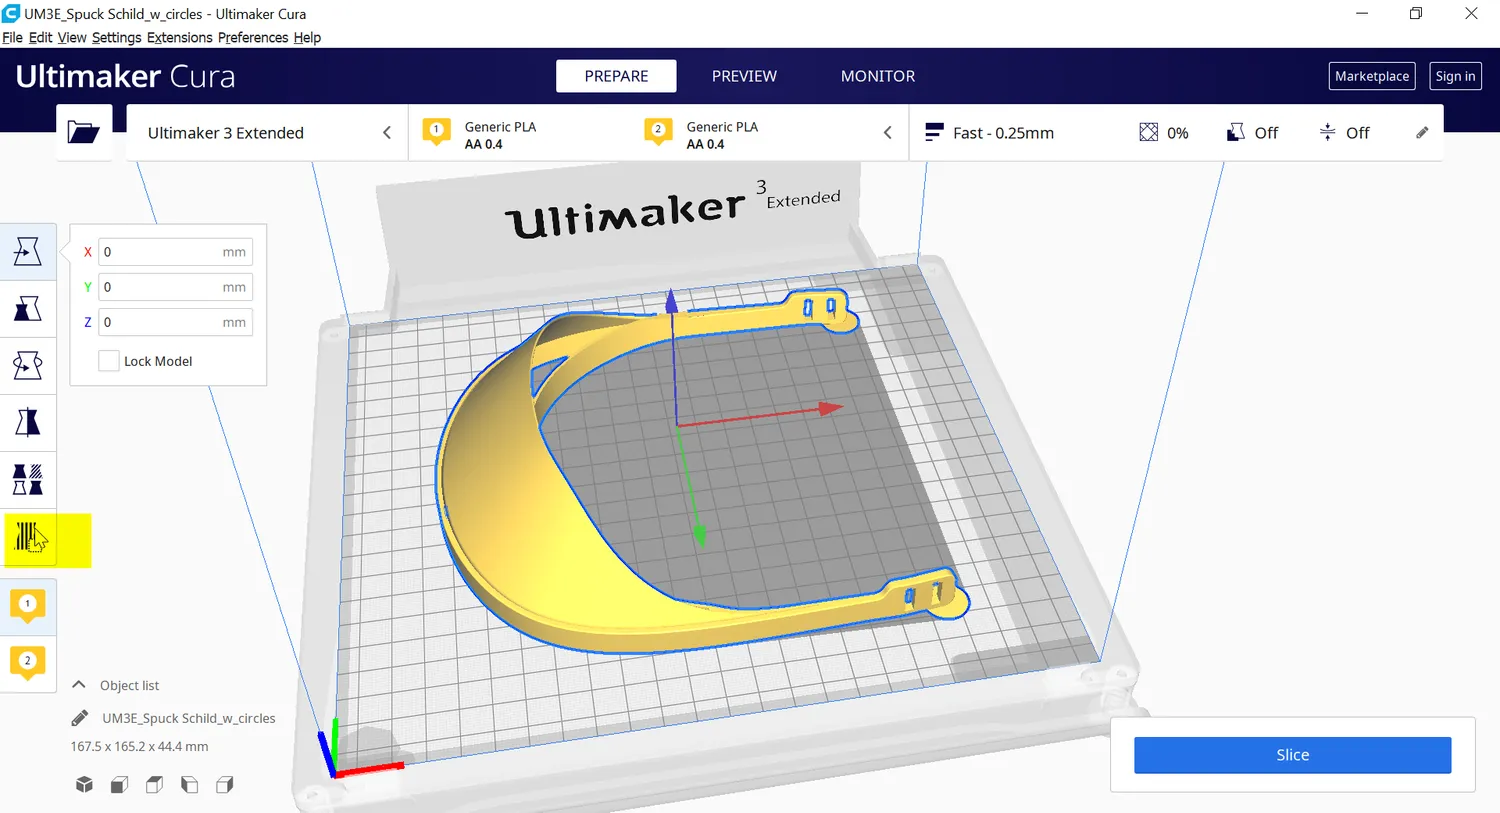
2. Select the rough location you want to place it on your part
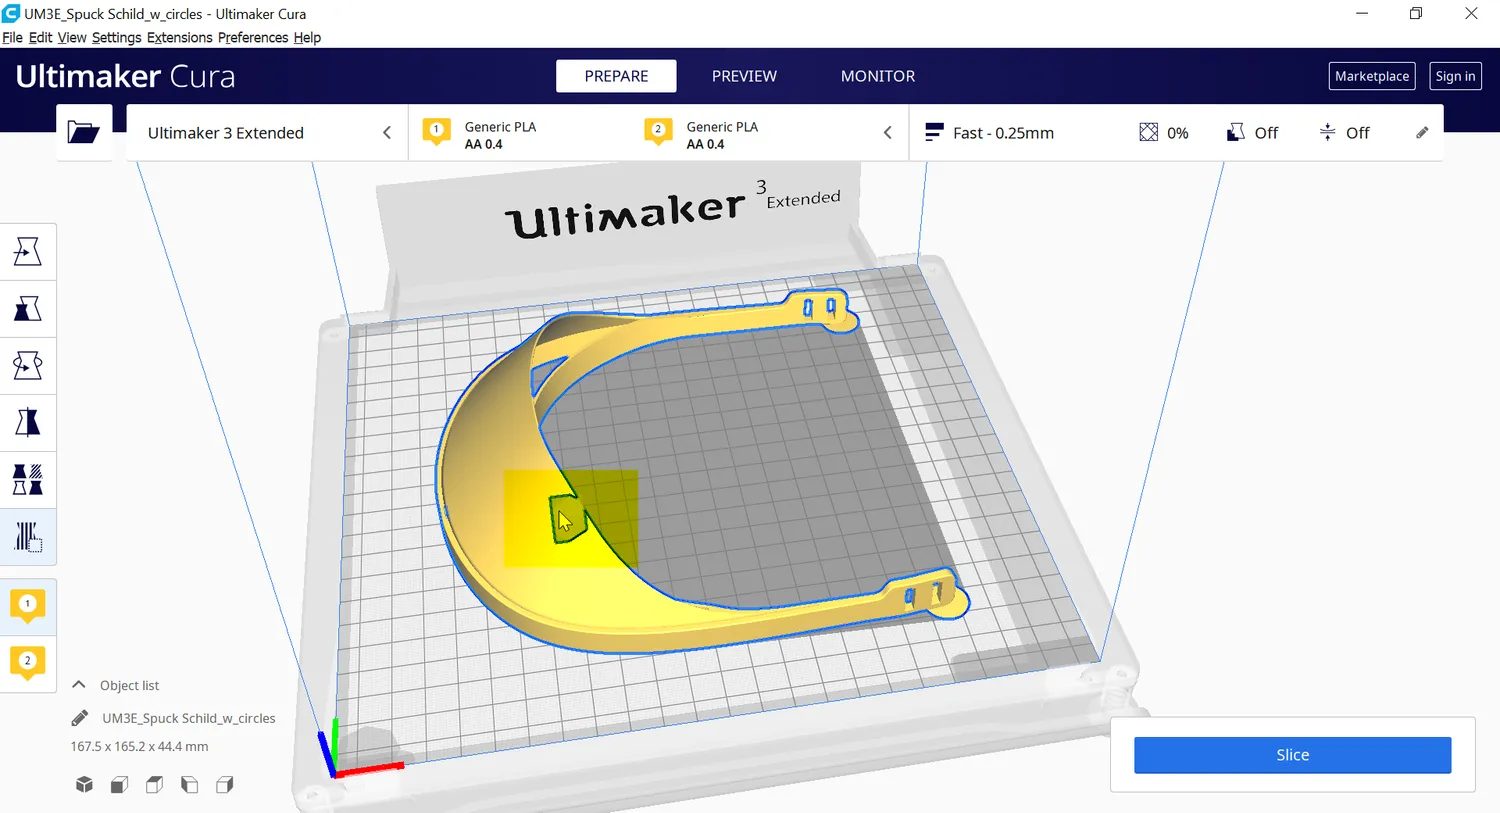
3. Scale, move and rotate it into place with the normal tools
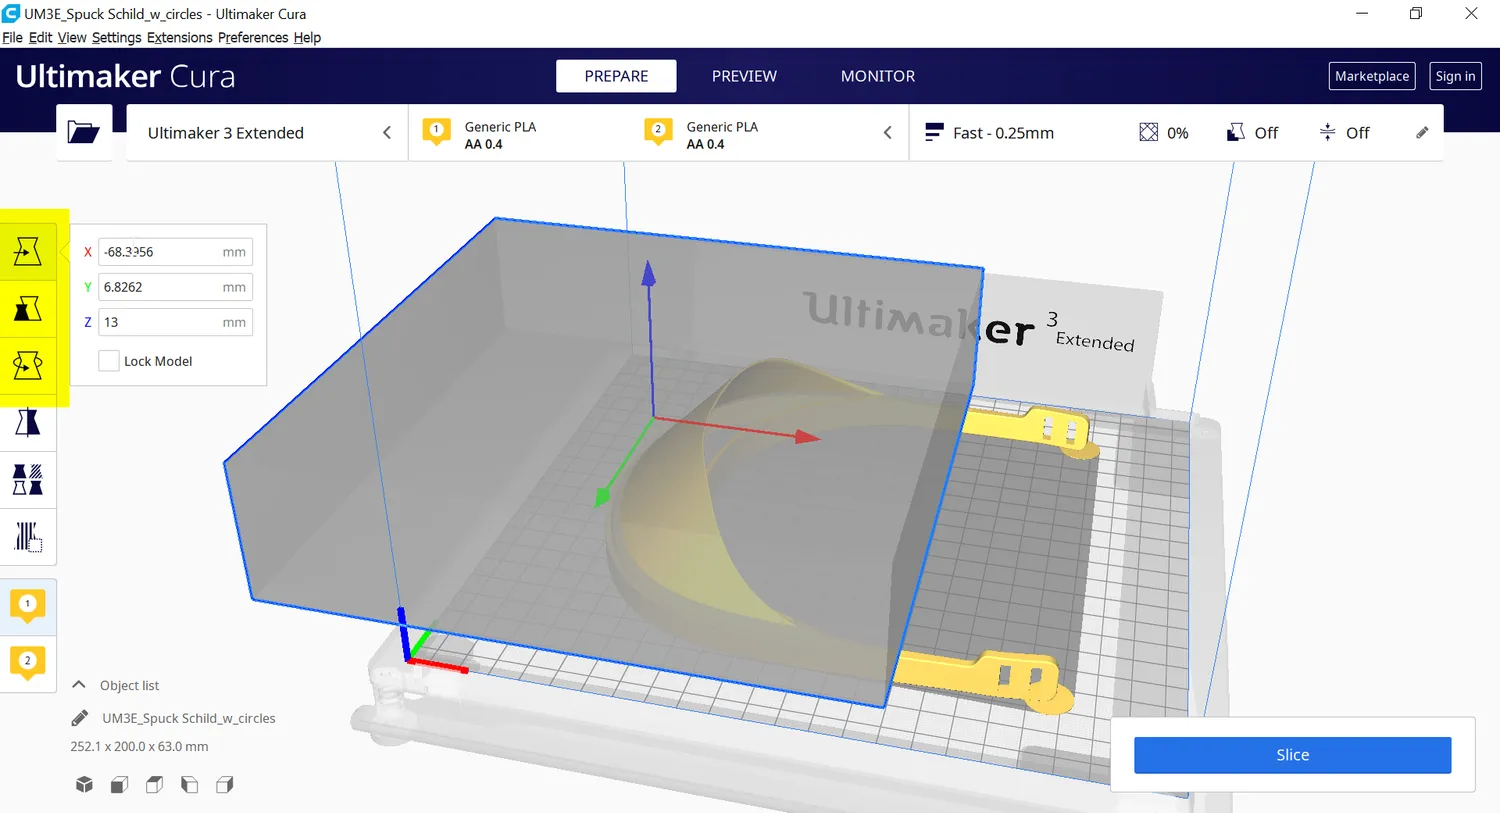
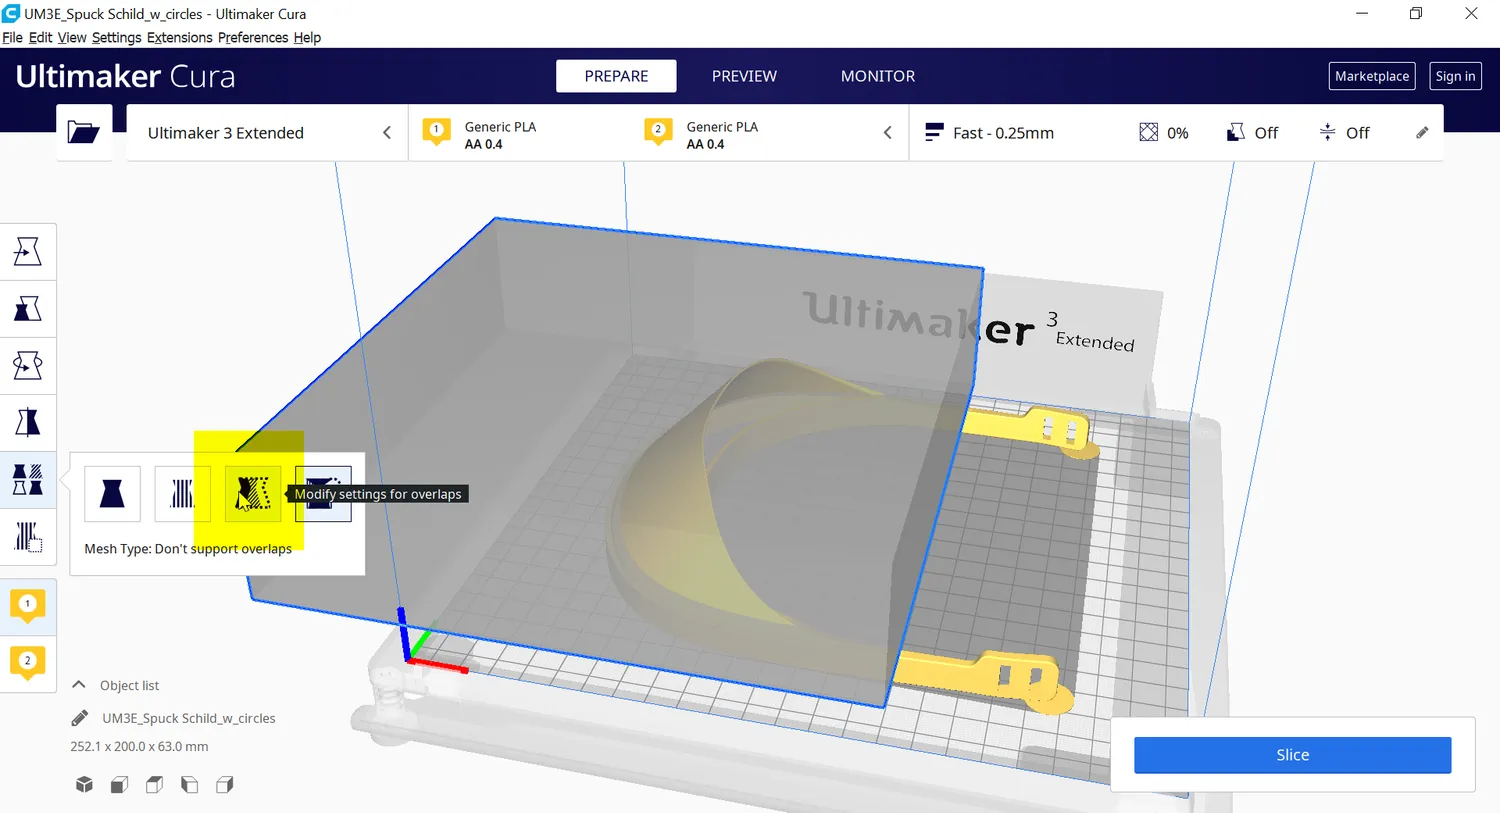
4. While the part is selected go on Per Model Setting and select Modify settings for overlaps
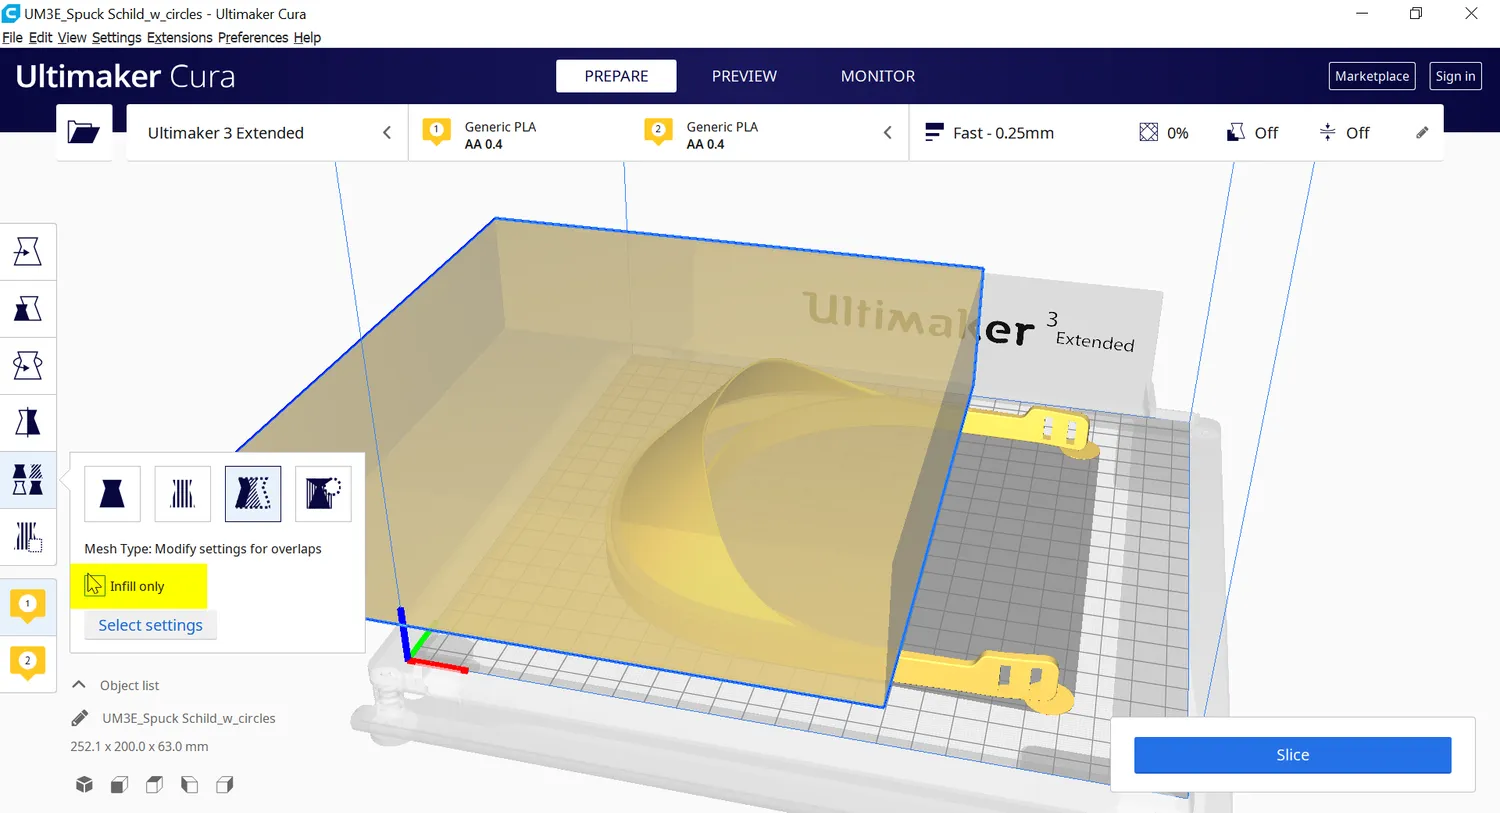
5. De-select Infill only
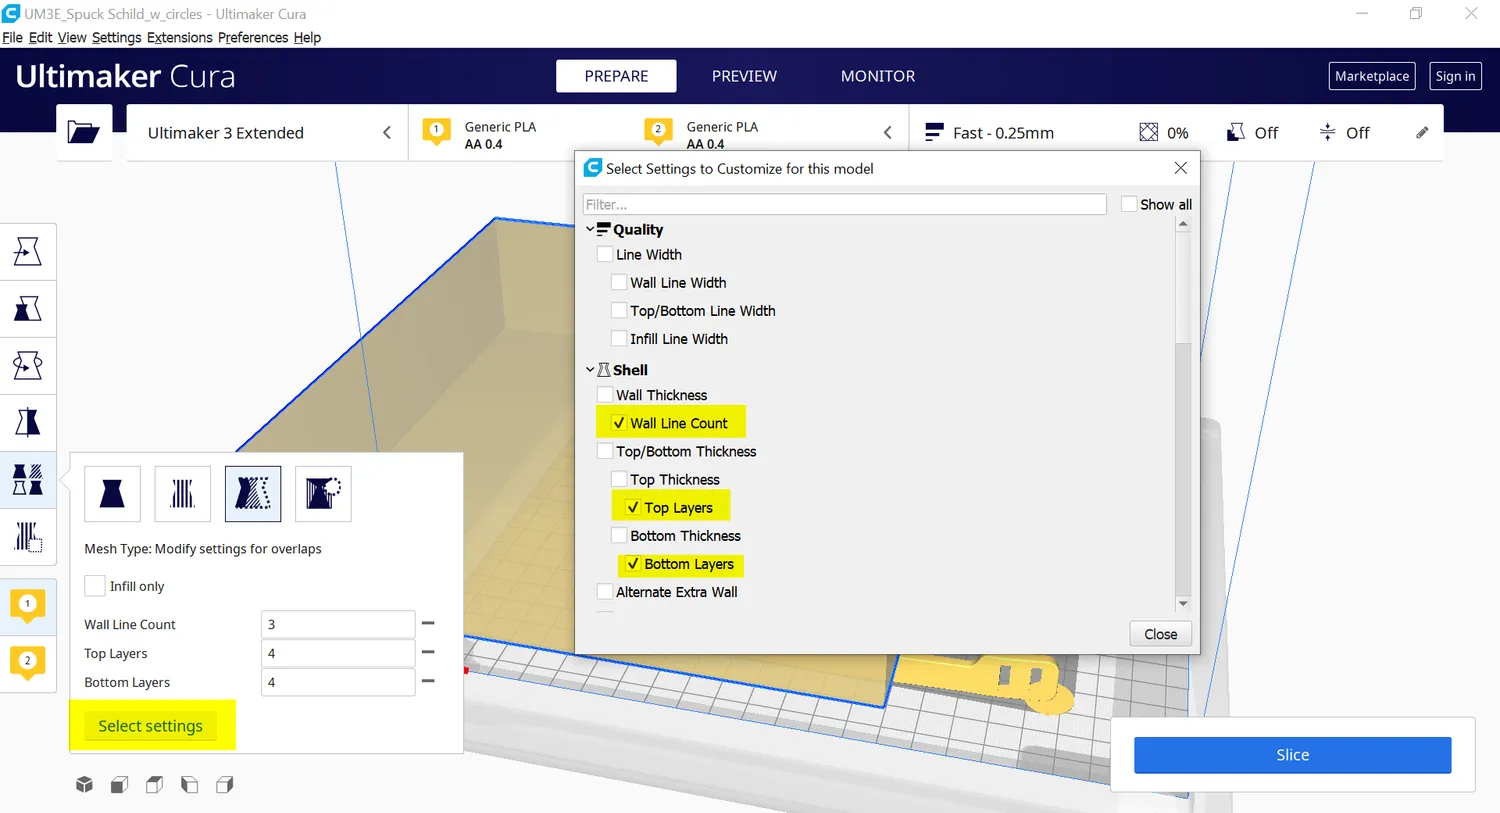
6. Click Select settings and choose the settings you want to change. In this case Wall Line Count, Top Layers and Bottom Layers
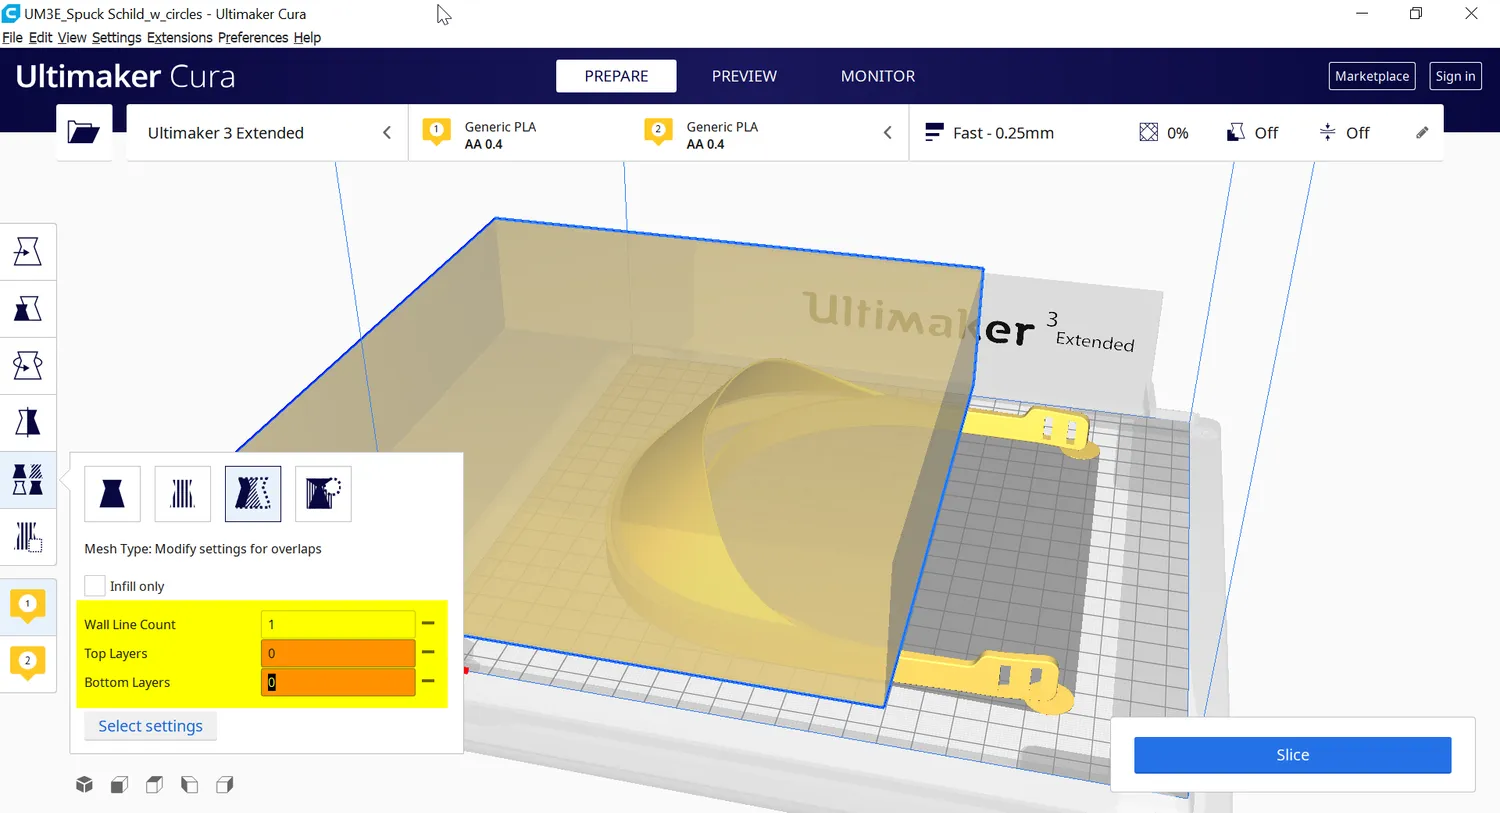
7. Change the settings to the desired values
8. You’re done!