
A Guide on how to use Conical Slicing
A step-by-step run-through of the ZHAW transformation scripts for conical slicing, including the slow speeds you need: 15 mm/s on perimeters, 25 on infill.
TL;DRthe short version
- A step-by-step run-through of the ZHAW transformation scripts for conical slicing, using my fork, which fixes some bugs and makes them easier to work with.
- You need Python. If you've never used it, Anaconda with the Spyder IDE is the simplest route; it brings all the required libraries except numpy-stl, which you install with one conda command.
- Any slicer works and Simplify3D still works best, but this guide uses SuperSlicer. Move your profile's origin to the centre of the bed, because most slicers refuse to slice in negative space.
- Model a brim into the part in CAD for bed adhesion, and export as fine a mesh as you can. The script can refine it, but a good mesh from CAD gives nicer results.
- PrusaSlicer has an unfixed bug where it calculates its own model origin regardless of auto-centering. The workaround is a dummy box the size of the plate, perfectly centred, exported together with your part so the positioning survives.
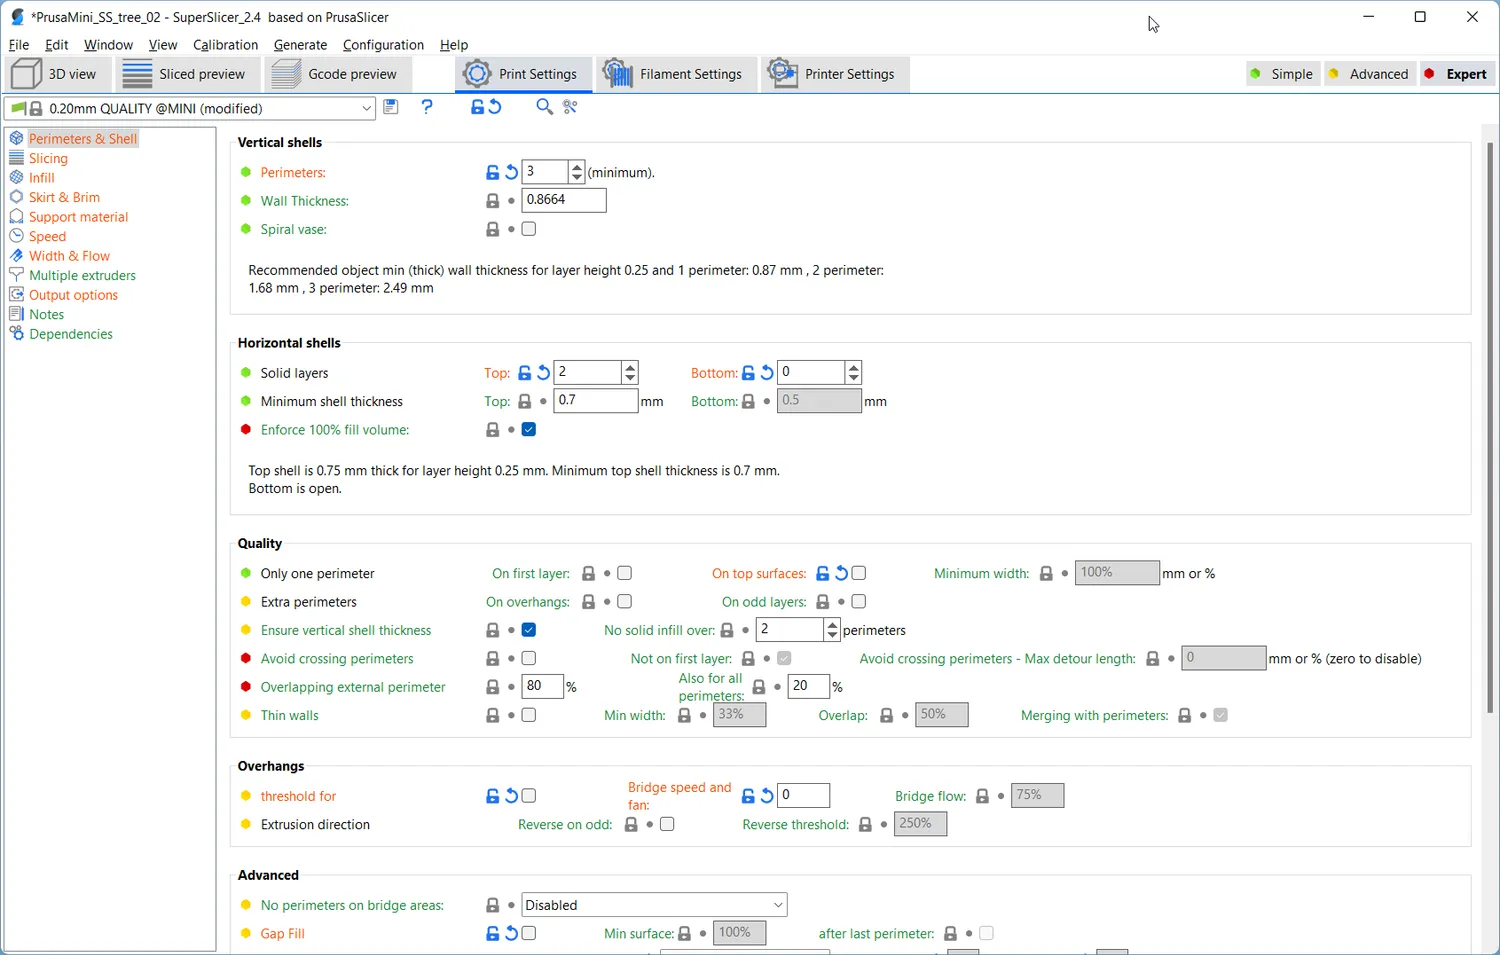
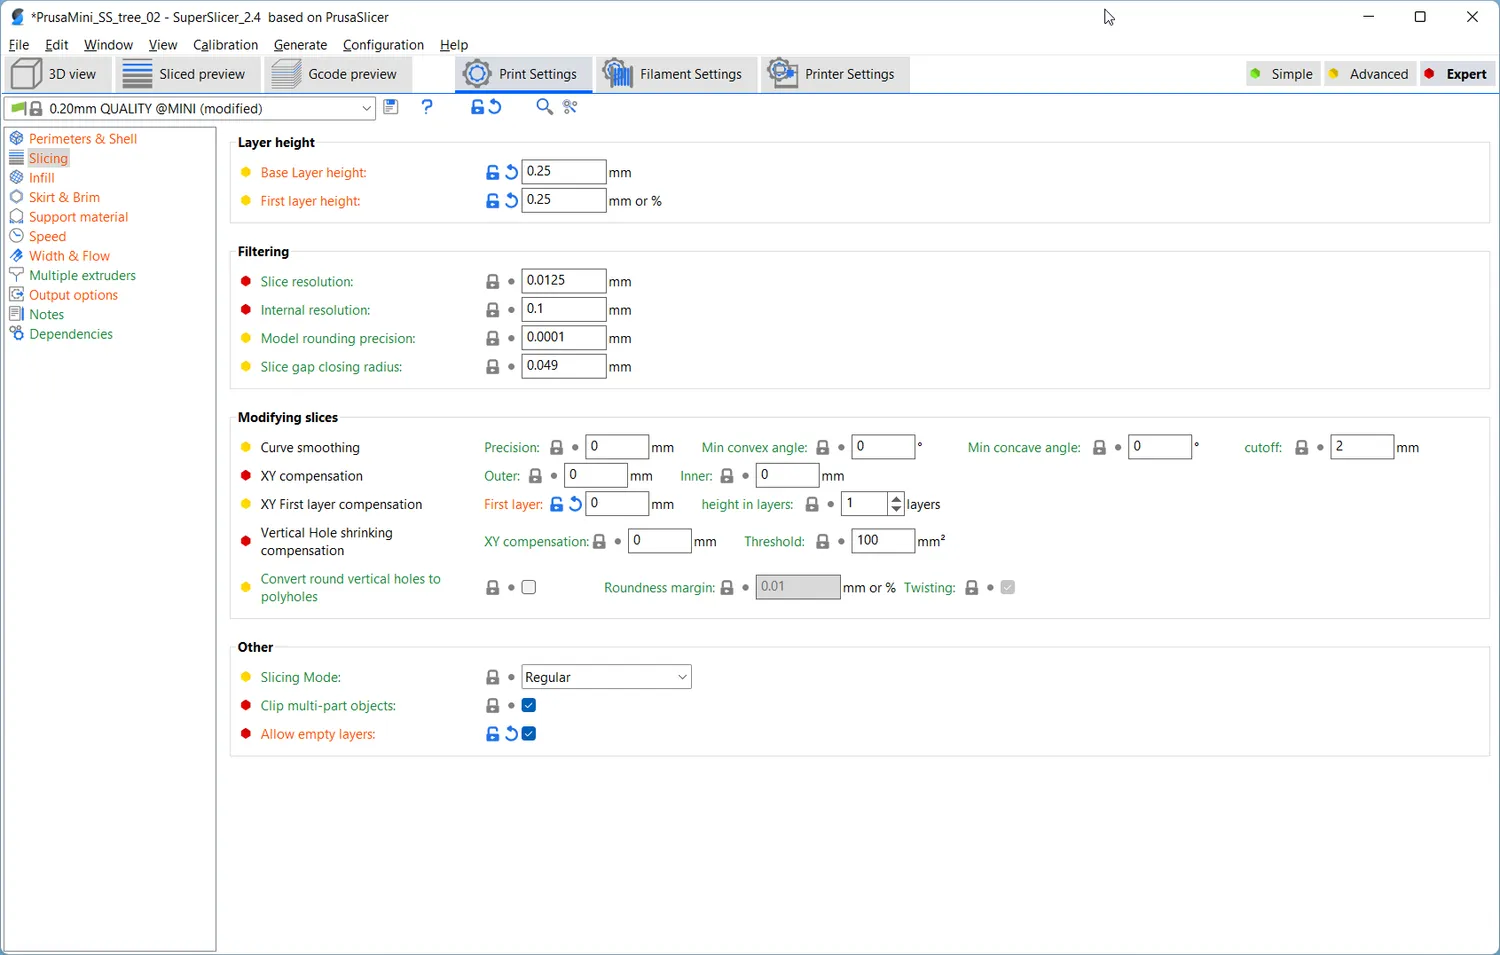
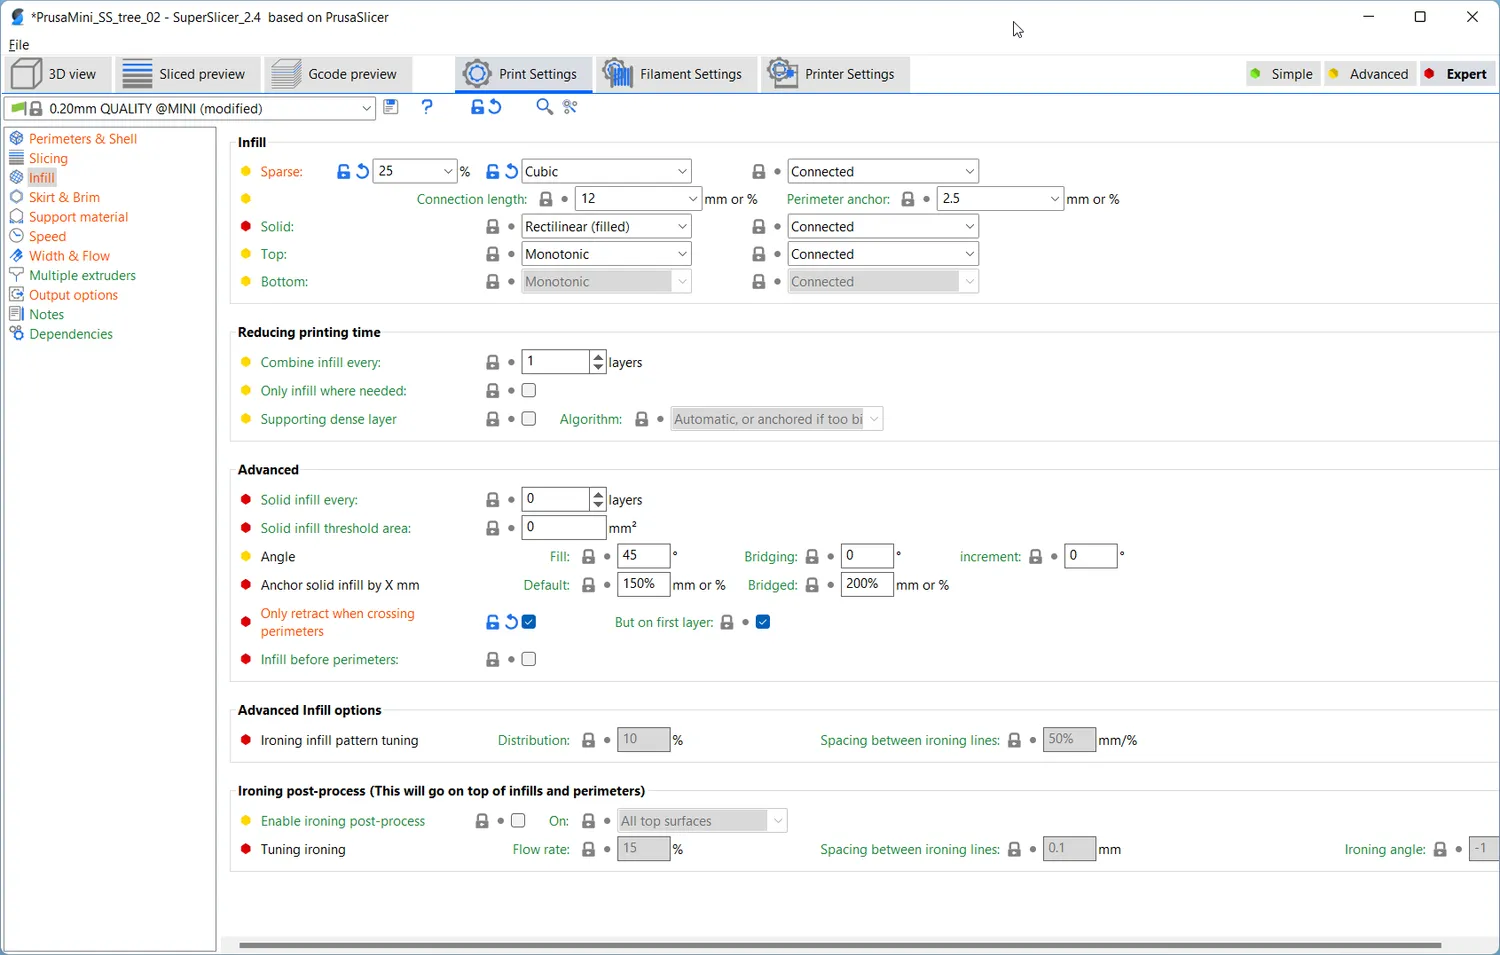
- The settings that matter are slow ones: 0.25 mm layers, 3 perimeters, 2 top and 0 bottom layers, 25% cubic infill, and only 15 mm/s on perimeters and 25 on infill so there's time to cool.
- Also 0.45 mm extrusion width, flow at 90 to 95%, no skirt or brim, and the fan disabled for the first 5 to 10 layers.
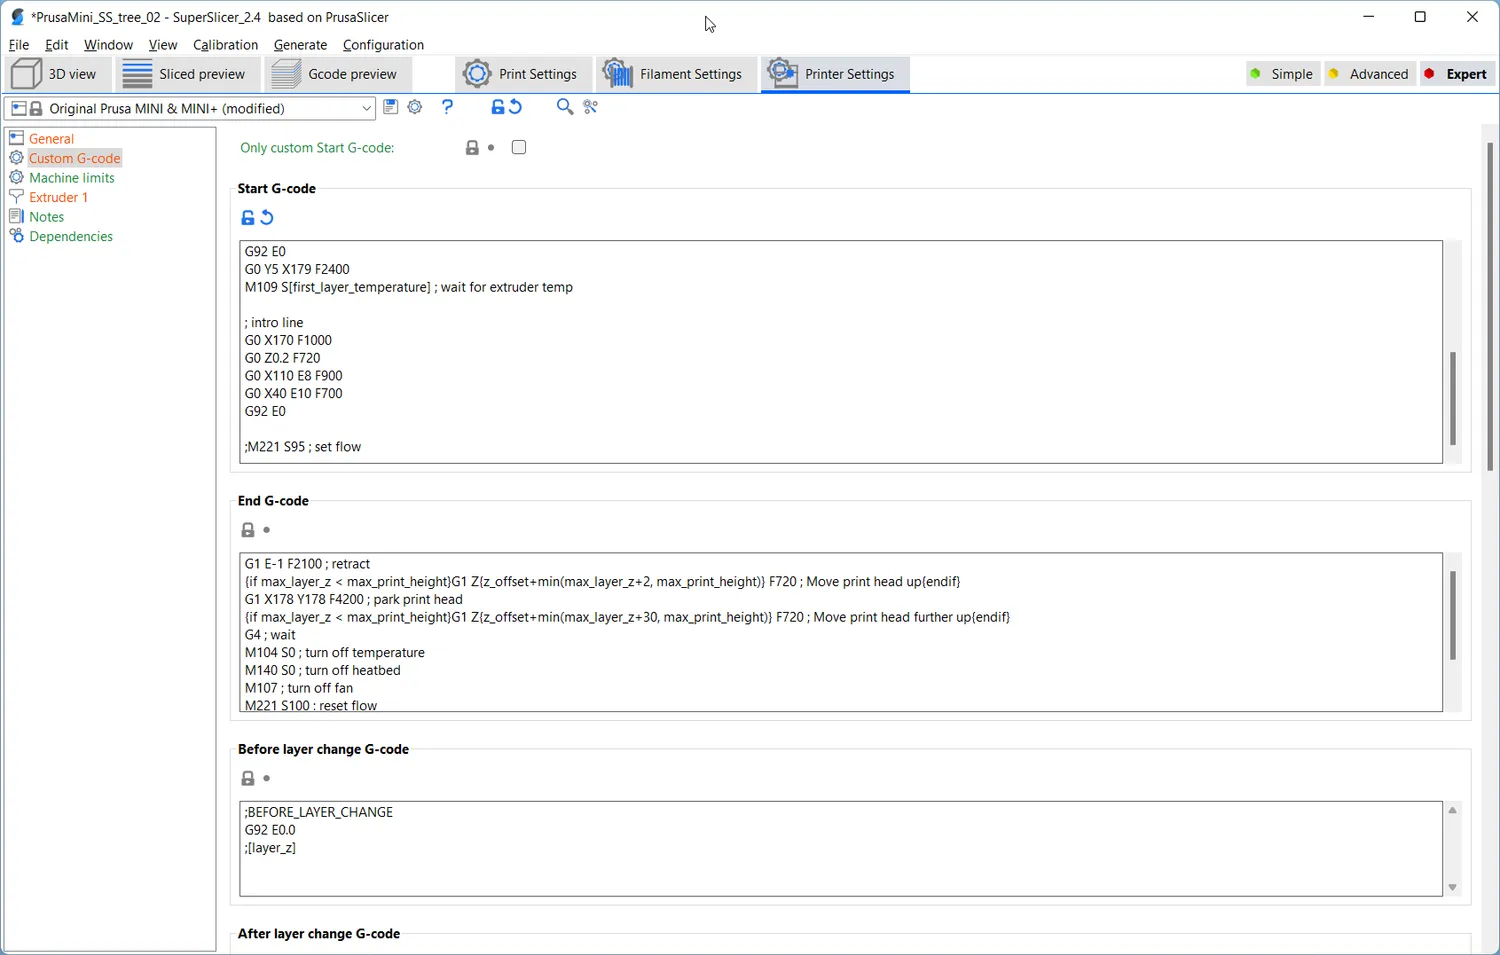
- Every G1 command in the file gets transformed, including your start G-code. Change the prime line to G0 moves and the back-transformation skips it. Most firmware treats them identically anyway.
This is a quick run-down on how to use the transformation scripts developed by the ZHAW in Winterthur, Switzerland to perform conical slicing yourself.
I forked their code on GitHub to make it easier usable and fixed some bugs. For the moment, I’d recommend working with the scripts found here:
https://github.com/RotBotSlicer/Transform/tree/master/Scripts%20for%20Variable%20Angle
Pre-Requisites
PYTHON
The scripts used to require an installation of Python on your machine. If you’re familiar with Python, you can skip this part. If you never used Python a simple way is to install and use the ANACONDA Python distribution that you can download here:
https://www.anaconda.com/products/distribution
Install it and run the SPYDER IDE.
ANACONDA comes with all required libraries for the scripts, only Numpy Stl is missing.
https://anaconda.org/conda-forge/numpy-stl
To install it within ANACONDA copy and past the following command into your Python console within SPYDER IDE:
conda install -c conda-forge numpy-stl
SLICER
You can basically use any slicer for conical slicing and Simplify3D still works the best, yet to make this method easier and accessible, everything you see here has been done with SuperSlicer:
https://github.com/supermerill/SuperSlicer
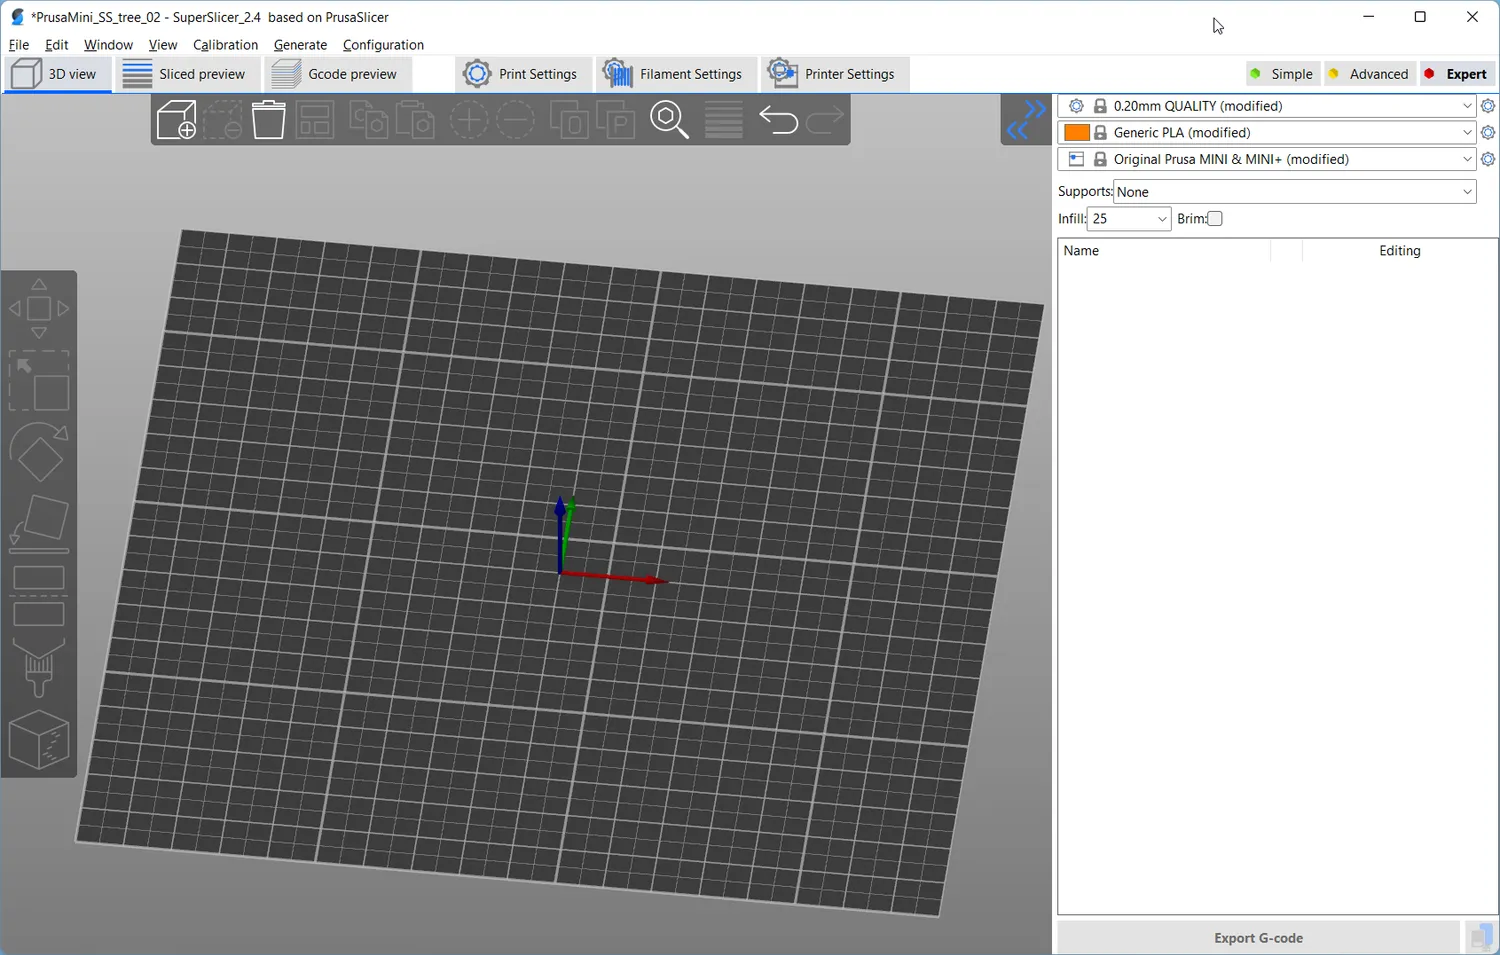
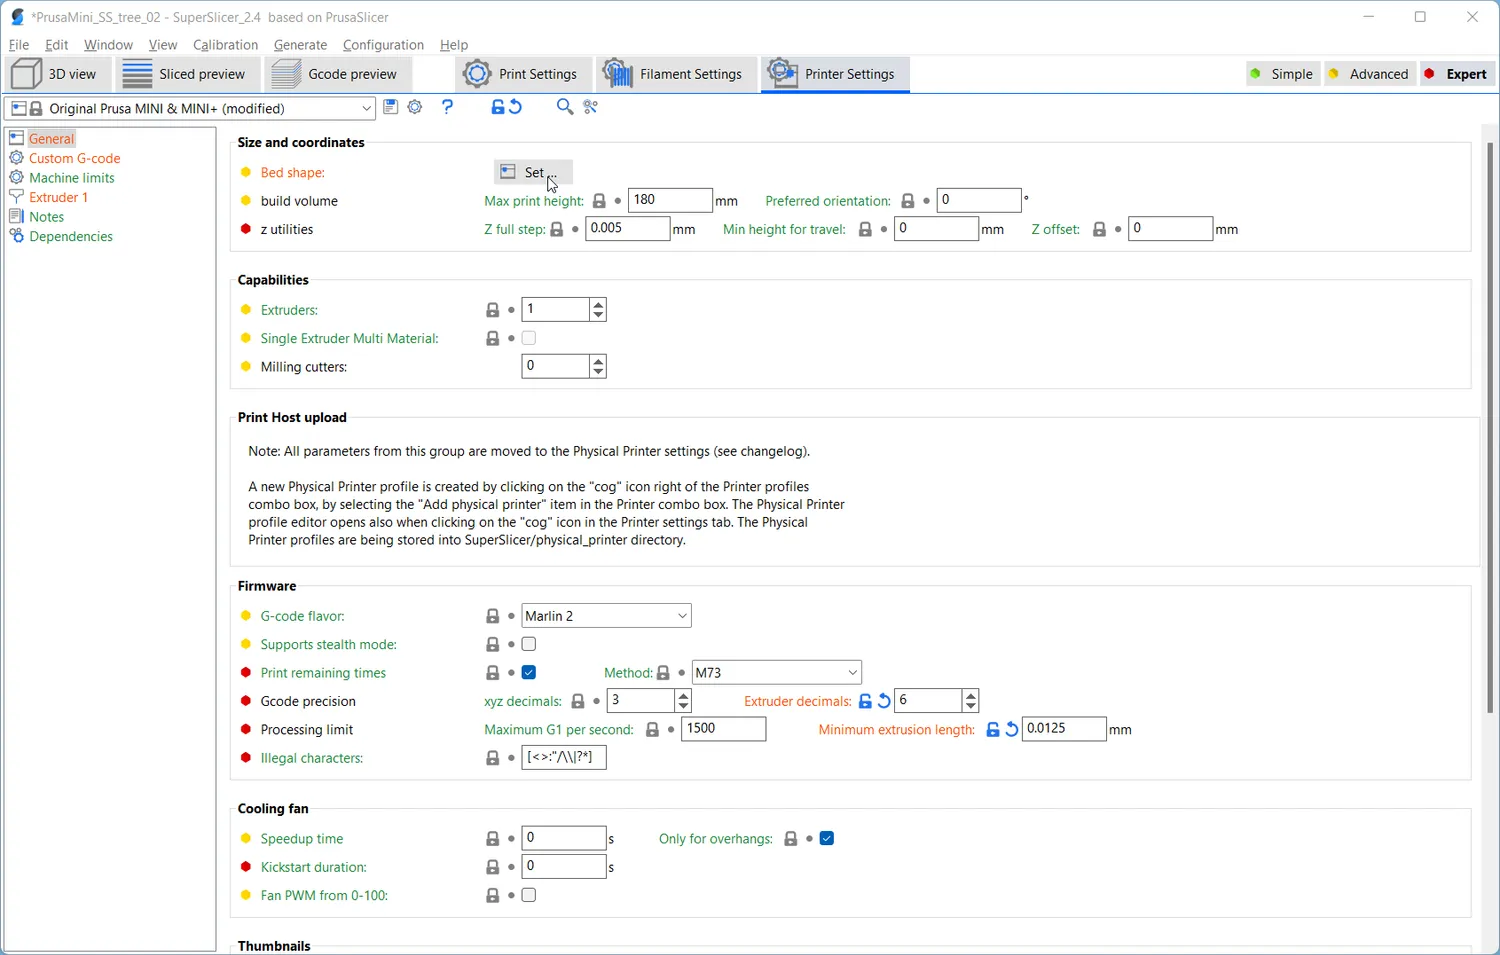
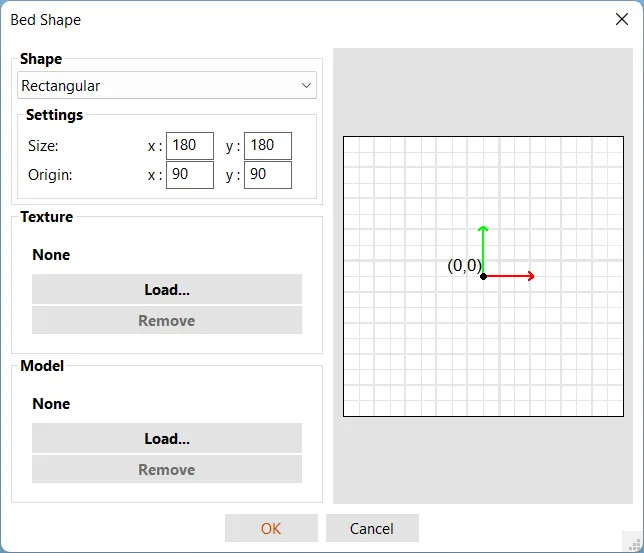
Most slicers won’t allow slicing parts in negative space so you will have to move the origin of your slicing profiles coordinate system to the center of the bed.
STL preparation
Any STL can be used for the method, yet if you prepare your files in CAD I recommend adding a manual brim for better bed adhesion.
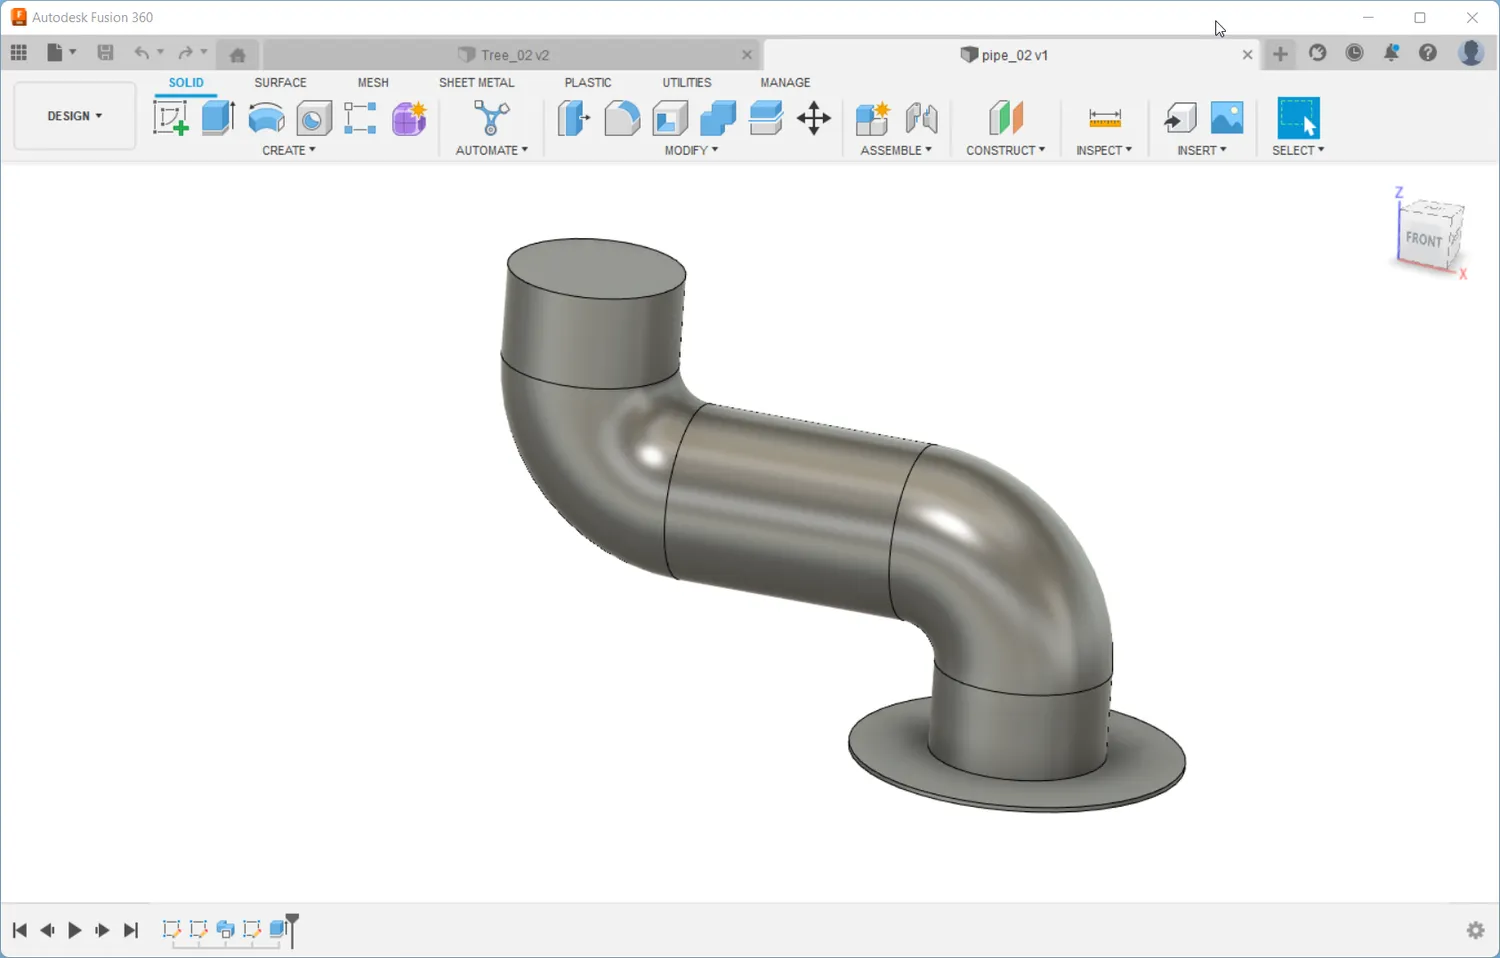
Part with brim
In order to properly transform the part, the STL mesh needs to be relatively fine. The transformation script allows for crude refinement of the mesh, yet if you are able to export a refined mesh from CAD the final results will be even nicer.
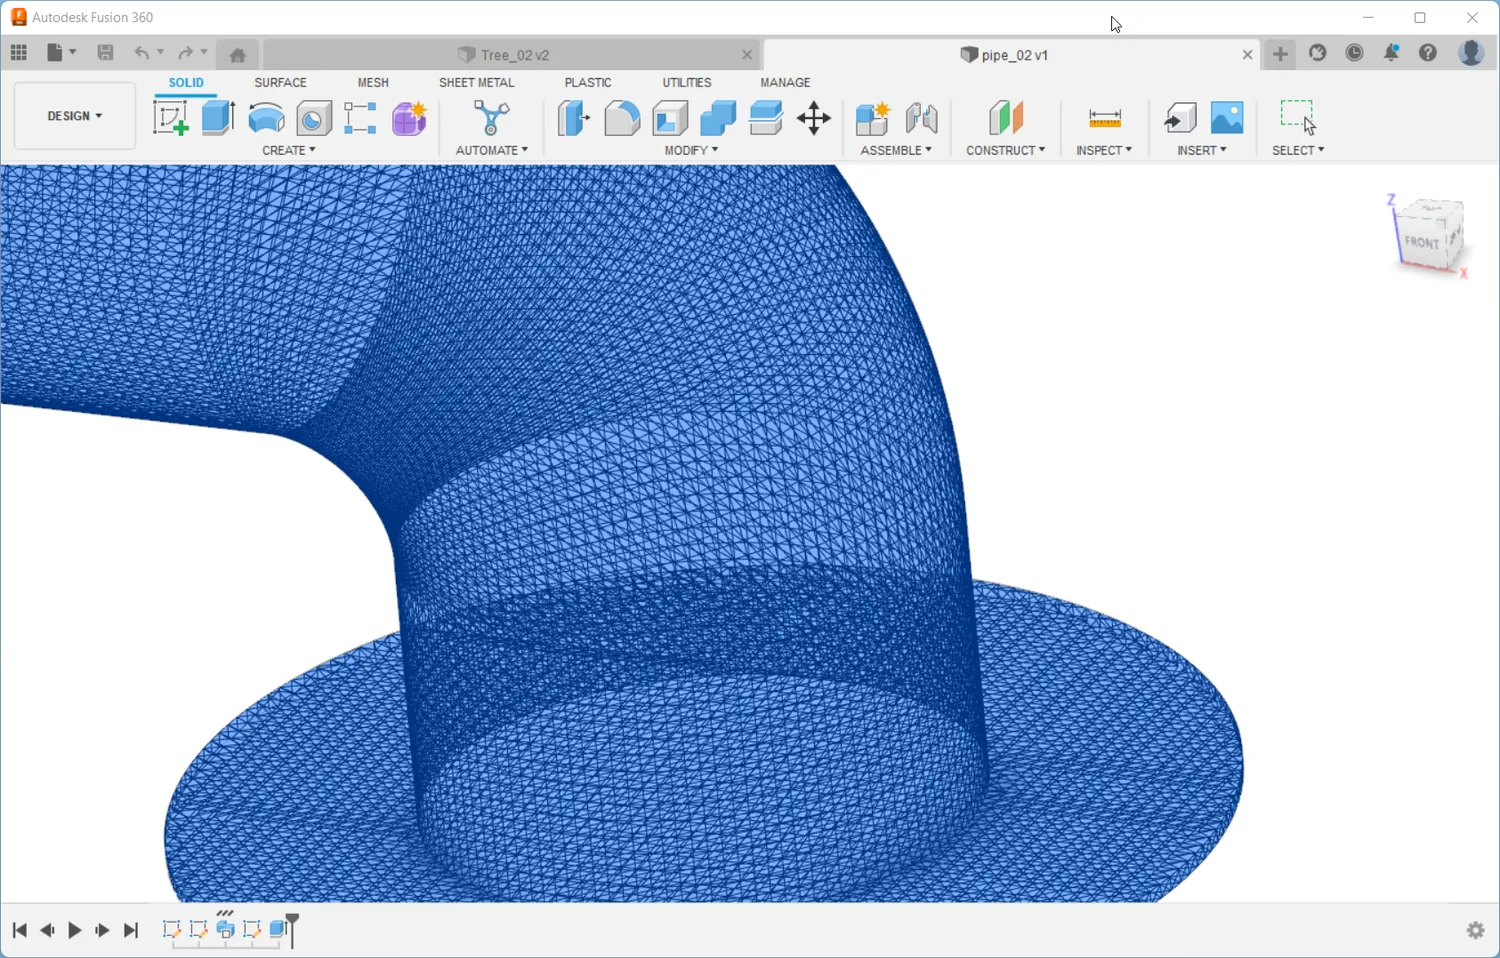
Refined mesh in Fusion360 with 0.5 mm maximum edge length
Import your stl into the slicer. The z-axis of the slicing coordinate system will later be our conical axis. Move the part so that the cone axis is where you want it.
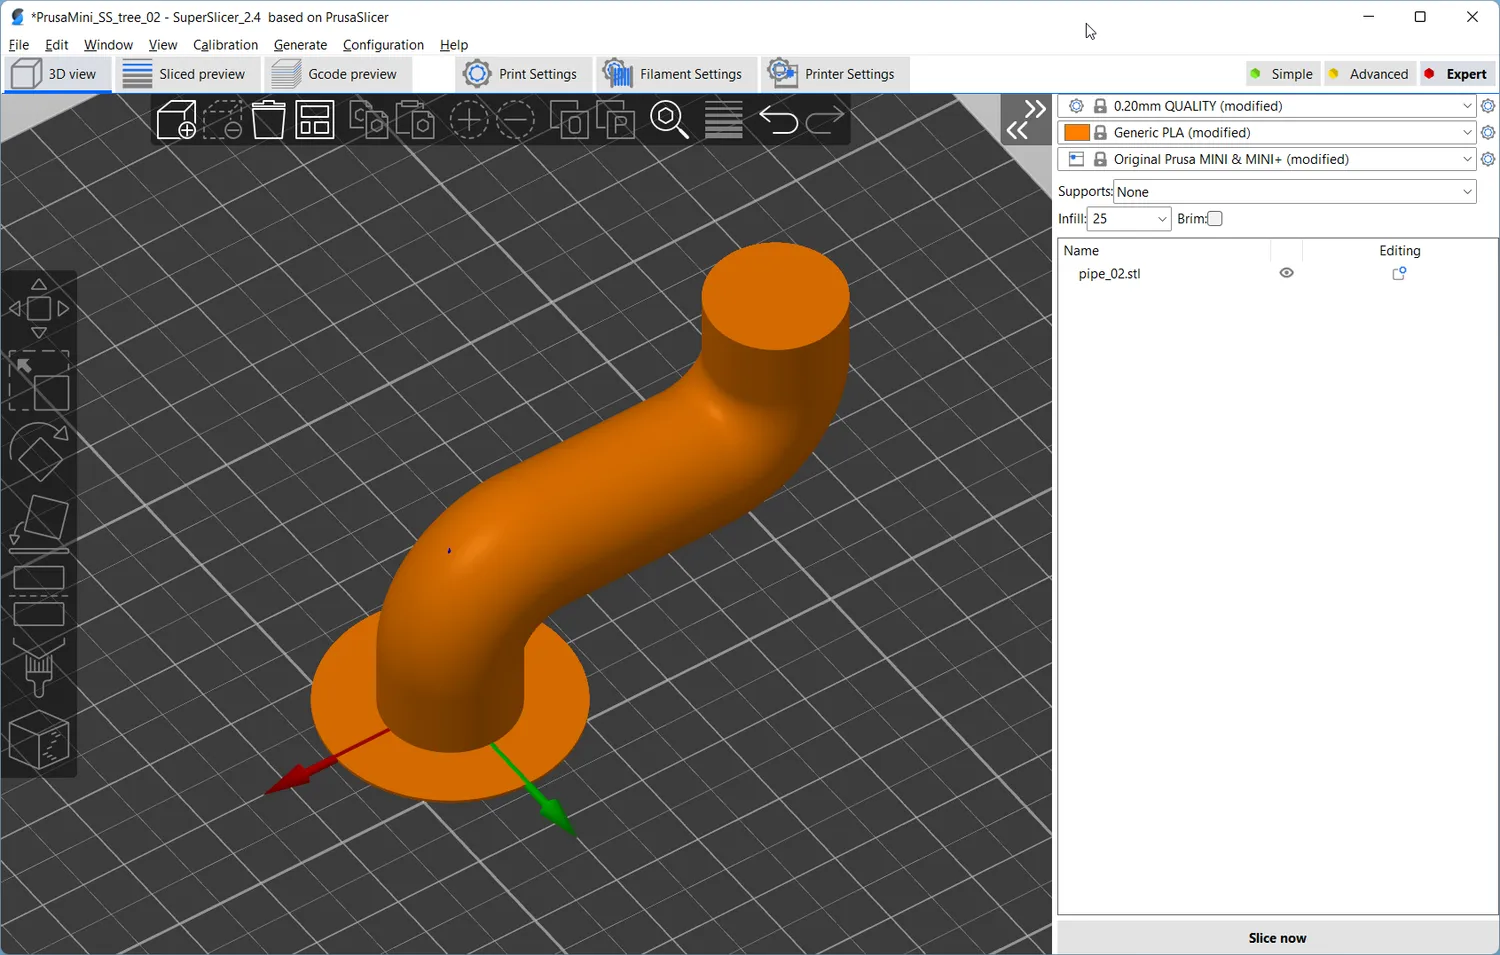
Positioned part
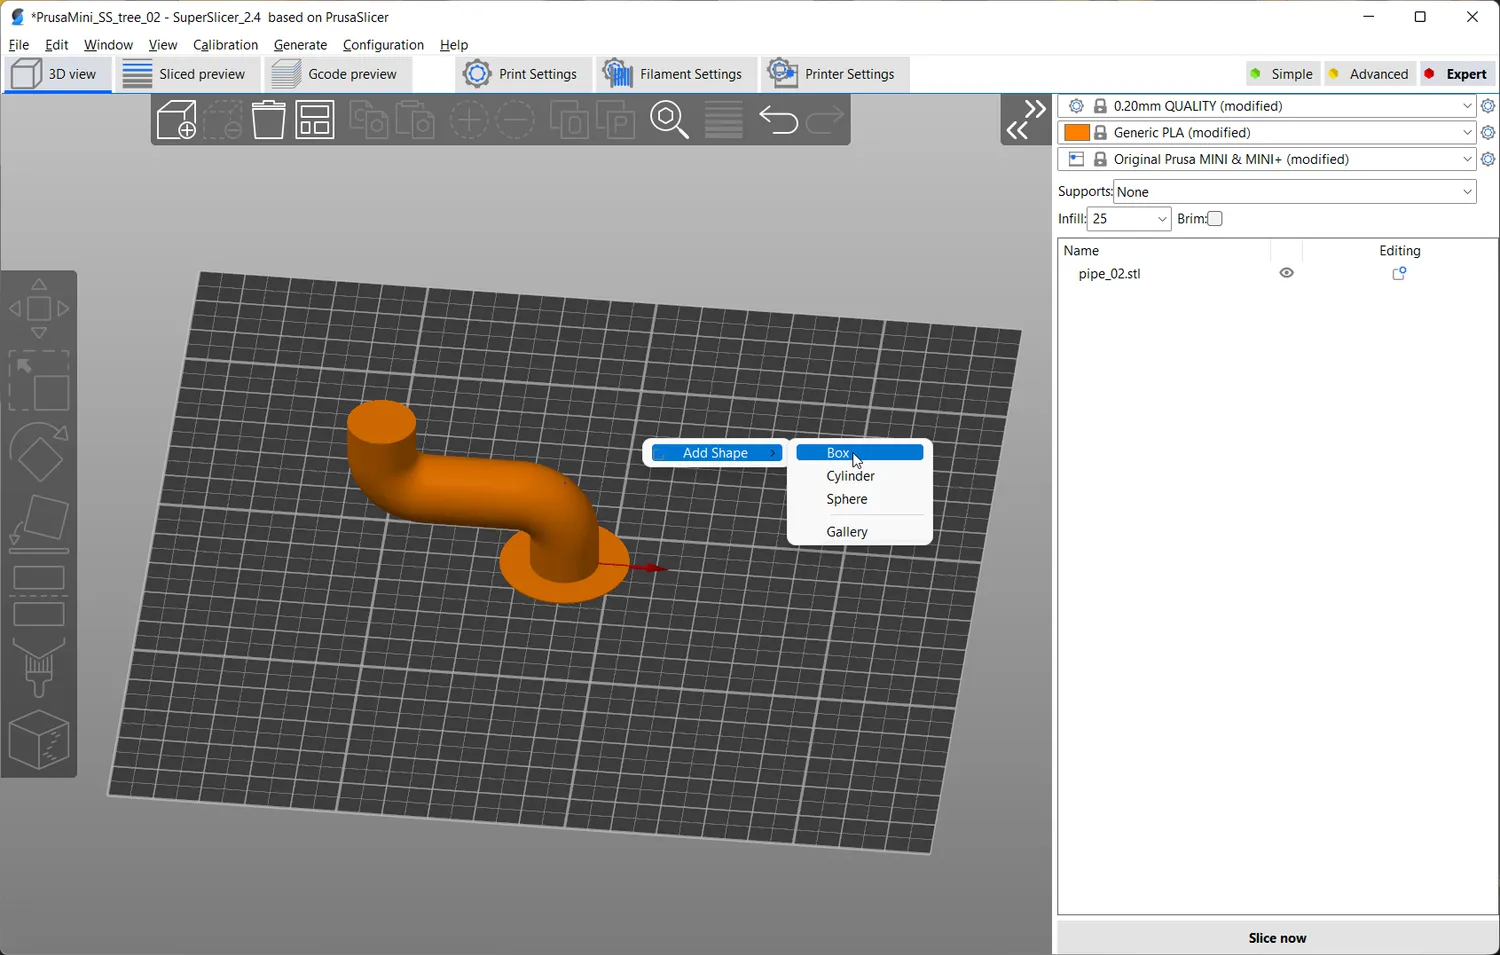
Now we need to use a stupid workaround because PrusaSlicer has an unfixed bug and will always calculate it’s own model origin, regardless if “Auto-centering” is switched on or not. If you don’t do this script, the conical axis will be inconsistent messing up your results.
Place a dummy box, as big as your print plate into your project and make sure it’s perfectly centered, filling the whole build area.
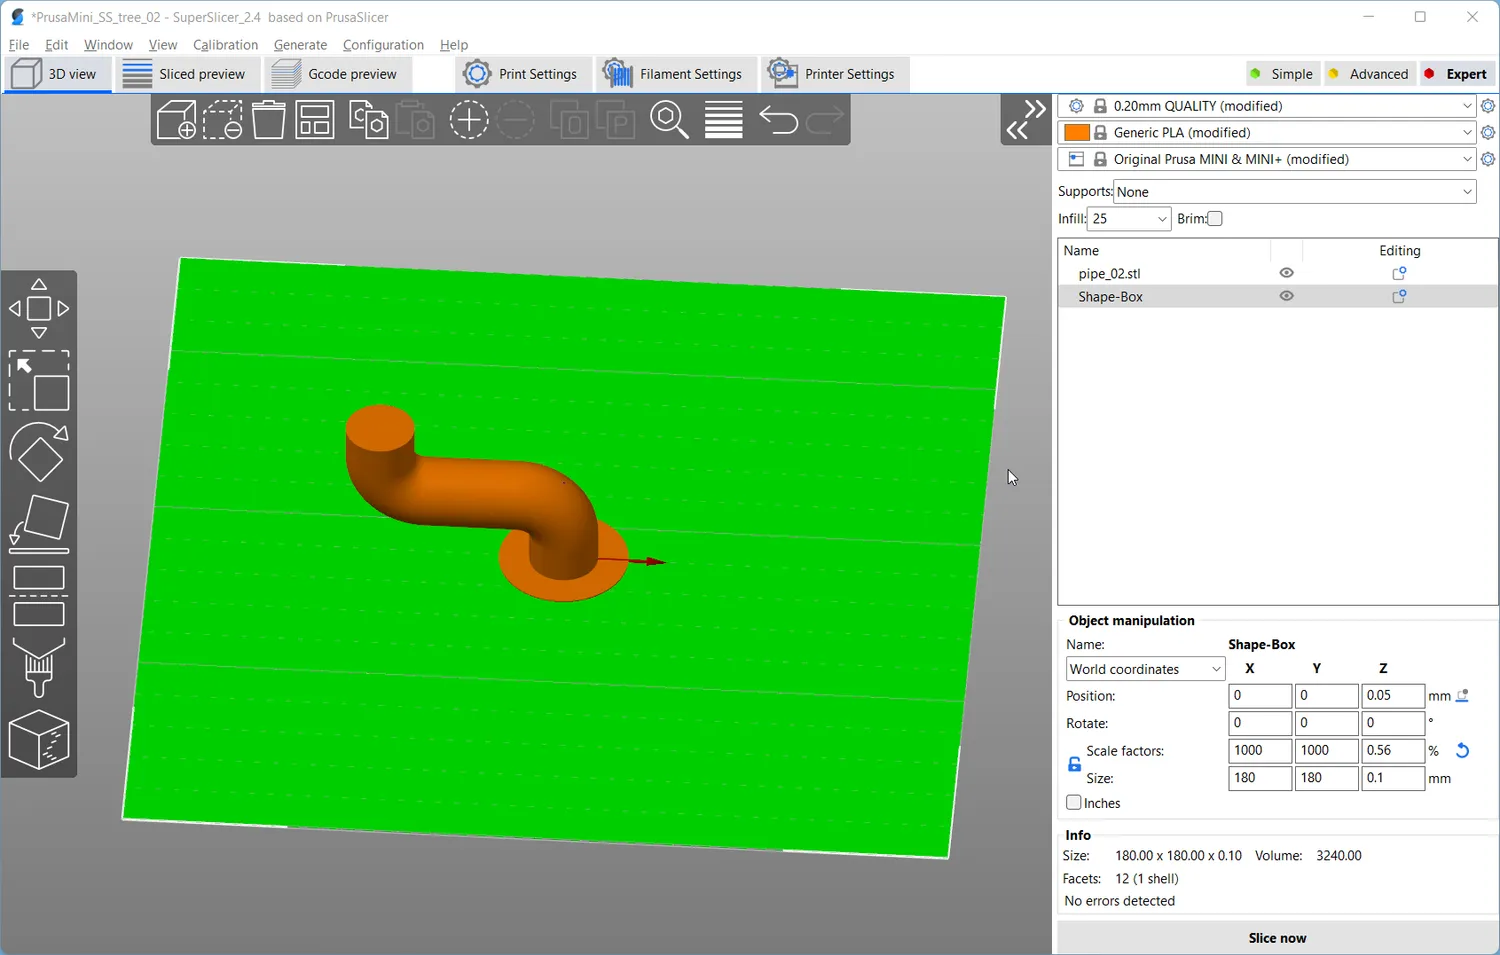
Now you export the whole project as stl, which saves the defined positioning. Save the file in an stl subfolder relative to where you saved the Python scripts.
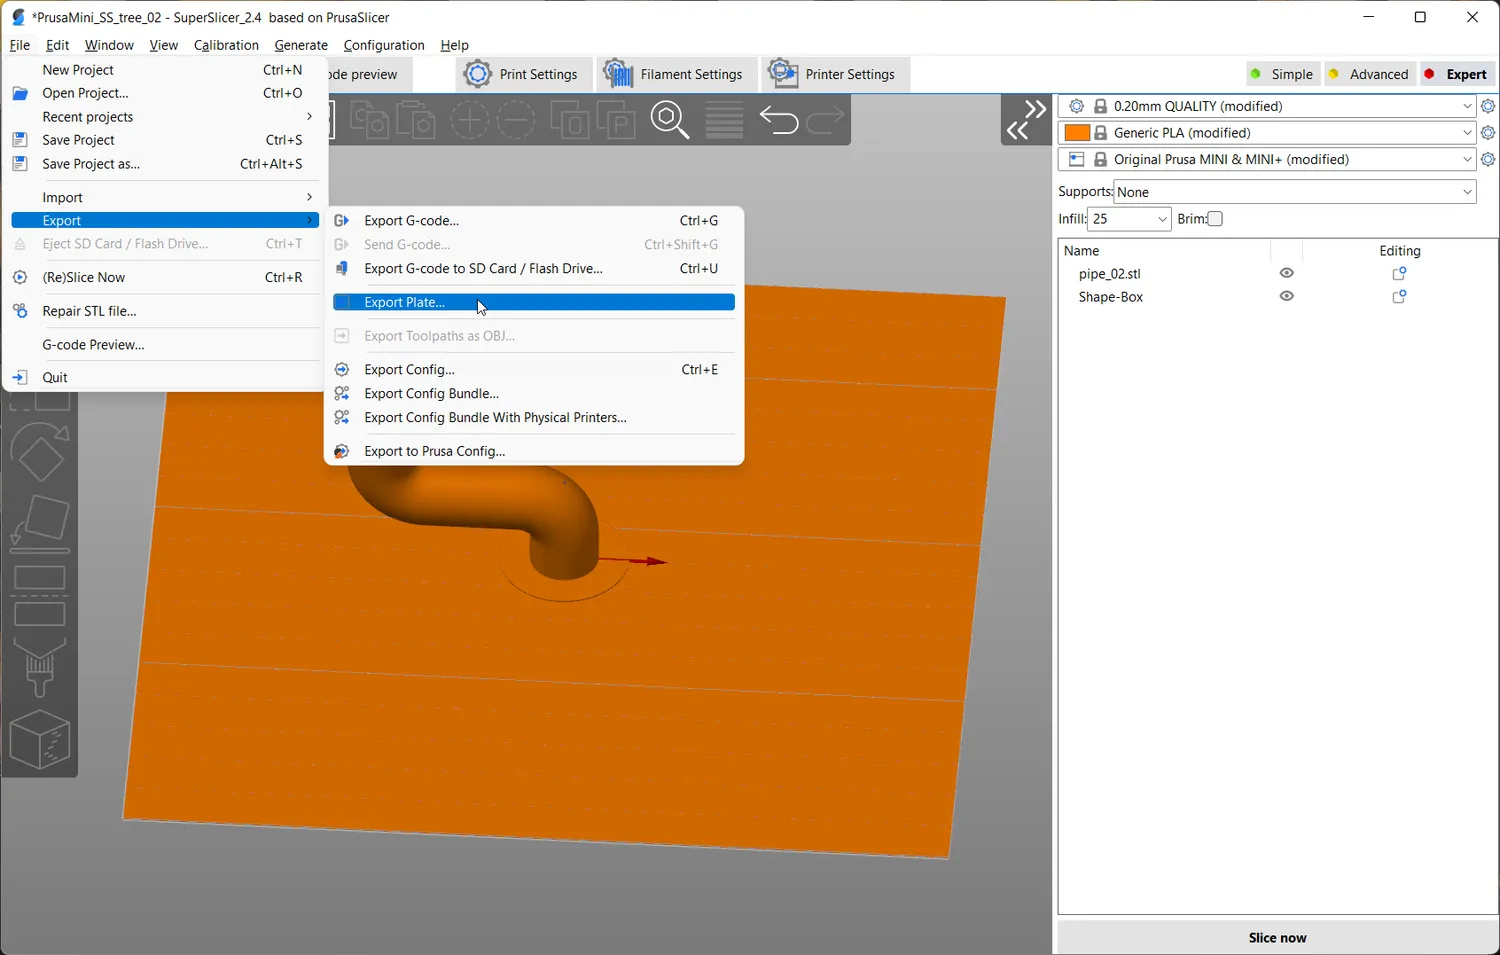
Export Plate as STL
Transformation
Open the Transformation_STL_var_angle.py script in SPYDER IDE (or your Python IDE of choice). Make sure there is a stl_transformed subfolder existing. At the top of the script enter the filename of the stl you just exported, set the cone angle and set a reasonable amount of refinement iterations. 0 or 1 works with regular fine meshes, for many parts 2 or 3 is what you want to go for. Also, set the type of cone you want to use for the transformation. Run the file and wait for it to finish.
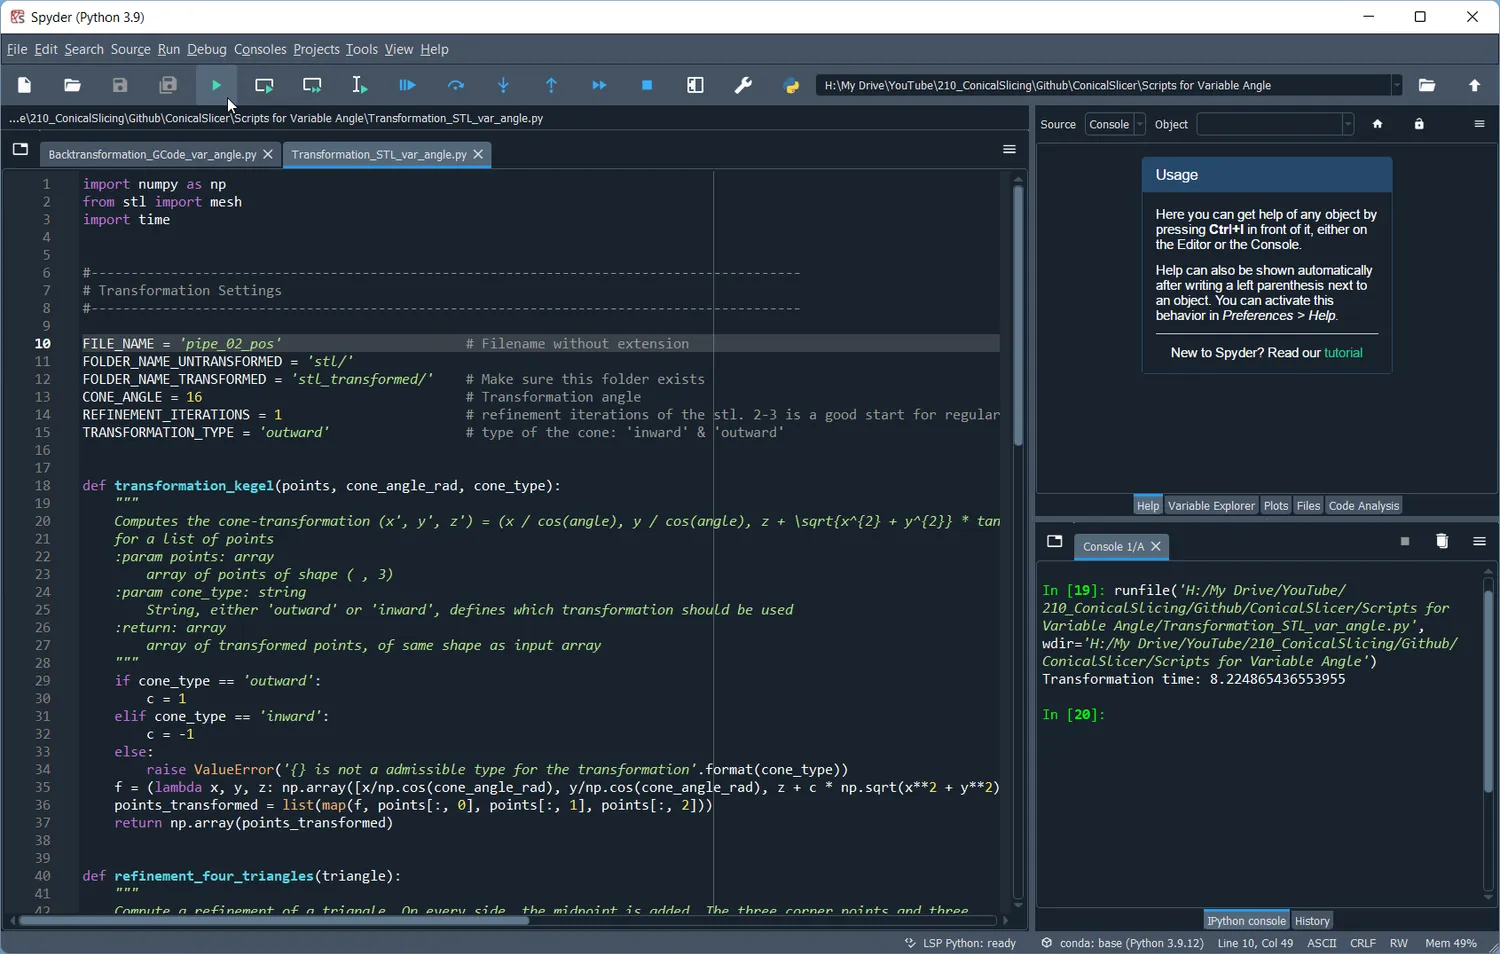
Slicing
Now go back into your slicer and load the transformed file from the stl_transformed subfolder. If everything worked well, it should be transformed and positioned so that the slicing axis and the cone axis of your part are at the same location. The pain geometry and the positioning dummy are now one part that need to be separated again. The dummy can then be deleted.
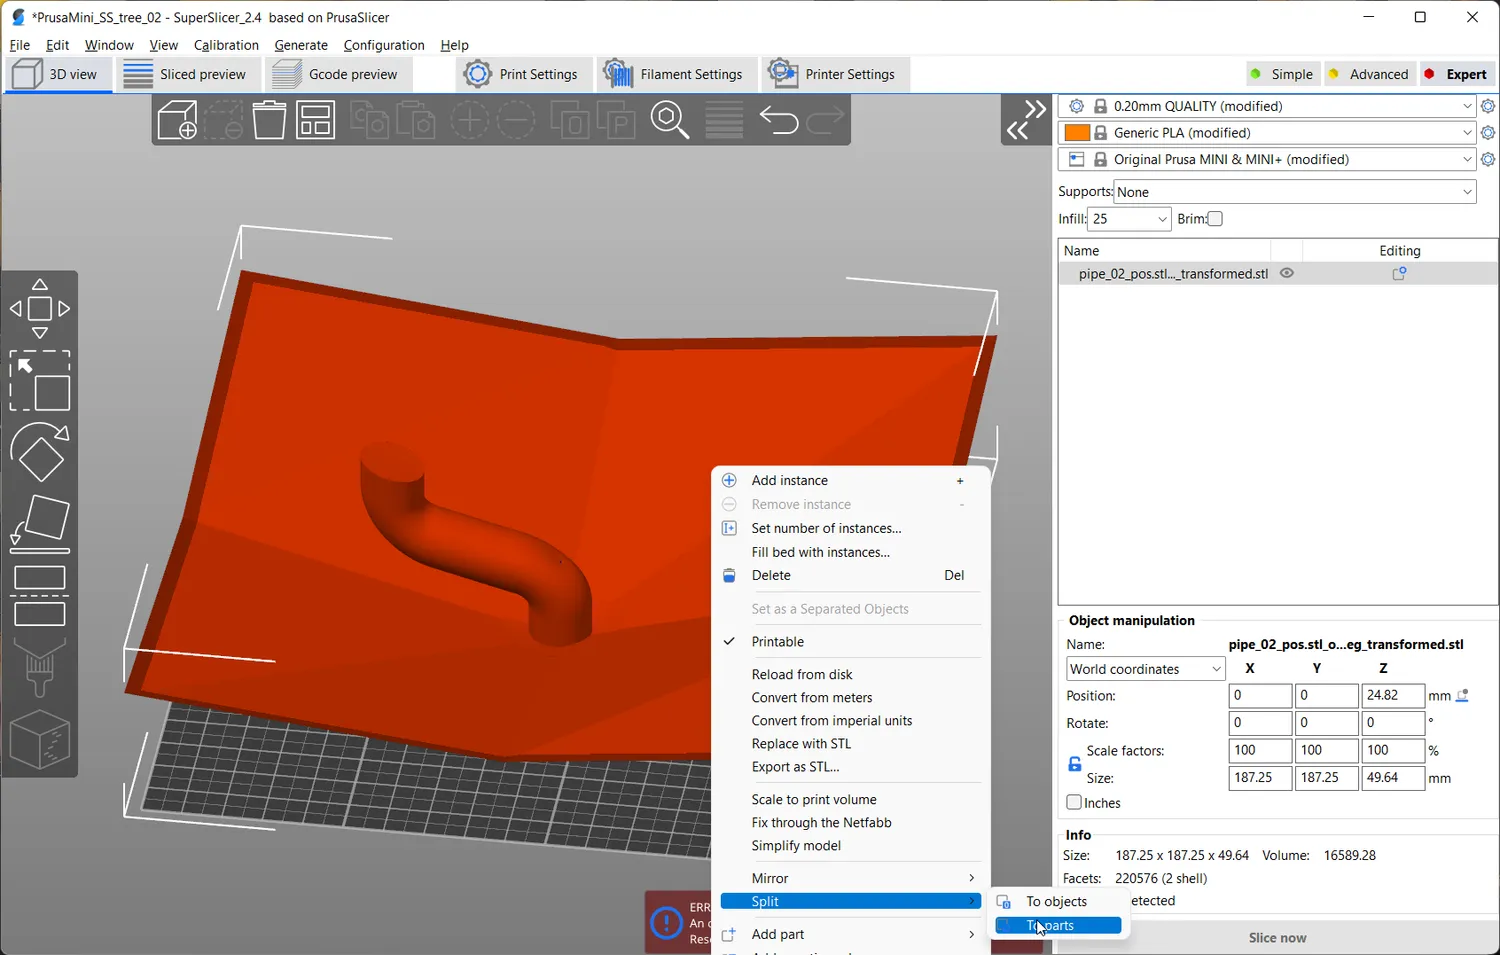
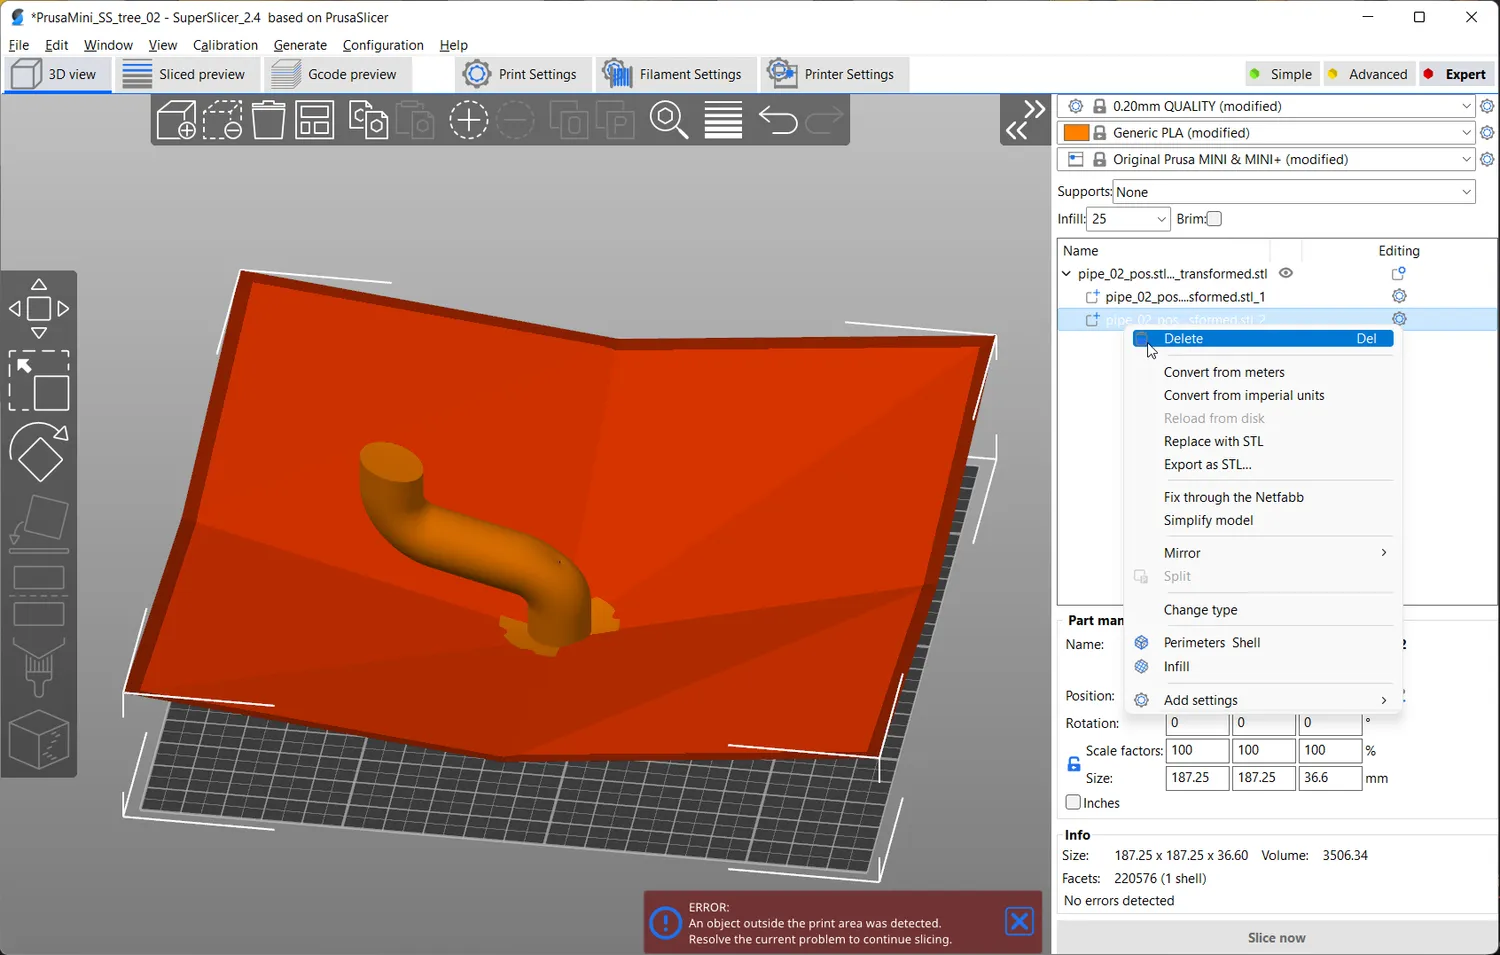
You can now slice the part, just as any other one. My parameter set is certainly not perfect but it’s the best I came up with so far:
-
0.25 mm layer height
-
3 Perimeters
-
2 Top Layers, 0 Bottom Layers
-
25% Cubic infill
-
No Skirt, no brim
-
Relatively low printing speeds to allow for enough cooling time: 15 mm/s on perimeters, 25 mm/s for infill
-
0.45 mm extrusion width
-
Flow to 90 - 95%
-
Disable fan for the first 5 - 10 layers
All G1 commands within the G-Code will later be transformed and with this also your prime lines and everything that’s in the start G-Code which can mess up the back transformation. My script will ignore G0 commands during the back-transformation, so if you want to keep your prime line, change the G1 commands to G0. Most printer firmwares will handle them the same way anyways.
You can find a sample profile here, that you can easily adjust for your personal machine:
https://www.printables.com/model/314844-supportless-christmas-tree-conical-slicing
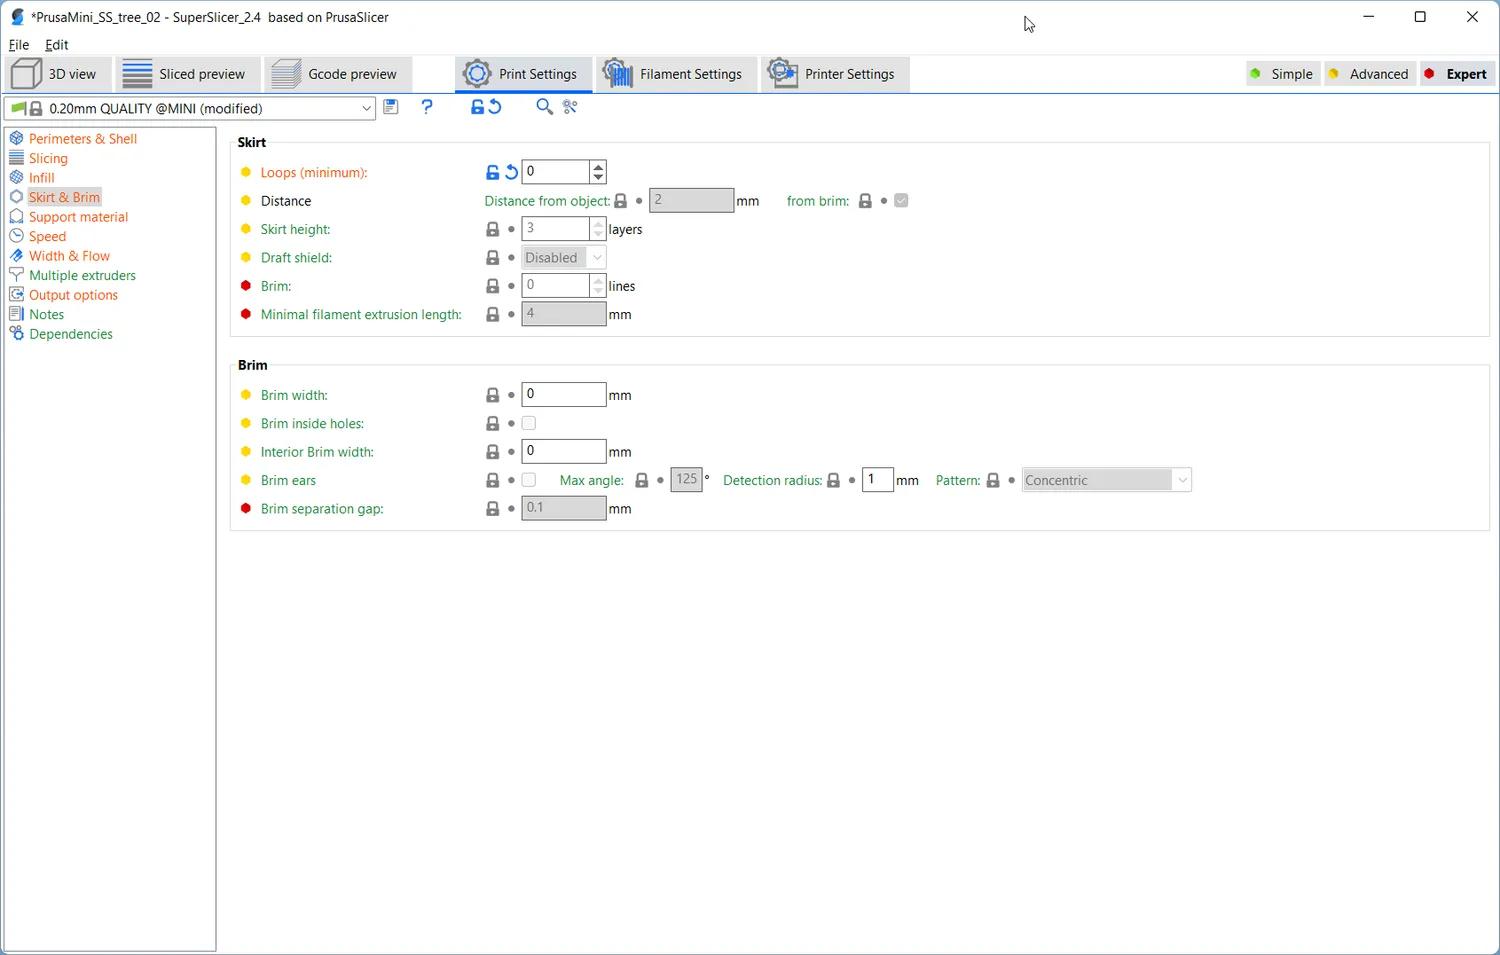
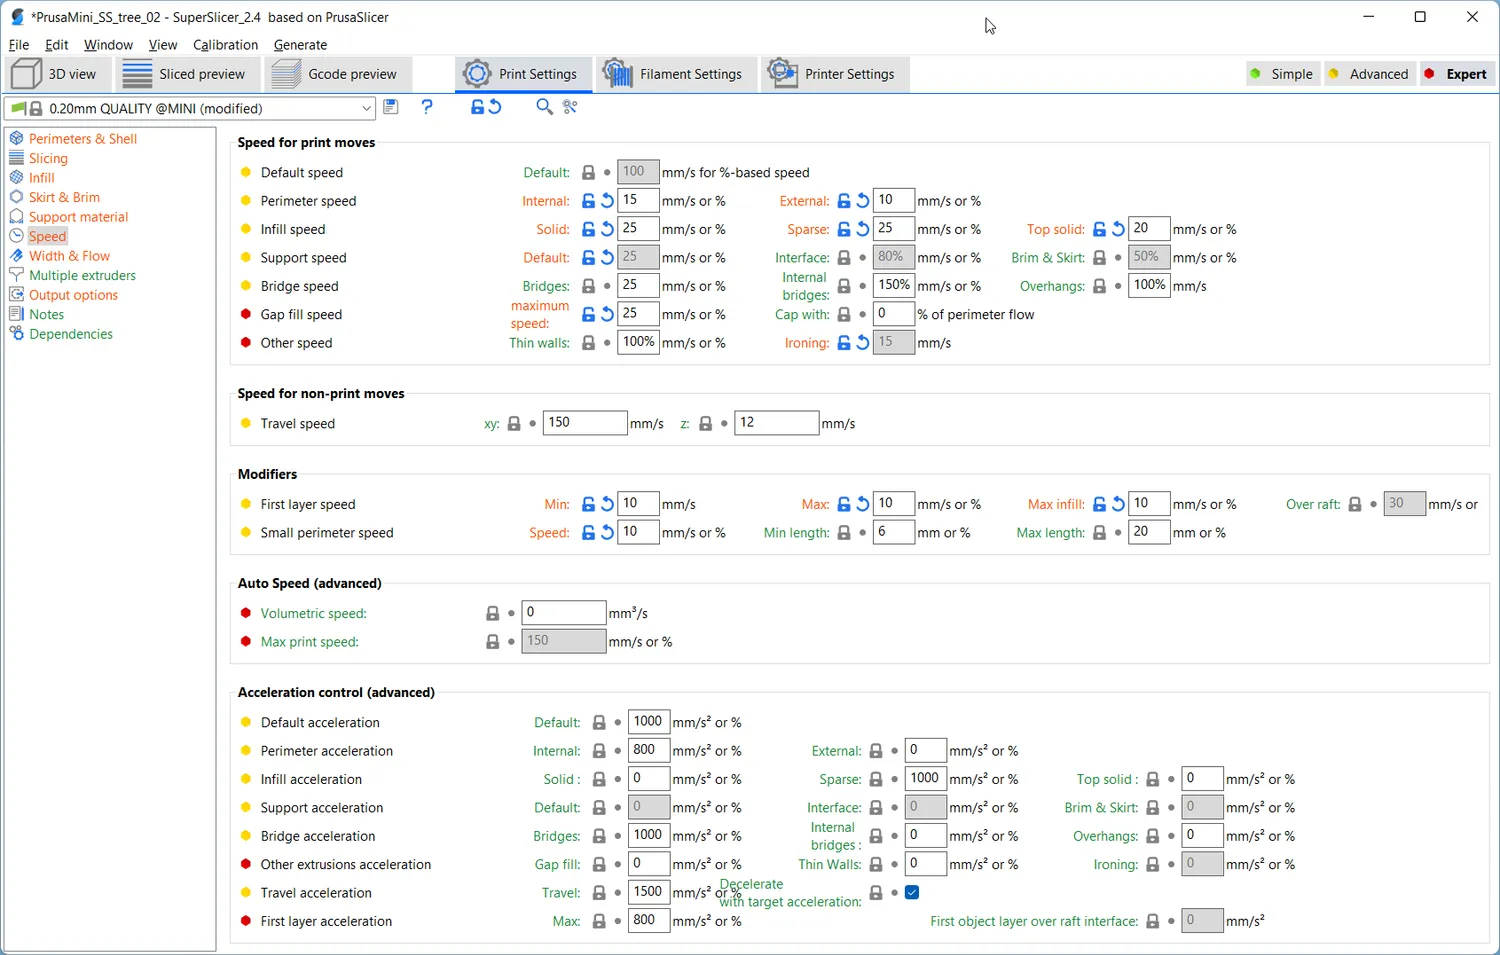
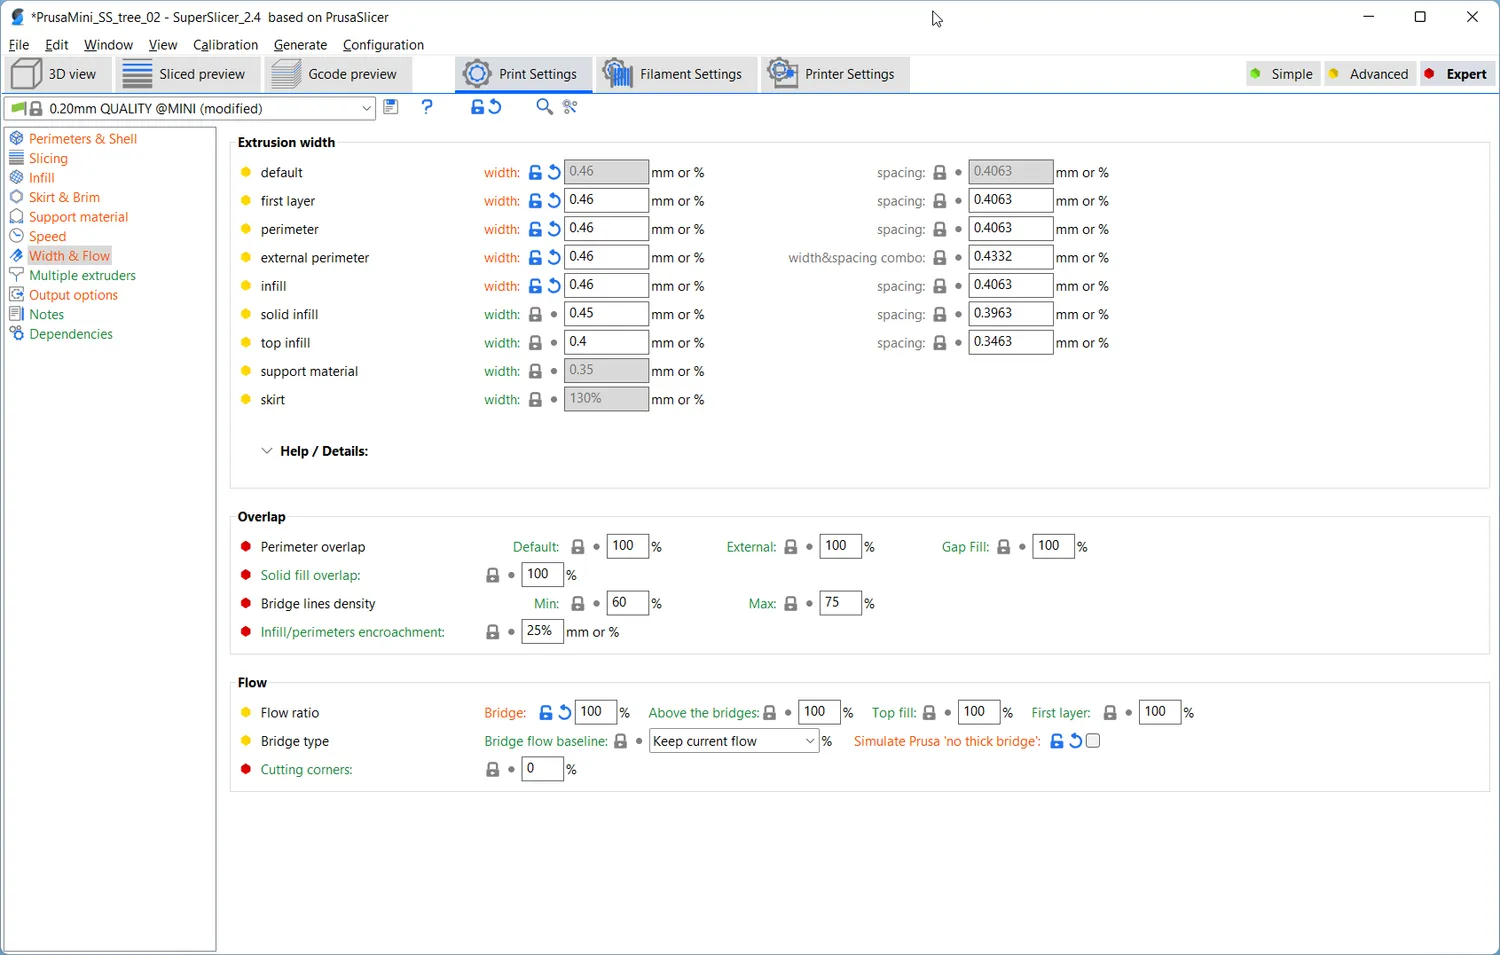
Safe the G-Code into the gcodes subfolder.
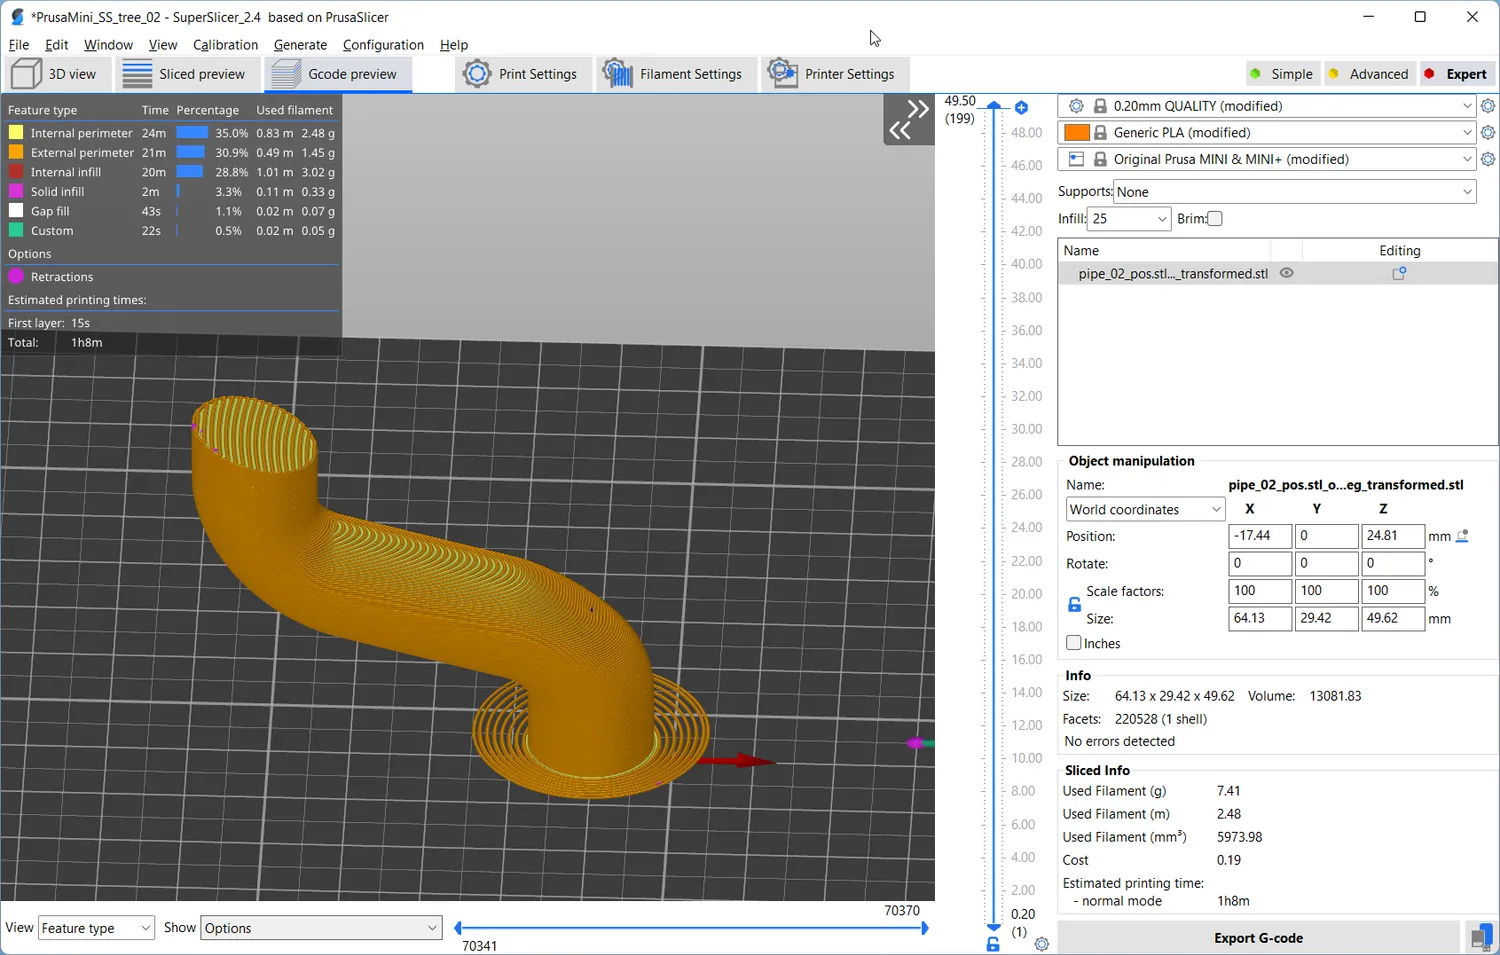
Sliced part
Back-Transformation
Open Backtransformation_GCode_var_angle.py in SPYDER IDE. Insert the name of your G-Code file you just exported and make sure you set the same slicing angle as when transforming the stl and run the code.
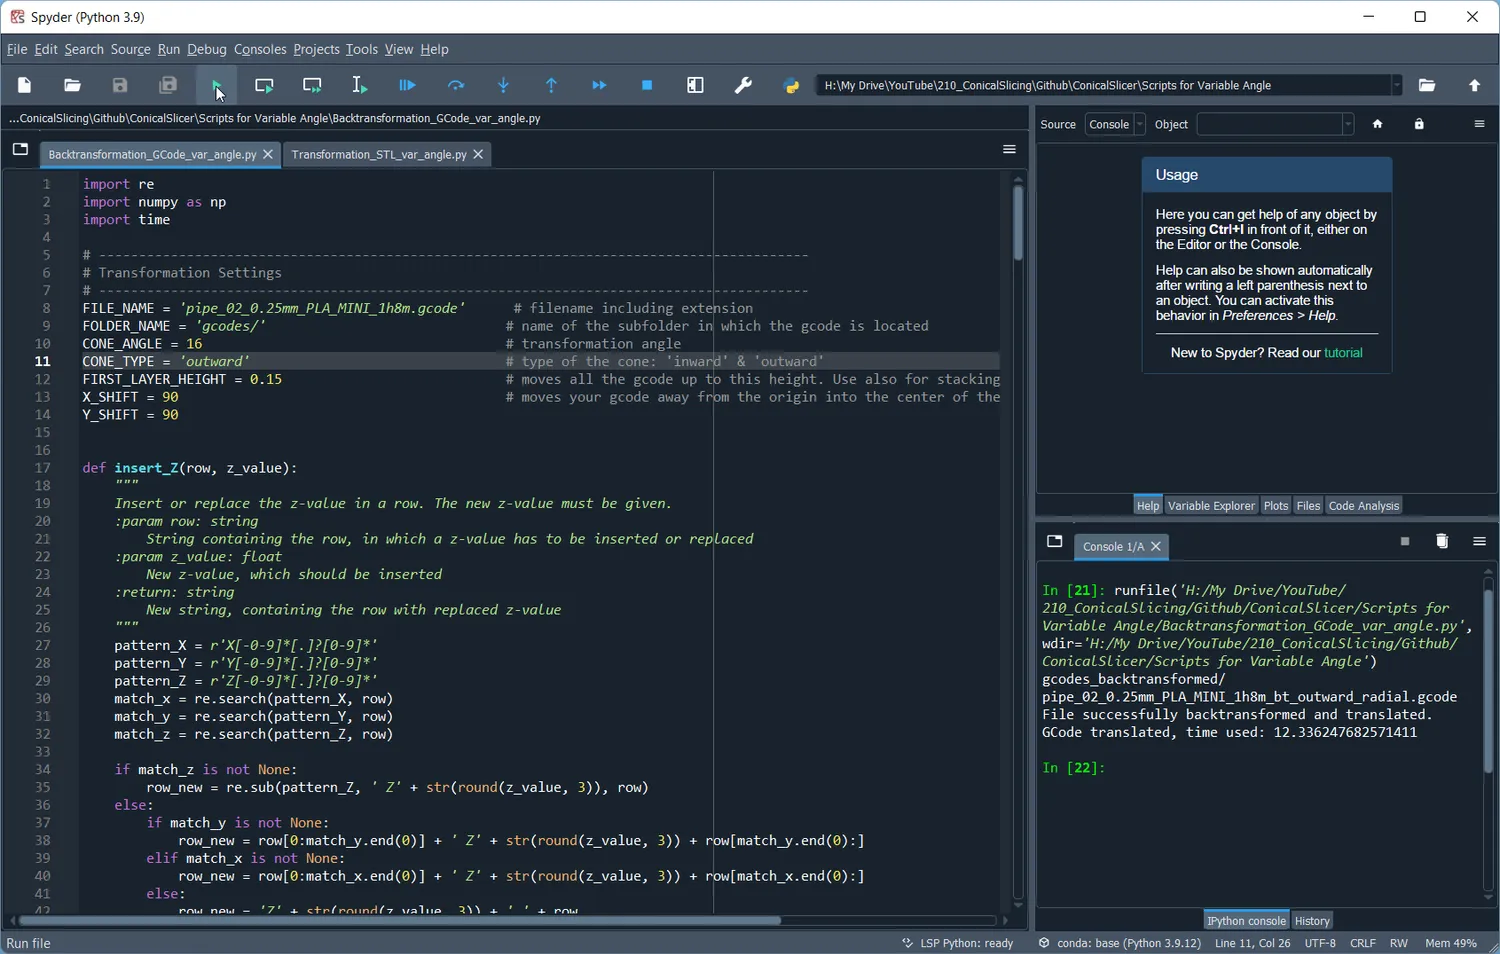
This will backtransform the G-Code and create the Conical Printing commands. You can check the results of the transformation using a G-Code Viewer like the one that comes with PrusaSlicer and SuperSlicer.
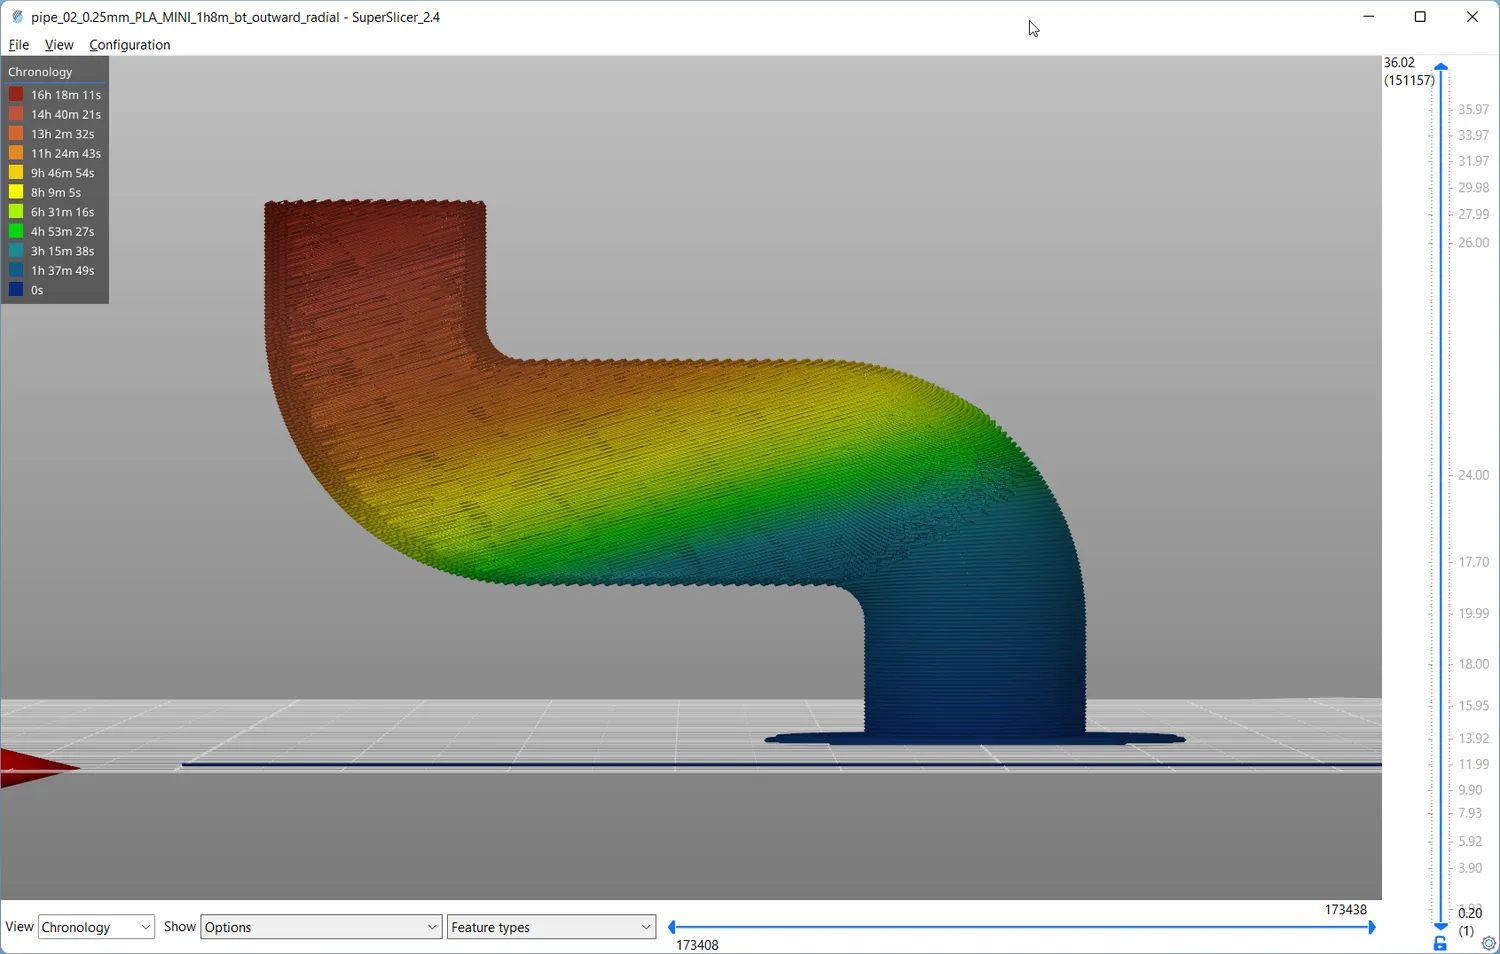
Conical G-Code