
This FREE AI Tool Auto-Generates Gridfinity Bins!
TooltraceAI turns a photo of your tools into custom Gridfinity bins for free, no CAD needed. How it works, my settings, and printing them in two colors.
TL;DRthe short version
- TooltraceAI is a free online generator that turns a photo of your tools into custom Gridfinity bins or foam shadowboards, without any CAD knowledge.
- All it needs is a photo taken straight from above with a sheet of paper in the frame for scale. It finds the corners of the sheet and scales everything from that.
- You have to switch the mode from Foam to Gridfinity and the units to millimeters. The software always adds a 10 mm base, so a 15.4 mm pocket depth gives you a proper three-unit bin height.
- The default "medium" offset between tool and cutout wall was usually too loose for me; "small" fit much better.
- For the two-color shadowboard look I printed the bin and its 0.5 mm insert with a single manual color change in the G-code, so you don't need an AMS. Printing both parts separately and dropping the insert in would have been the smarter route.
- The 12€ SOLEYIN Pineapple Yellow PLA wouldn't bond to the black PLA. On the bigger bins the layers split apart and I had to reprint several and glue others back together.
- Bins don't need to be strong: 5% infill and a single bottom layer is plenty.
- It's an amazing tool that saved me a ton of time, but I do want a proper Gridfinity height standard, an outline preview in the tool selection window, basic shape tools in the layout tab, and a zoom option.
Adding Gridfinity to my project desk was one of the best improvements to my workflow so far. All of those drawers used to be a mess, but with this system everything finally has its place. However, there’s an even more shameful drawer in my studio that needs fixing, and most of the tools in there are so uncommon that I can’t just download a ready-made bin for them. So, I need to make my own. Luckily, I found an amazing tool somehow nobody talks about that does just that: with a simple photo and a few clicks, it auto-generates Gridfinity boxes, no CAD knowledge required!
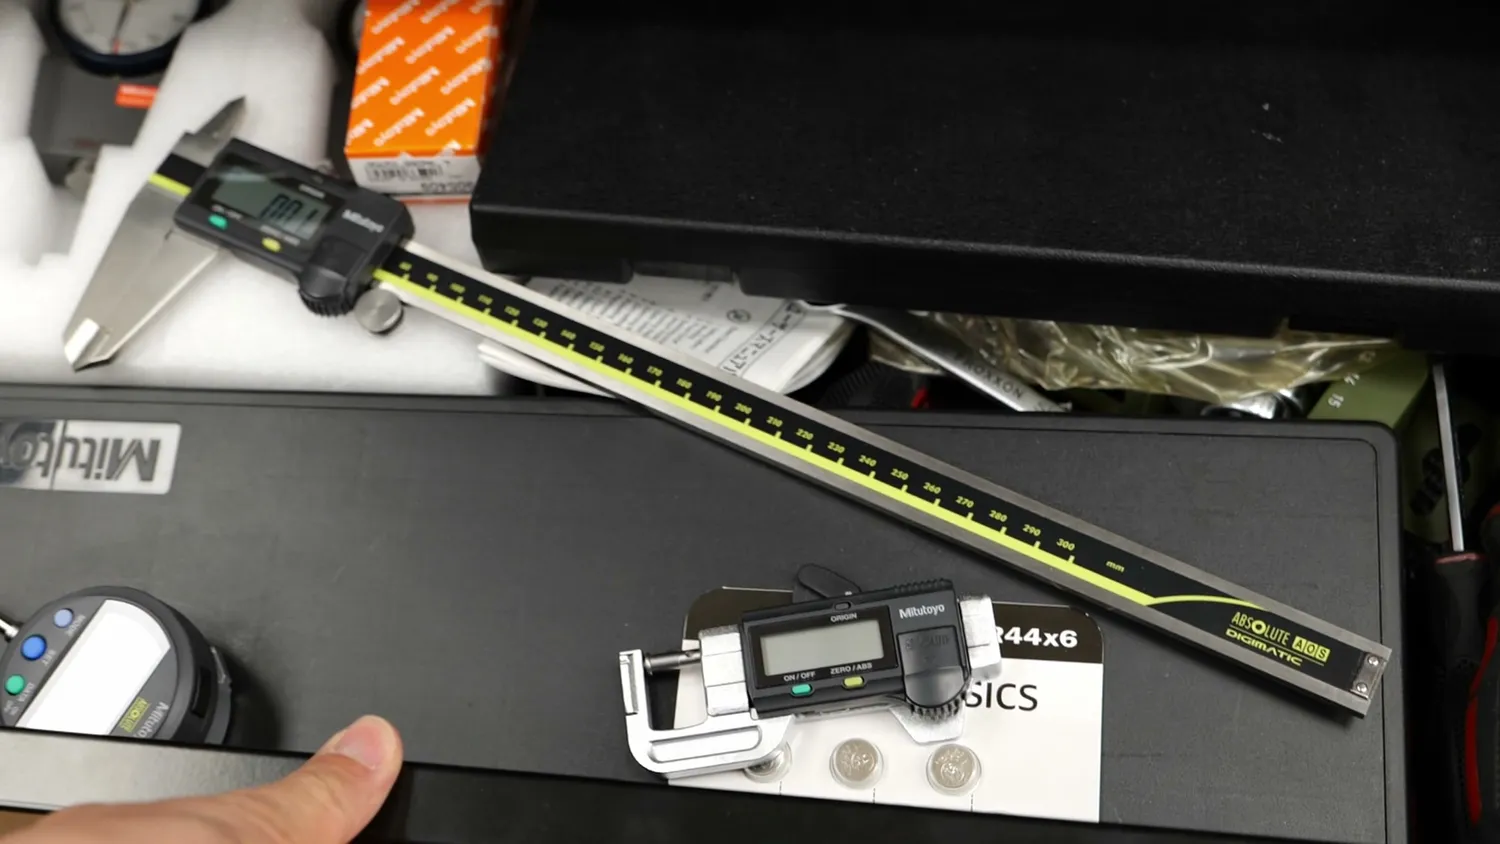
The drawer of shame
Not everyone knows CAD or has the time to design dozens of custom Gridfinity boxes. So when I was at OpenSauce this year (a fantastic show for makers and creators) I found the perfect tool to satisfy your OCD… or at least mine! It’s called TooltraceAI, a free online generator that creates custom shadowboard files or even Gridfinity bins, basically with the click of a button so nobody has an excuse anymore to not use Gridfinity. But how are you currently making your custom gridfinity bins? Are you designing them yourself, are you just downloading the ones somebody else already designed or if you don’t find anything matching are you simply throwing these parts into a generic bin? I’d be really curious to know if such an automatic generator helps!
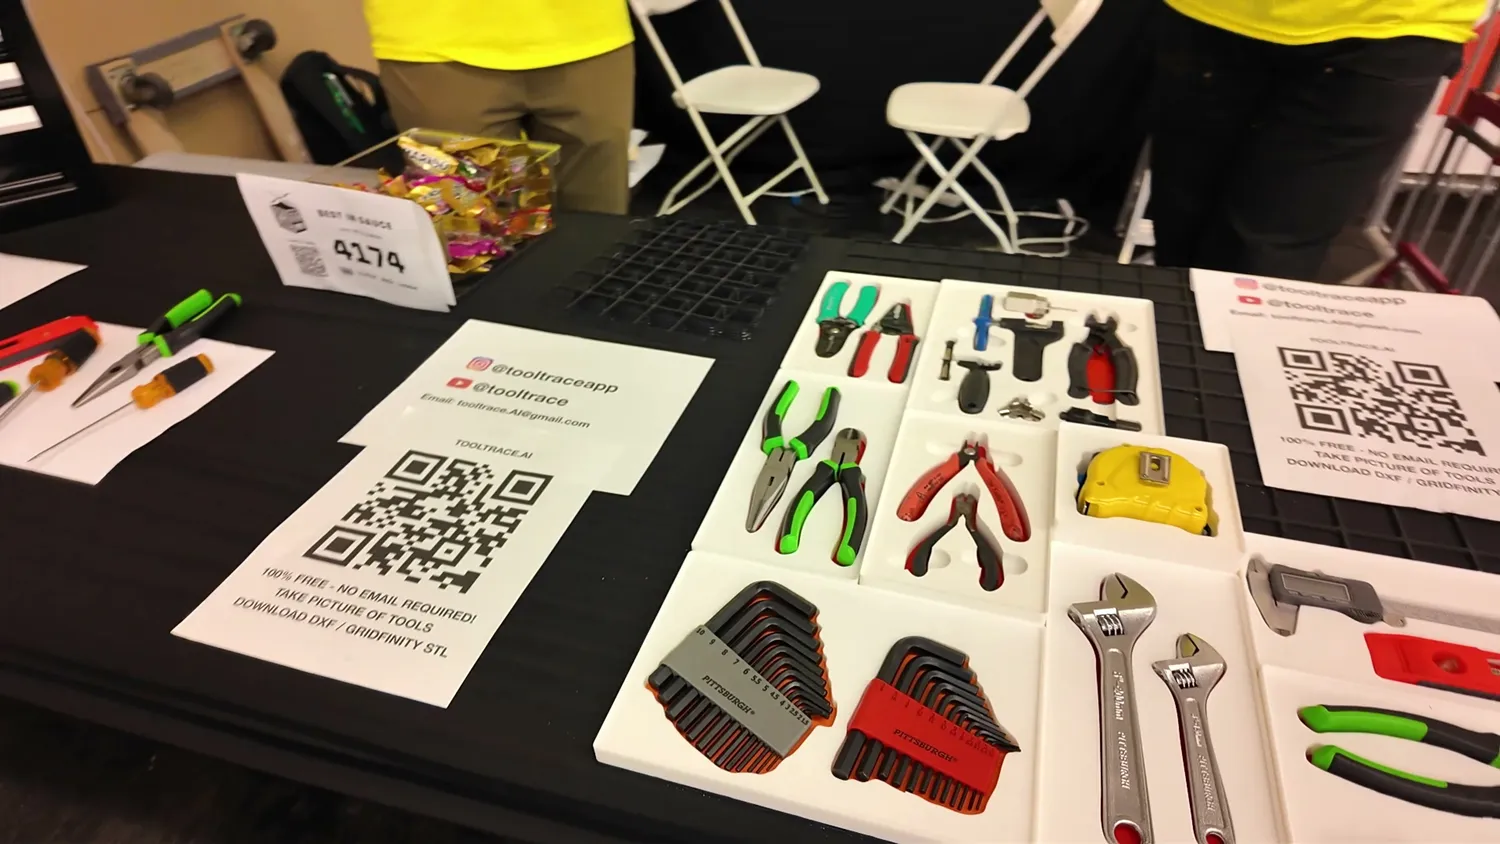
The TooltraceAI booth at OpenSauce
The drawer of shame
I’ve got this other drawer of shame. While the drawers in my project desk were just messy, this one is downright embarrassing. Mitutoyo has generously provided me with some amazing precision tools over the years, but since I had nowhere proper to store them, they ended up just piled on top of my screwdrivers. All of that is in my tool trolley filled with tools of questionable quality, so I thought this is finally the chance to clean up some drawers of things I never use anyway and organize things in there that I need every day! One of the drawers was already mostly empty, so the first thing I did was move the leftover stuff into another drawer which will be tomorrow’s Stefan’s problem and then remove the existing shadowboard.
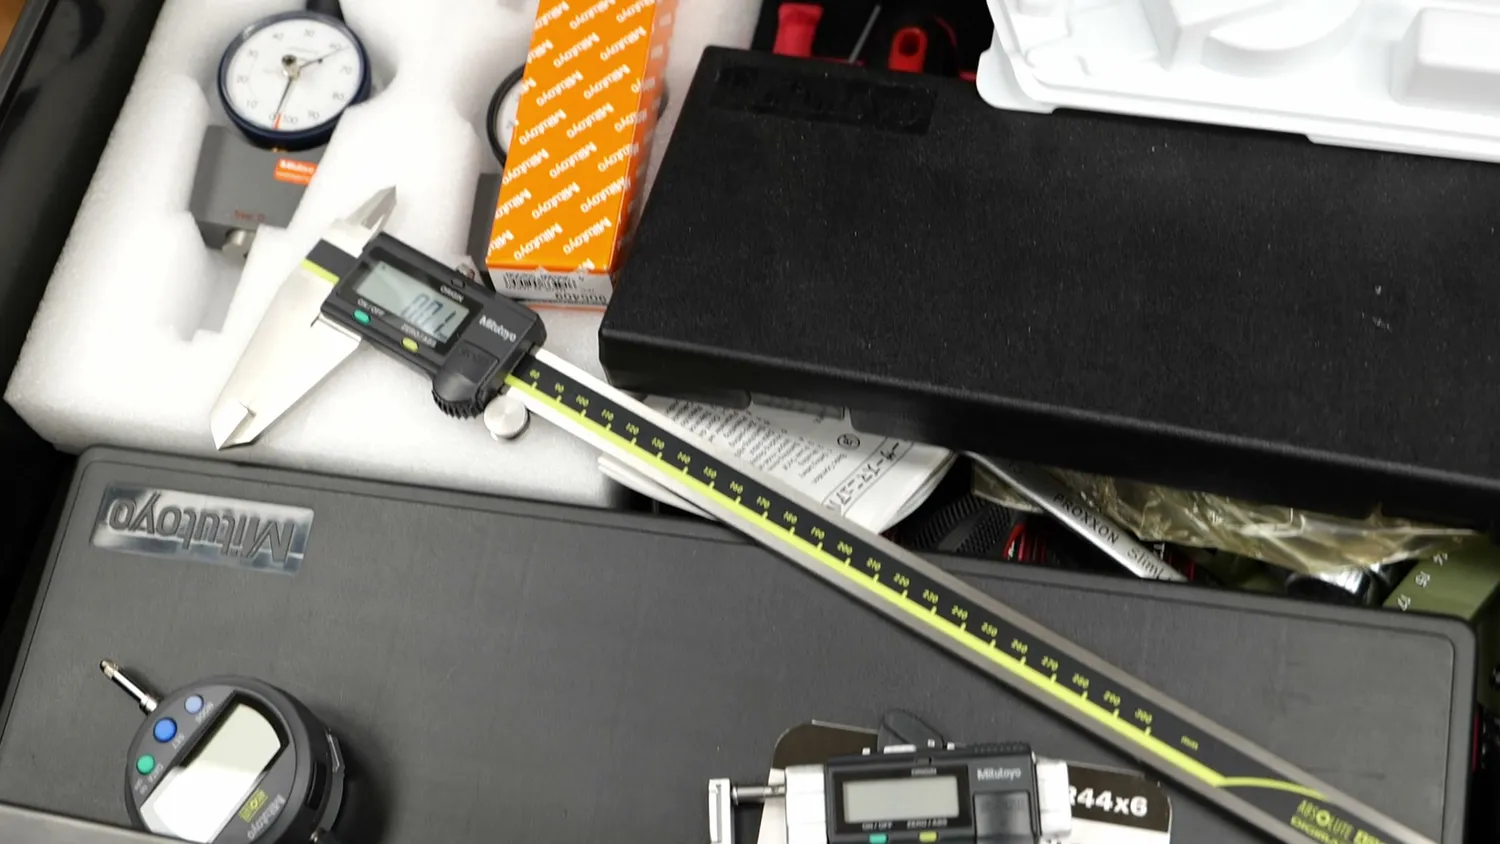
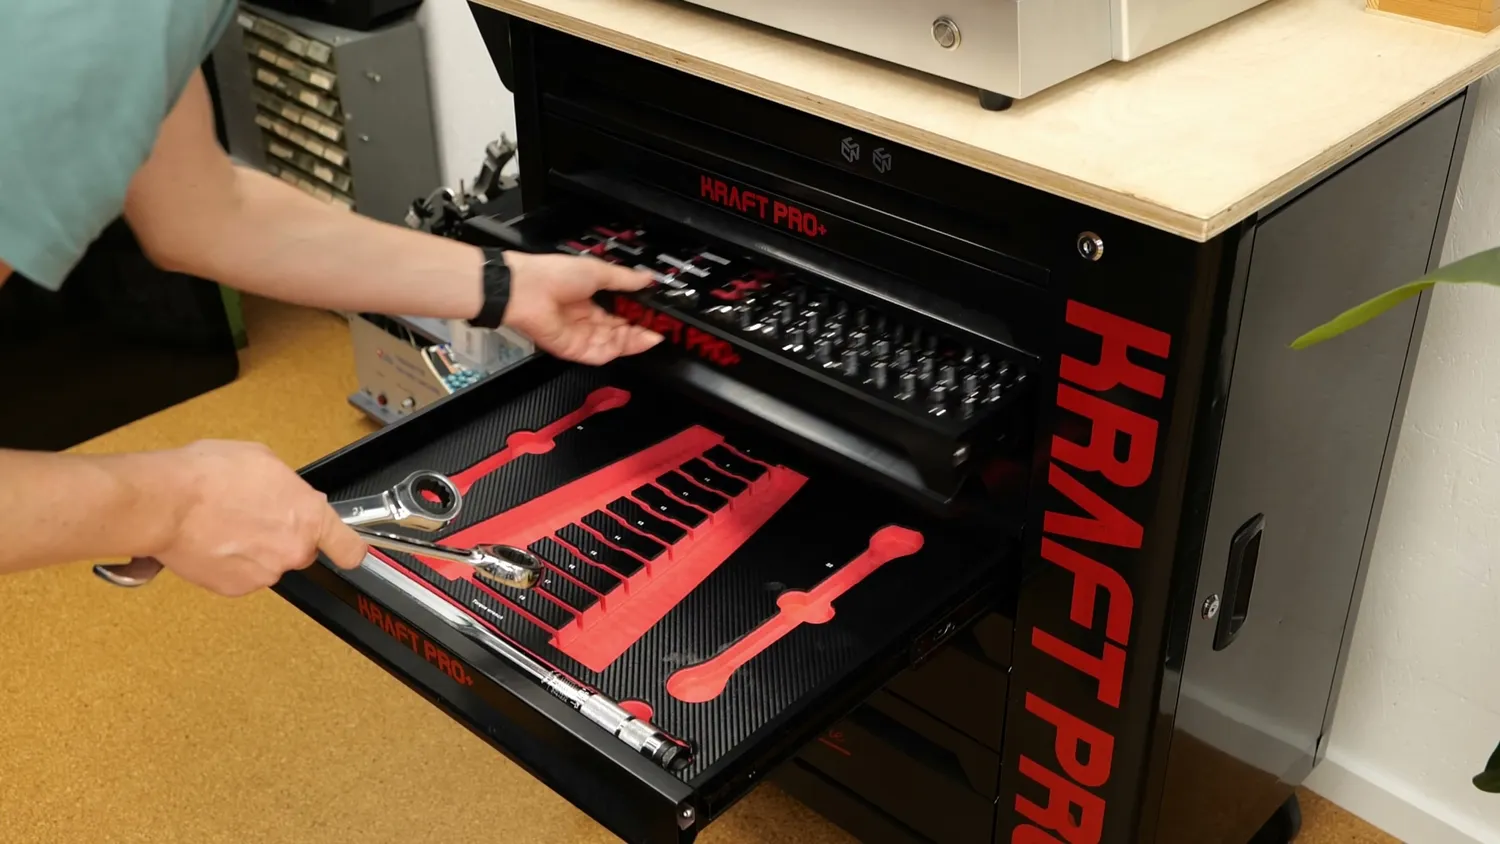
Let’s put some Gridfinity in there! Zack Freedman’s system basically consists of a baseplate grid and the containers that fit onto it. To make the baseplate, I measured the drawer dimensions and plugged them into one of the numerous online generators, like Gridfinity Rebuilt or this one that also exports STEP. If the plate is too big, simply cut it up in the slicer with the cutting tool, so you can print it piece by piece.
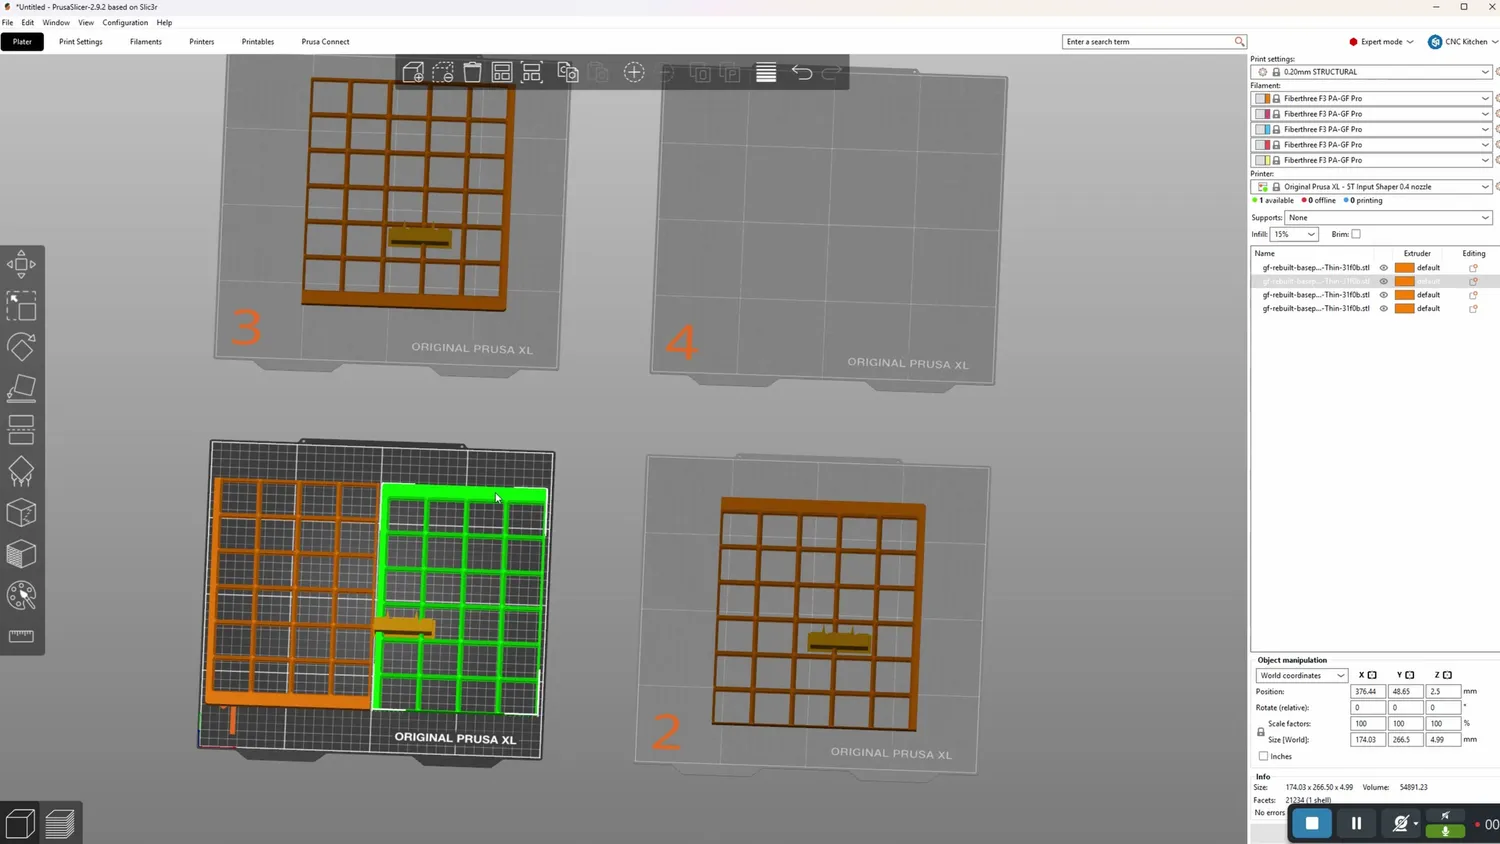
Baseplate cut up to fit the bed
Custom bins without CAD
But that was the easy part. Now let’s get to the Gridfinity boxes that actually hold the tools. There are tons of designs for common tools available on the usual 3D model sites, but if you’ve got something less common, you’ll have to make them yourself. In the past I usually designed mine in CAD, which works well but takes time, and let’s be honest, not everyone wants to (or can) dive into design software. That’s where TooltraceAI comes in. It’s a website that tries to automate the most time-consuming part of making custom tool inserts. Their main business seems to be making machined shadowboards you can order, but you can also just download the design and make it yourself. Though I’m not 100% sure what else they do; most of the links on the site just lead to dead ends. And I’m curious to see if we’ll crash their servers once all of you start generating Gridfinity bins there.
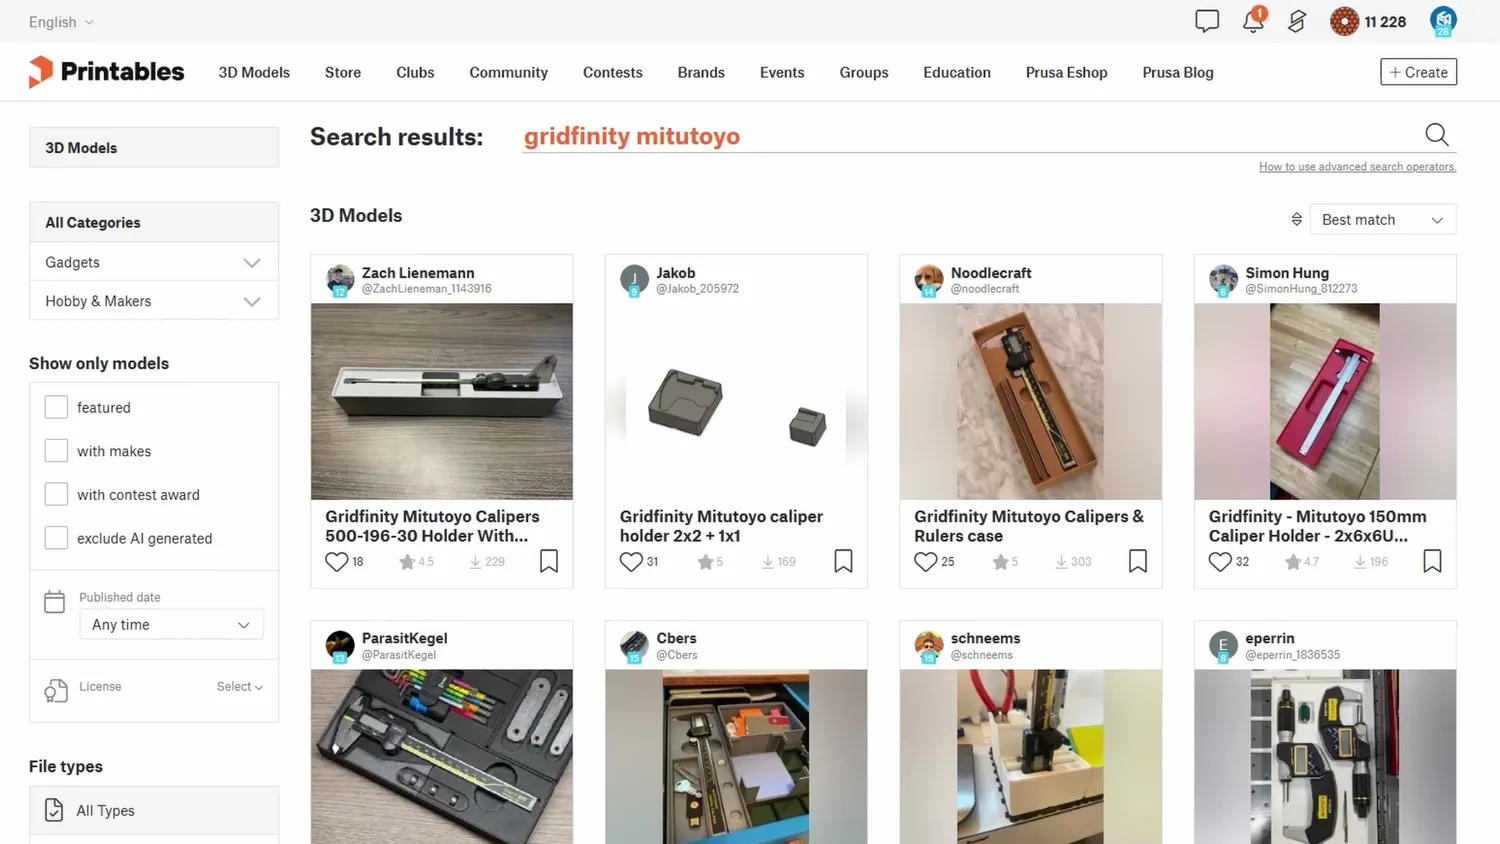
Plenty of ready-made bins, for common tools
Using Tooltrace.AI is really simple. All you need is a photo of your tools with a sheet of paper for size reference. I laid everything out on the floor and placed the tools on the A4 sheet for a good contrast, and took the picture from straight above to reduce distortion. That’s it. The paper, by the way, doesn’t need to be white and the tool also doesn’t need to be on the paper but it helps with edge detection.
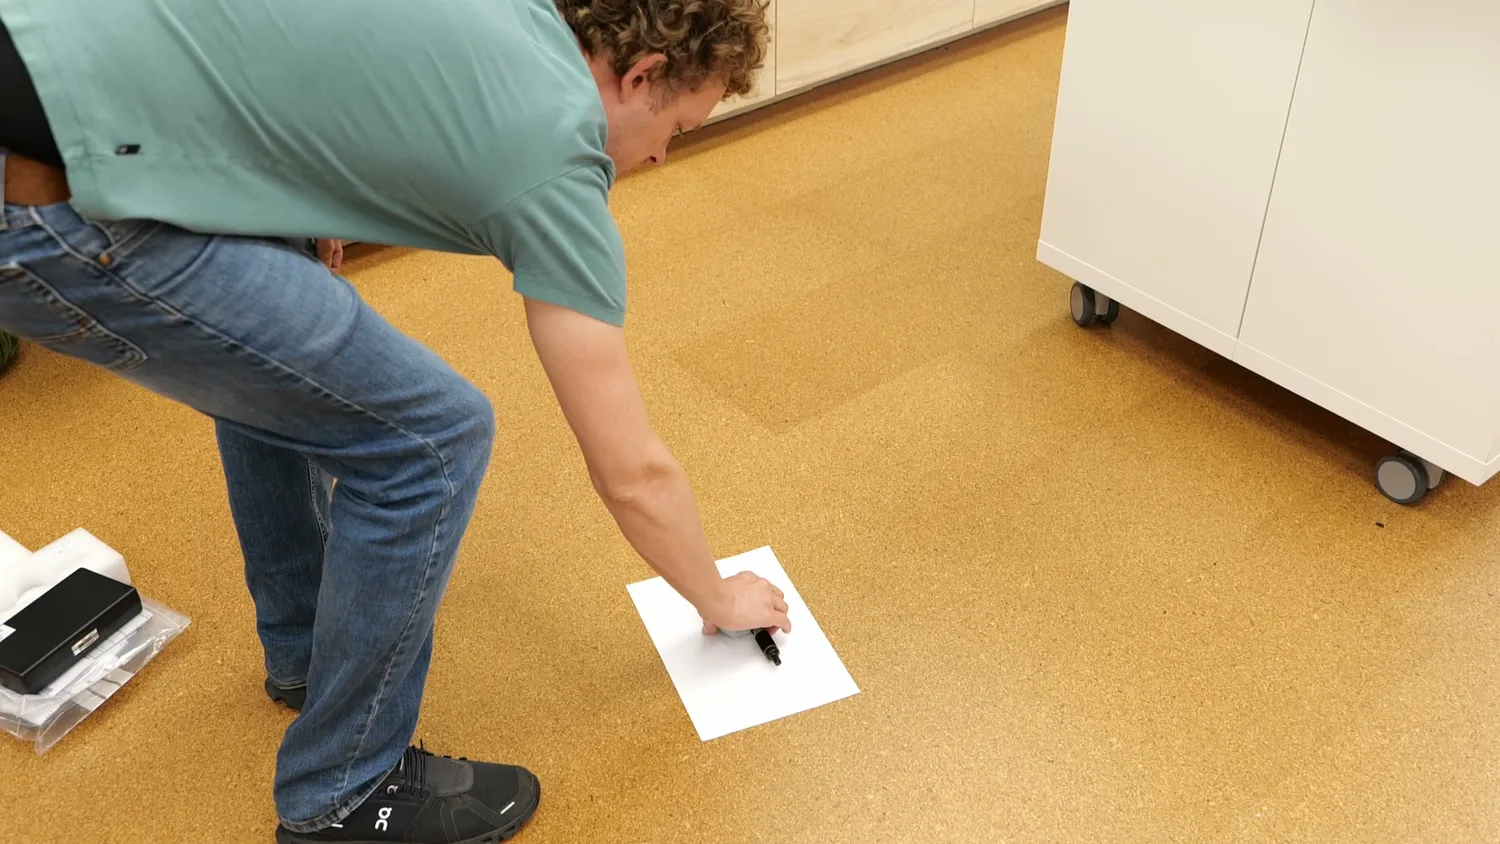
One sheet of paper for scale
On the website, just hit “Get Started,” upload your photo, and a few seconds later you’re in the editor. Just for completeness, all of this also works on phones or tablets, well at least if you’re running iOS though it has been a bit buggy here as well. That’s why I did everything on my PC, and I also don’t have to transfer the STL to my computer where I slice. The first step is telling it which paper size you used and then select the sheet on the screen so it can scale everything correctly. In my case that was A4, and the software automatically recognized the corners pretty well.
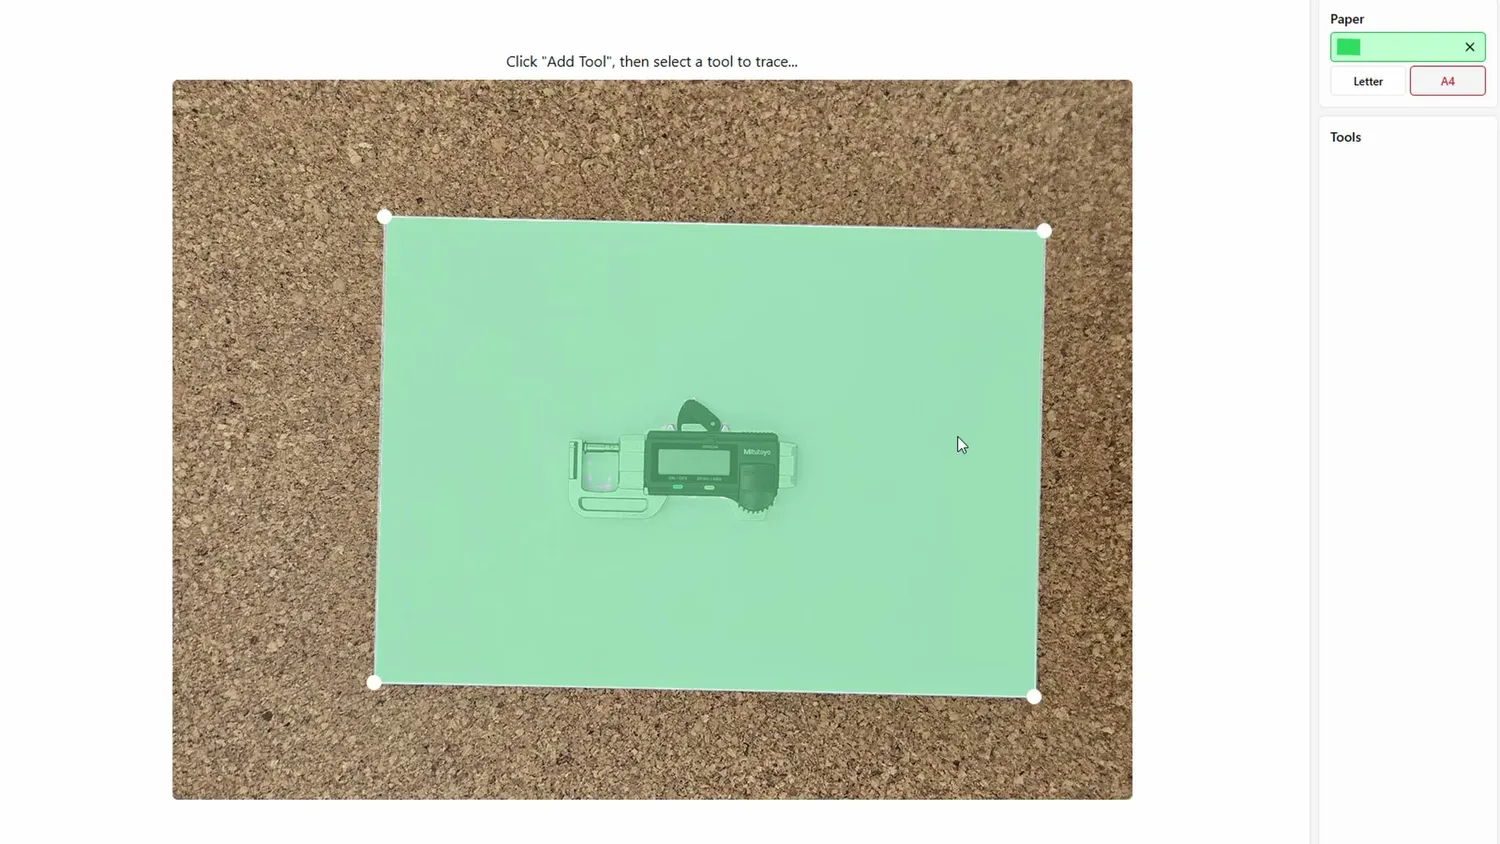
The detected sheet, corners found automatically
To add a tool, click “New Tool” and hover over it. The software gives you a rough preview of the outline. For simple shapes, that’s enough, but if your tool has multiple colors, you’ll need to add a few markers so it captures the full shape. Otherwise the cutout won’t fit.
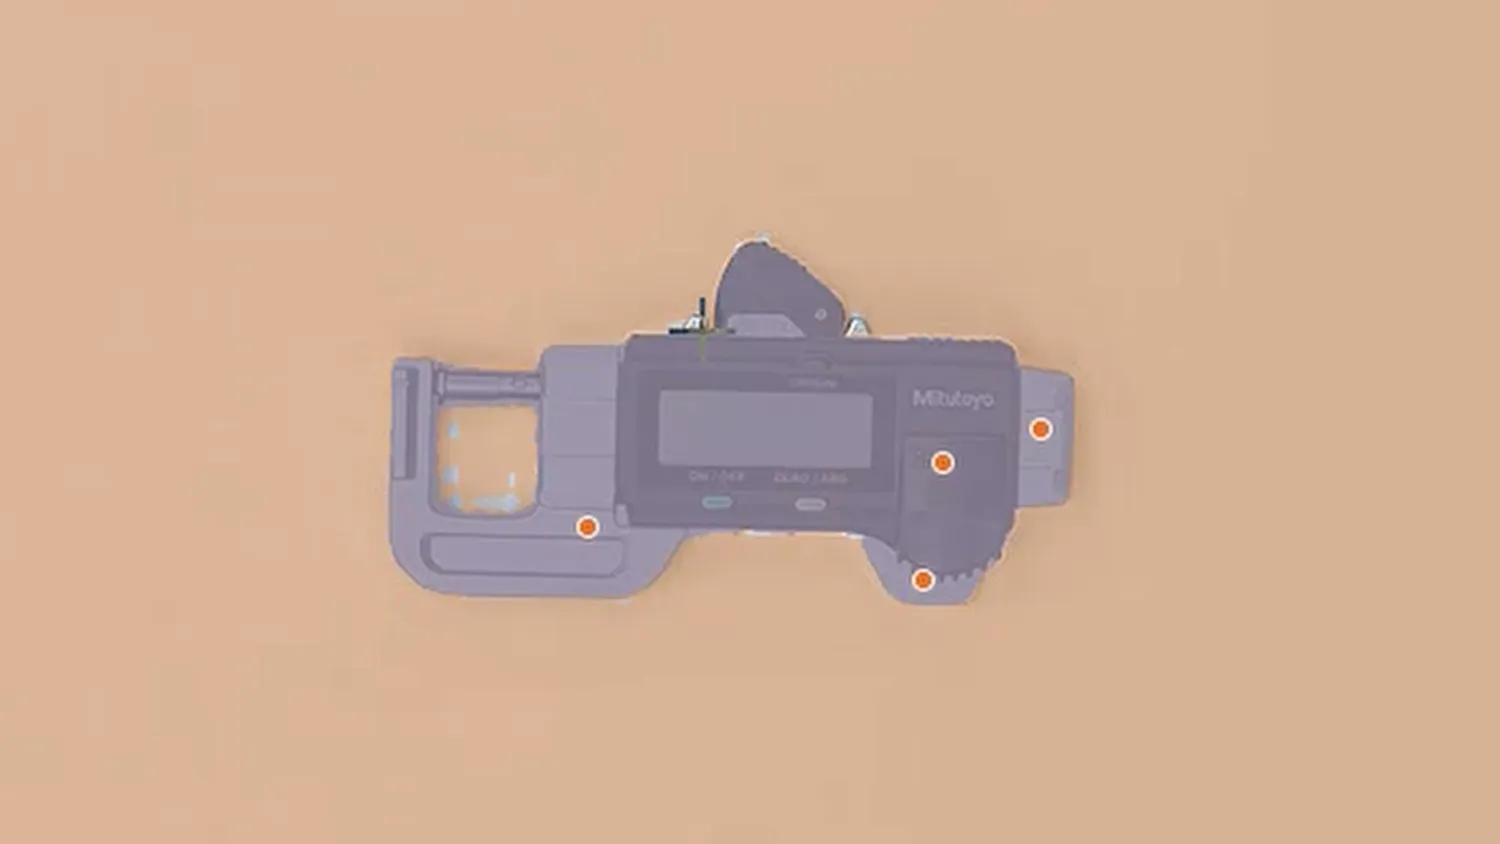
Markers help on multi-colored tools
Gridfinity mode, pocket depth and offset
Next are the settings. Since TooltraceAI is primarily meant for their shadowboard cutting business, you’ll first need to switch the mode from Foam to Gridfinity. Then change the units to millimeters, since that’s what Gridfinity uses. After that, set your pocket depth. The software always generates a 10 mm base and adds your chosen depth on top. Because Gridfinity bins use 7 mm height units, I went with 15.4 mm pocket depth, giving me the proper three-unit bin height.
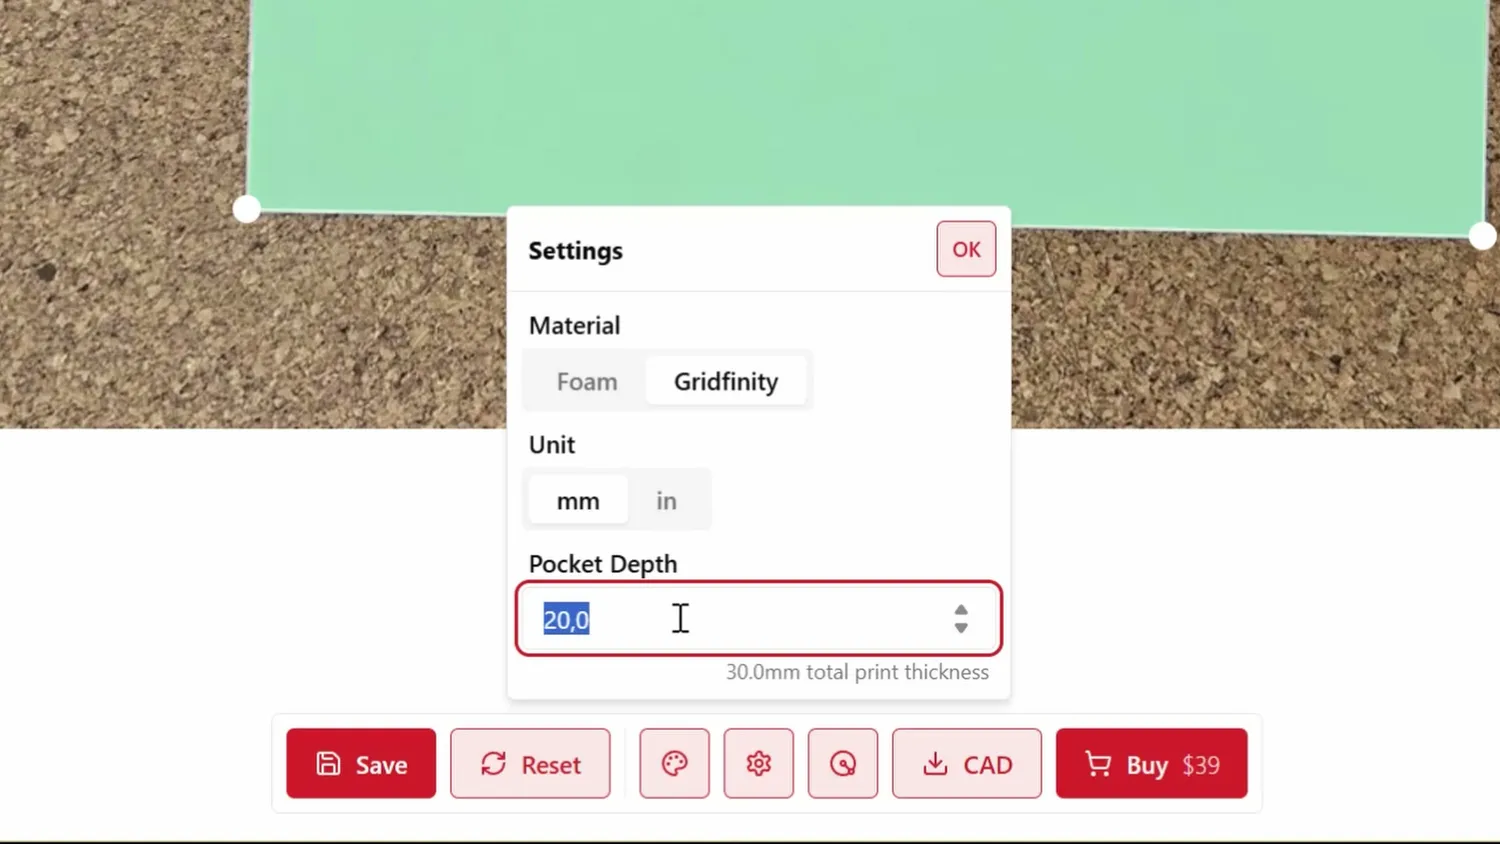
Switch from Foam to Gridfinity, then set the depth
The next setting is the offset distance, basically how much space is left between your tool and the cutout wall. The default “medium” was usually too loose for me, so I had better results using the “small” setting.
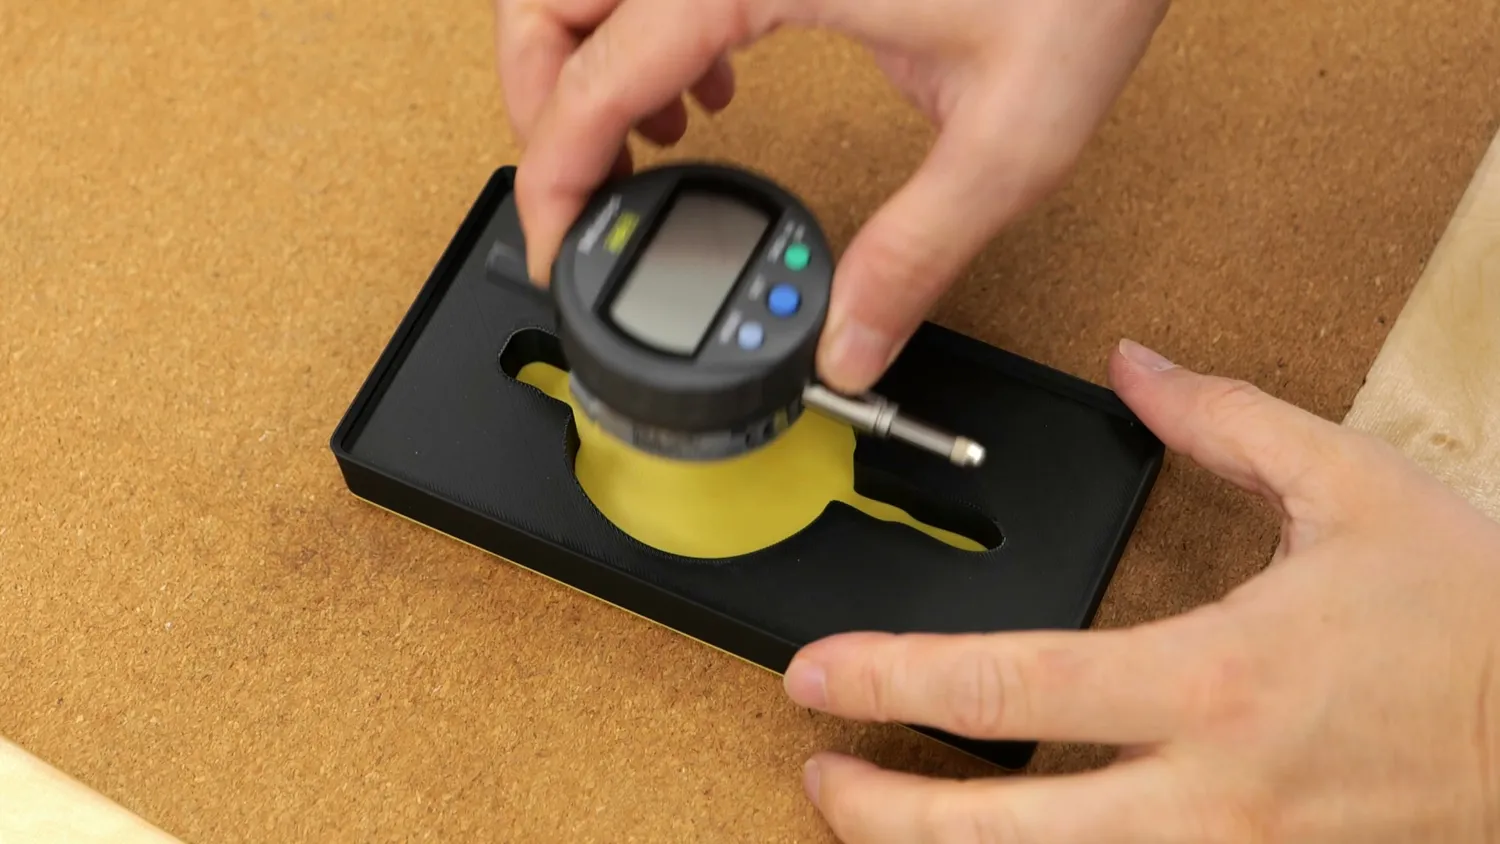
“Small” gave me the better fit
Then comes the layout. The generator automatically rotates your part to one of its main axes, but you can always tweak the orientation if you don’t like it. In the background you’ll already see a preview of the bin; here it was a 3×2 grid. A neat option at this stage is adding finger notches, which make it much easier to pull the tool out of its pocket.
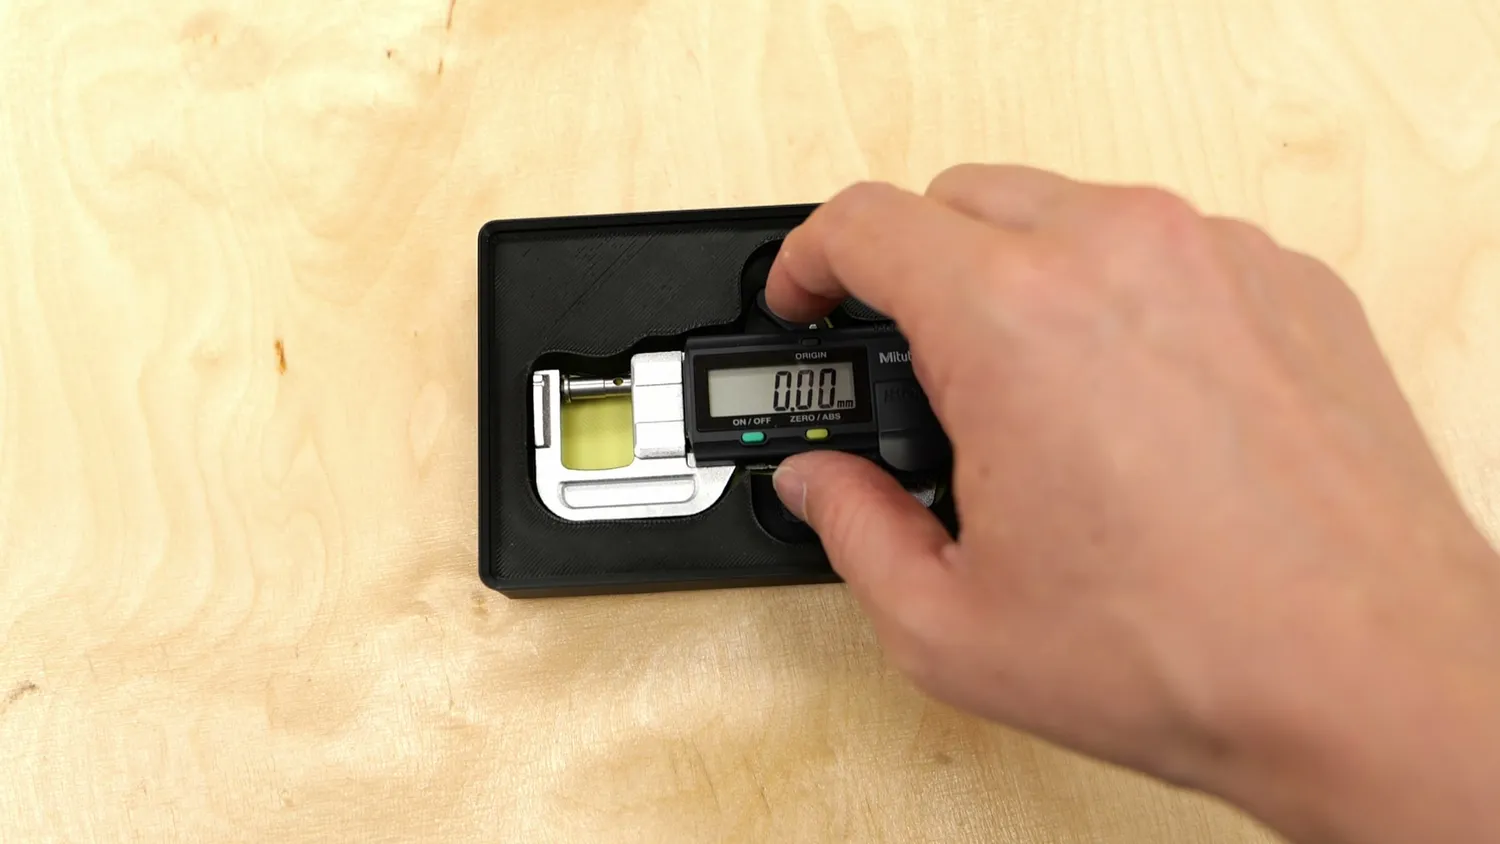
Finger notches make the tools easy to grab
And that’s practically it! The design is ready and you can check if everything is right in the 3D preview. If you’re happy, you can download it in different formats; I grabbed the STL that I can directly 3D print.
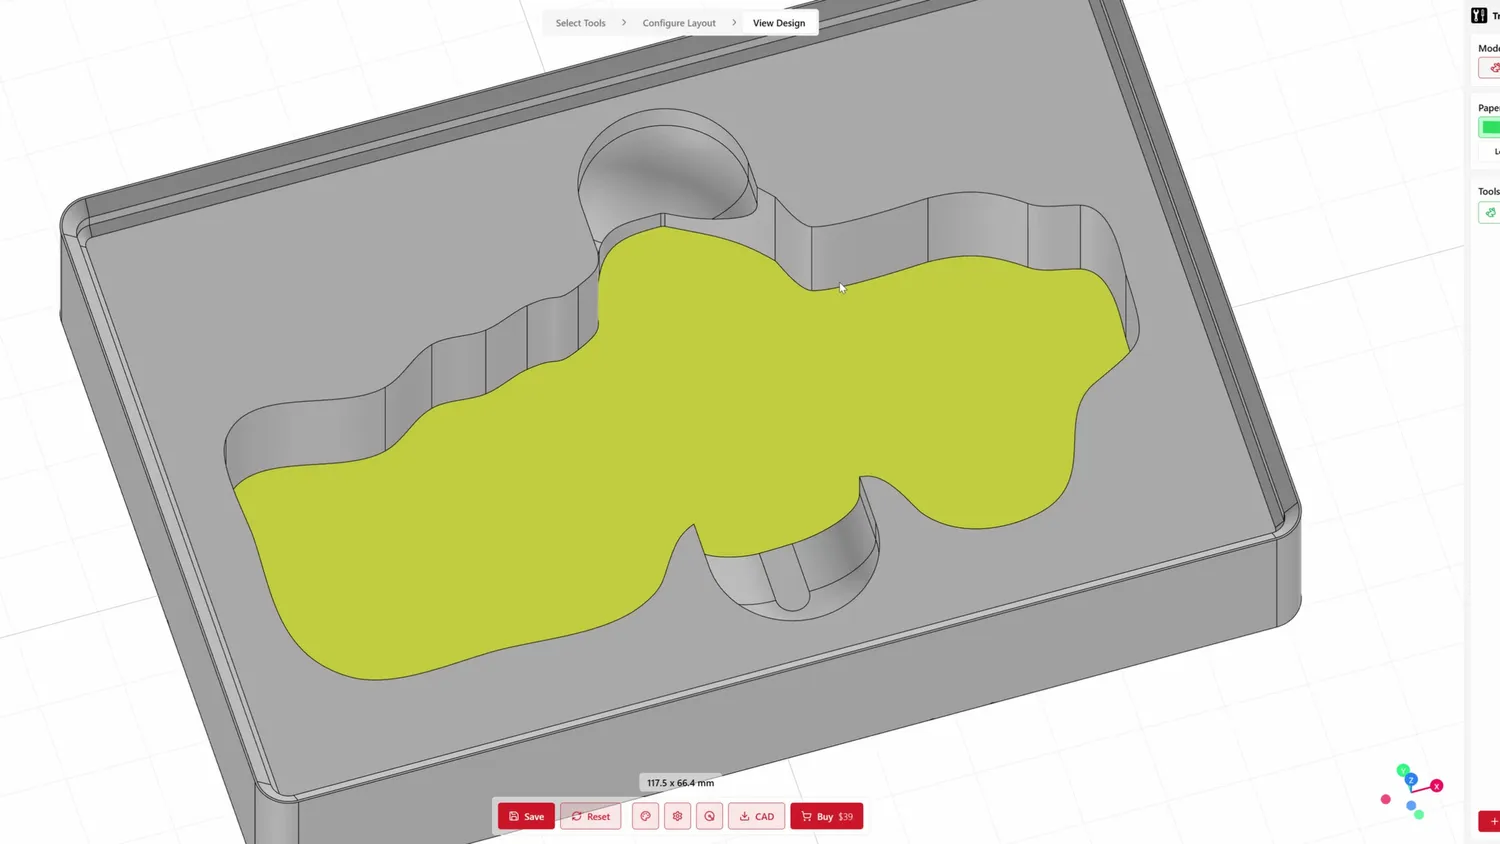
The 3D preview before download
Making the bins dual color
One thing I really missed in the Gridfinity setup I made for my project desk was having bins in two colors. What makes traditional shadowboards so appealing is that they’re cut from layered foam, usually a bright color underneath a black top. When you cut out the pockets, not only do you get a place to hold the tool, but when it’s missing you also see a clear silhouette. In my small drawers this wasn’t a big deal, but for these larger drawers that feature would be great. So let’s this time make them dual color!
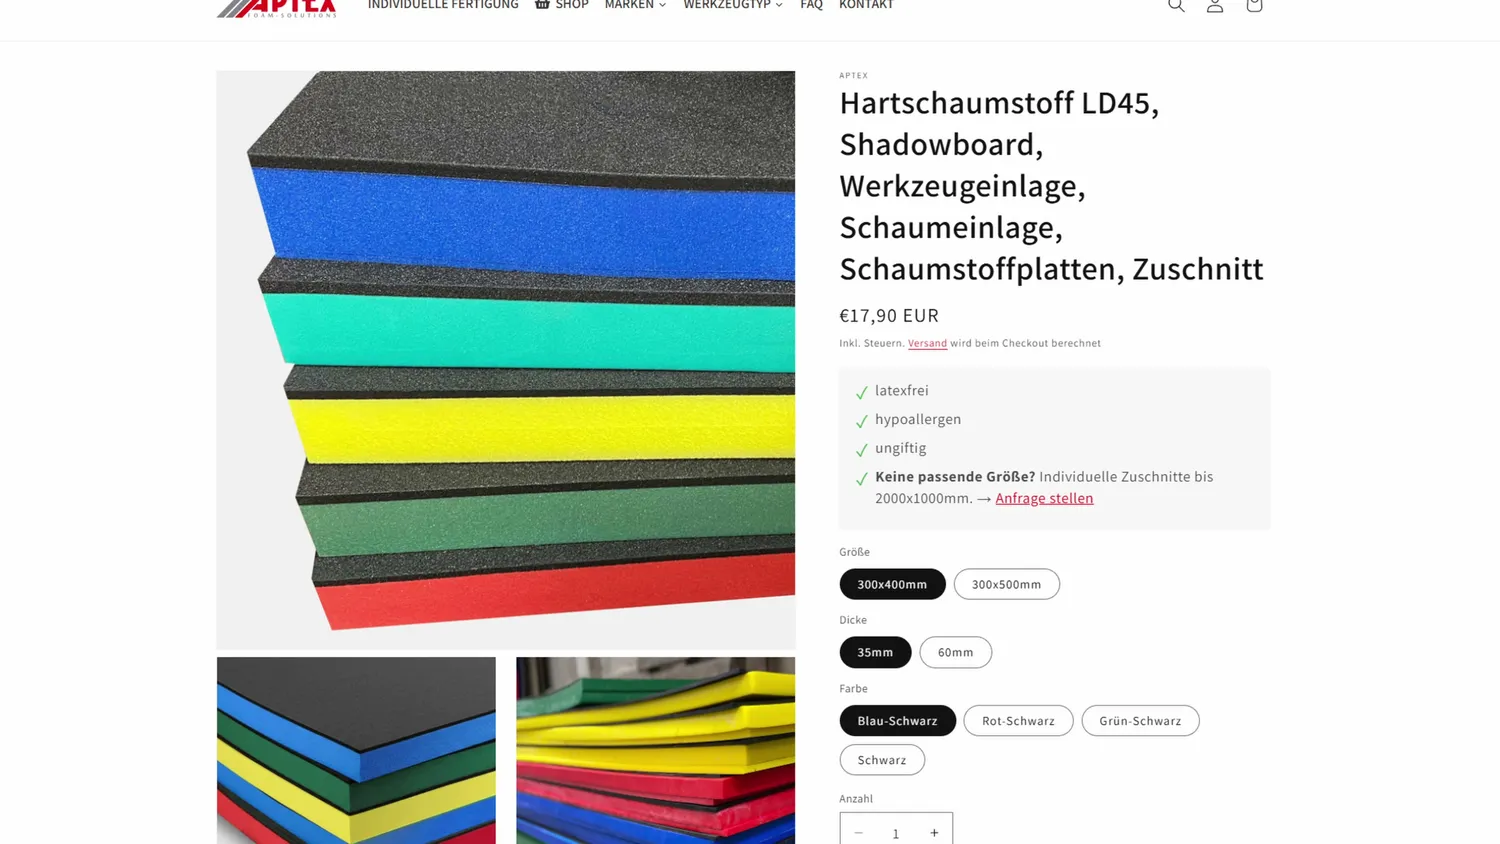
Classic shadowboards: a bright layer under a black top
Even though Mitutoyo’s corporate color is orange, when I think of their tools, I always have a black and yellow theme in my head, which is why I had to use this here as well! But Mitutoyo yellow isn’t a standard bright yellow shade but it’s a bit more pale. I tried to find a matching filament on filamentcolors.xyz with their over 3000 filament database. It suggested CookieCAD Pale Yellow as a match but since I can’t easily get that here in Germany I ended up browsing Amazon and found a Pineapple Yellow from SOLEYIN that seemed close. When it arrived, the color match was all right - though the filament itself turned out to be a bit questionable, which I’ll get to in a minute.
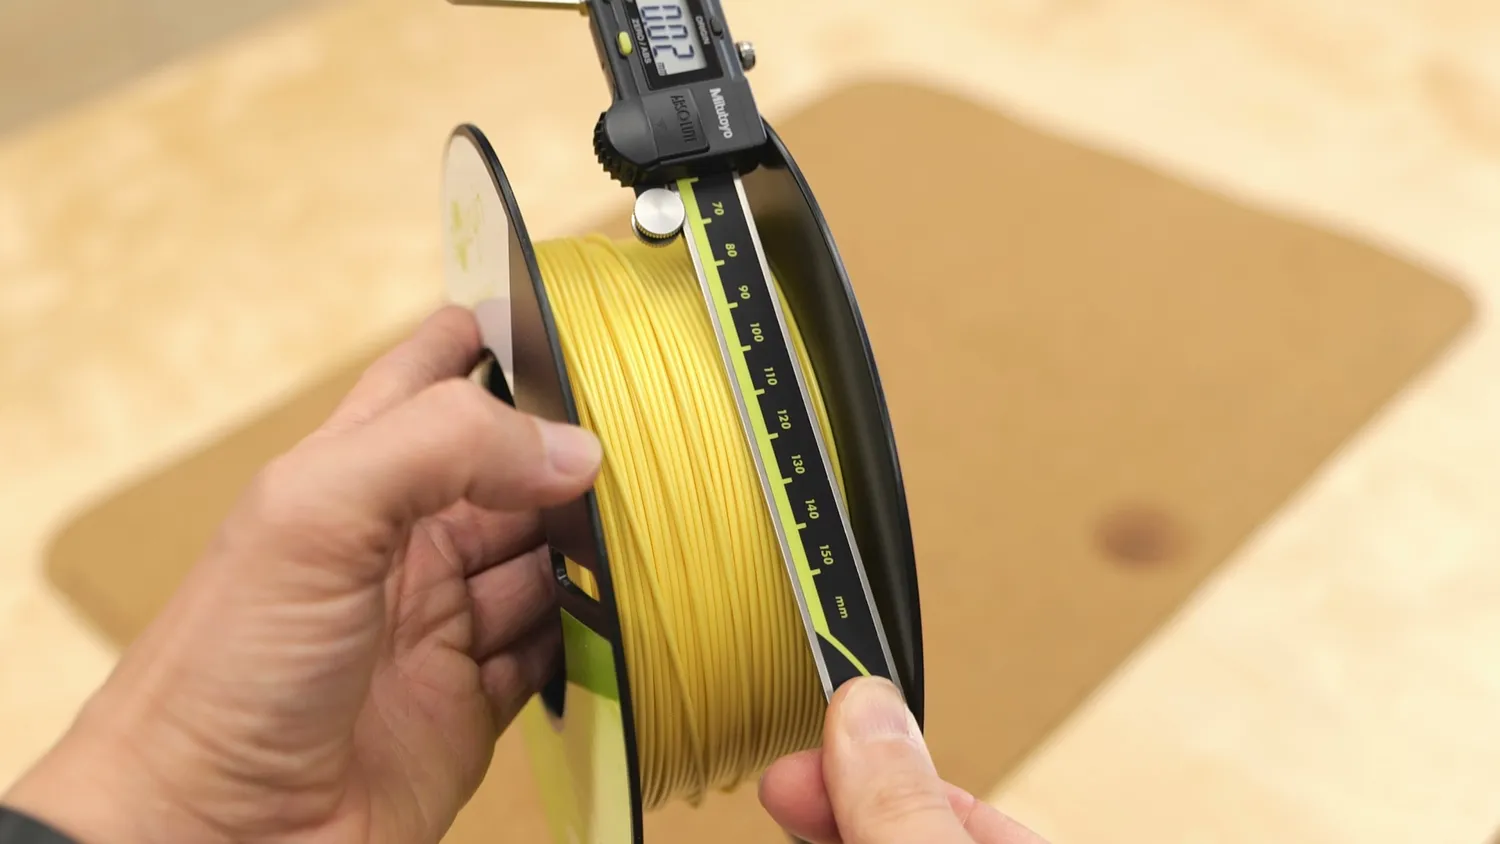
SOLEYIN Pineapple Yellow, close enough to Mitutoyo
Printing two colors without an AMS
So let’s prepare the files. When you download a design from Tooltrace.AI, you get two files. One is the bin and the other one is a 0.5 mm insert. If you load them into Bambu Studio, it asks if this is a multi-body part. When you click yes, the bin and insert align perfectly. With a multi-color printer you can assign different filaments to each, but that means several material changes which produce waste and take time whenever both colors print on the same layer.
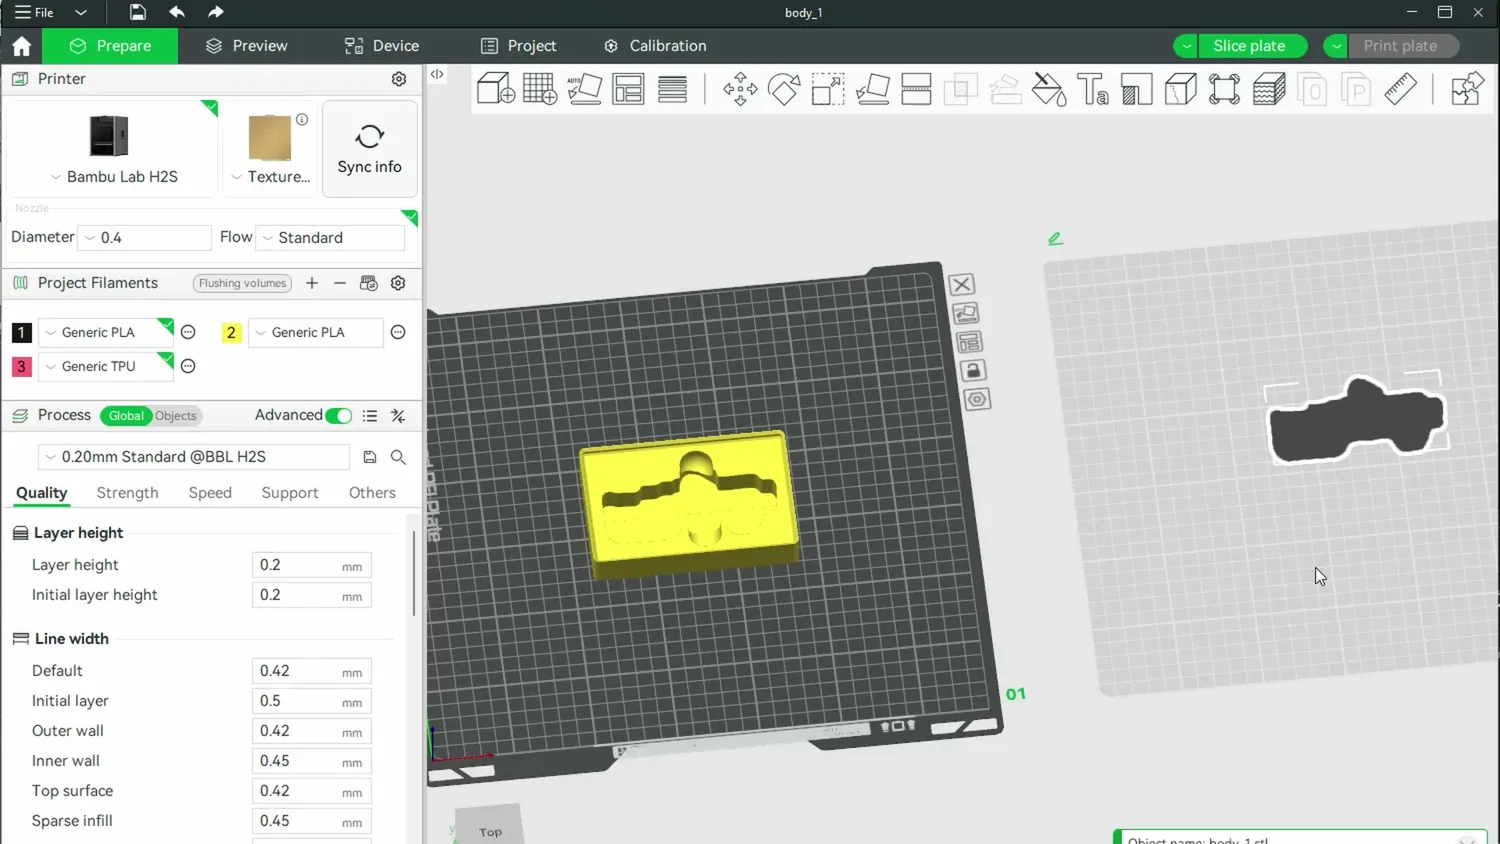
Bin and insert, loaded as a multi-body part
My workaround was to assign the same filament to both parts and then just add a single manual color change in the G-Code preview. That way you still get the nice silhouette effect without needing an AMS. Even a ten-year-old printer can handle it.
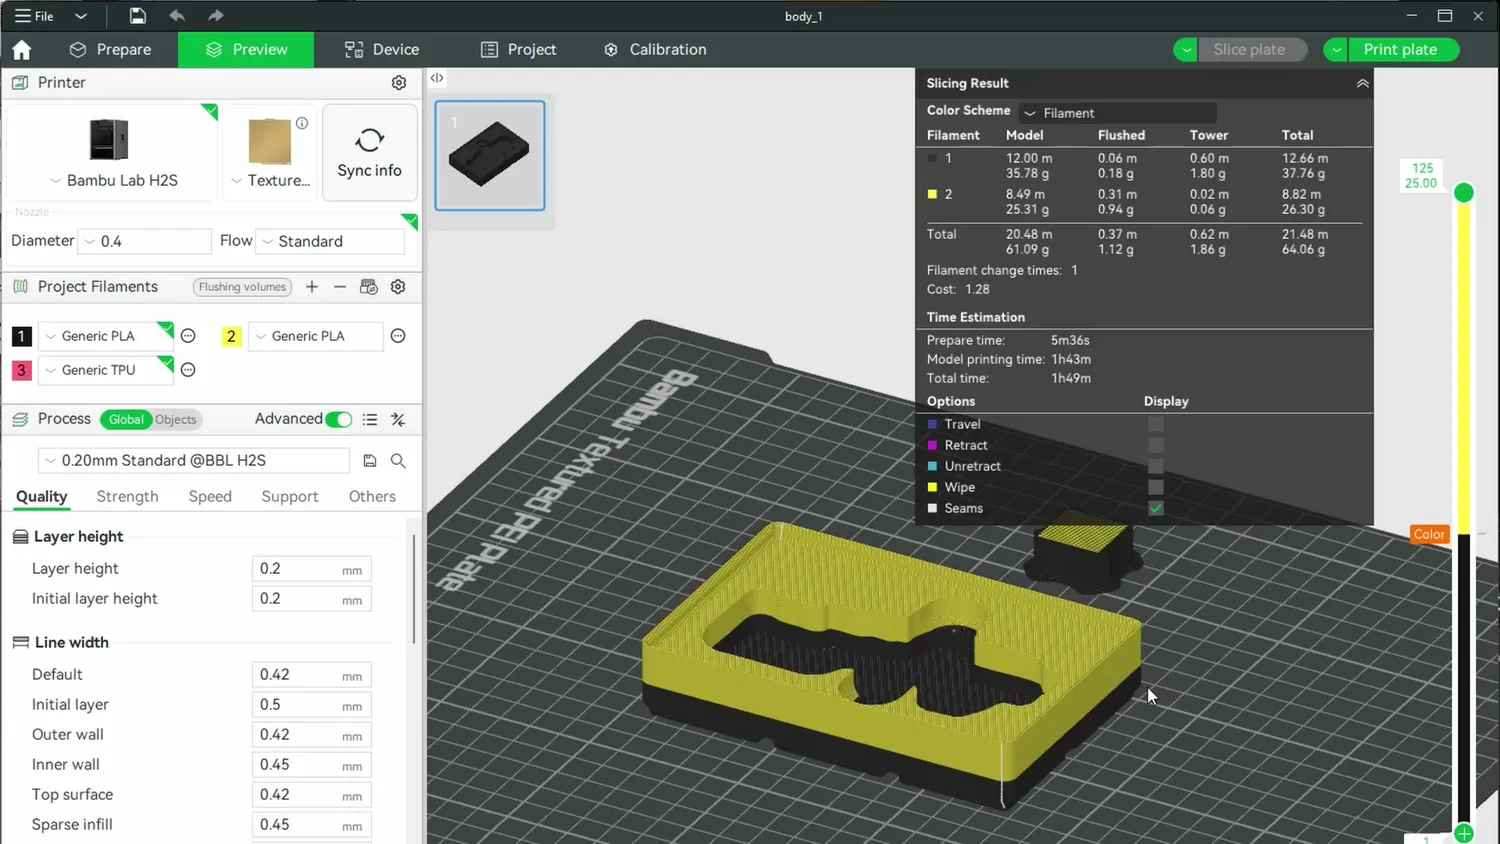
One manual color change, no AMS needed
In hindsight, I overcomplicated it and the smarter move would’ve been to print the parts separately in different colors and then drop the insert into the finished bin. And if it’s too tight, you can easily tweak the fit by using a small negative XY compensation in your slicer. I don’t know why I didn’t think of that in the beginning but I ended up printing all the bins in half yellow, half black.
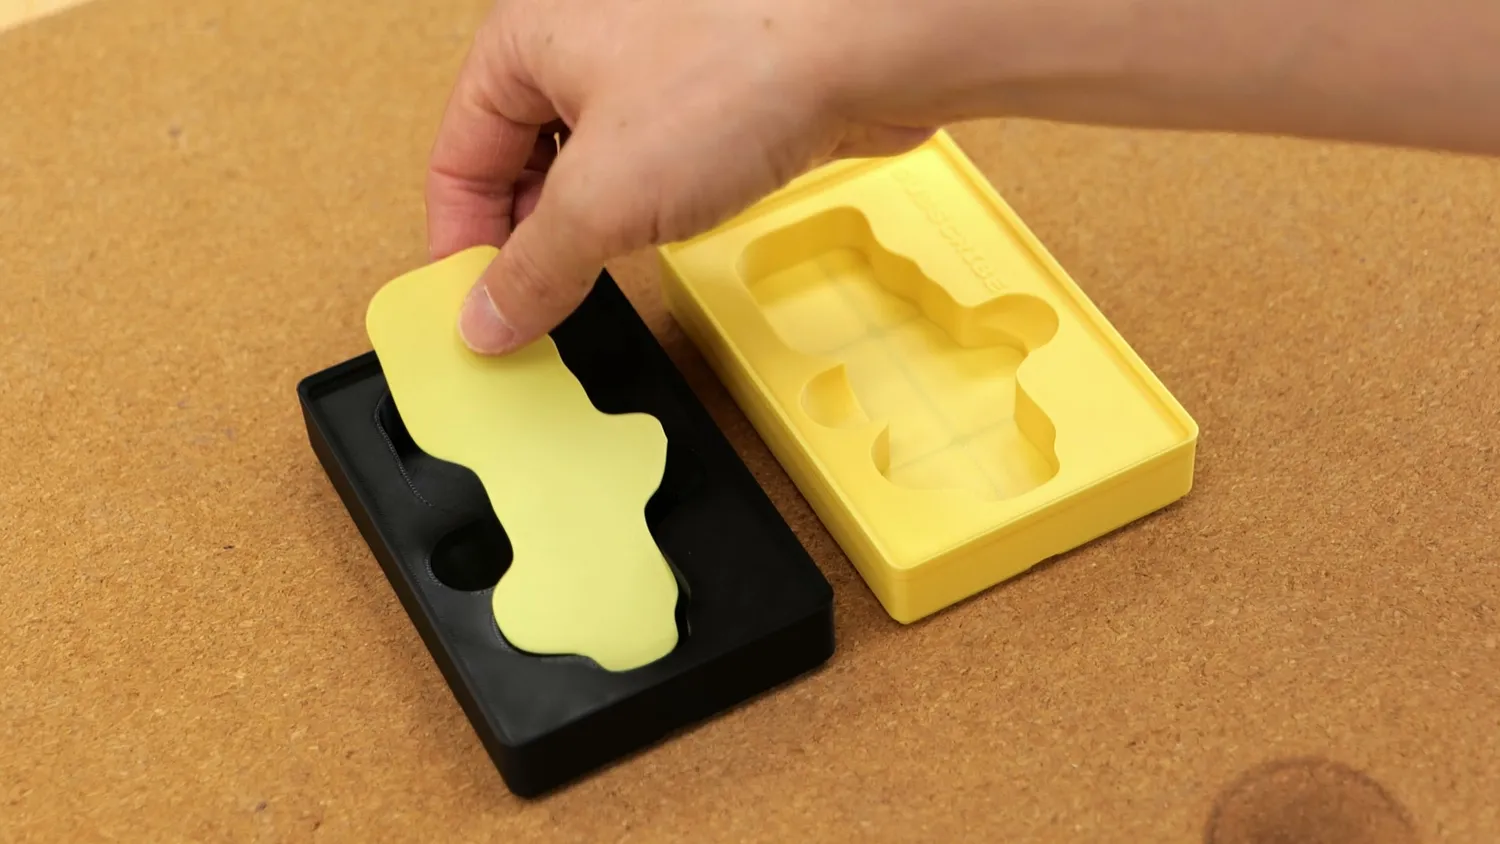
The smarter way: print both parts separately
Of course, once a project is finished you’re always smarter, and mistakes are part of the learning process. Using the inserts would have also saved me from my problems with the PLA from SOLEYIN, which just wouldn’t bond properly to the black PLA I used as a base. On the bigger bins this turned into a real headache: layers split apart, I had to reprint several times, and in some cases even glue the pieces back together. But what did I expect from a 12€ spool of filament?
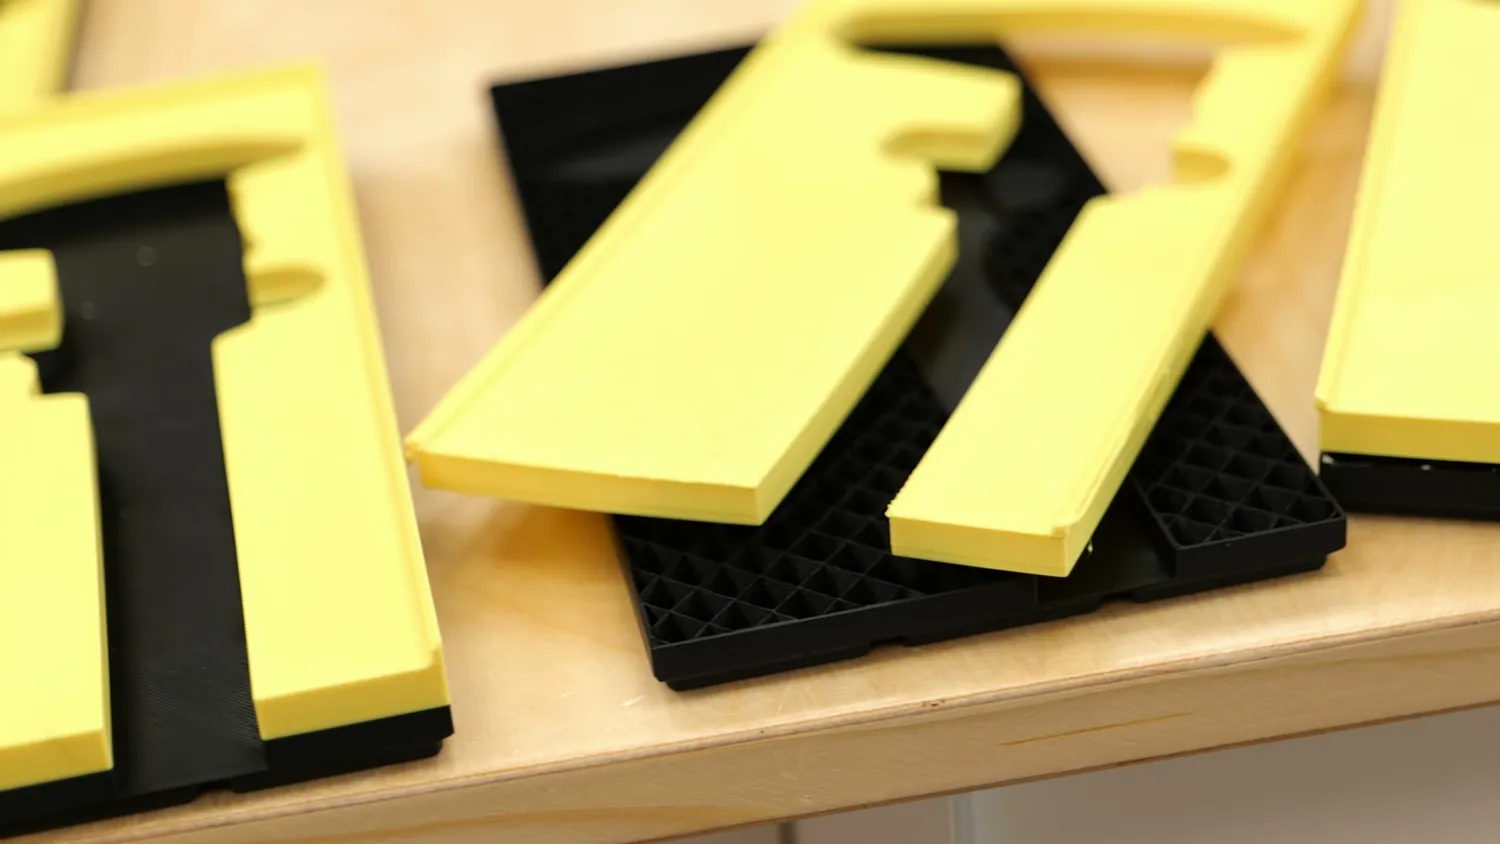
The yellow PLA just wouldn’t bond to the black
You might have noticed that I didn’t stick to the usual shadowboard rule of a black top with a colored insert. I actually tried both versions right at the start and ended up liking the yellow bins way more than the boring black ones. Any objections?
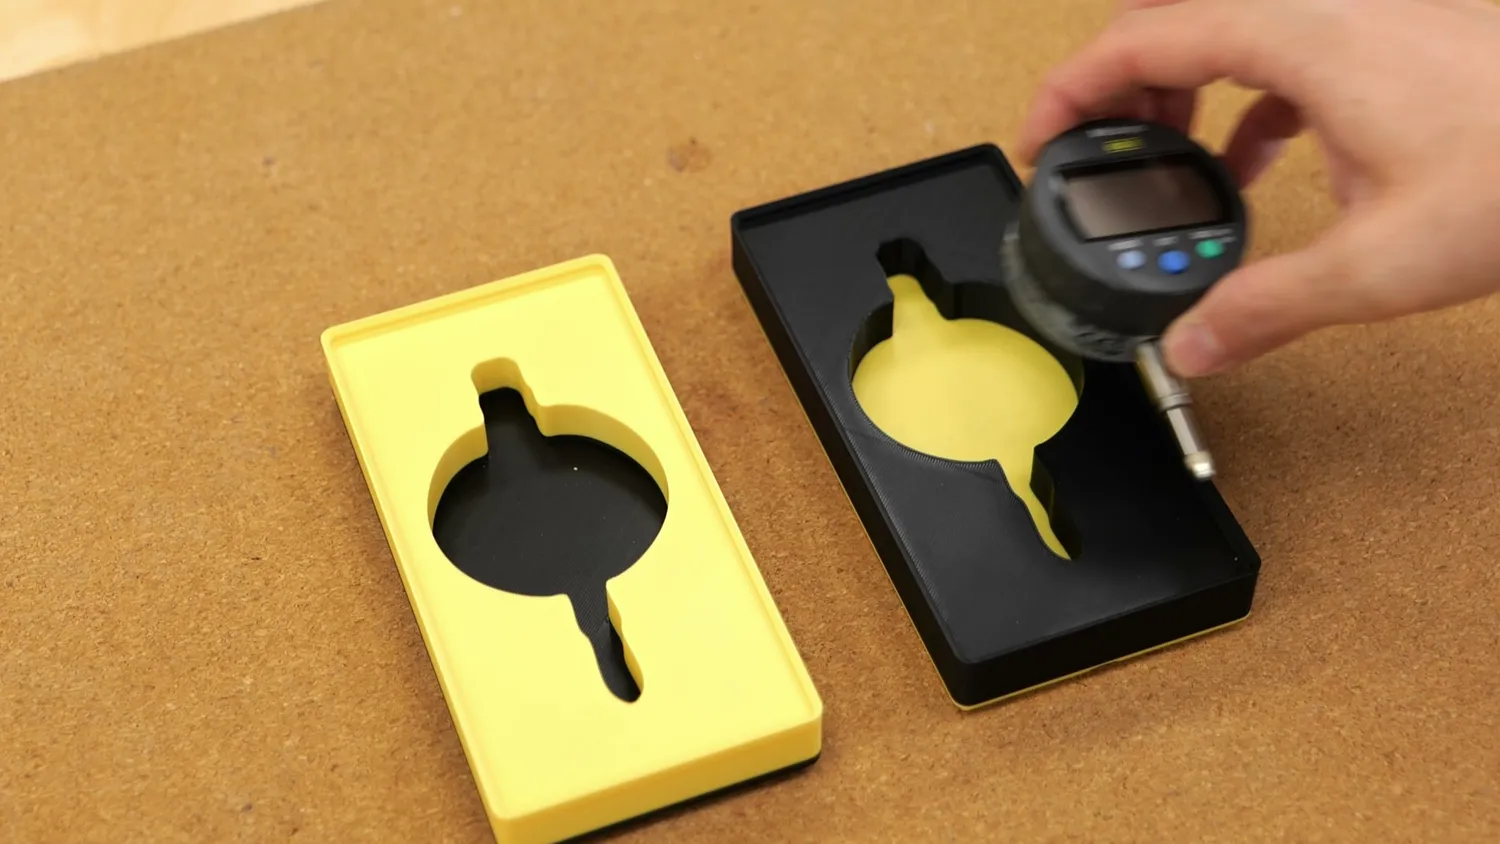
Both versions: the yellow won
Slicer tricks and print settings
I printed the bins on my H2S and my X1, and most of the prints went smoothly, aside from the layer adhesion issues I mentioned earlier. For the oversized bins, I just cut them in half so they’d fit on the print bed. Some designs ended up with a lot of empty space, and yes, I could have combined tools into fewer bins, but I wanted to keep the modularity.
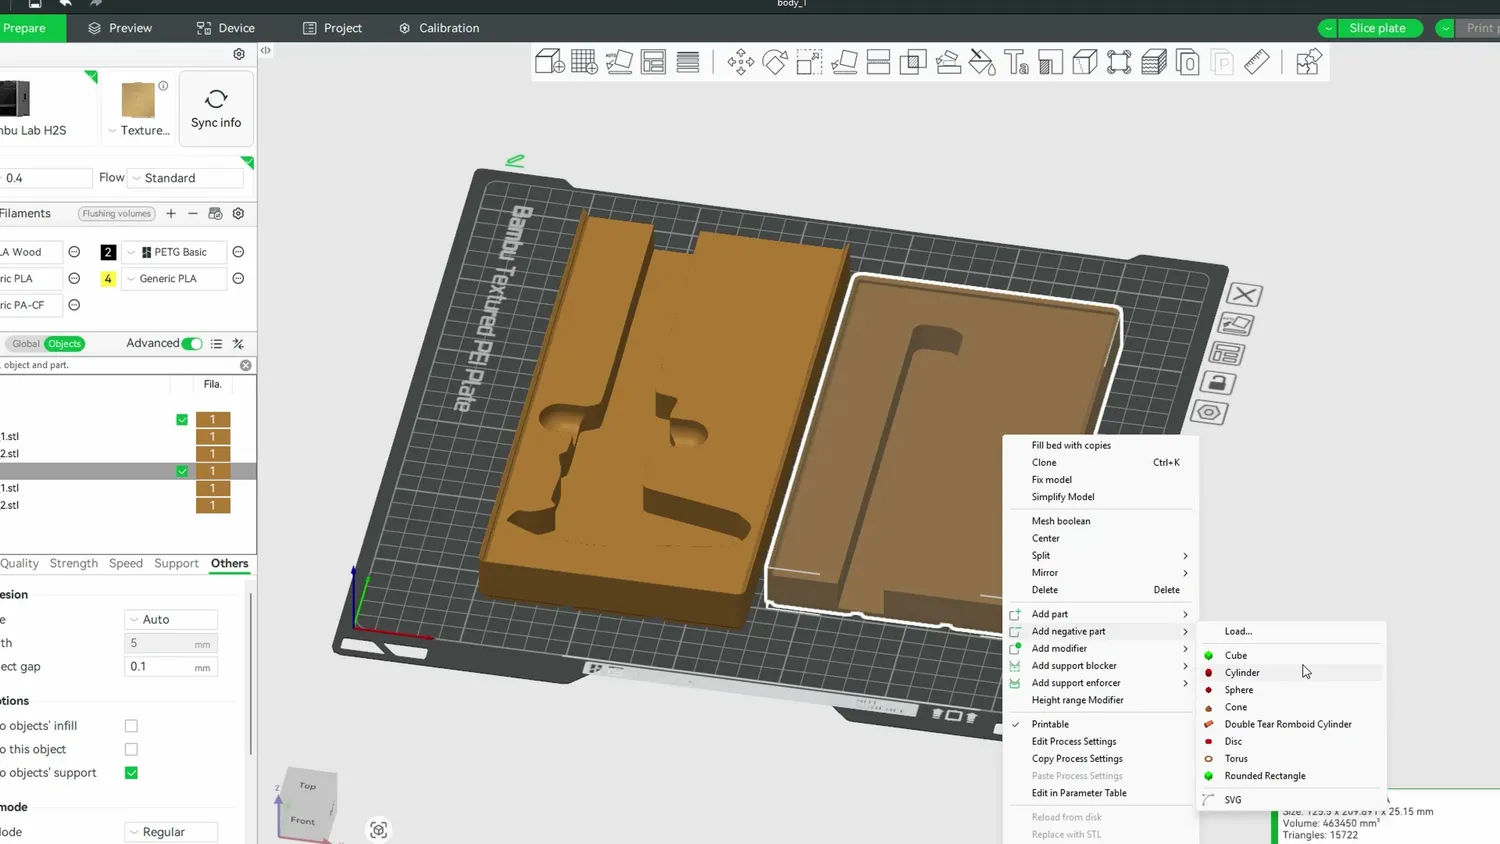
Oversized bins cut in half
For those bins with extra room, I often used the slicer’s “add negative part” function to create extra pockets for accessories. If you’ve got multiple tools with the same shape, you can also add text labels directly on the bins. Pretty much all slicers now let you emboss or engrave text, and if you’ve got a multi-color printer you can even print the text in a different filament. Or, of course, just color it in with a Sharpie.
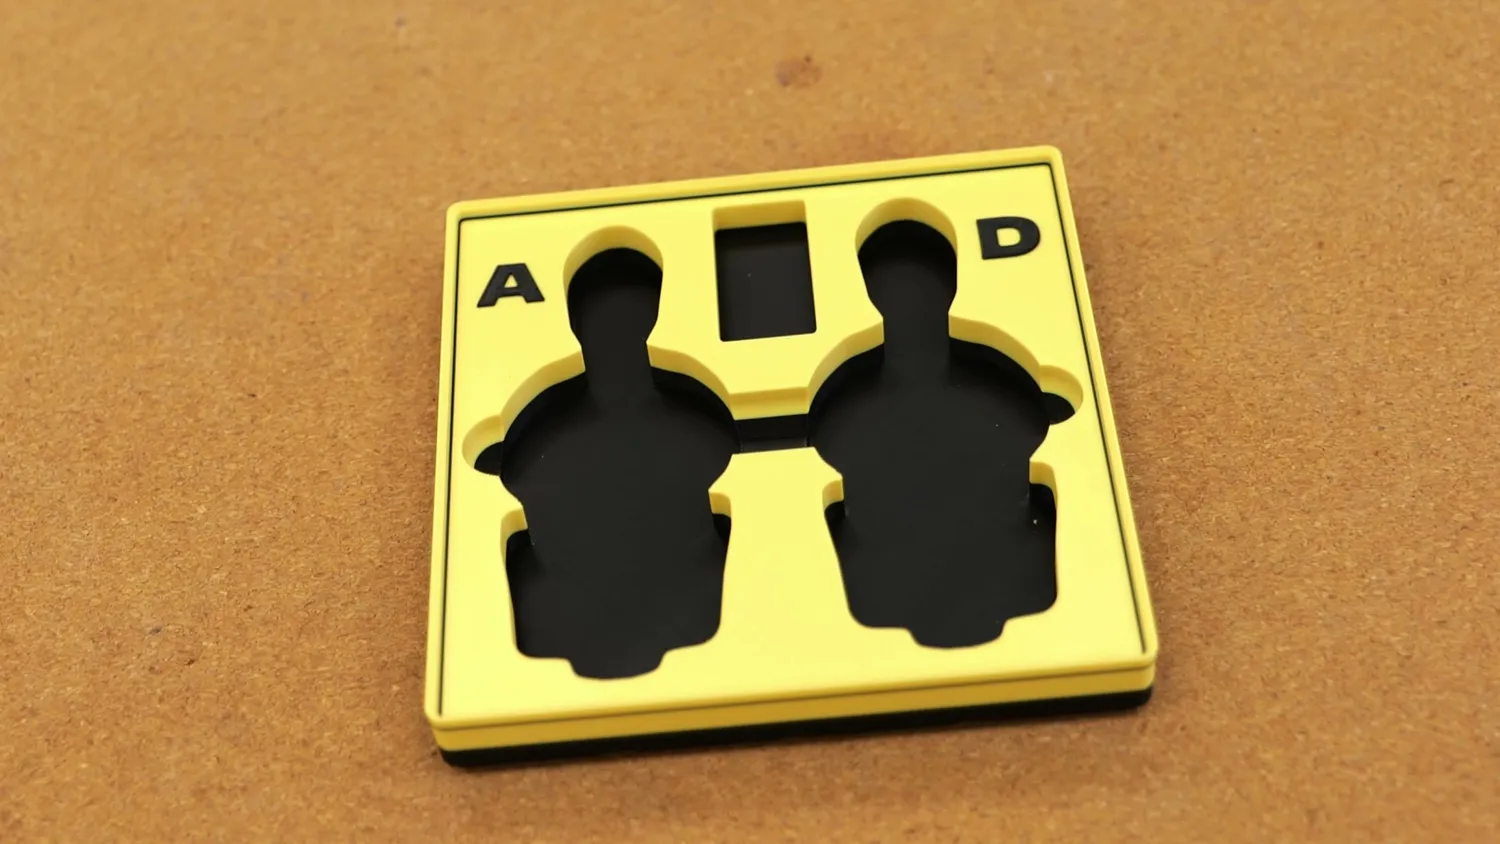
Embossed labels for identical tools
Since the bins don’t need to be super strong, I only printed them with 5% infill and a single bottom layer, enough for good bed adhesion without wasting material where it’s not needed.
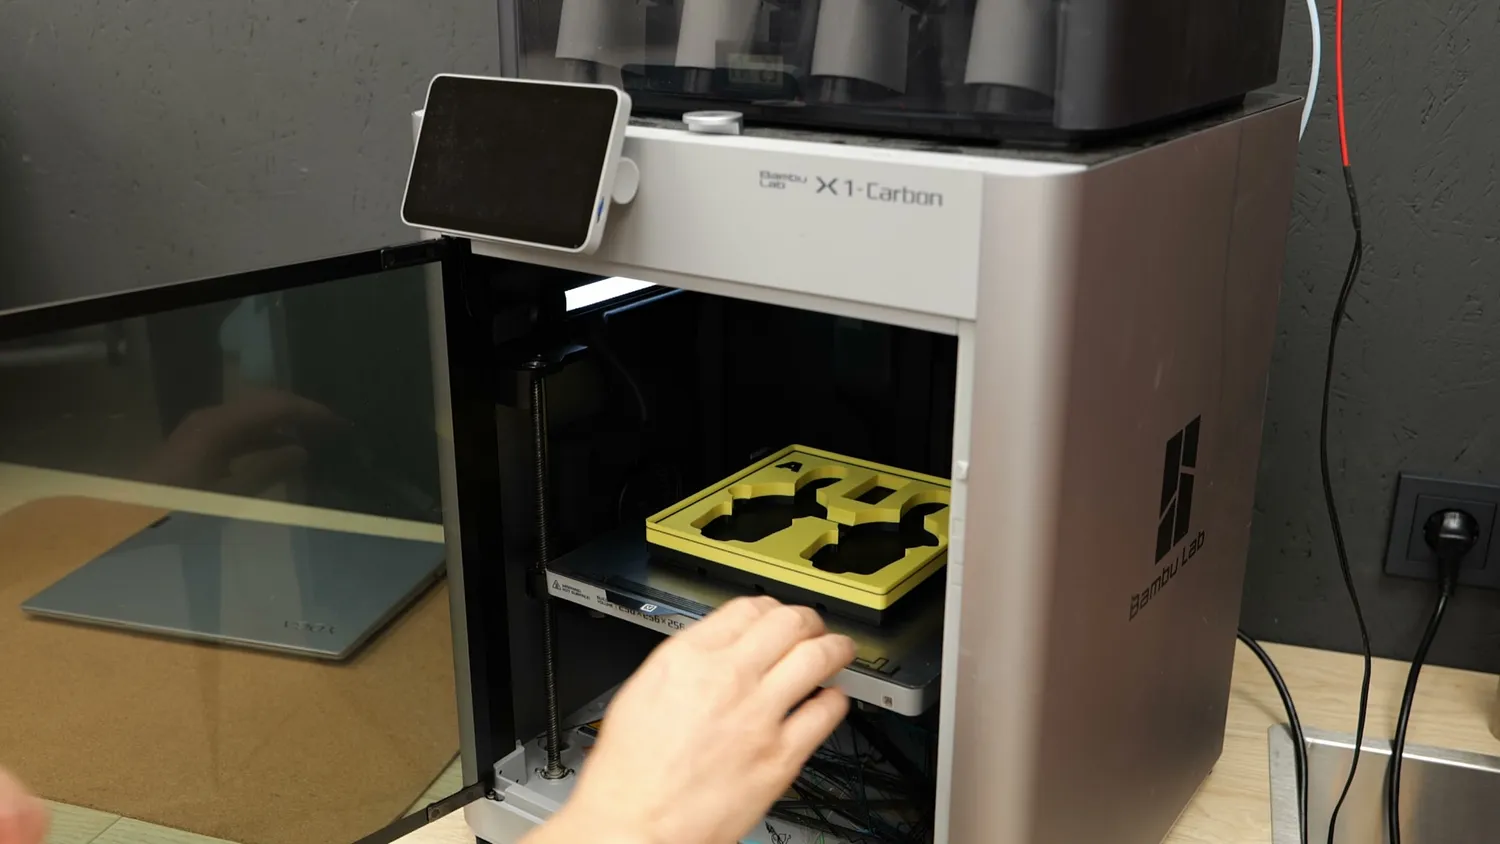
5% infill and a single bottom layer
The finished drawer
And here they are: quite an assortment of Gridfinity bins that I can finally drop into the drawer to satisfy my OCD.
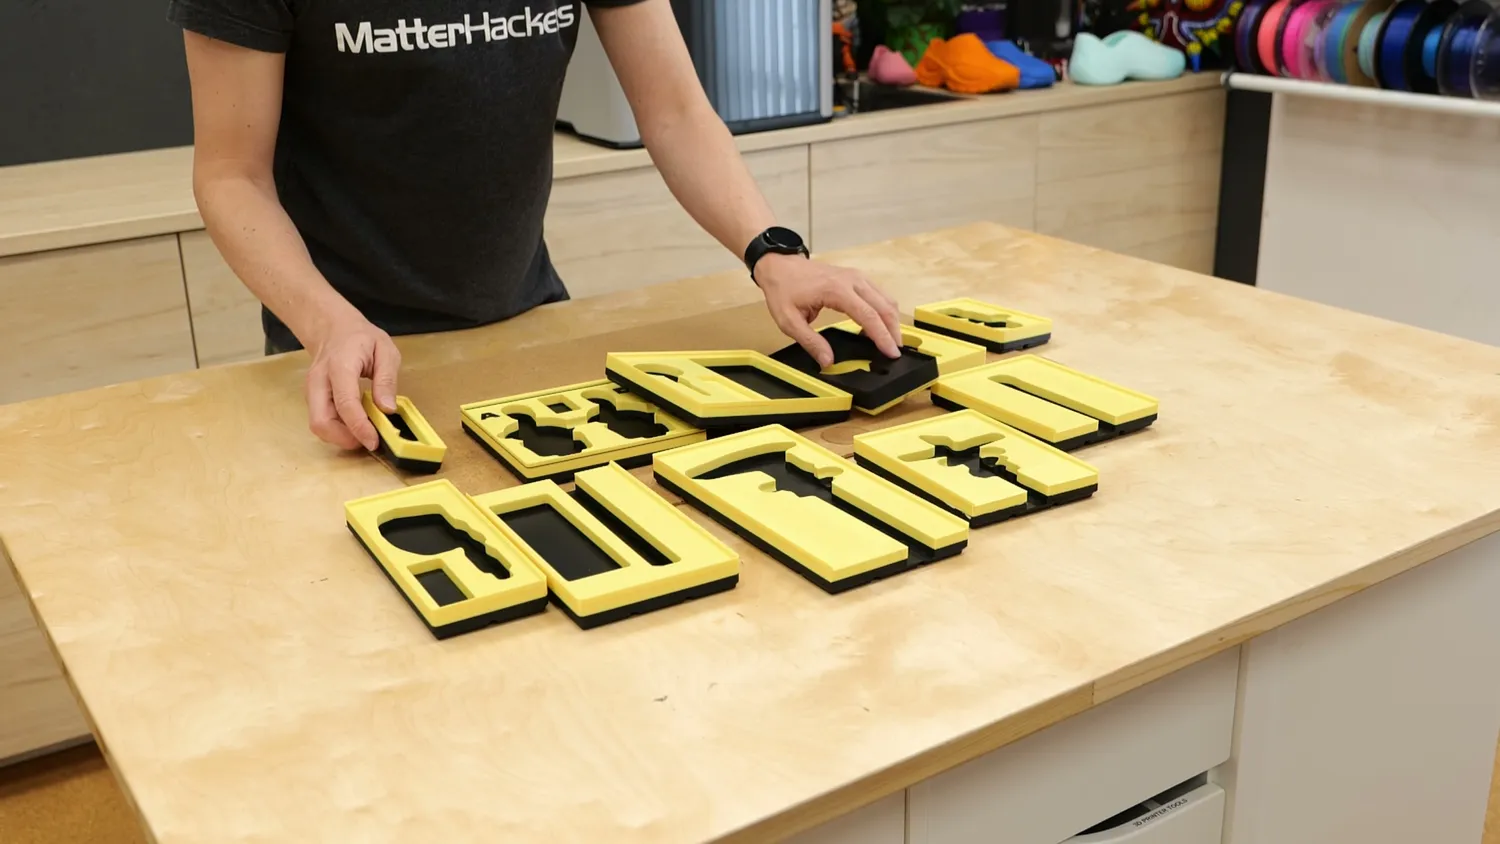
The full set of bins
I couldn’t quite fit everything though - the depth gauge is just too big for this drawer but since Gridfinity is stackable and I don’t need the big caliper every day, I just stacked the bins. I’m really happy with the result! At last, all of my expensive measuring equipment has its own proper place, to store it safely and so I can always directly find what I need!
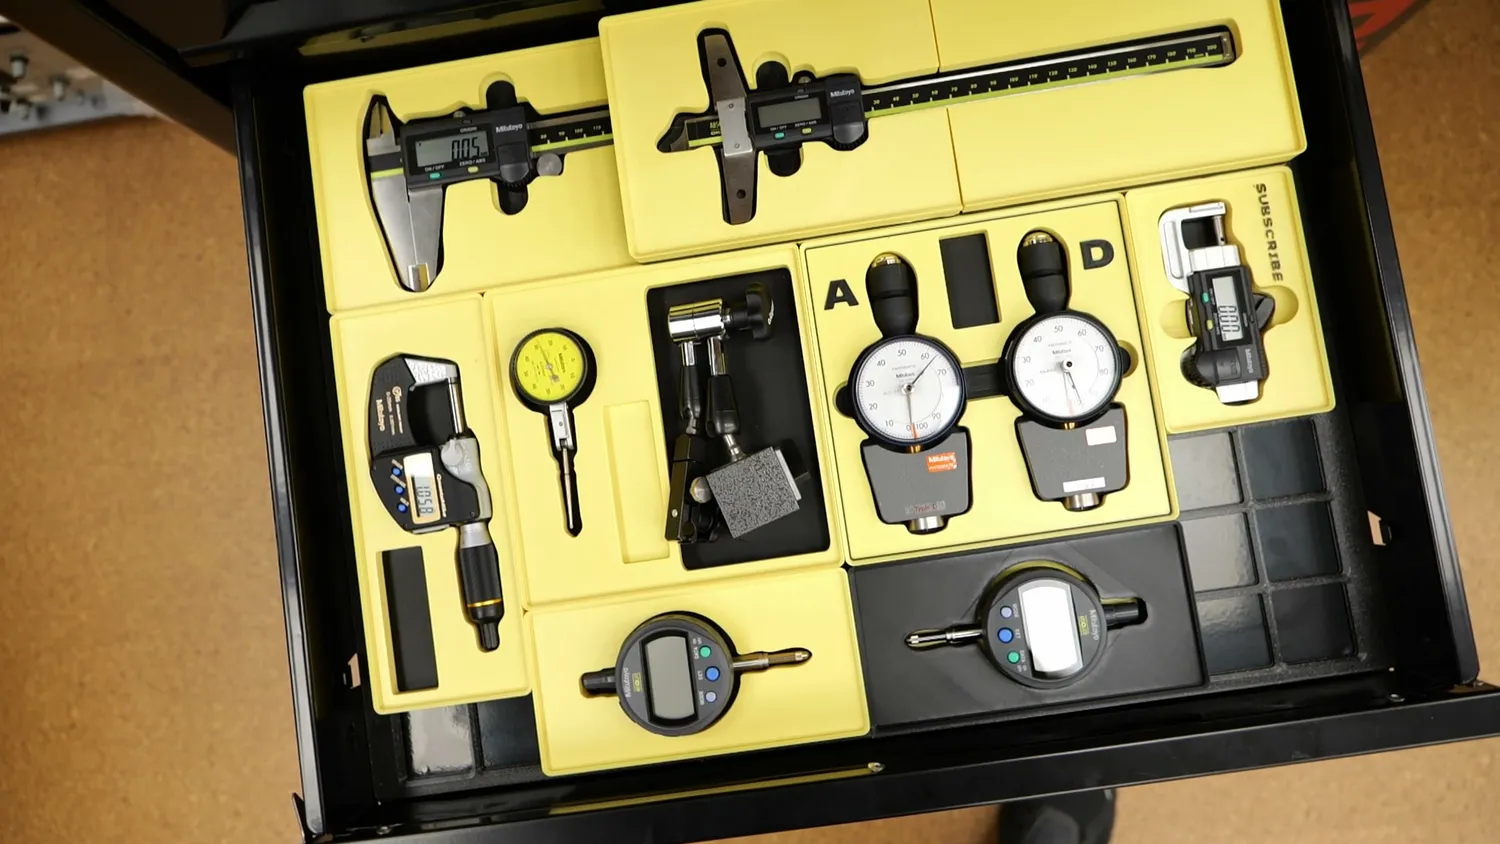
Every tool with its own place
My feature requests for TooltraceAI
Creating the bins with TooltraceAI went really smoothly. I had very few issues with the generator, and it saved me a ton of time. That said, I do have some feature requests. First, it would be great if they would use the Gridfinity standard for bin height. Second, I’d love a preview of the detected outline right in the tool selection window, so you can double-check that everything was captured correctly. Third, it would be super useful to have some basic shape tools in the layout tab, so you could add extra cutouts for accessories. And last - please give me a zoom option in the tool selection window because depending on my screen resolution picking things precisely can sometimes be tricky.
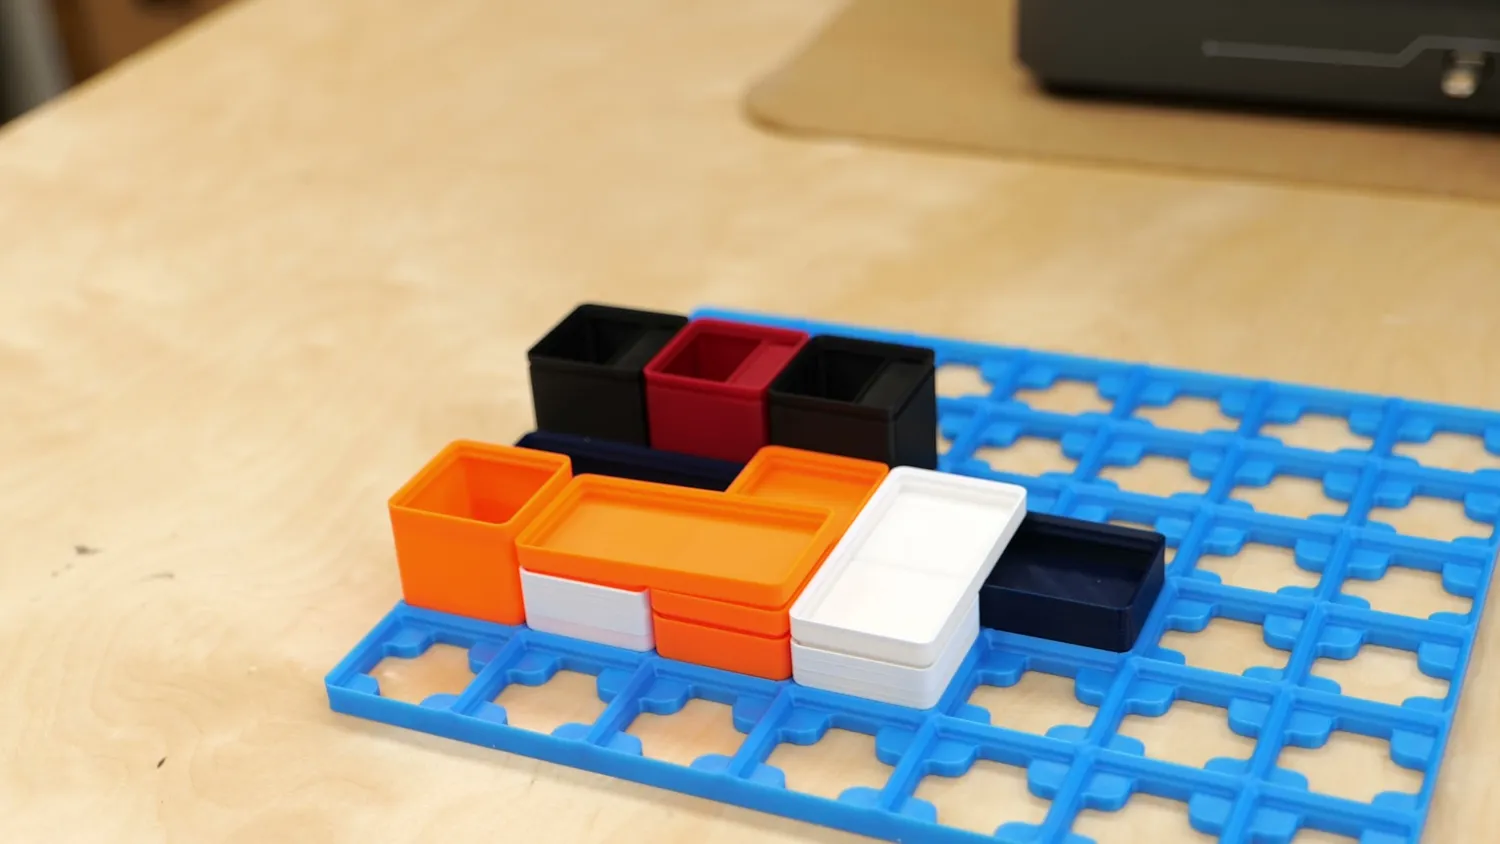
Standard Gridfinity bins and their height units
Other than that, I think it’s an amazing tool for anyone who wants better drawer organization but doesn’t want to (or can’t) design bins in CAD. Sure, some outlines are a bit rough, with splines instead of straight edges, but for this application it’s totally fine. Pro tip: you can also export your design as a STEP file and tweak it further in CAD if you want to add details. And Tooltrace, please keep this free for everyone!